Zelda OOT Remake: Full Gerudo Proving Grounds walkthrough
Complete walkthrough for the Gerudo Proving Grounds mini-dungeon The Legend of Zelda: Ocarina of Time remake
The Legend of Zelda: Ocarina of Time’s Nintendo Switch 2 remake is home to a few mini-dungeons, and some are quite tricky.
One in particular is the Gerudo Proving Grounds — known as the Gerudo Training Grounds in the N64 game. This tricky mini-dungeon is optional, but hides a valuable item you’ll want. The problem is that the puzzles inside will require you to have already completed almost every dungeon in the game to complete them.
In this guide, we’re breaking down everything you need to complete the Gerudo Proving Grounds in The Legend of Zelda: Ocarina of Time remake. We’ll explain which items you’ll need to complete the dungeon, and how to tackle each puzzle step-by-step.
Gerudo Proving Grounds explained – OOT Remake
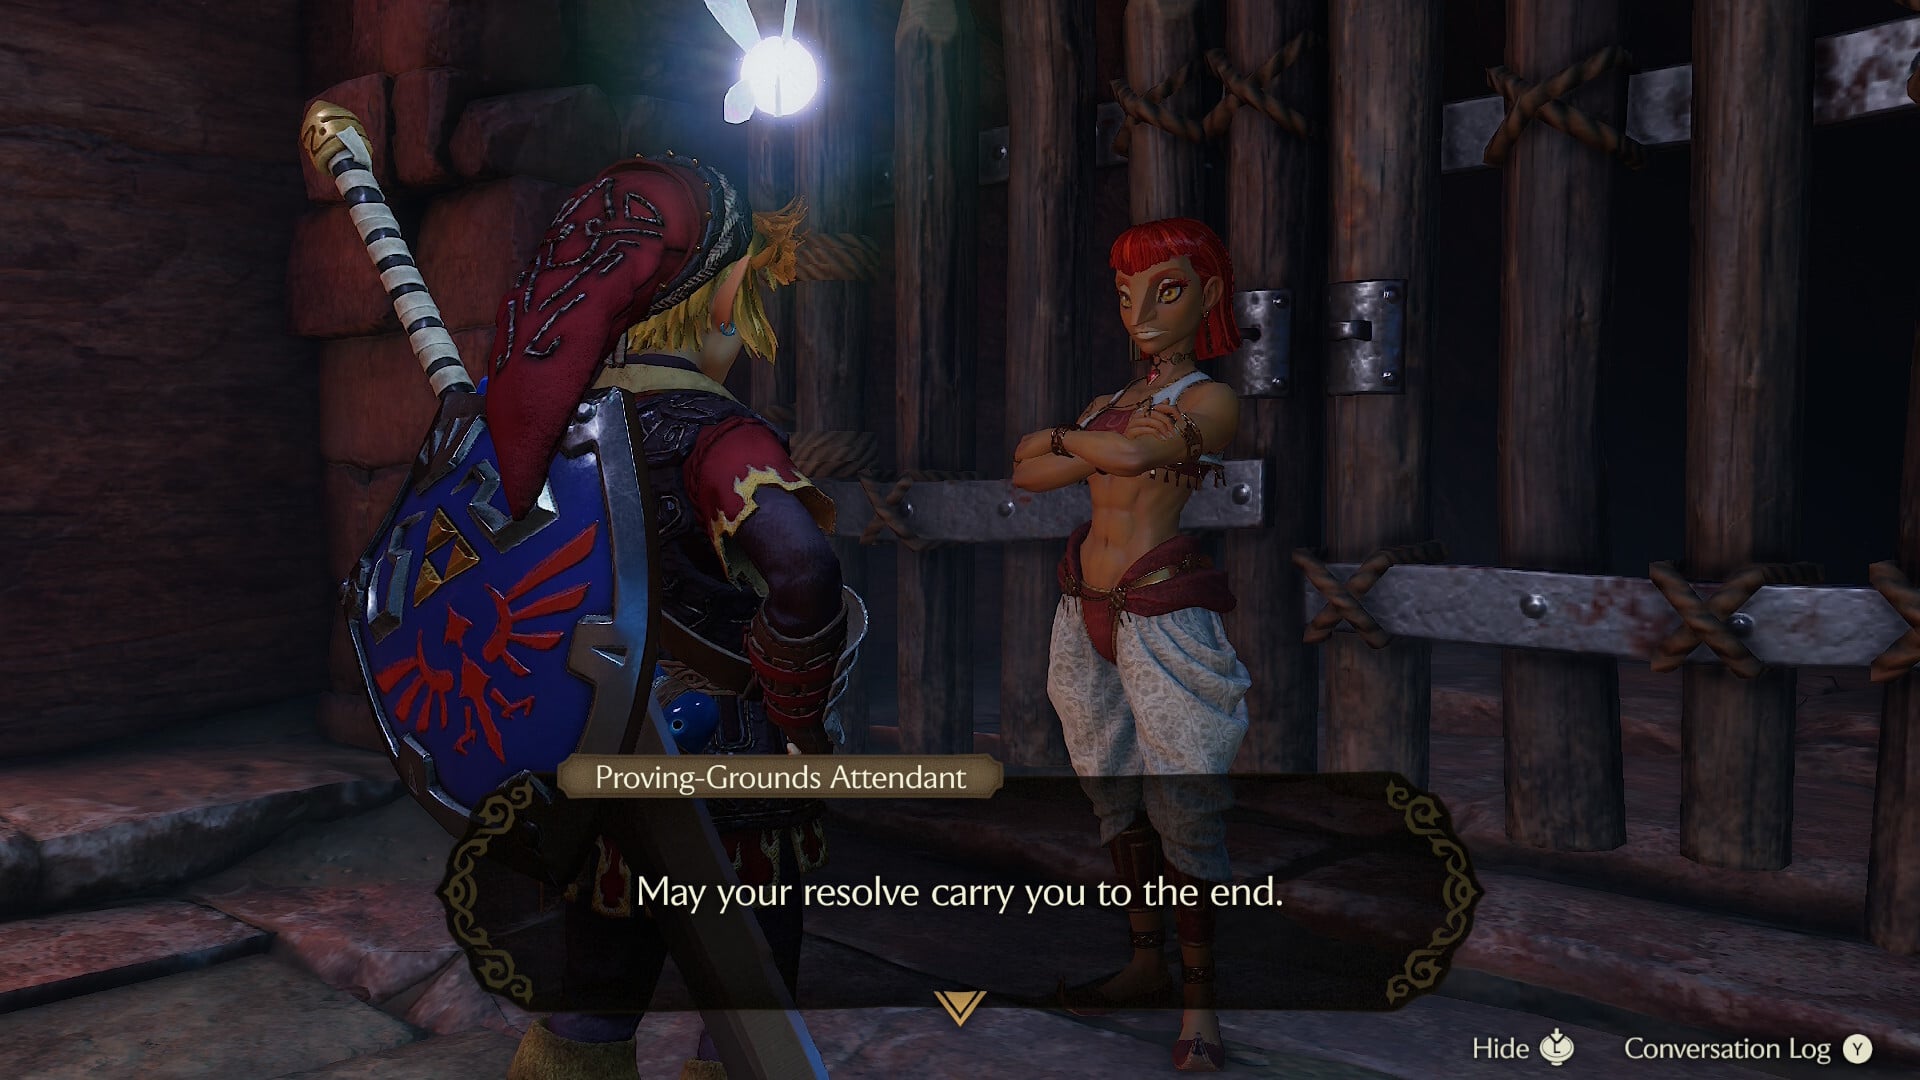
In the Gerudo Proving Grounds, you’ll be met with three paths from the lobby. The goal is to earn as many Small Keys as possible from the left and right paths before spending them in the Small Key maze in the center path.
This guide will take you through the left path of the maze and, eventually, have you loop the entire dungeon in a single run, earning enough Small Keys to take all of the rewards in the Proving Grounds.
Gerudo Proving Grounds required items – OOT Remake
It’s a tough dungeon, but what’s worse is that you’ll be charged 30 rupees to enter. Harsh. Your progress will be kept, but you’ll be charged each time you enter.
There is a block in the Gerudo Proving Grounds that requires the use of the Silver Gauntlets to move, but in this guide we’re taking a route that doesn’t require them.
- Song of Time
- Scarecrow Song (optional, recommended)
- Fairy Bow from Forest Temple
- Lenses of Truth from Bottom of the Well
- Megaton Hammer from Fire Temple
- Iron Boots from Ice Cavern
- Longshot from Water Temple
Gerudo Proving Ground walkthrough – OOT Remake
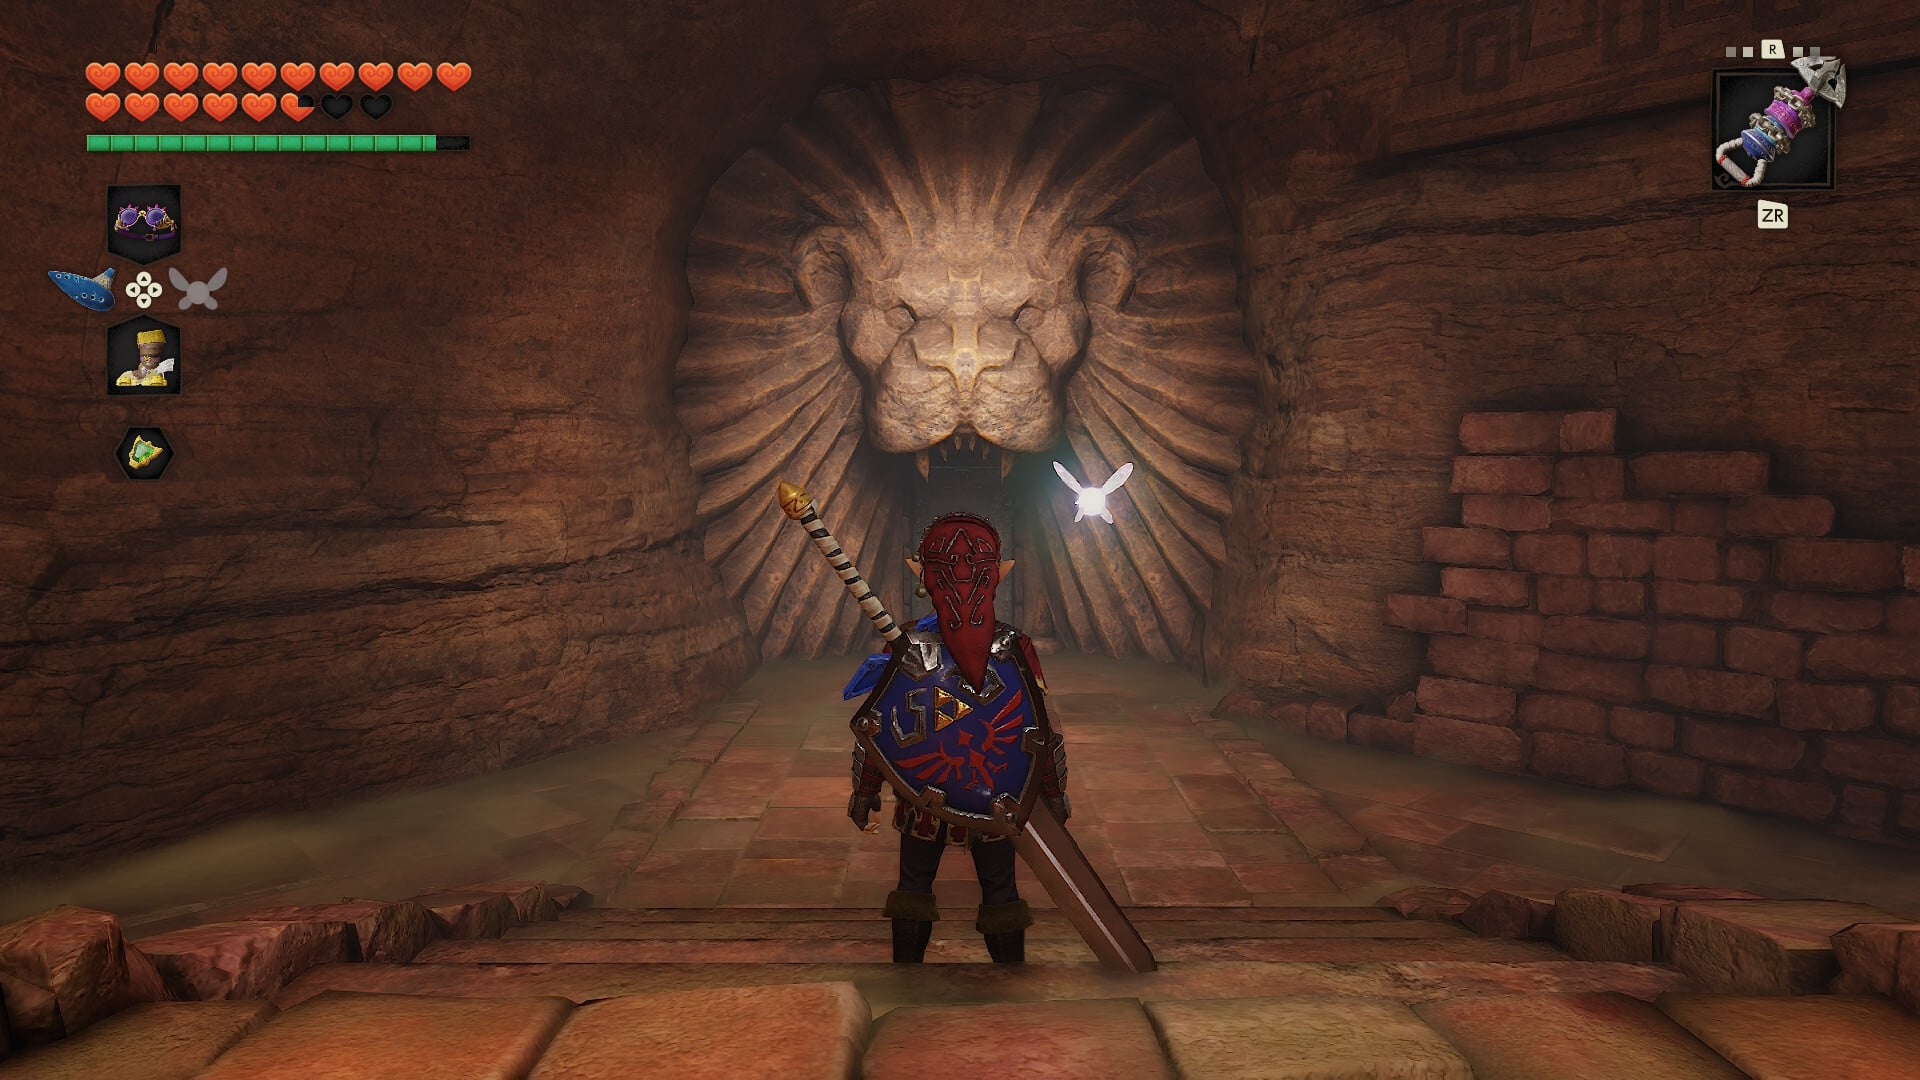
We’re starting with the left path, so be sure to head left and follow the directions, otherwise, the rooms will be out of order. There are nine Small Keys in total, but you only need seven to complete the Proving Grounds and earn all rewards.
First room – Small Key #1
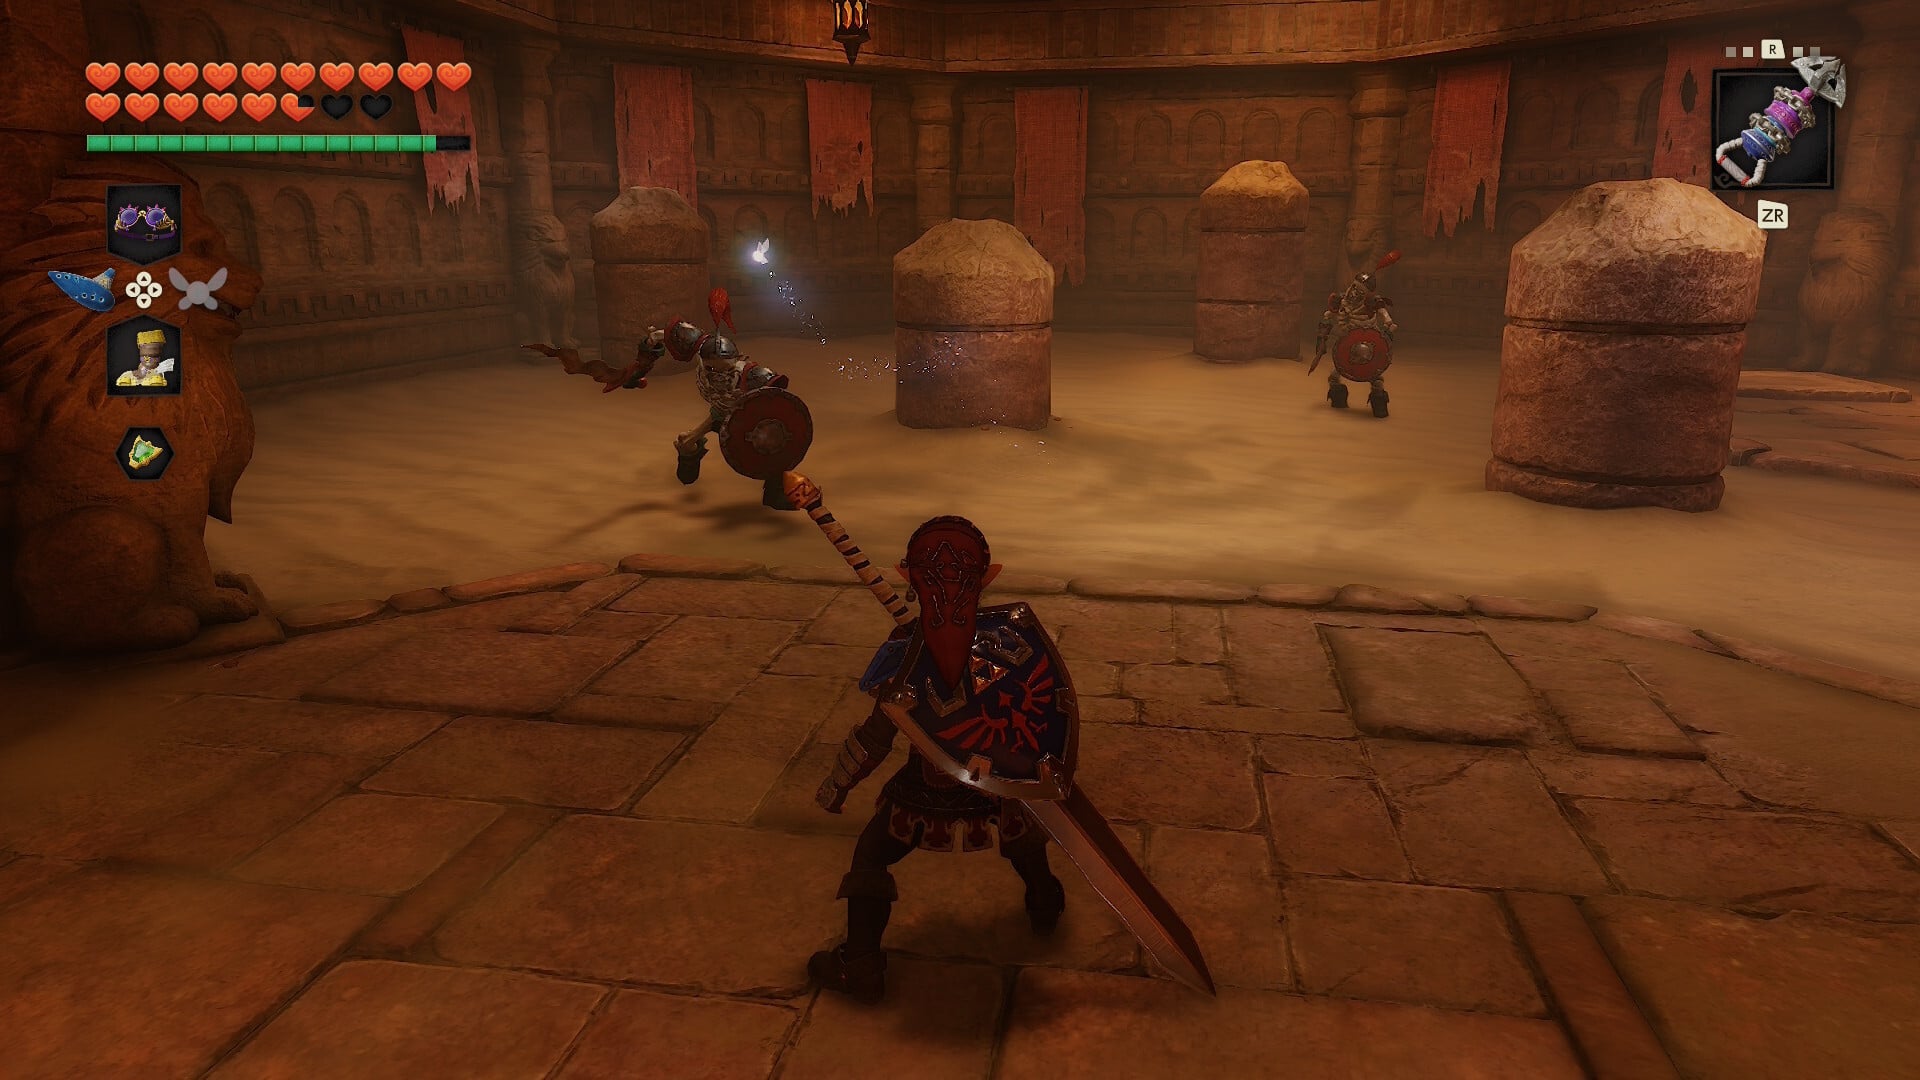
The first room is a simple encounter against a pair of Stalfos. The floor is desert sand, which will slow your movement.
Second room
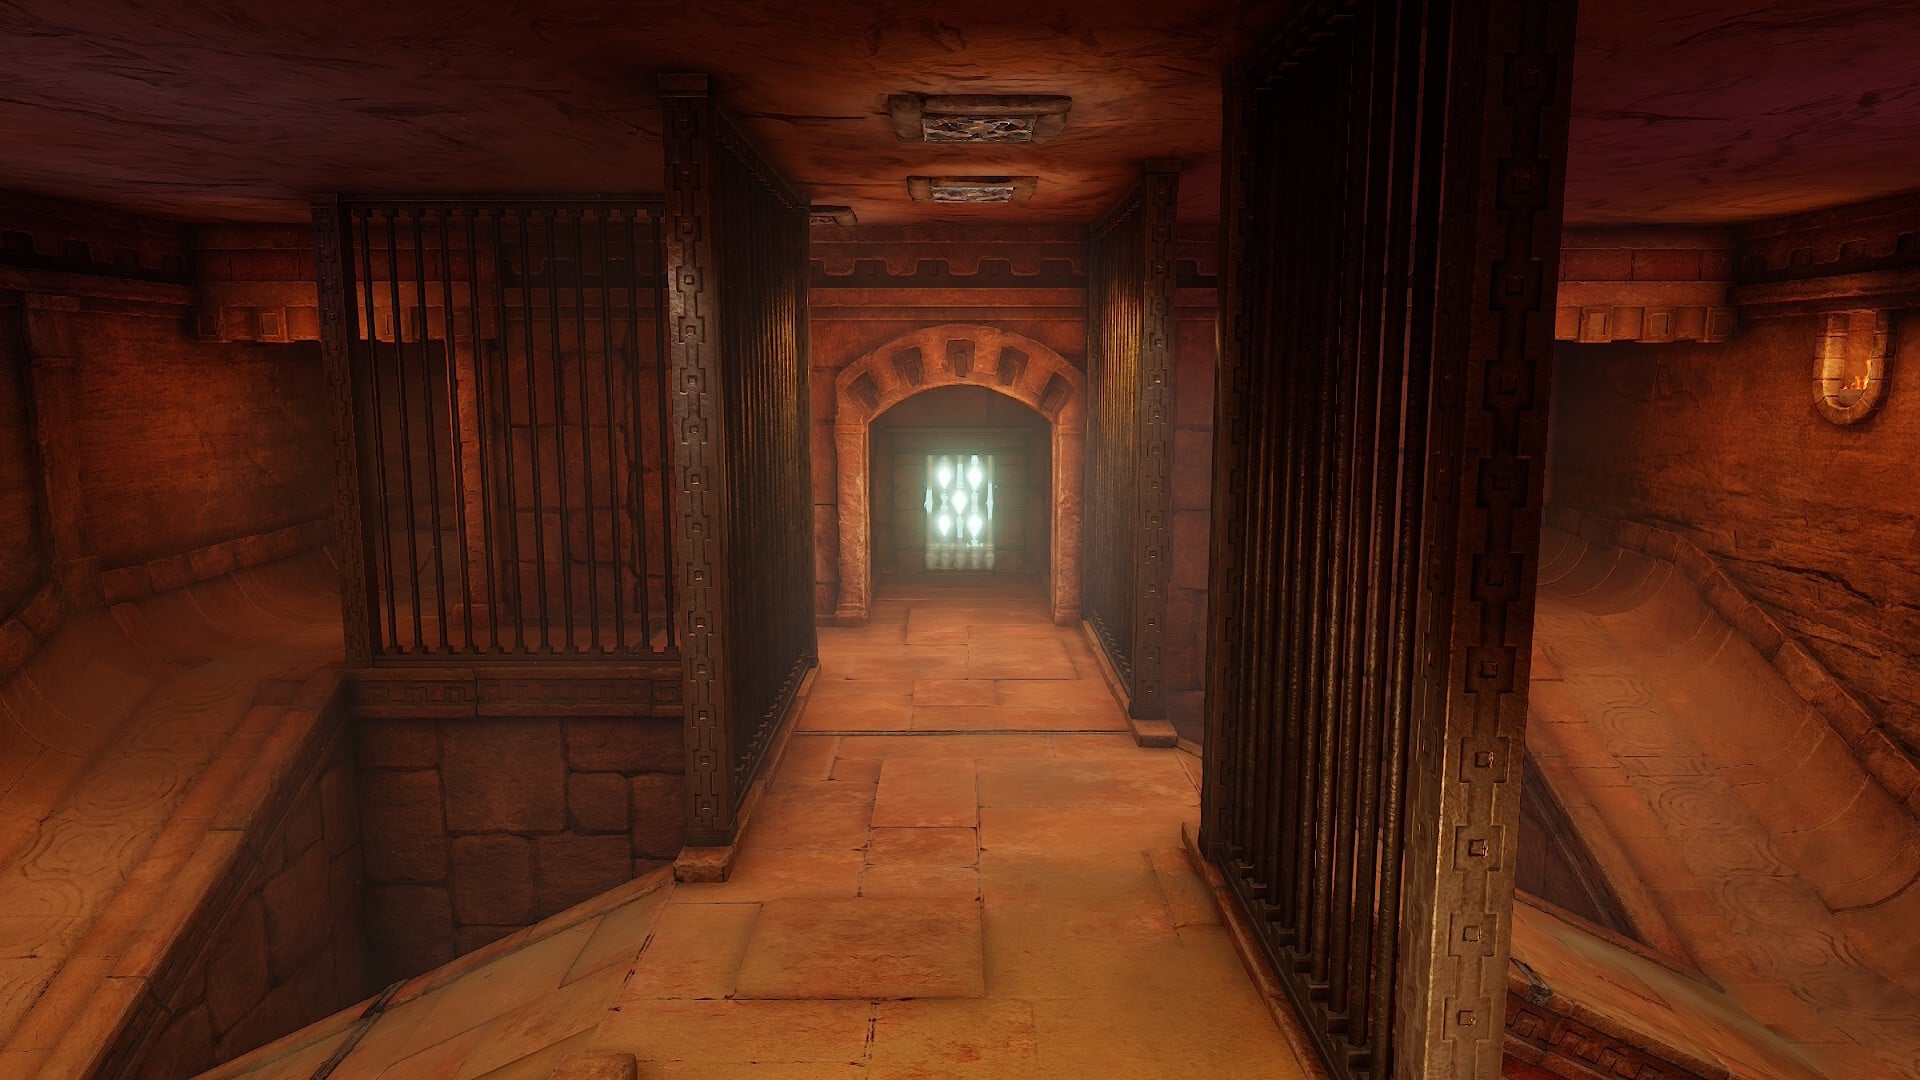
Again, quite a simple room. Collect the five silver diamonds dotted around the room to open the door forward. Check where the boulders are rolling, and make sure not to miss the diamond directly above the door you entered. You’ll need to use the Hookshot to get over the fire traps near the exit door.
Third room
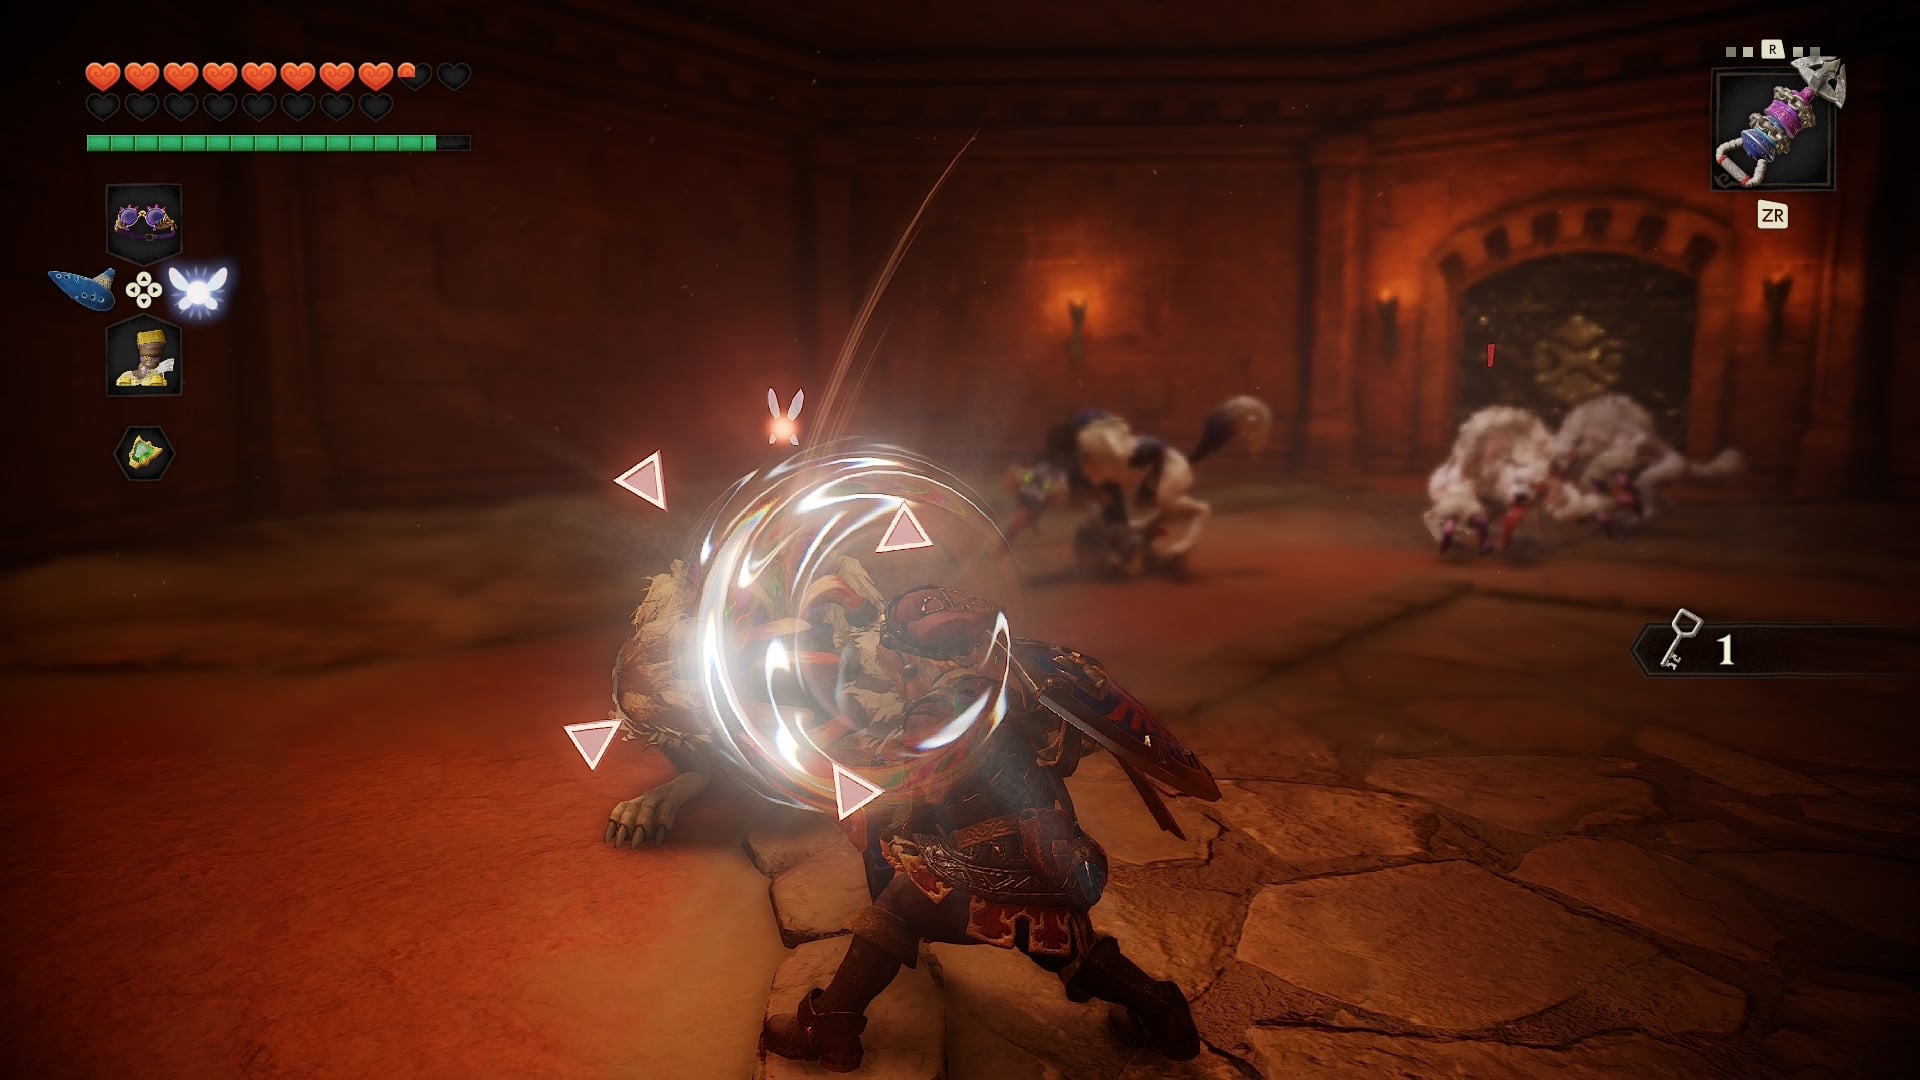
The third room is an encounter against a gang of Wolfos and White Wolfos. Taking them out will be a lot easier if you use Din’s Fire. You’ll need the Silver Gauntlets to push the large block, but the gate behind the block will be locked — moving the large block is optional, as our route doesn’t require the Small Key from behind it.
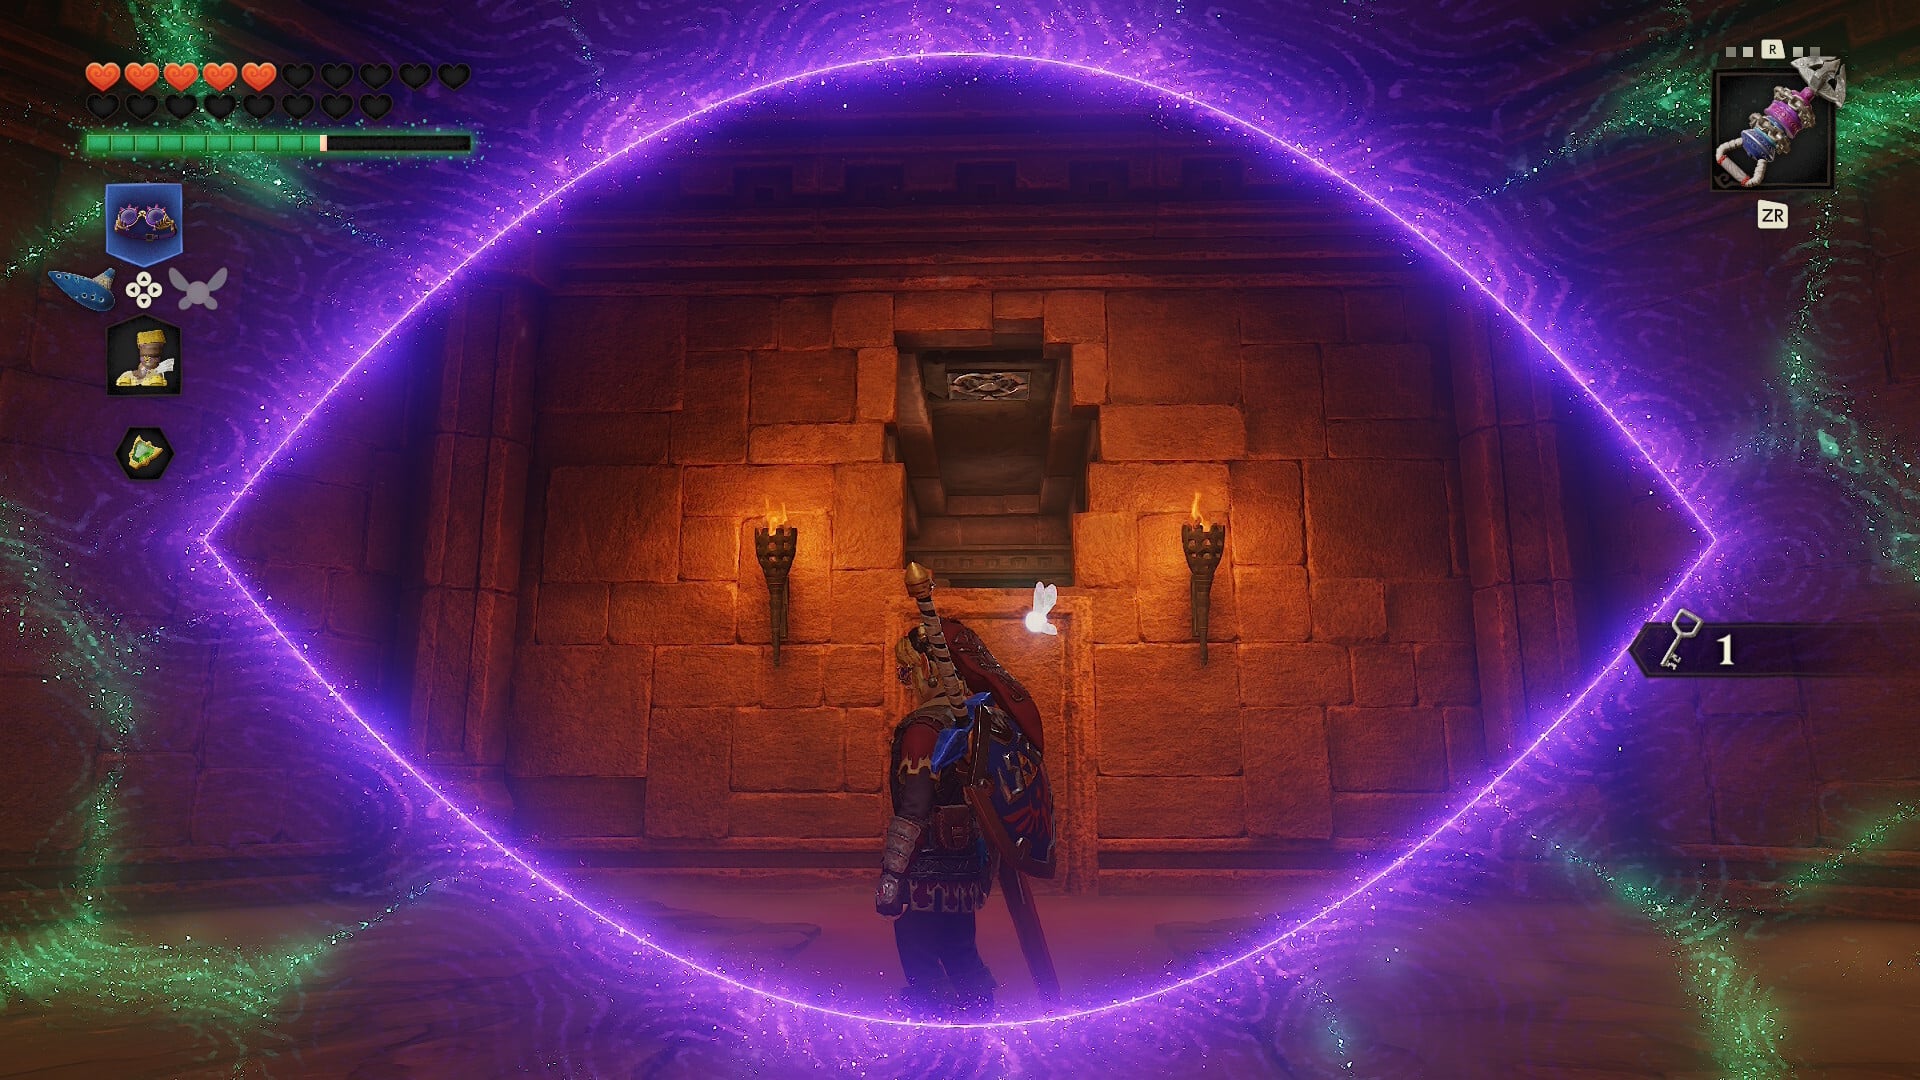
Look for a fake door in the room. Use the Lenses of Truth to find a passage above the fake door you can Hookshot into to progress.
Fourth room – Small Key #2
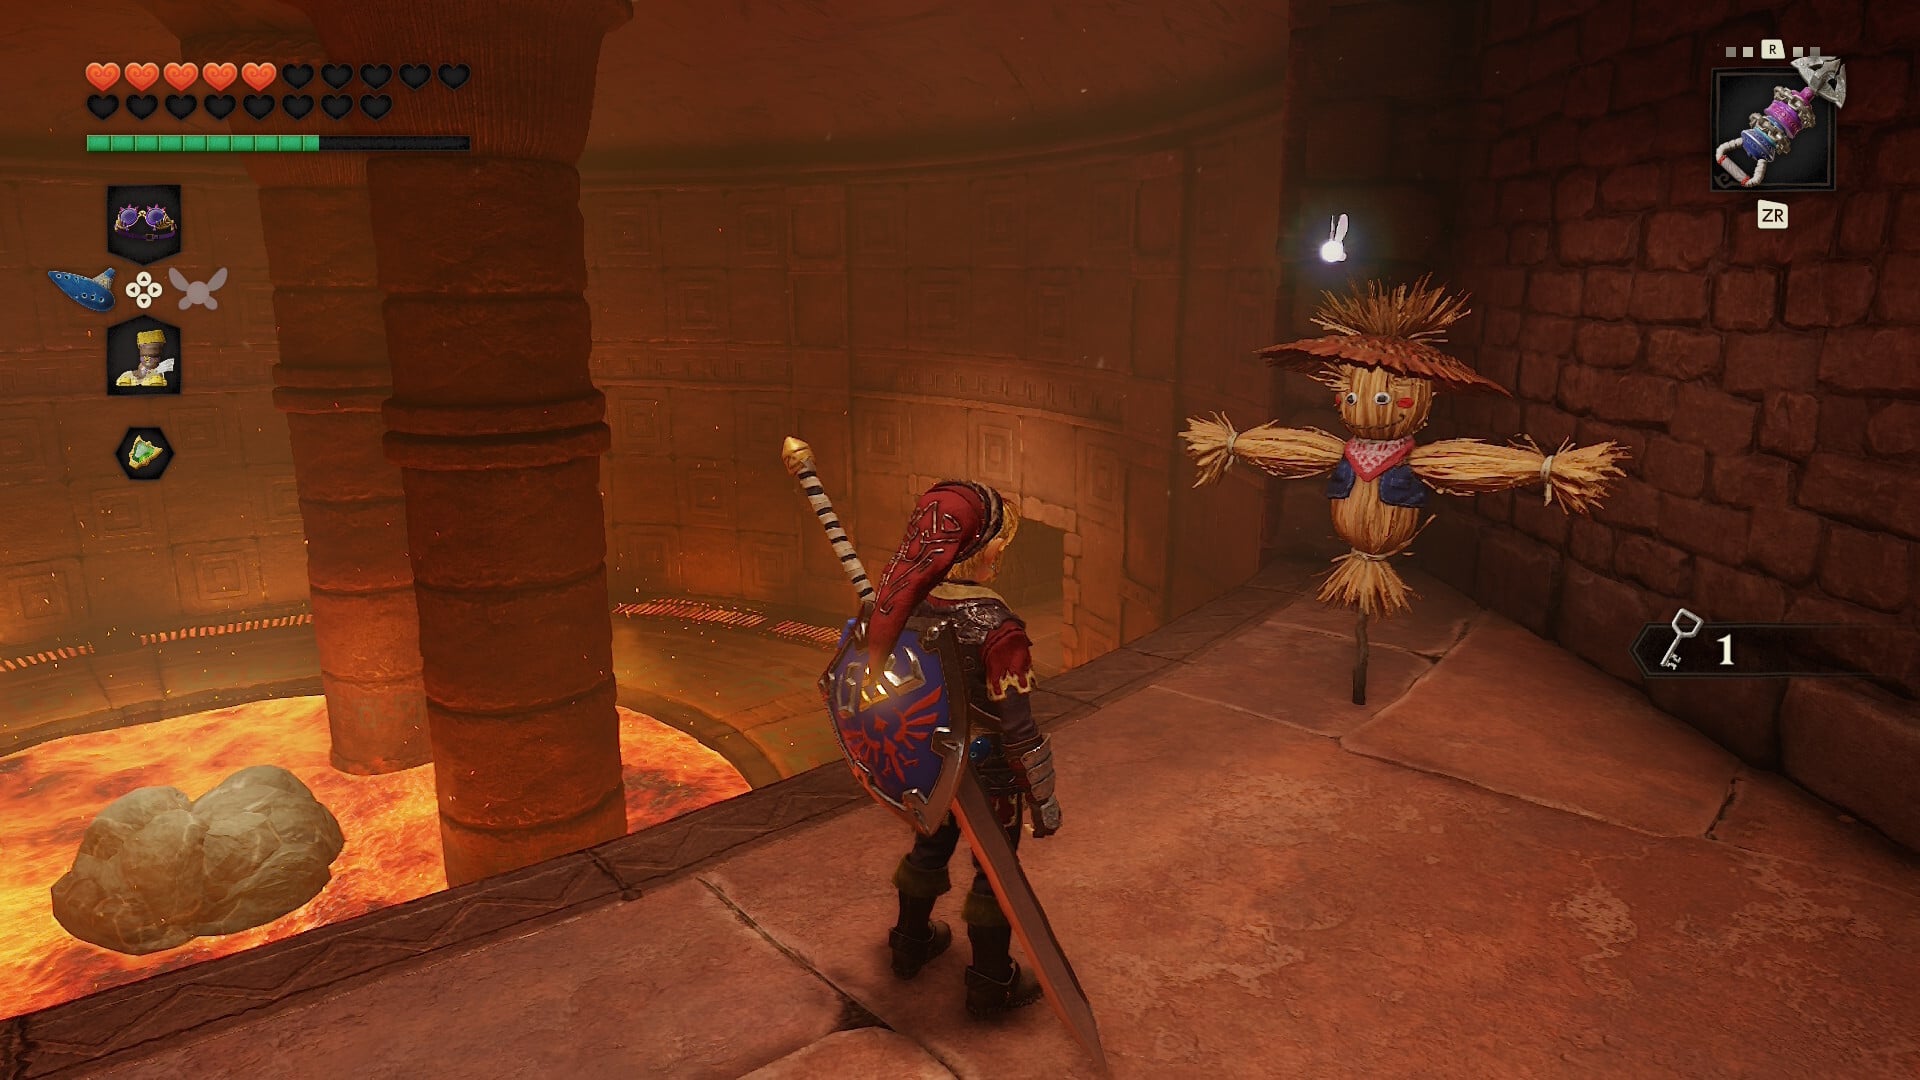
Now you’ll be on the upper level of a lava room. On the right side of the walkway you’re on, you can use the Scarecrow Song to call Pierre before jumping down, creating a shortcut you can access using the Longshot.
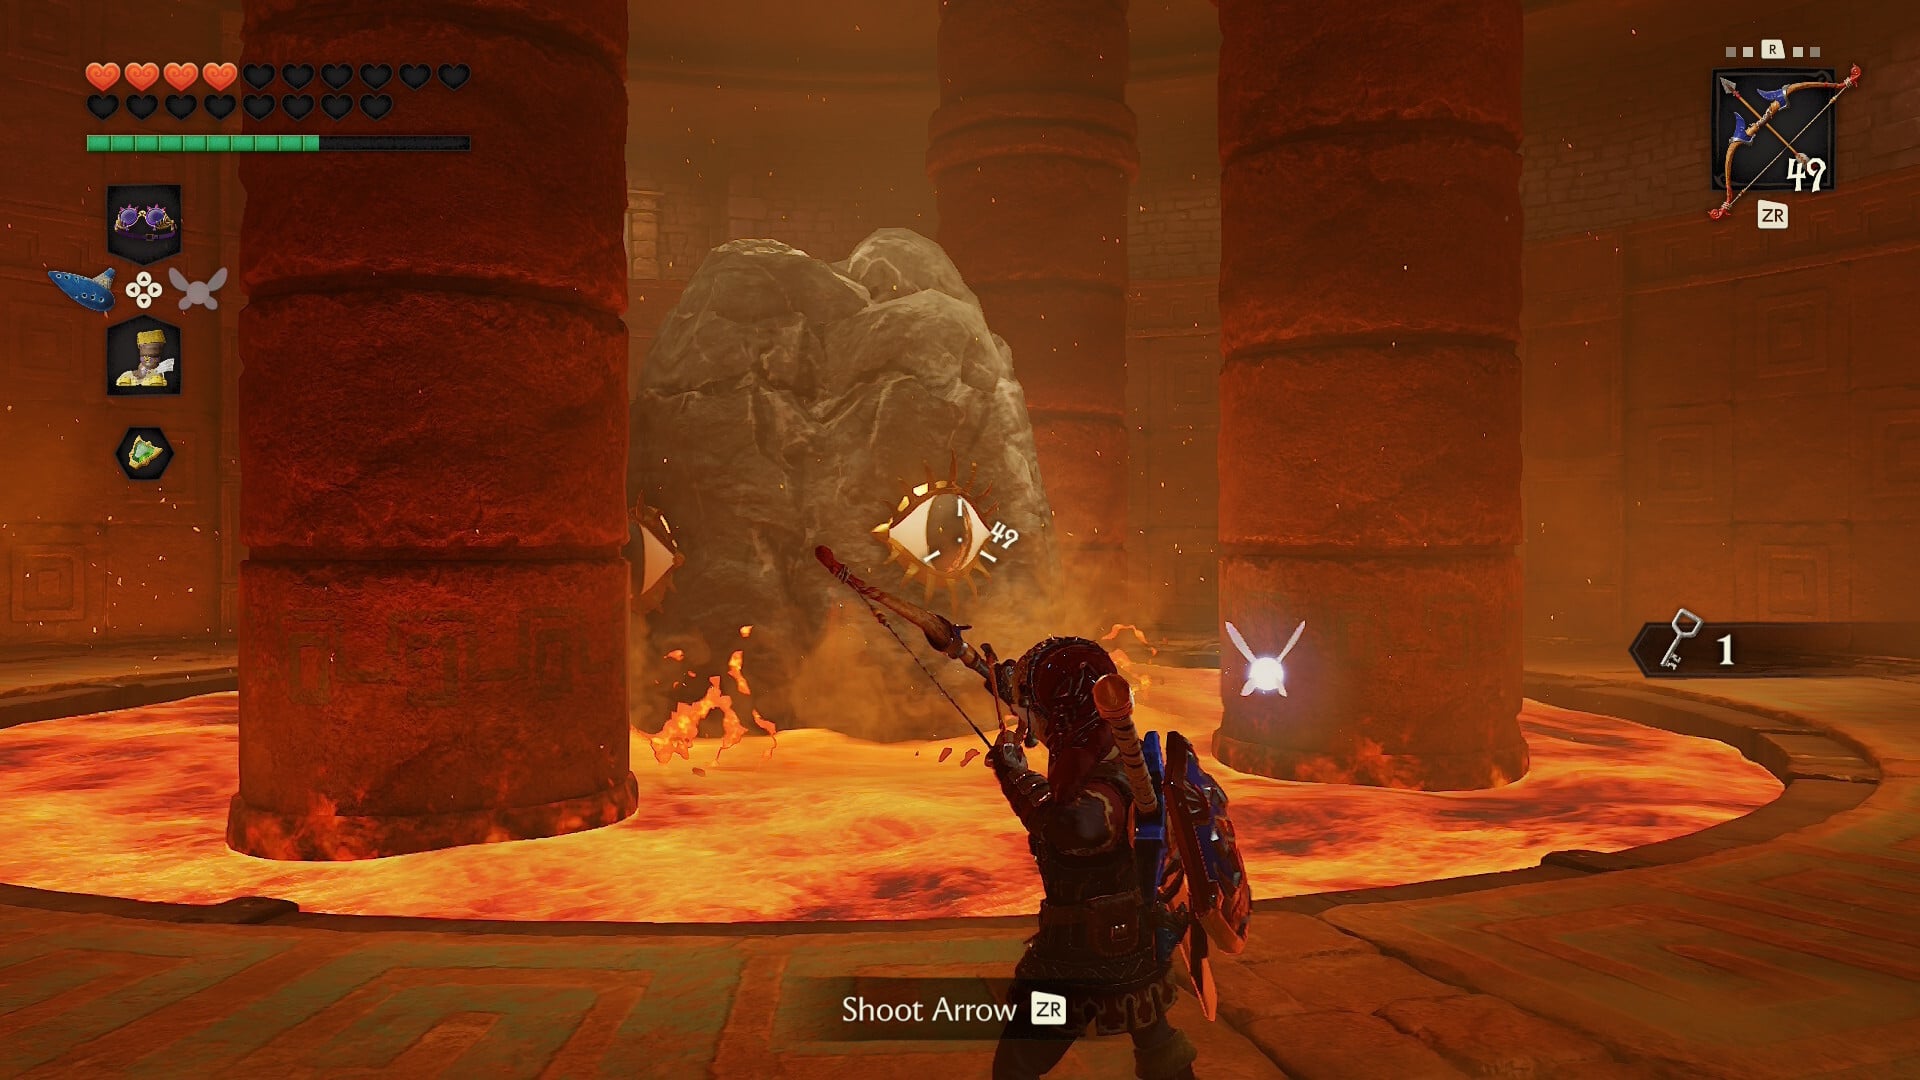
Jump down and shoot the eye switch above the door to activate the stone in the middle of the lava. It’ll be covered in eyes, which you can shoot. Shooting the eyes will drain the lava and grant you a Small Key, in addition to unlocking both doors. We’ll return upstairs using Pierre.
Fifth room – Small Key #3
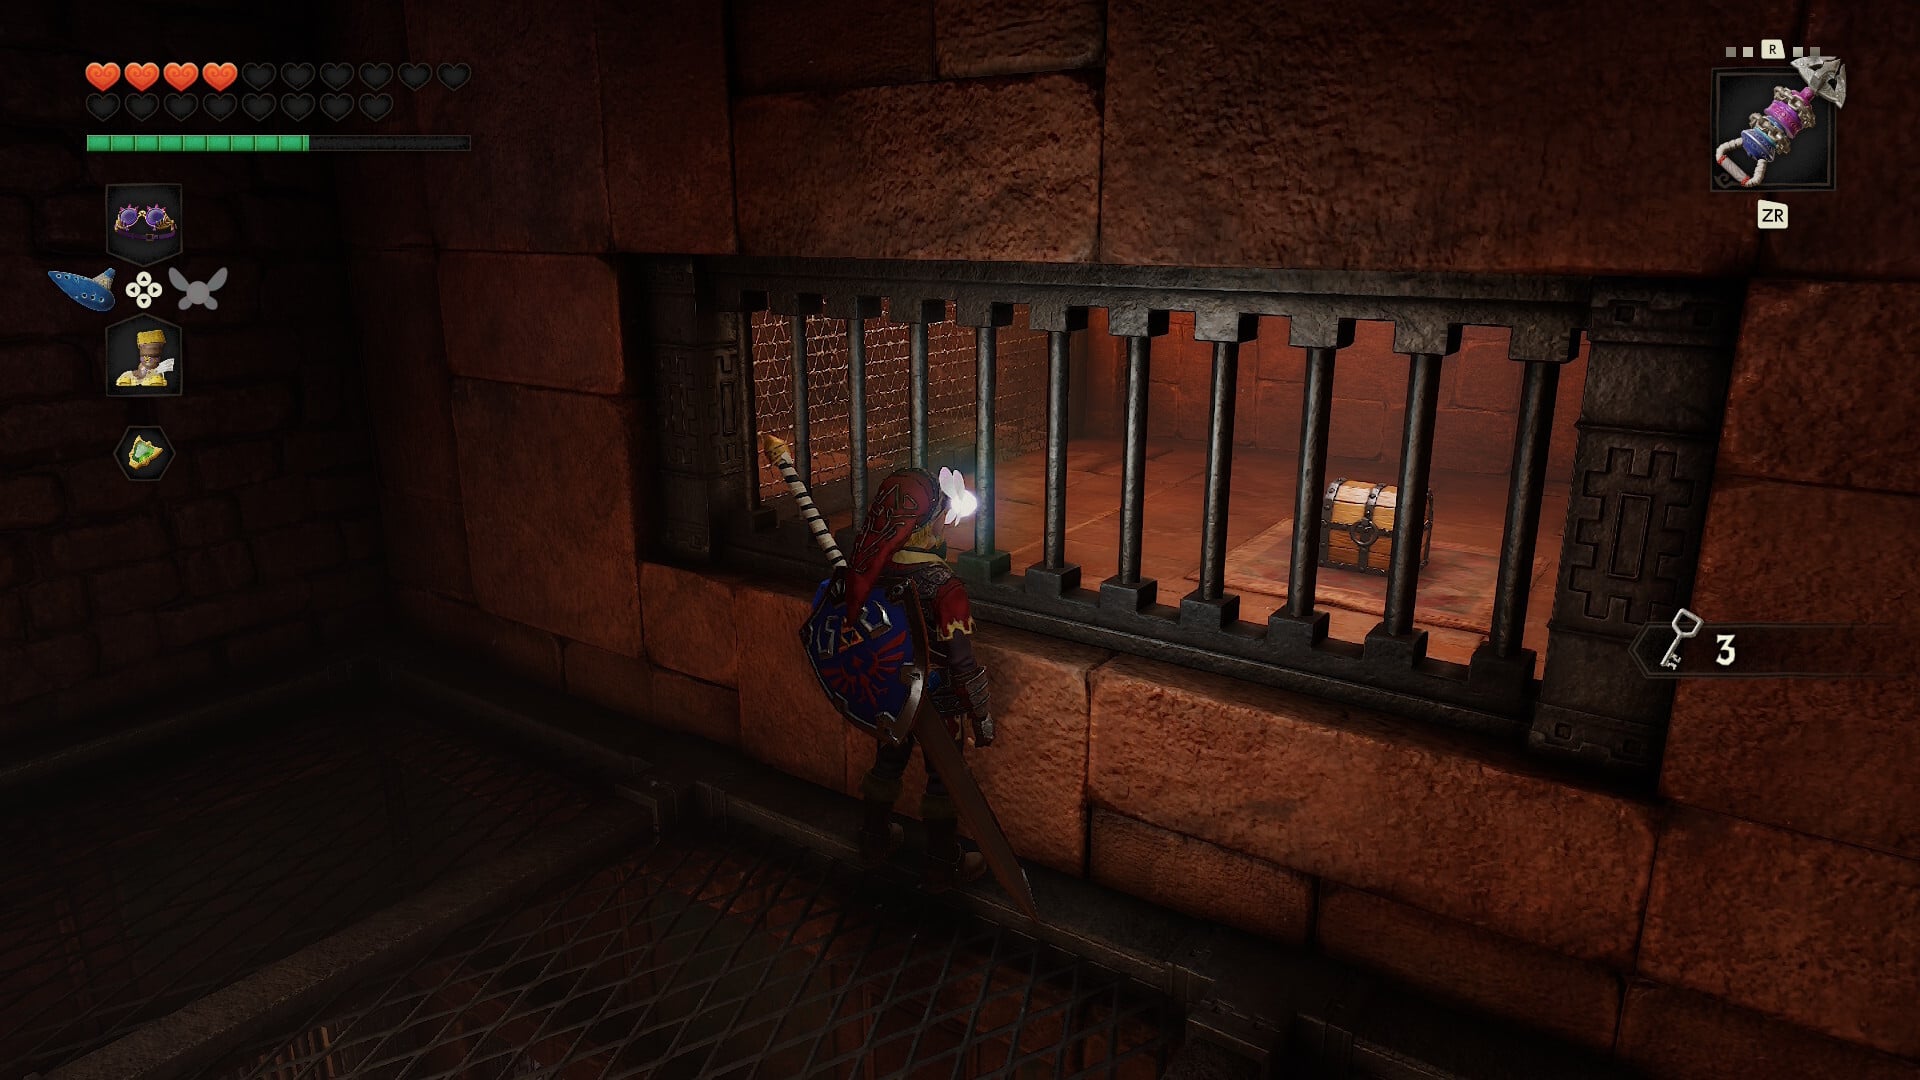
The door next to Pierre is a small room that reveals a Small Key chest. It also allows you to glimpse another chest through some bars, which you should remember for later. For now, we’ll return to the lava room and use the exit on the lower level.
Sixth room – Small Key #4
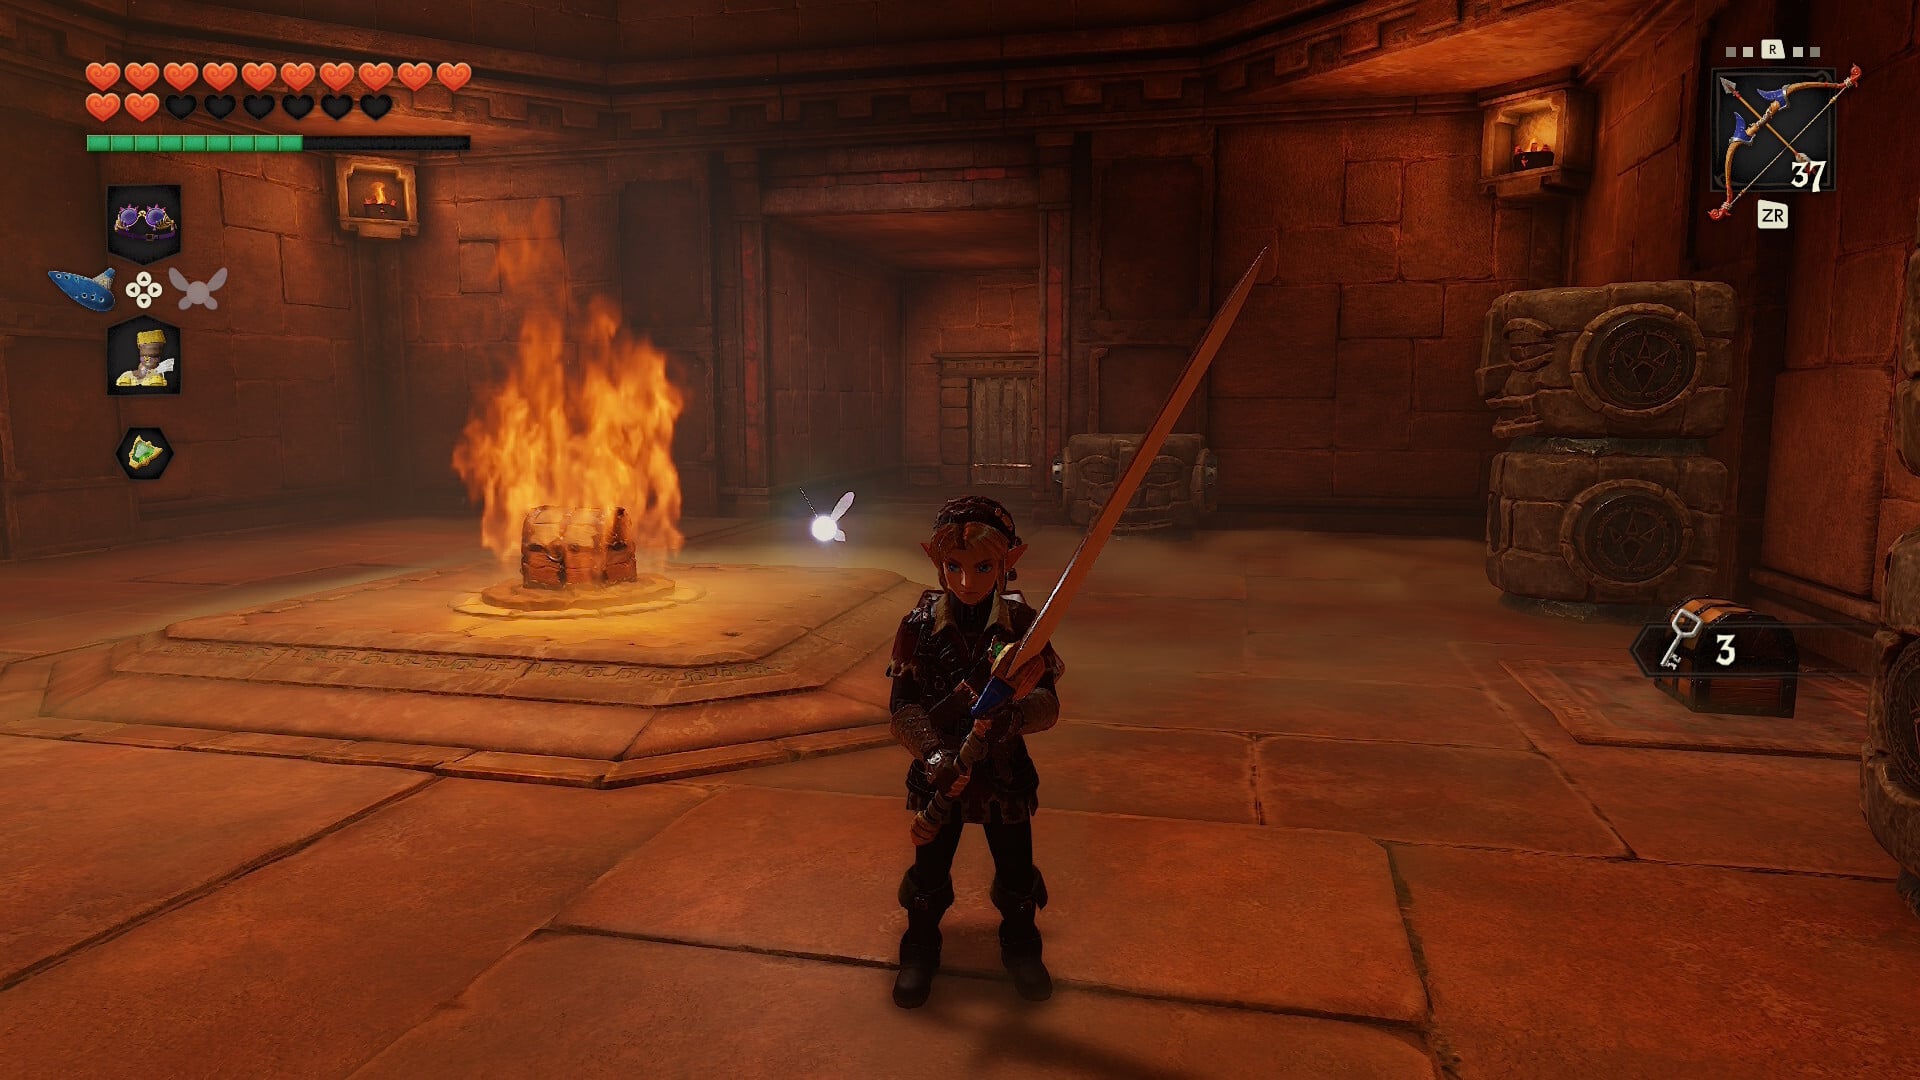
The next room will have a chest containing five arrows that appears once you defeat the minor enemies within, but another chest will remain in the center of the room, surrounded by flames.
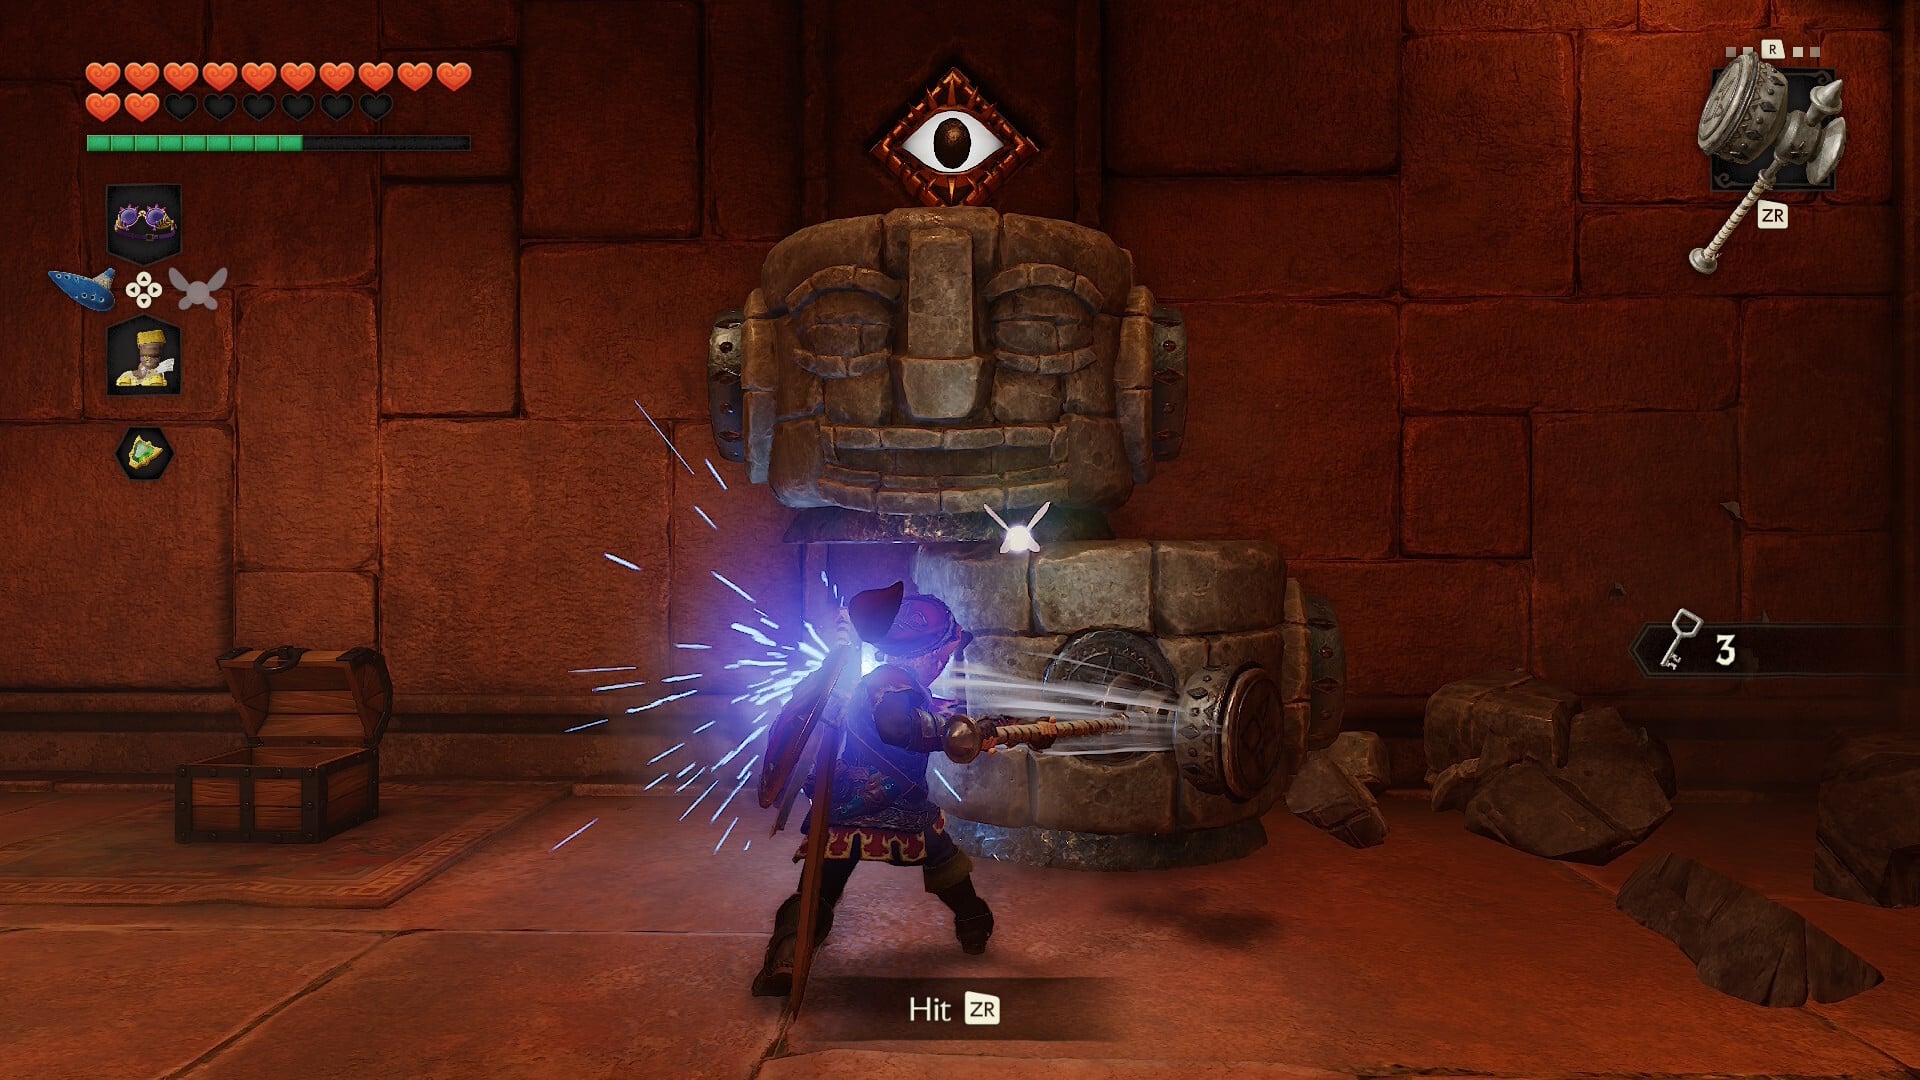
Using the Megaton Hammer on the statues on the sides of the room will reveal an eye switch on the wall, and a floor switch on the, uh, floor. Activate both to deactivate the flames around the chest and open the gate to the next room.
Seventh room
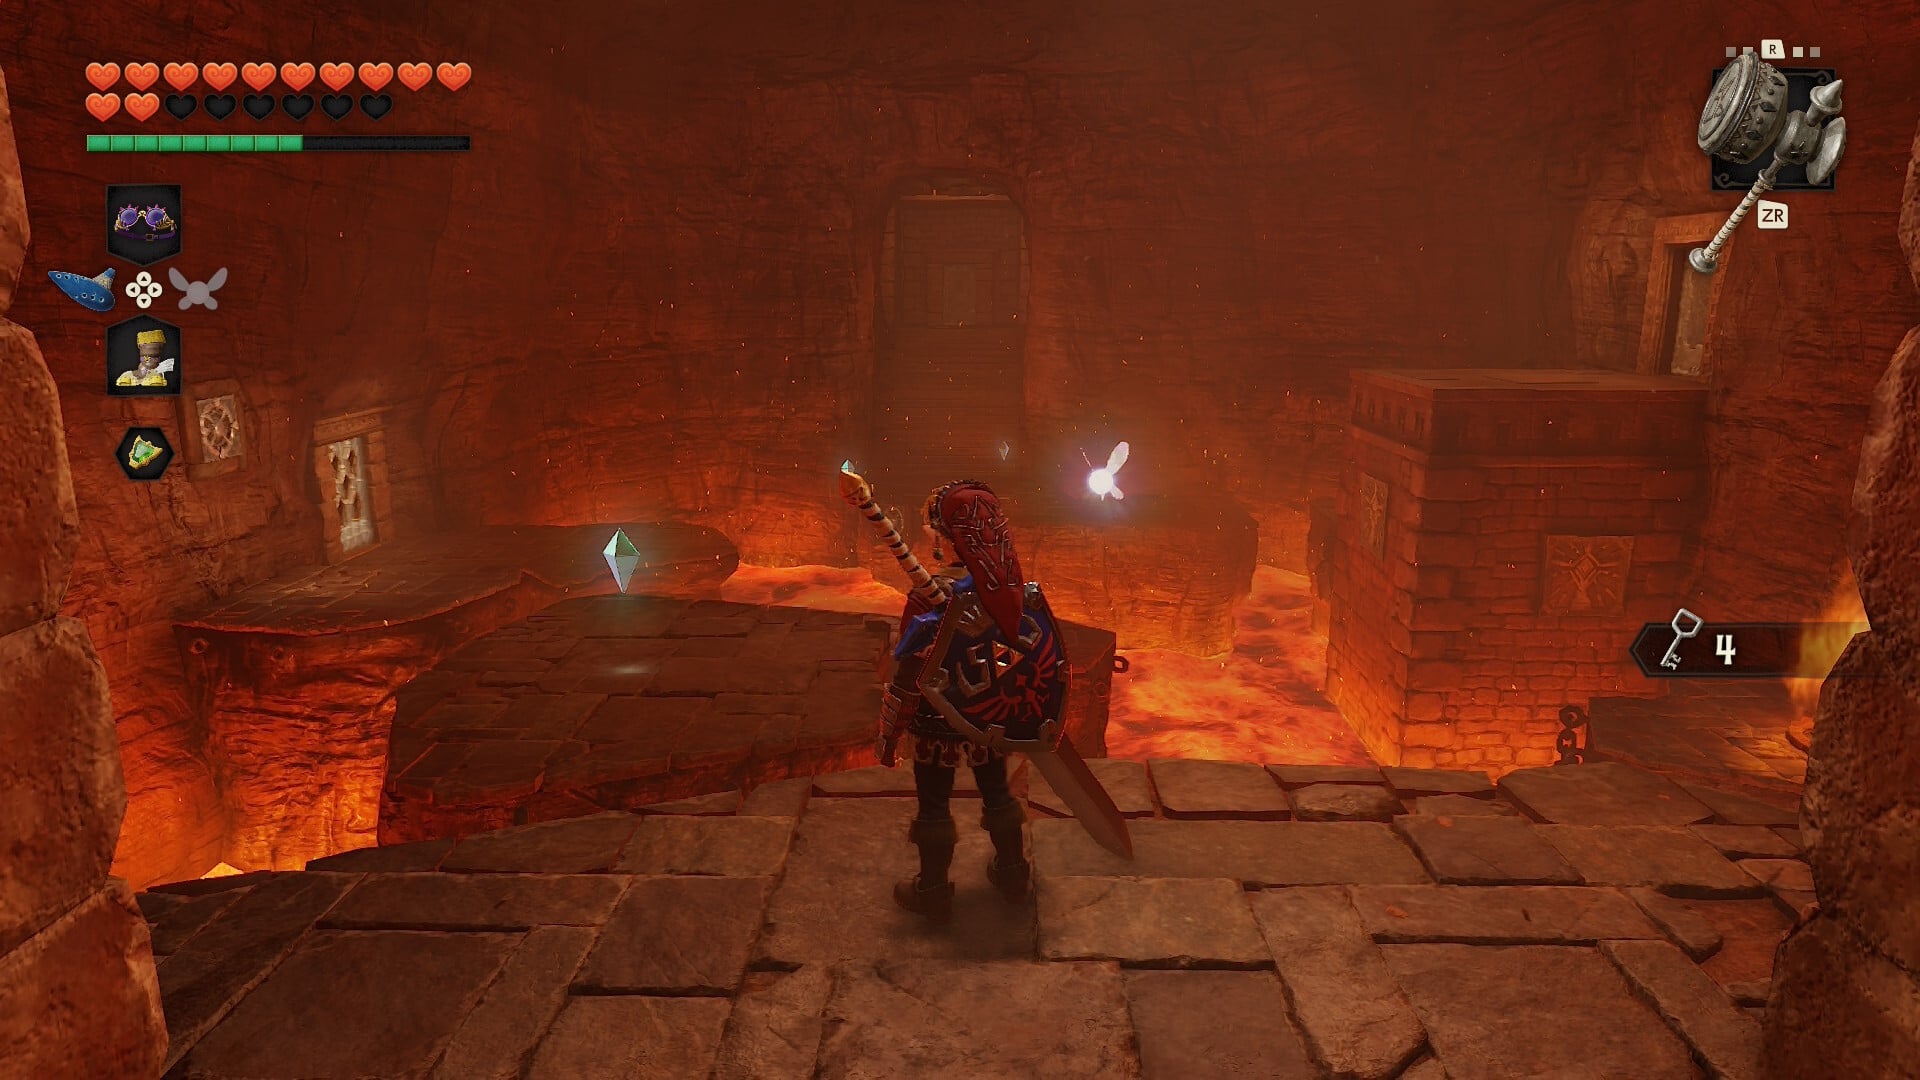
Next up is a room with another set of five silver diamonds to collect before opening the way forward.
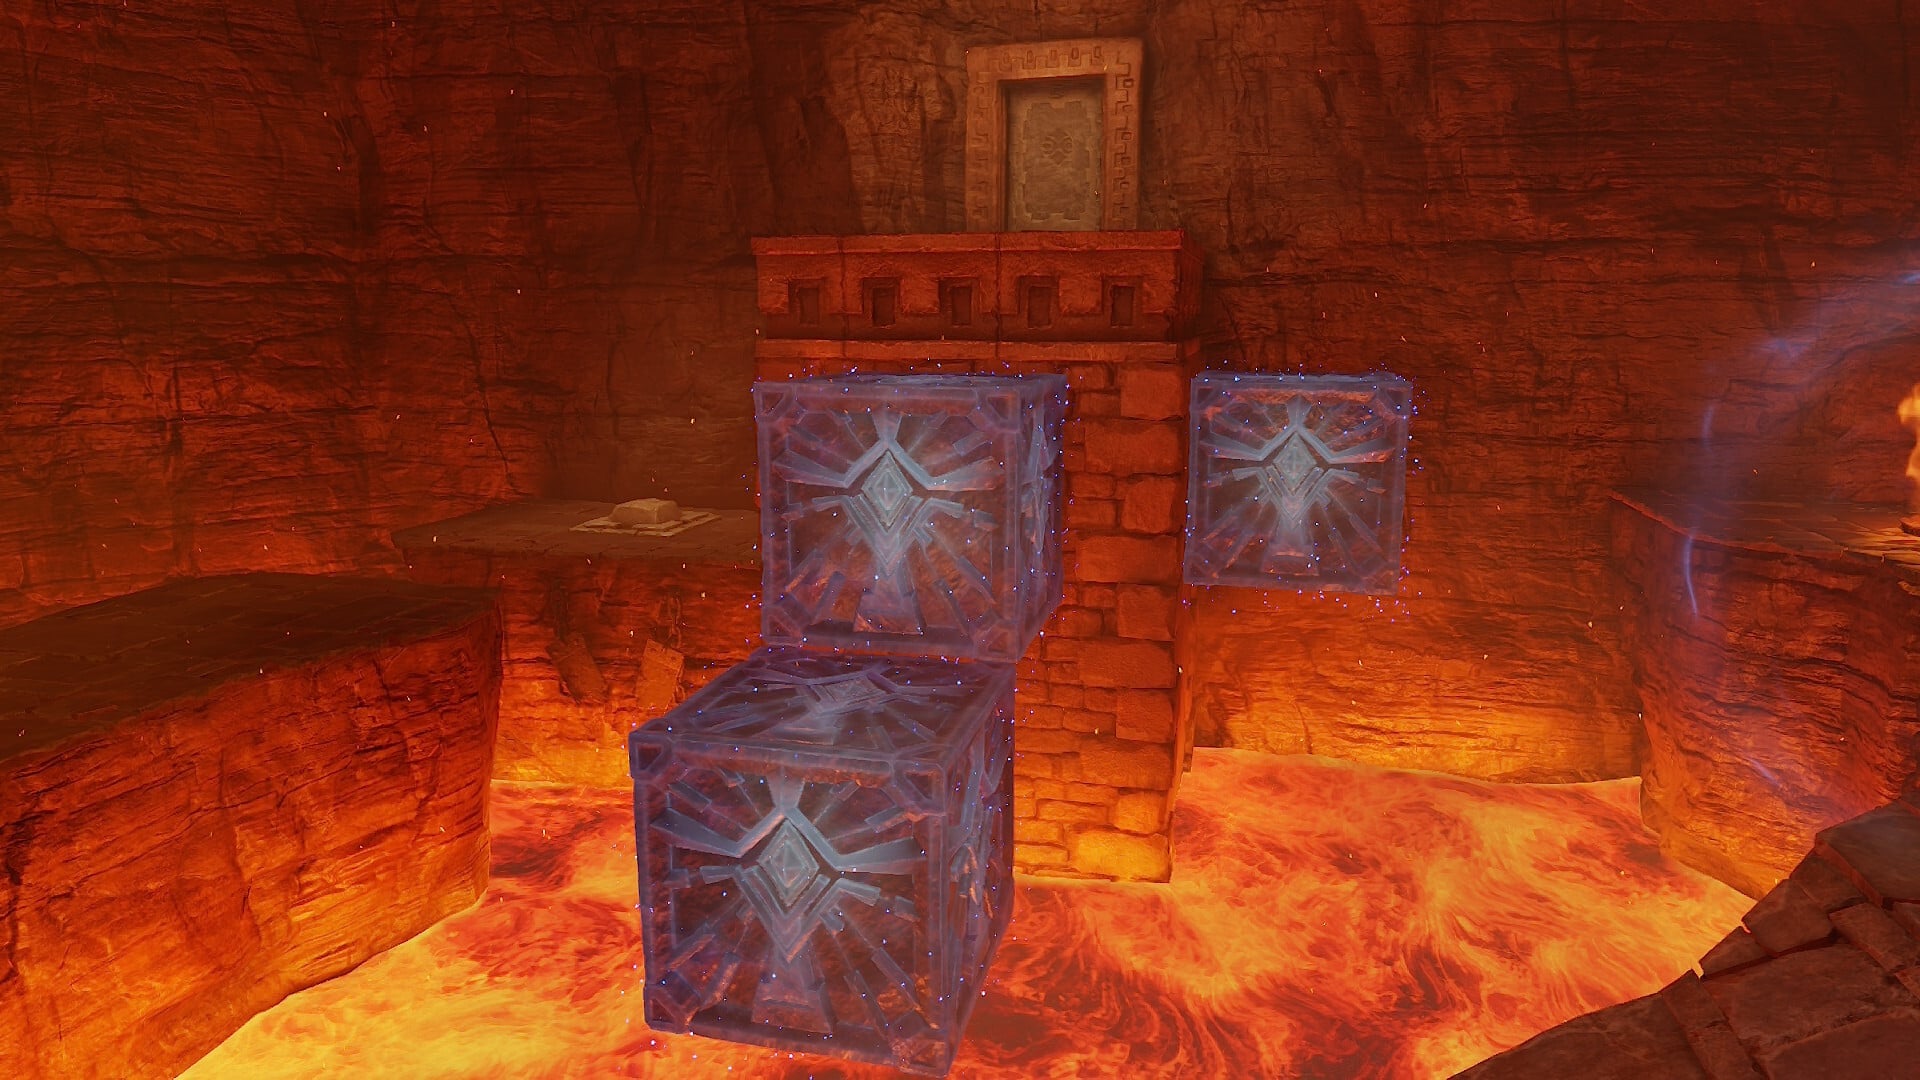
Jump to the middle column and play the Song of Time to reveal three blocks that will help you move around the room. The Hover Boots can help for one of the diamonds, but you can also use the Longshot. Once you’ve got every diamond, continue through the door that opened.
Eighth room – Small Key #5
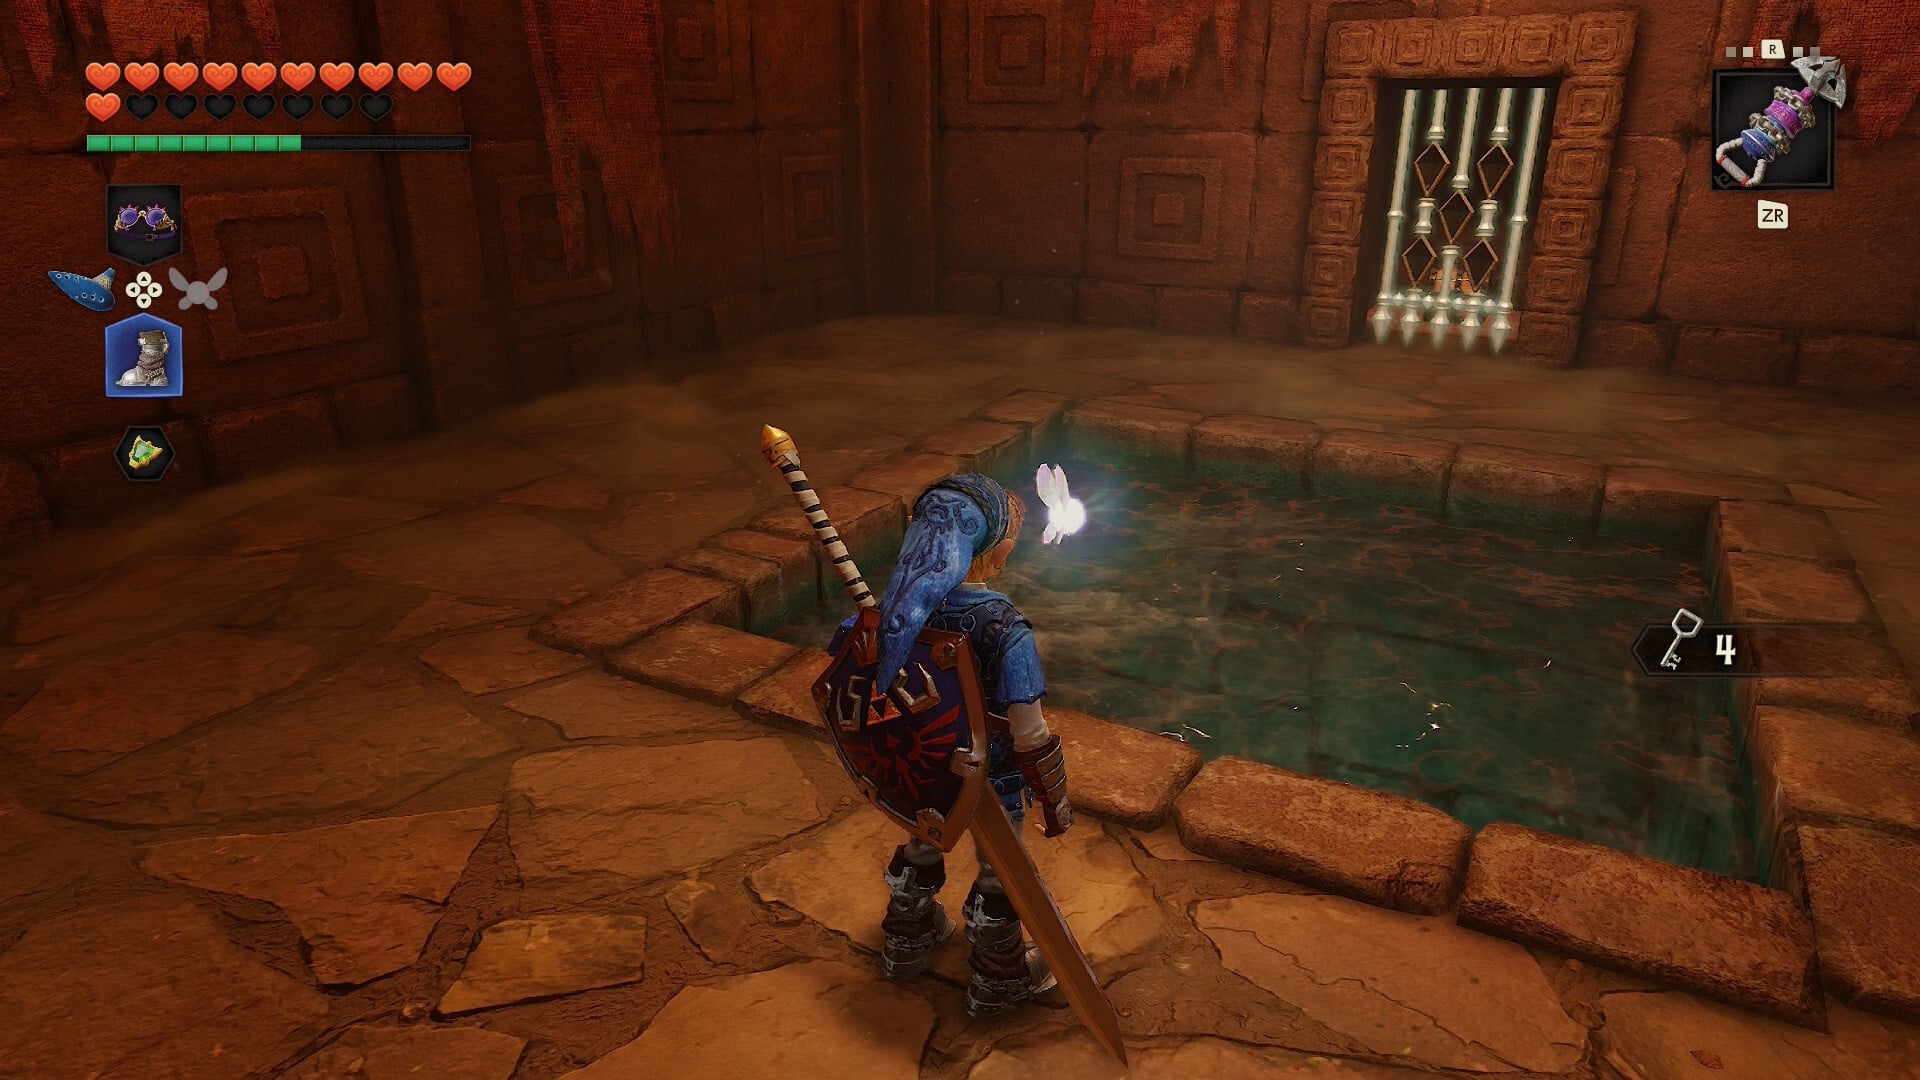
Another room that requires five silver diamonds before the door opens. Play the Song of Time to move the blocks from the floor, revealing a water passage. Use the Zora Tunic and Iron Boots to move down into the square room — you’ll need to use the Longshot to move around the room and collect the five diamonds. Defeating the enemies first will make this easier. This will reveal a Small Key chest, but no path forward. Backtrack into the last lava room, and then use the door on the ledge surrounded by Song of Time blocks.
Ninth room – Small Key #6
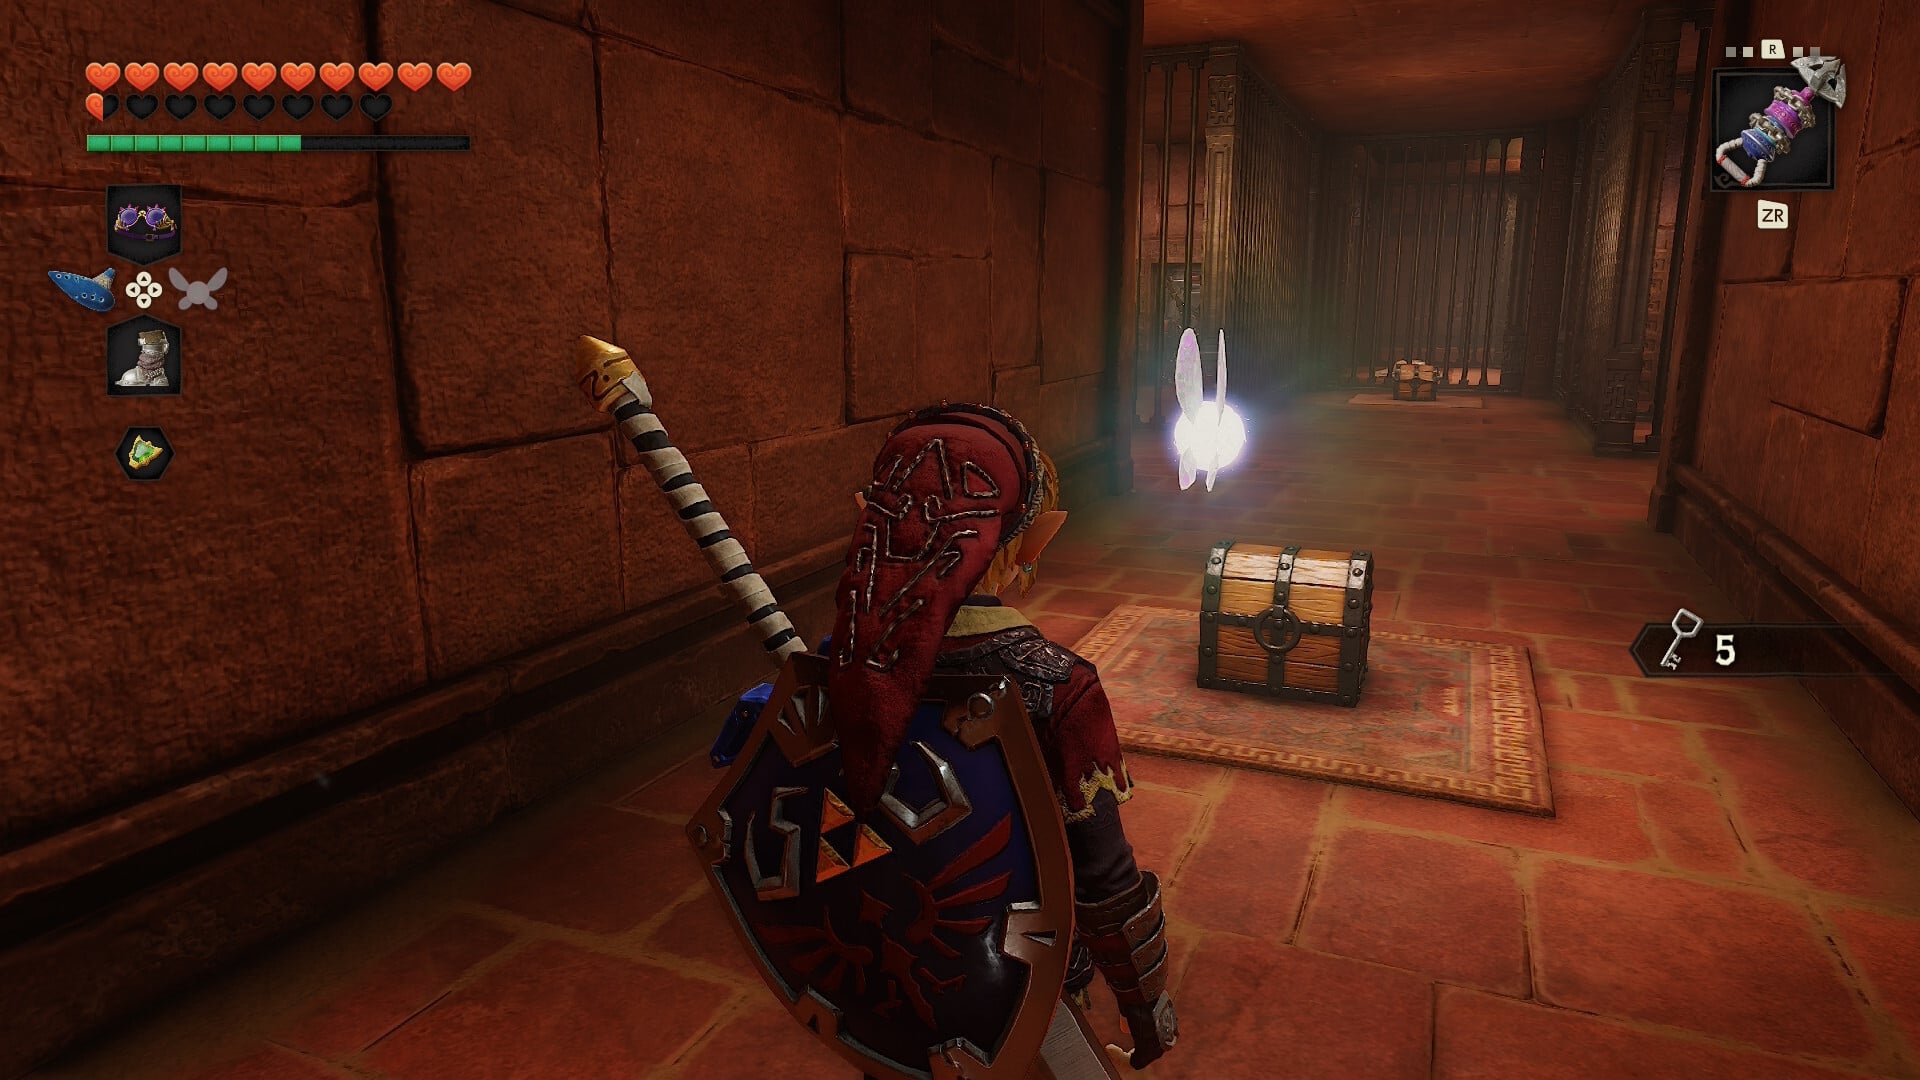
As soon as you enter the door surrounded by Song of Time blocks, you’ll find a Small Key chest — you’ll also find chests with arrows and bombchus in here. There’s a door you can unlock with a Small Key, but let’s ignore it for now. Return to the last lava room, and use the door on the right side to exit.
Tenth room – Small Key #7
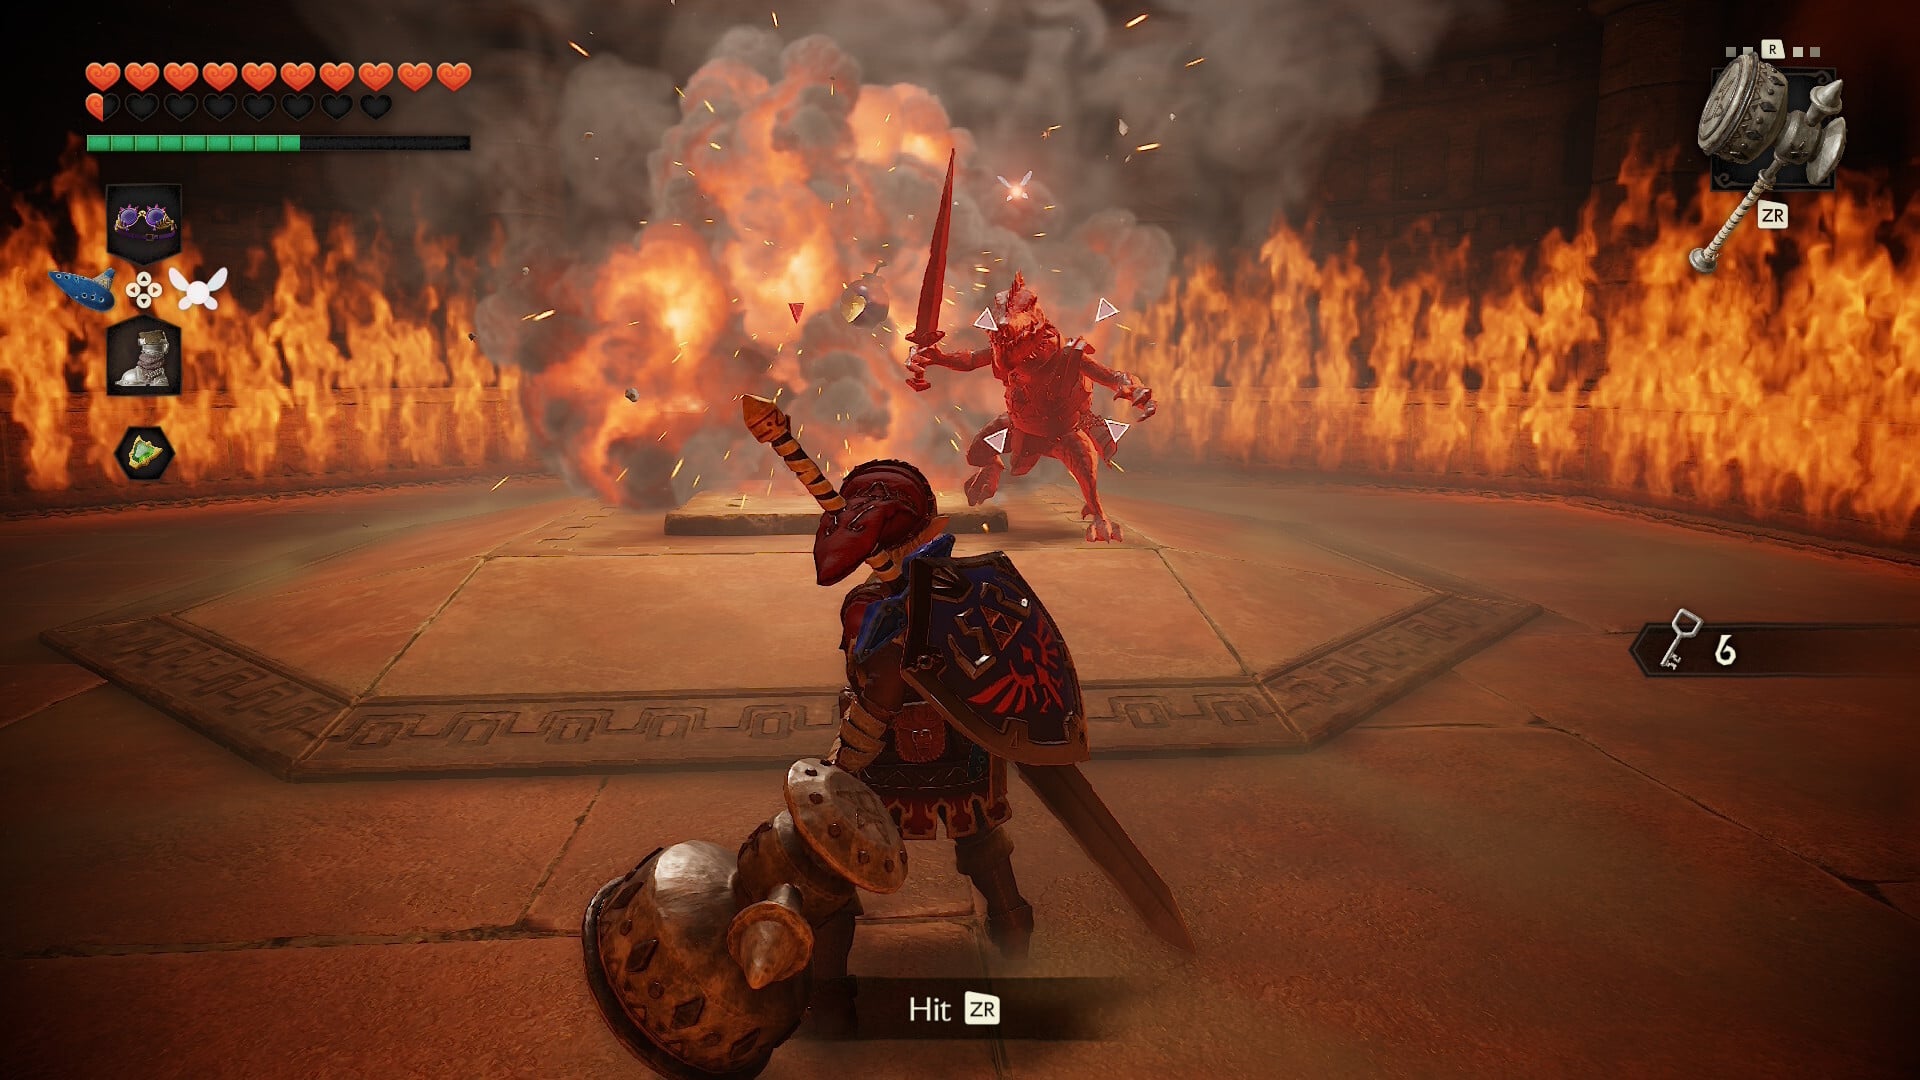
You’ll be locked in a fiery room with a pair of Dinolfos and a Beamos. Taking the Beamos out first with the Megaton Hammer will make this easier. A Small Key chest will appear once the enemies are down.
Exiting the tenth room will take you all the way around to the right side entrance in the main lobby. You just lapped the entire dungeon. Now it’s time to spend your Small Keys.
Small Key maze – Small Key #8
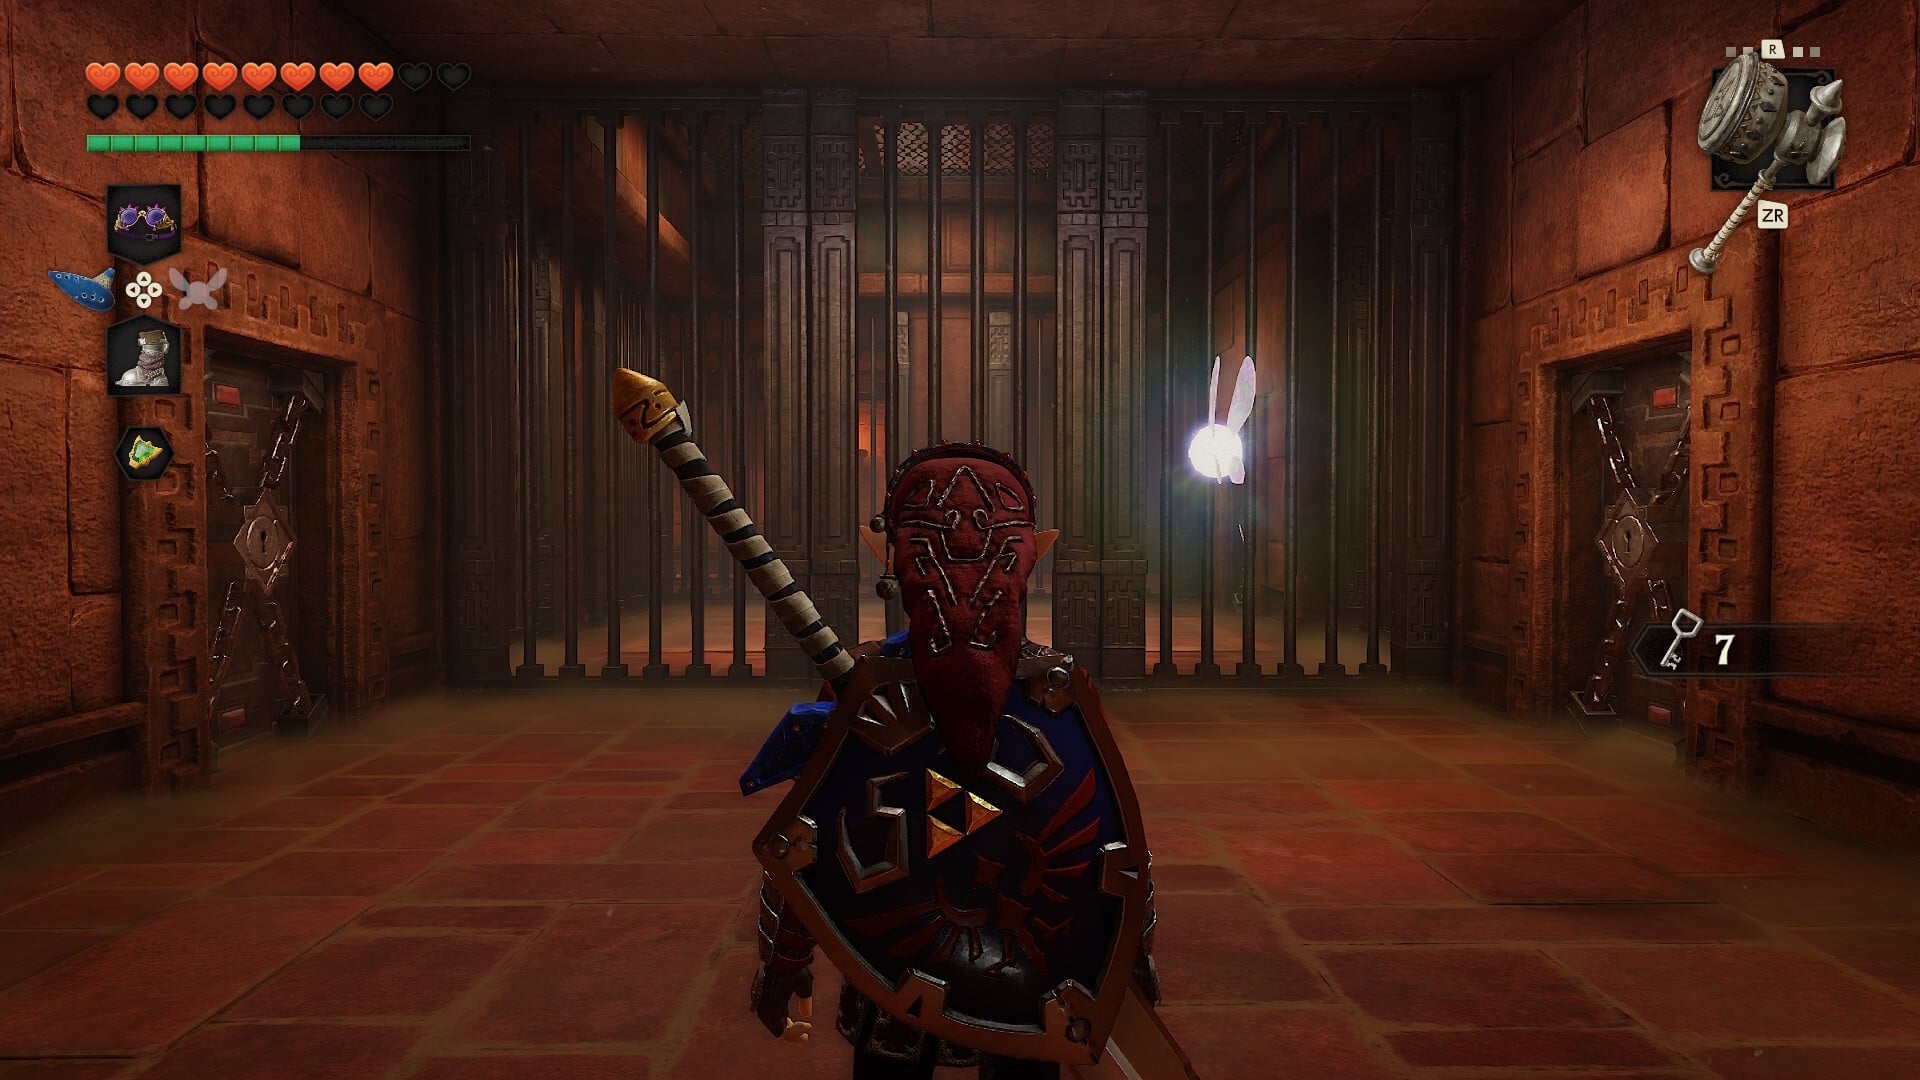
Go through the center path from the main lobby, and you’ll enter the Small Key maze, which you will have glimpsed from other rooms already. Head inside, and take the left door.
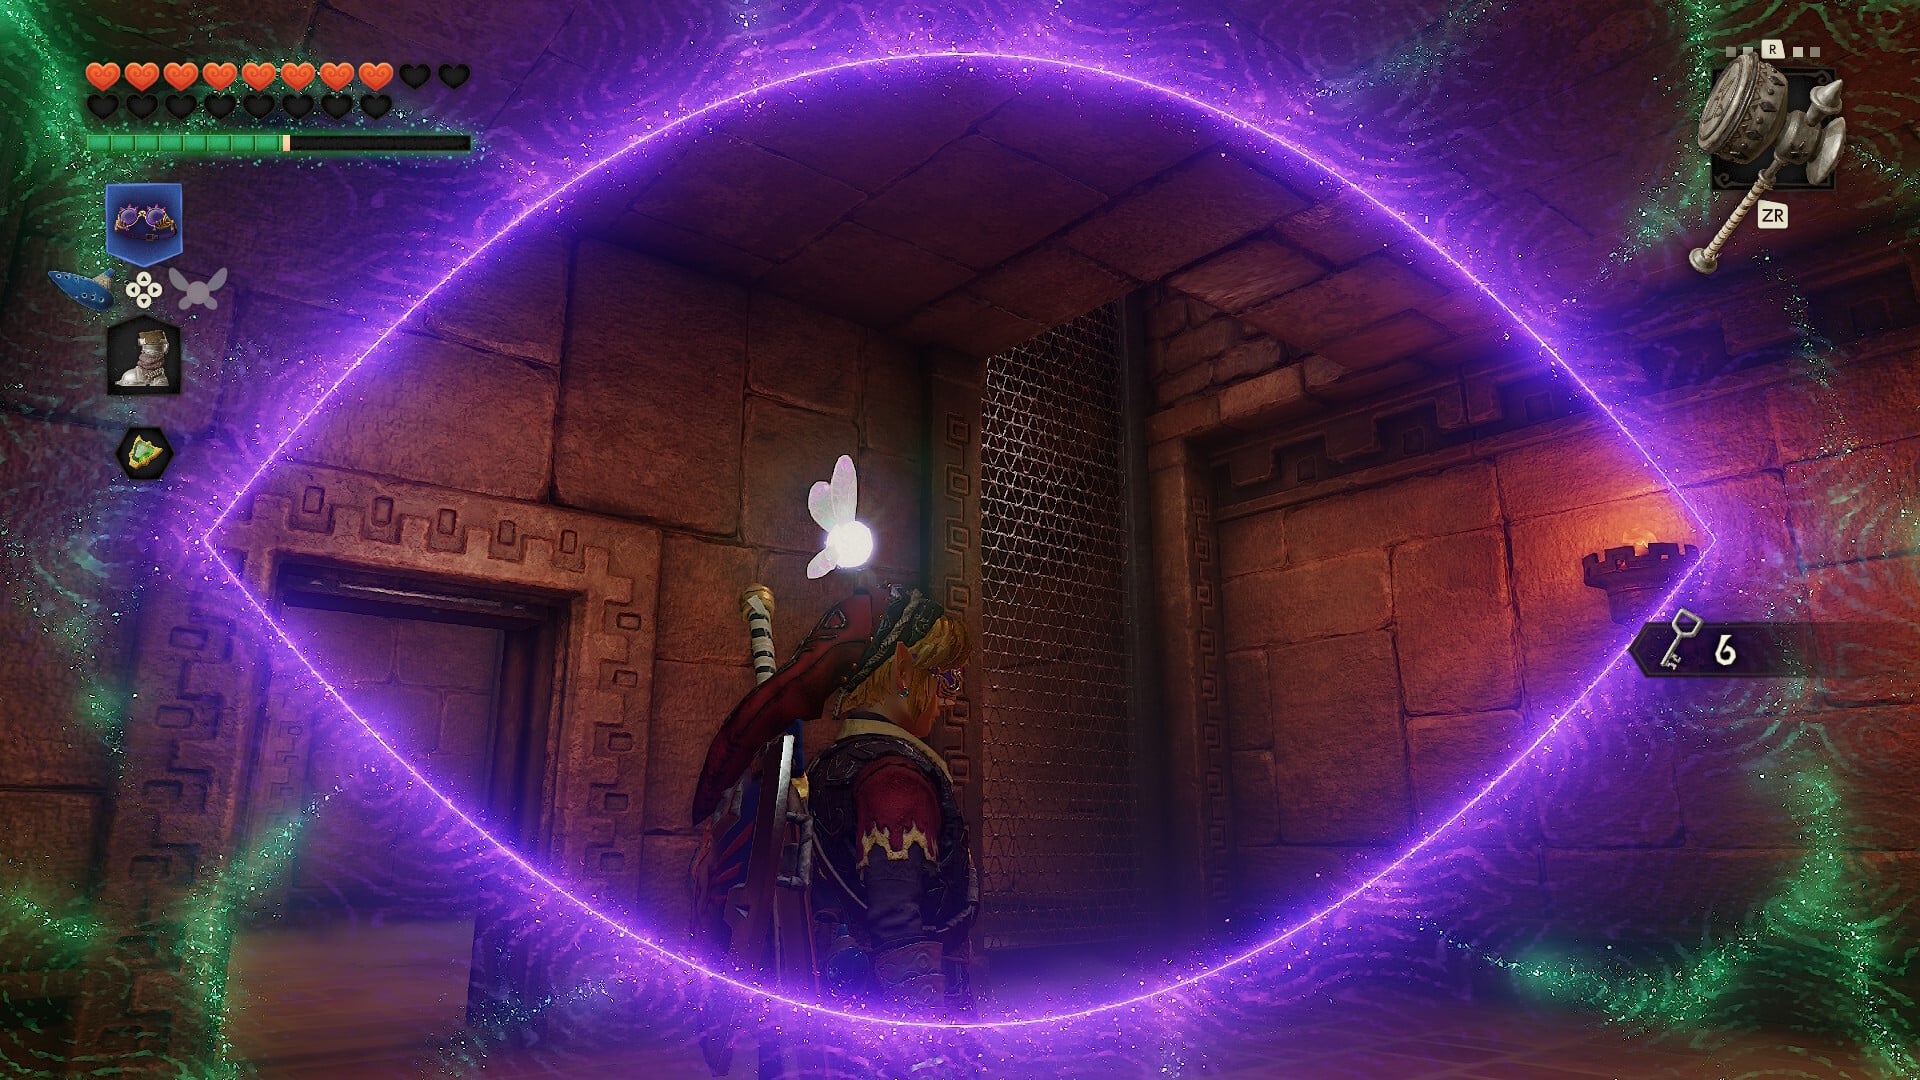
Through the one Small Key door, look at the grate you can climb and use the Lenses of Truth to look up and reveal a hole in the ceiling.
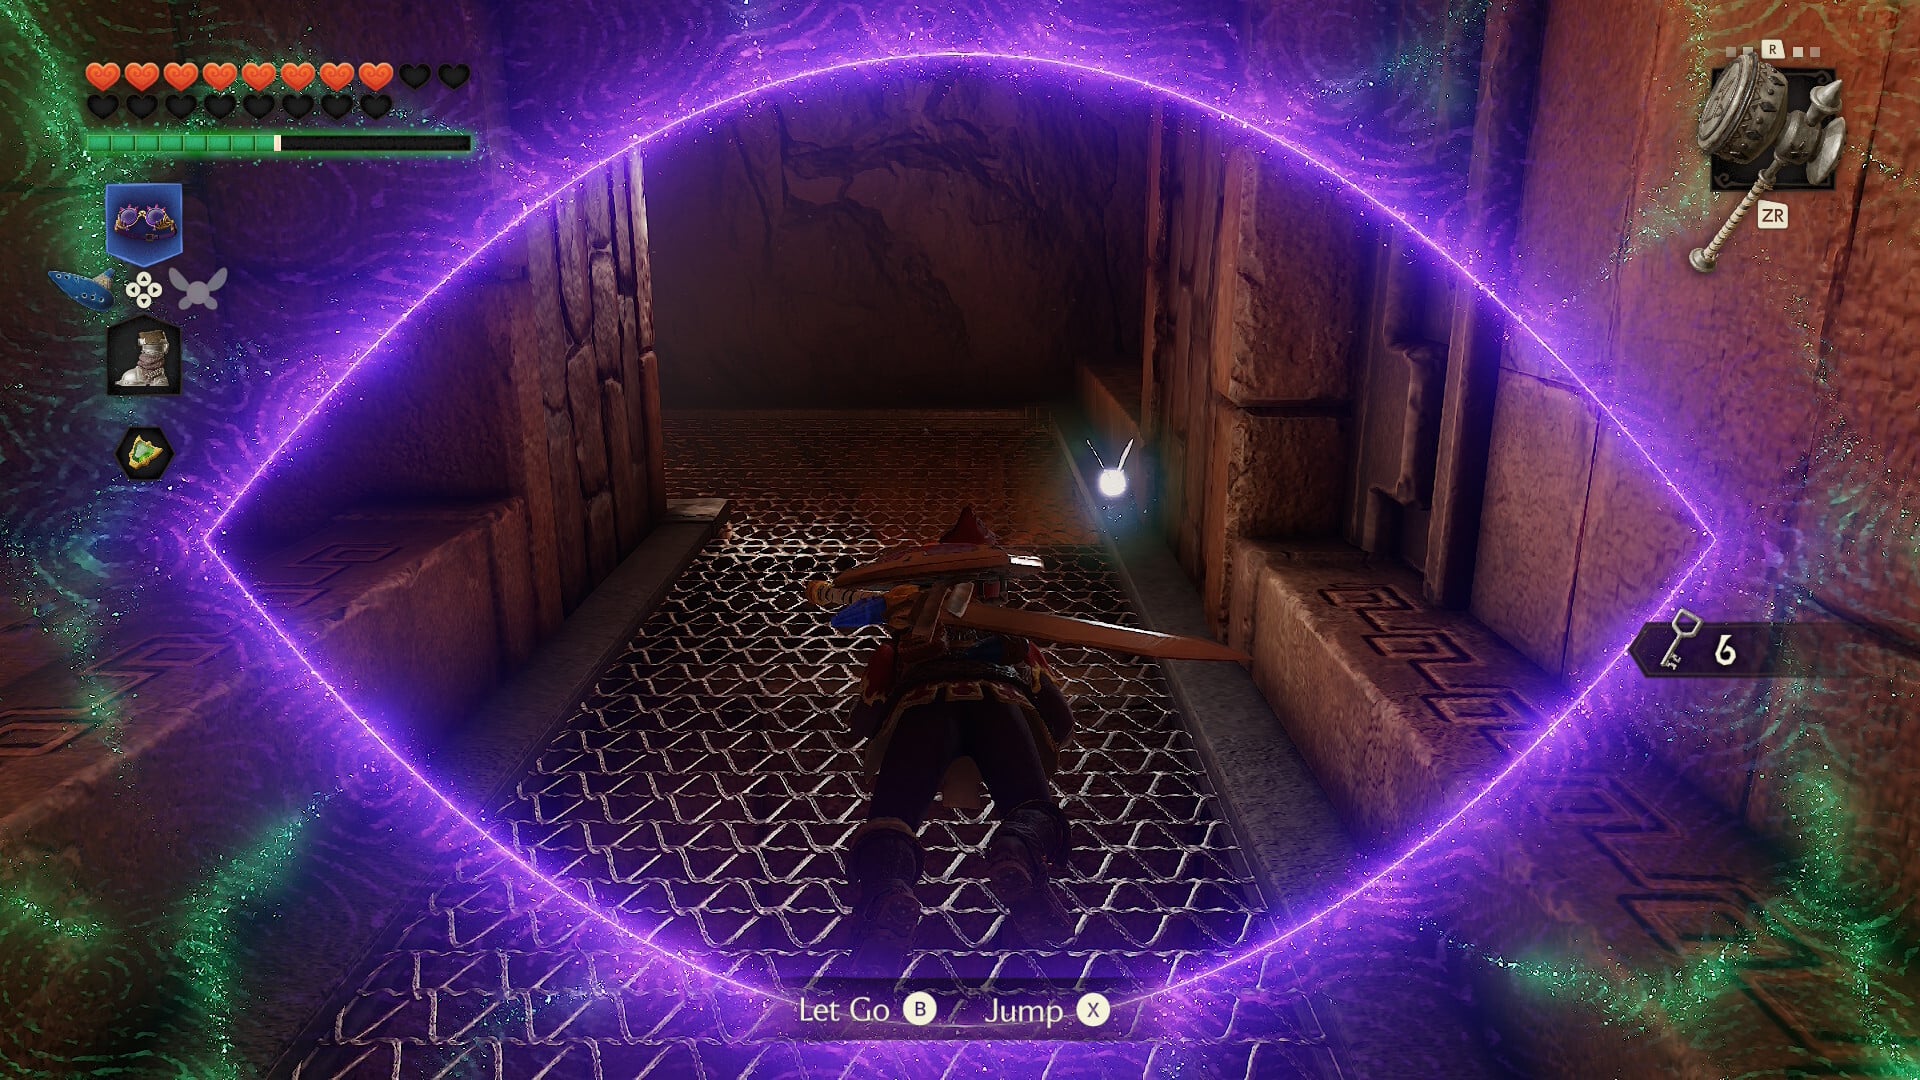
You’ll find the Small Key chest you glimpsed from the fifth room.
Gerudo Proving Grounds rewards – OOT Remake
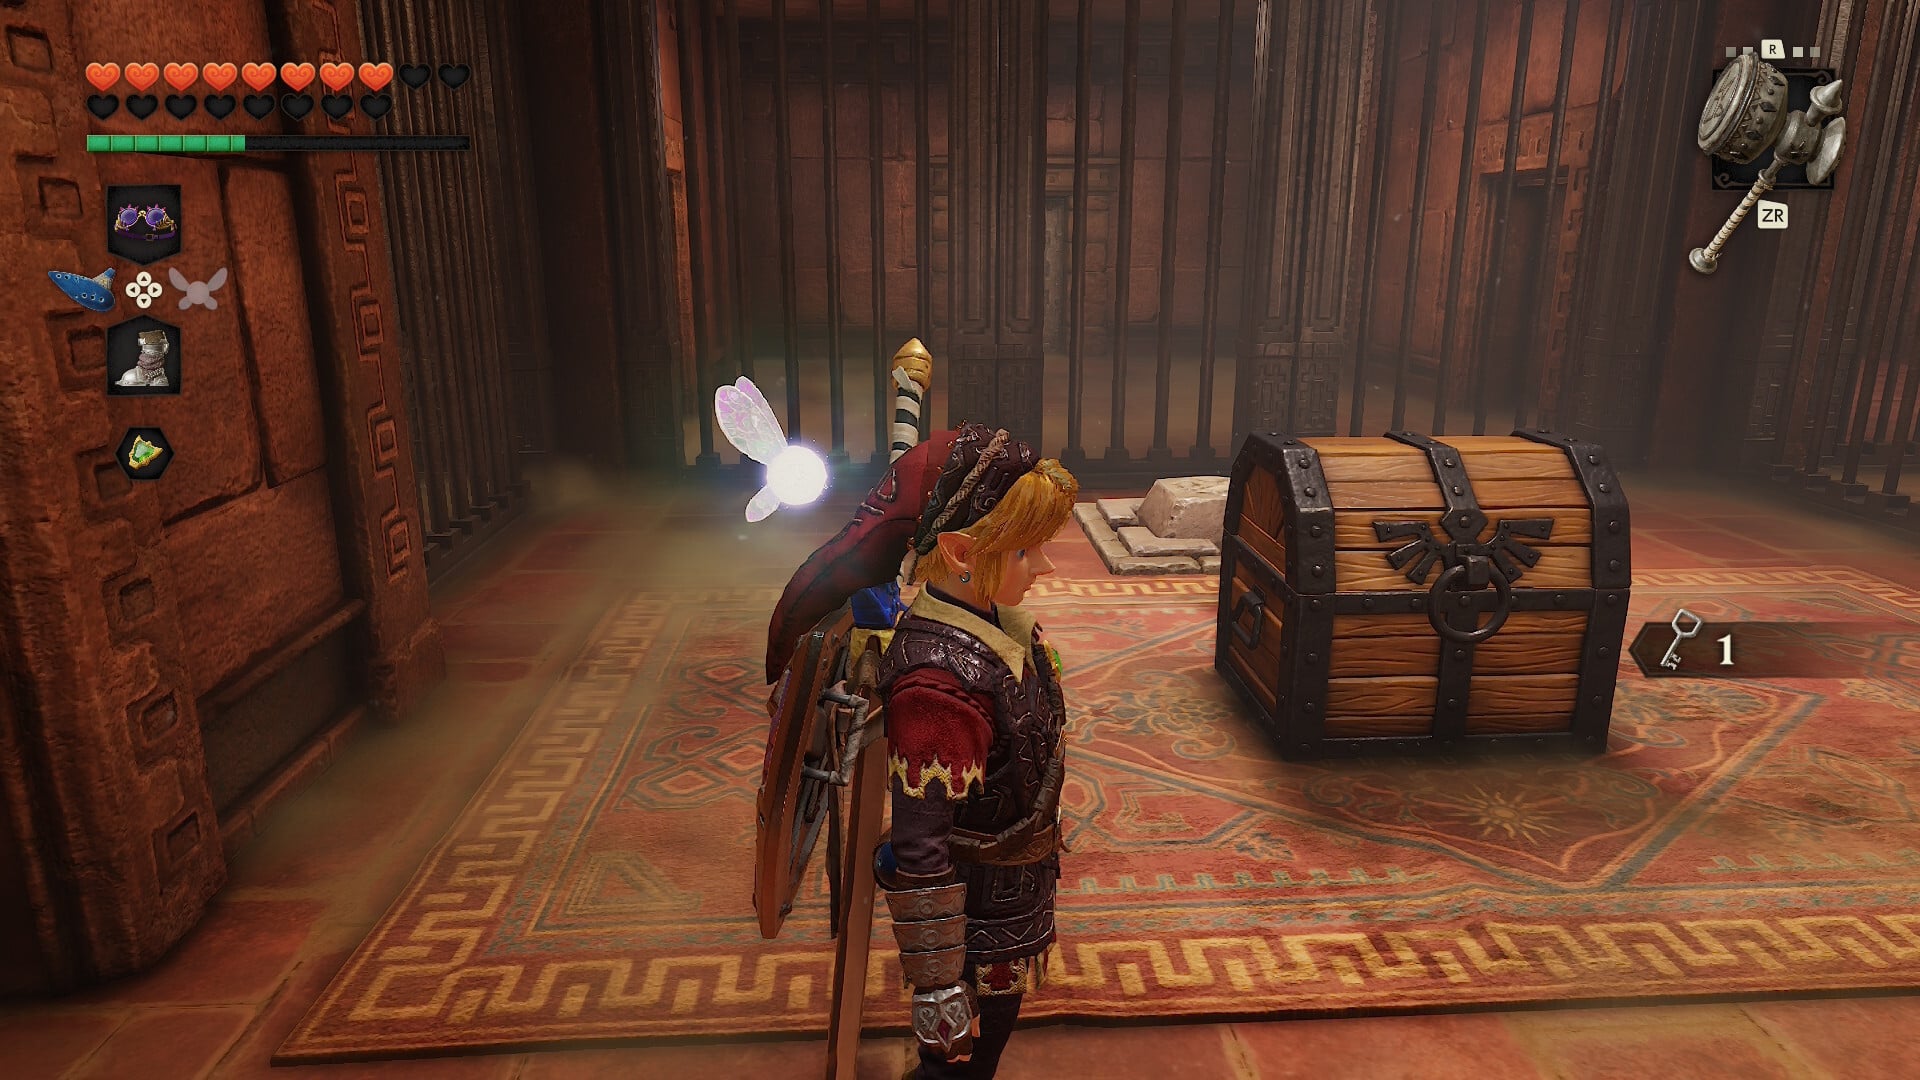
Go back down, and open the Small Key doors on the left path until you spend seven in total. You will reach the large chest in the center of the maze. Inside, you’ll earn the incredibly rare Ice Arrow.
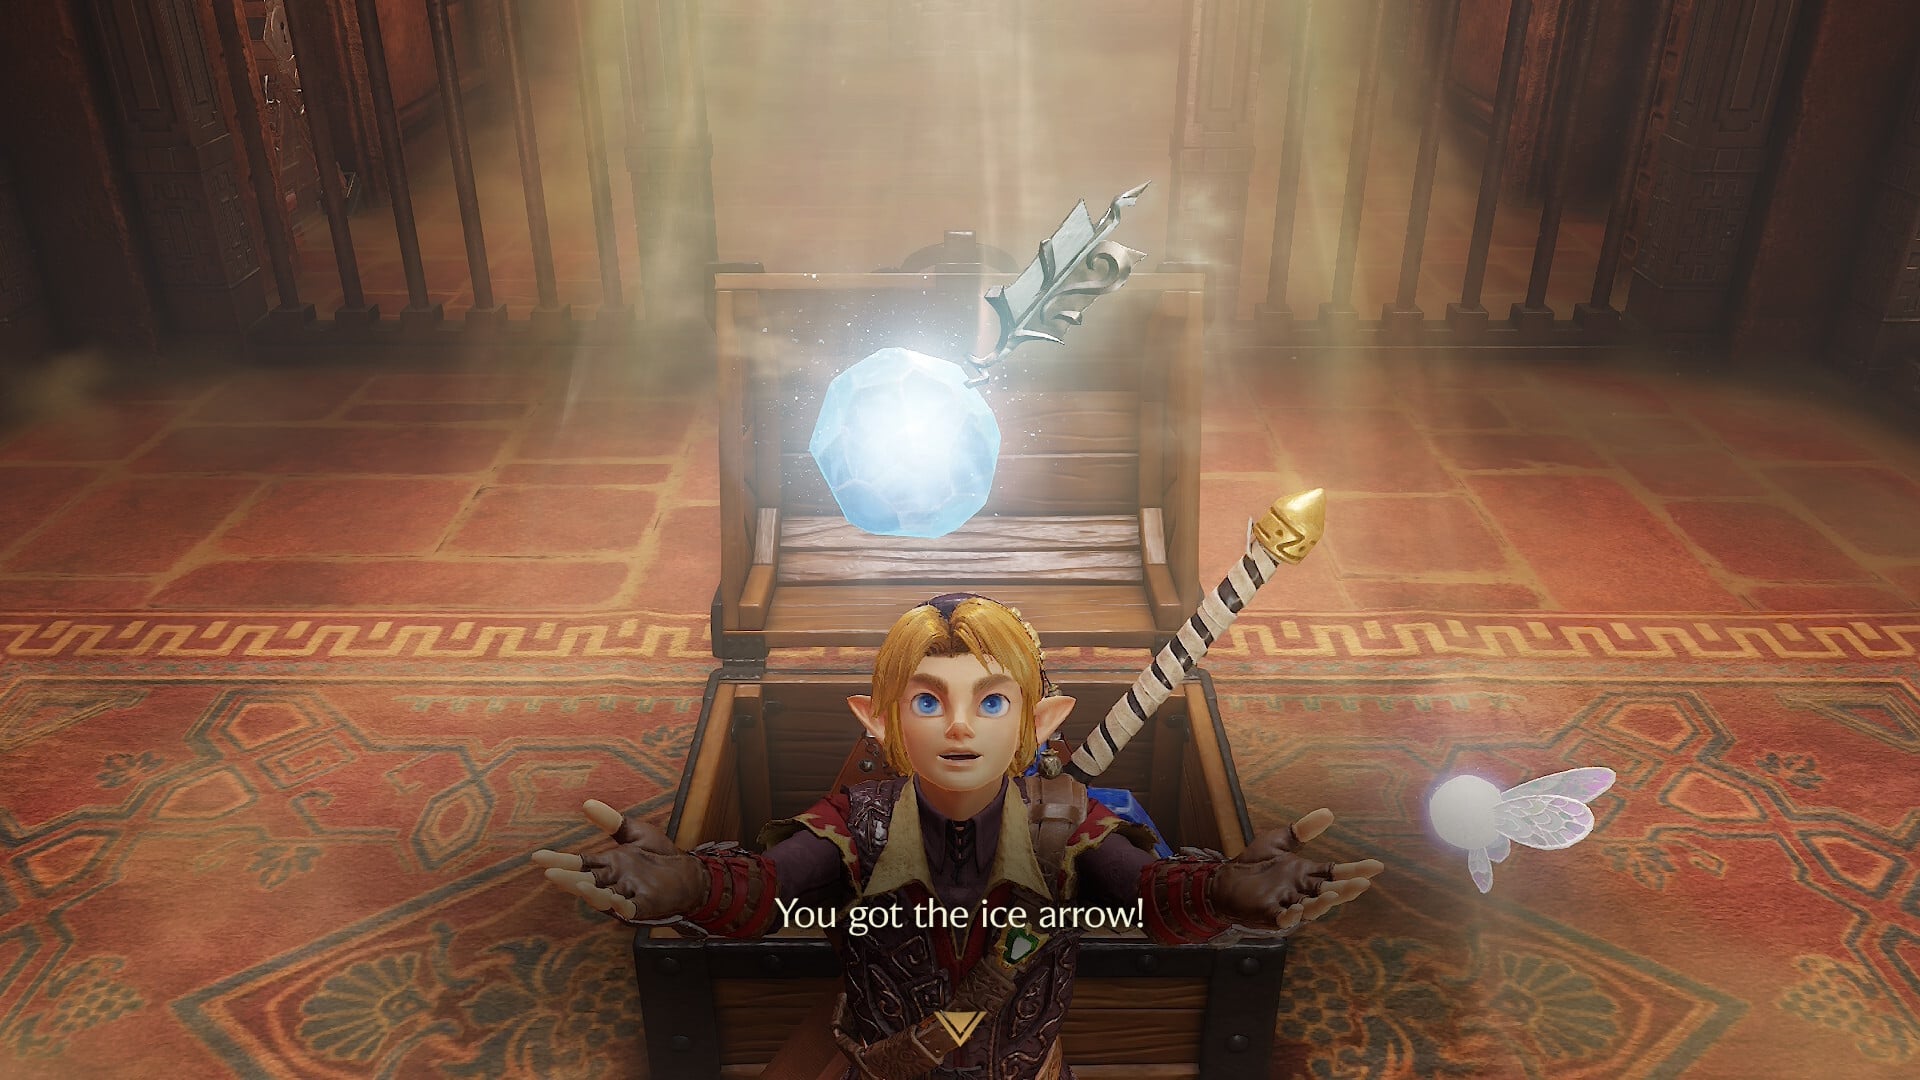
You’ll have a Small Key leftover, but you don’t need to worry about that, as you will have already earned all the rewards possible by following this guide.
You can go back to that Silver Gauntlet block and go through the previously locked door, but as said above, you already have all possible rewards, and can easily get around the single locked door that remains.