Silent Hill Townfall: Ordell blood bag transfusion door puzzle solution
Find out which blood bags and blood types are needed for the ‘Ordell’ door puzzle in Silent Hill Townfall
The blood bag transfusion door puzzle in Silent Hill Townfall is one of the longest ones in the game, and ends with a bit of a head-scratcher.
Not only do you have to find five different blood bags, you have to do it while avoiding The Weight, the most annoying enemy in the game by a mile.
Then you have to figure out where to put all the blood bags, and finally you have to solve a confusing blood type puzzle to open the large final door.
Luckily, we’ve got the full solution for you. It won’t make dealing with The Weight any less frustrating, but it’ll at least give you the shortest route to the solution so you can deal with him as little as possible.
Collecting the blood bags
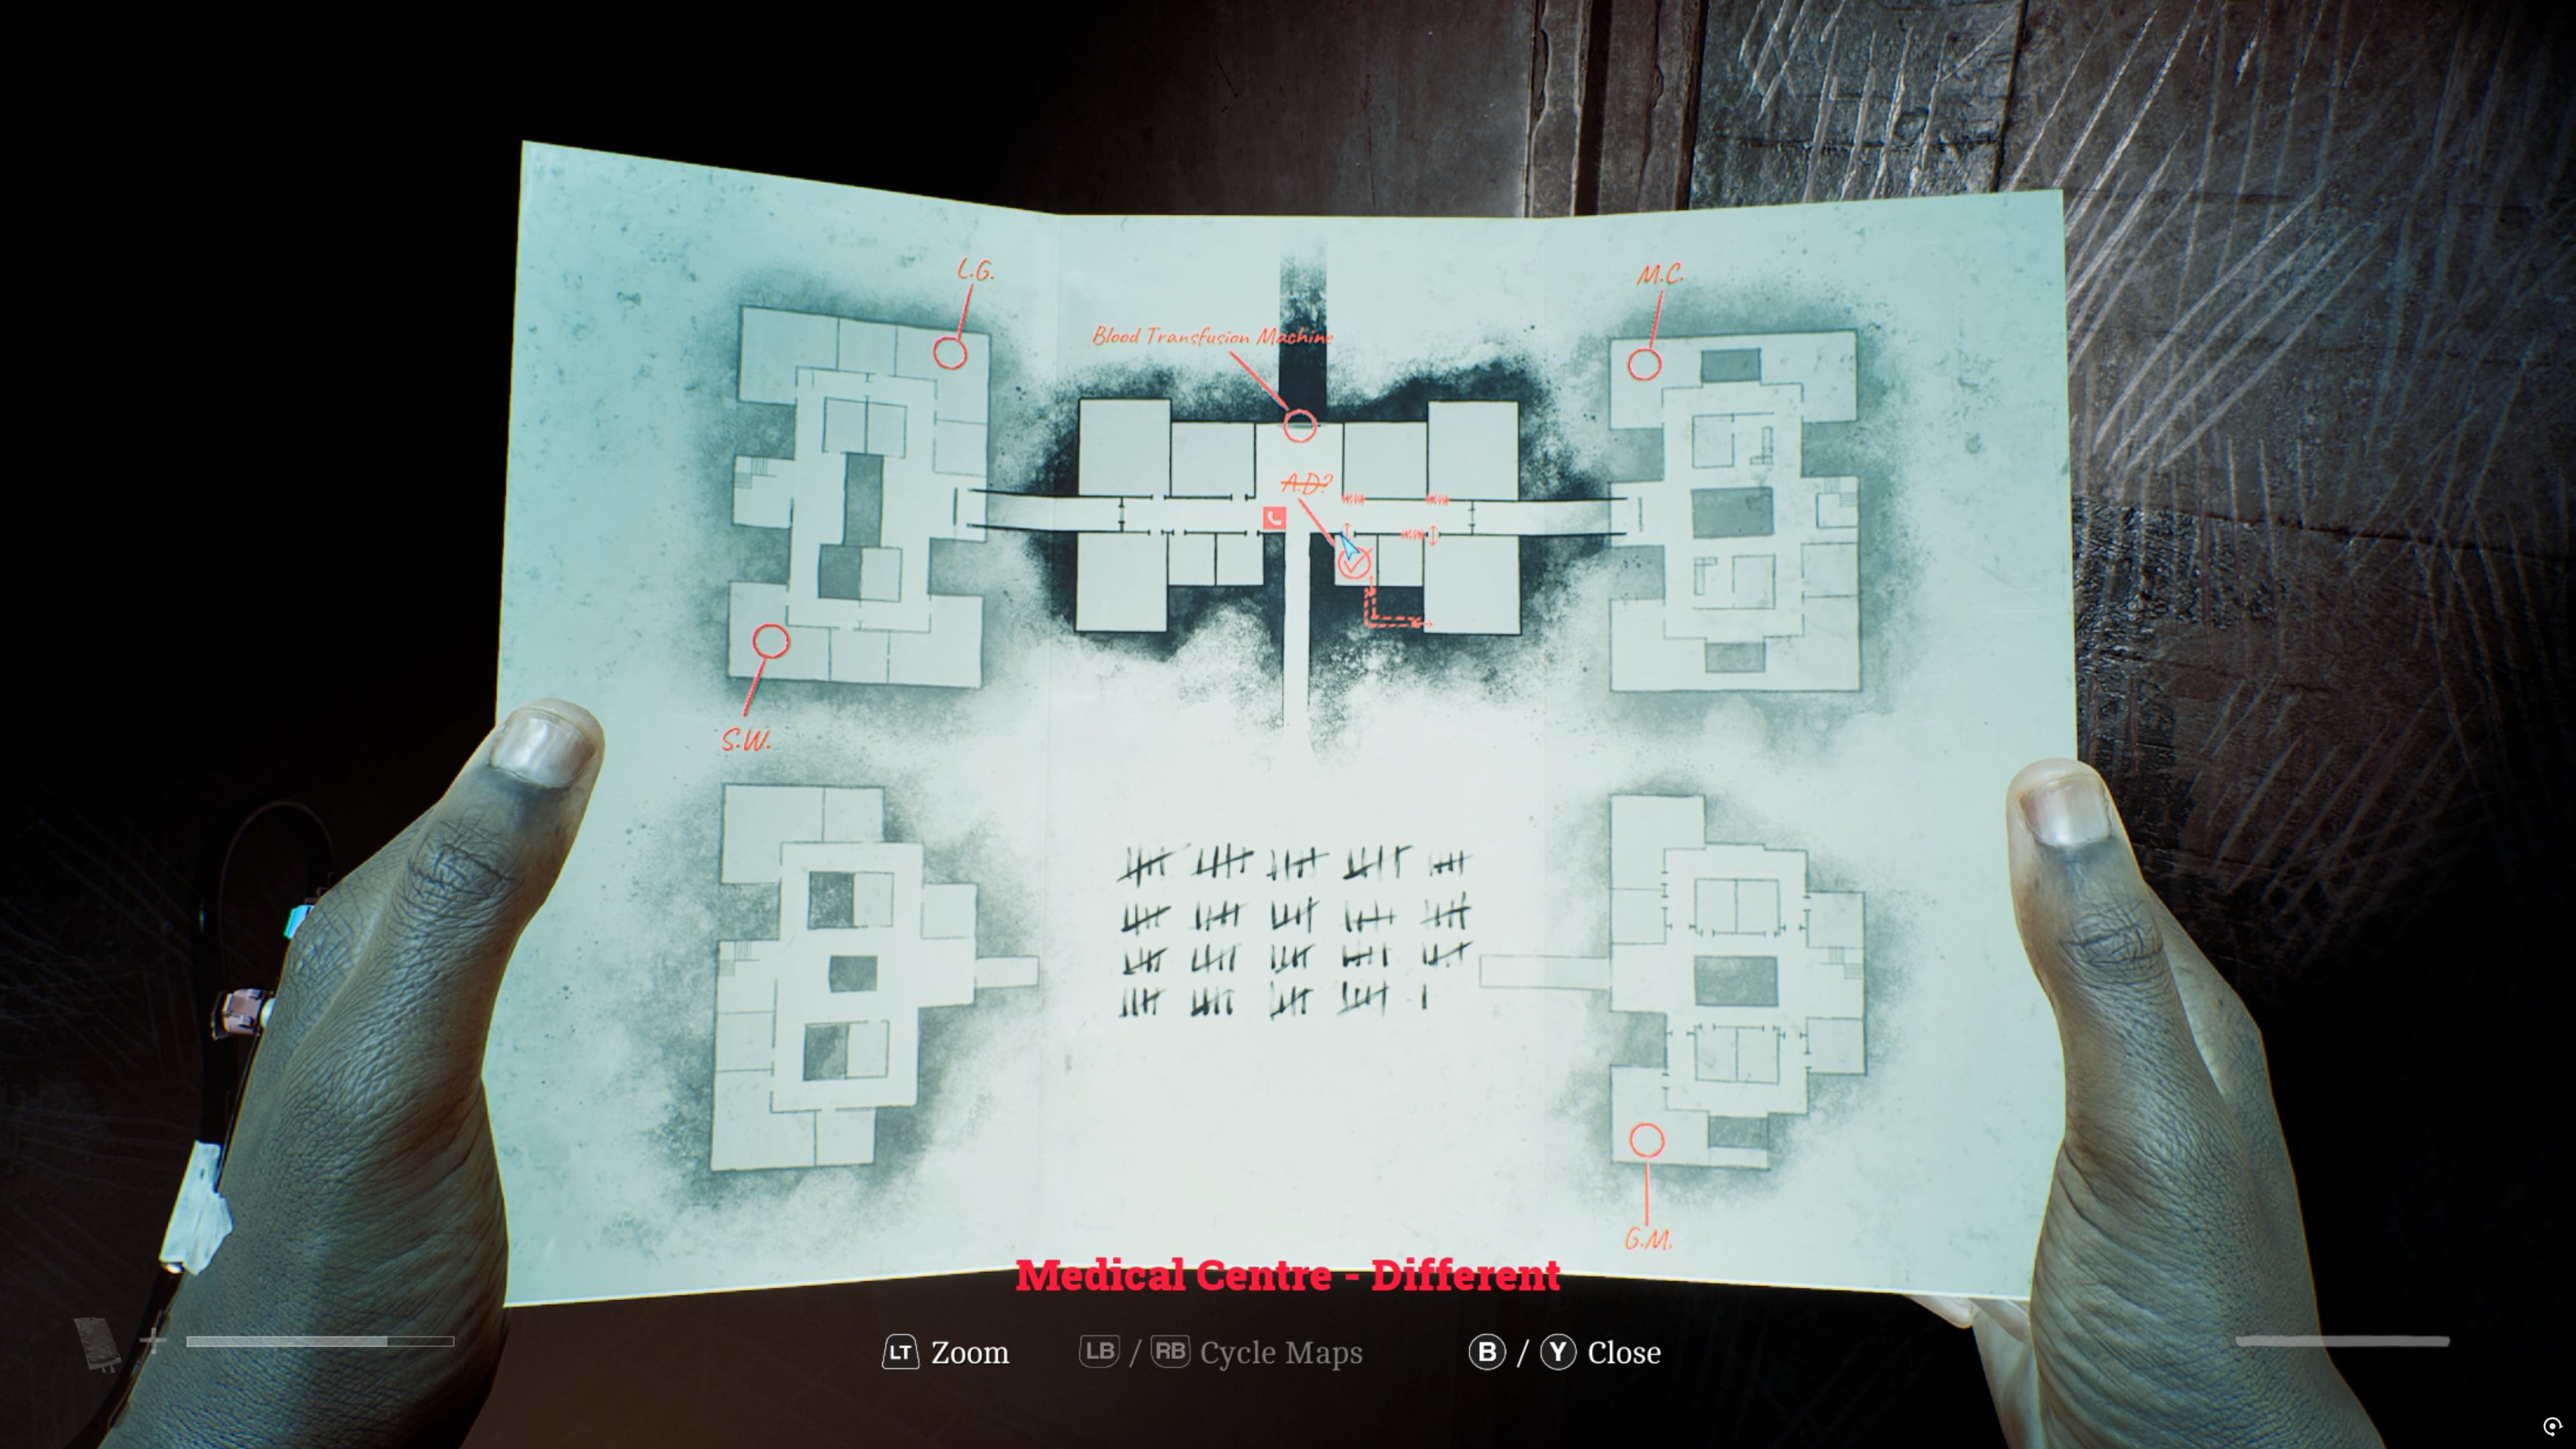
When you first find yourself in the Different world (after solving The Patient puzzle), you’ll make your way through a fairly linear section before coming to a large, open room with a map sitting on a counter.
This can be a very confusing section, not least because of the regular instant deaths that may be about to happen, so I’ve made an edited version of the map showing the exact order you need to visit each room.
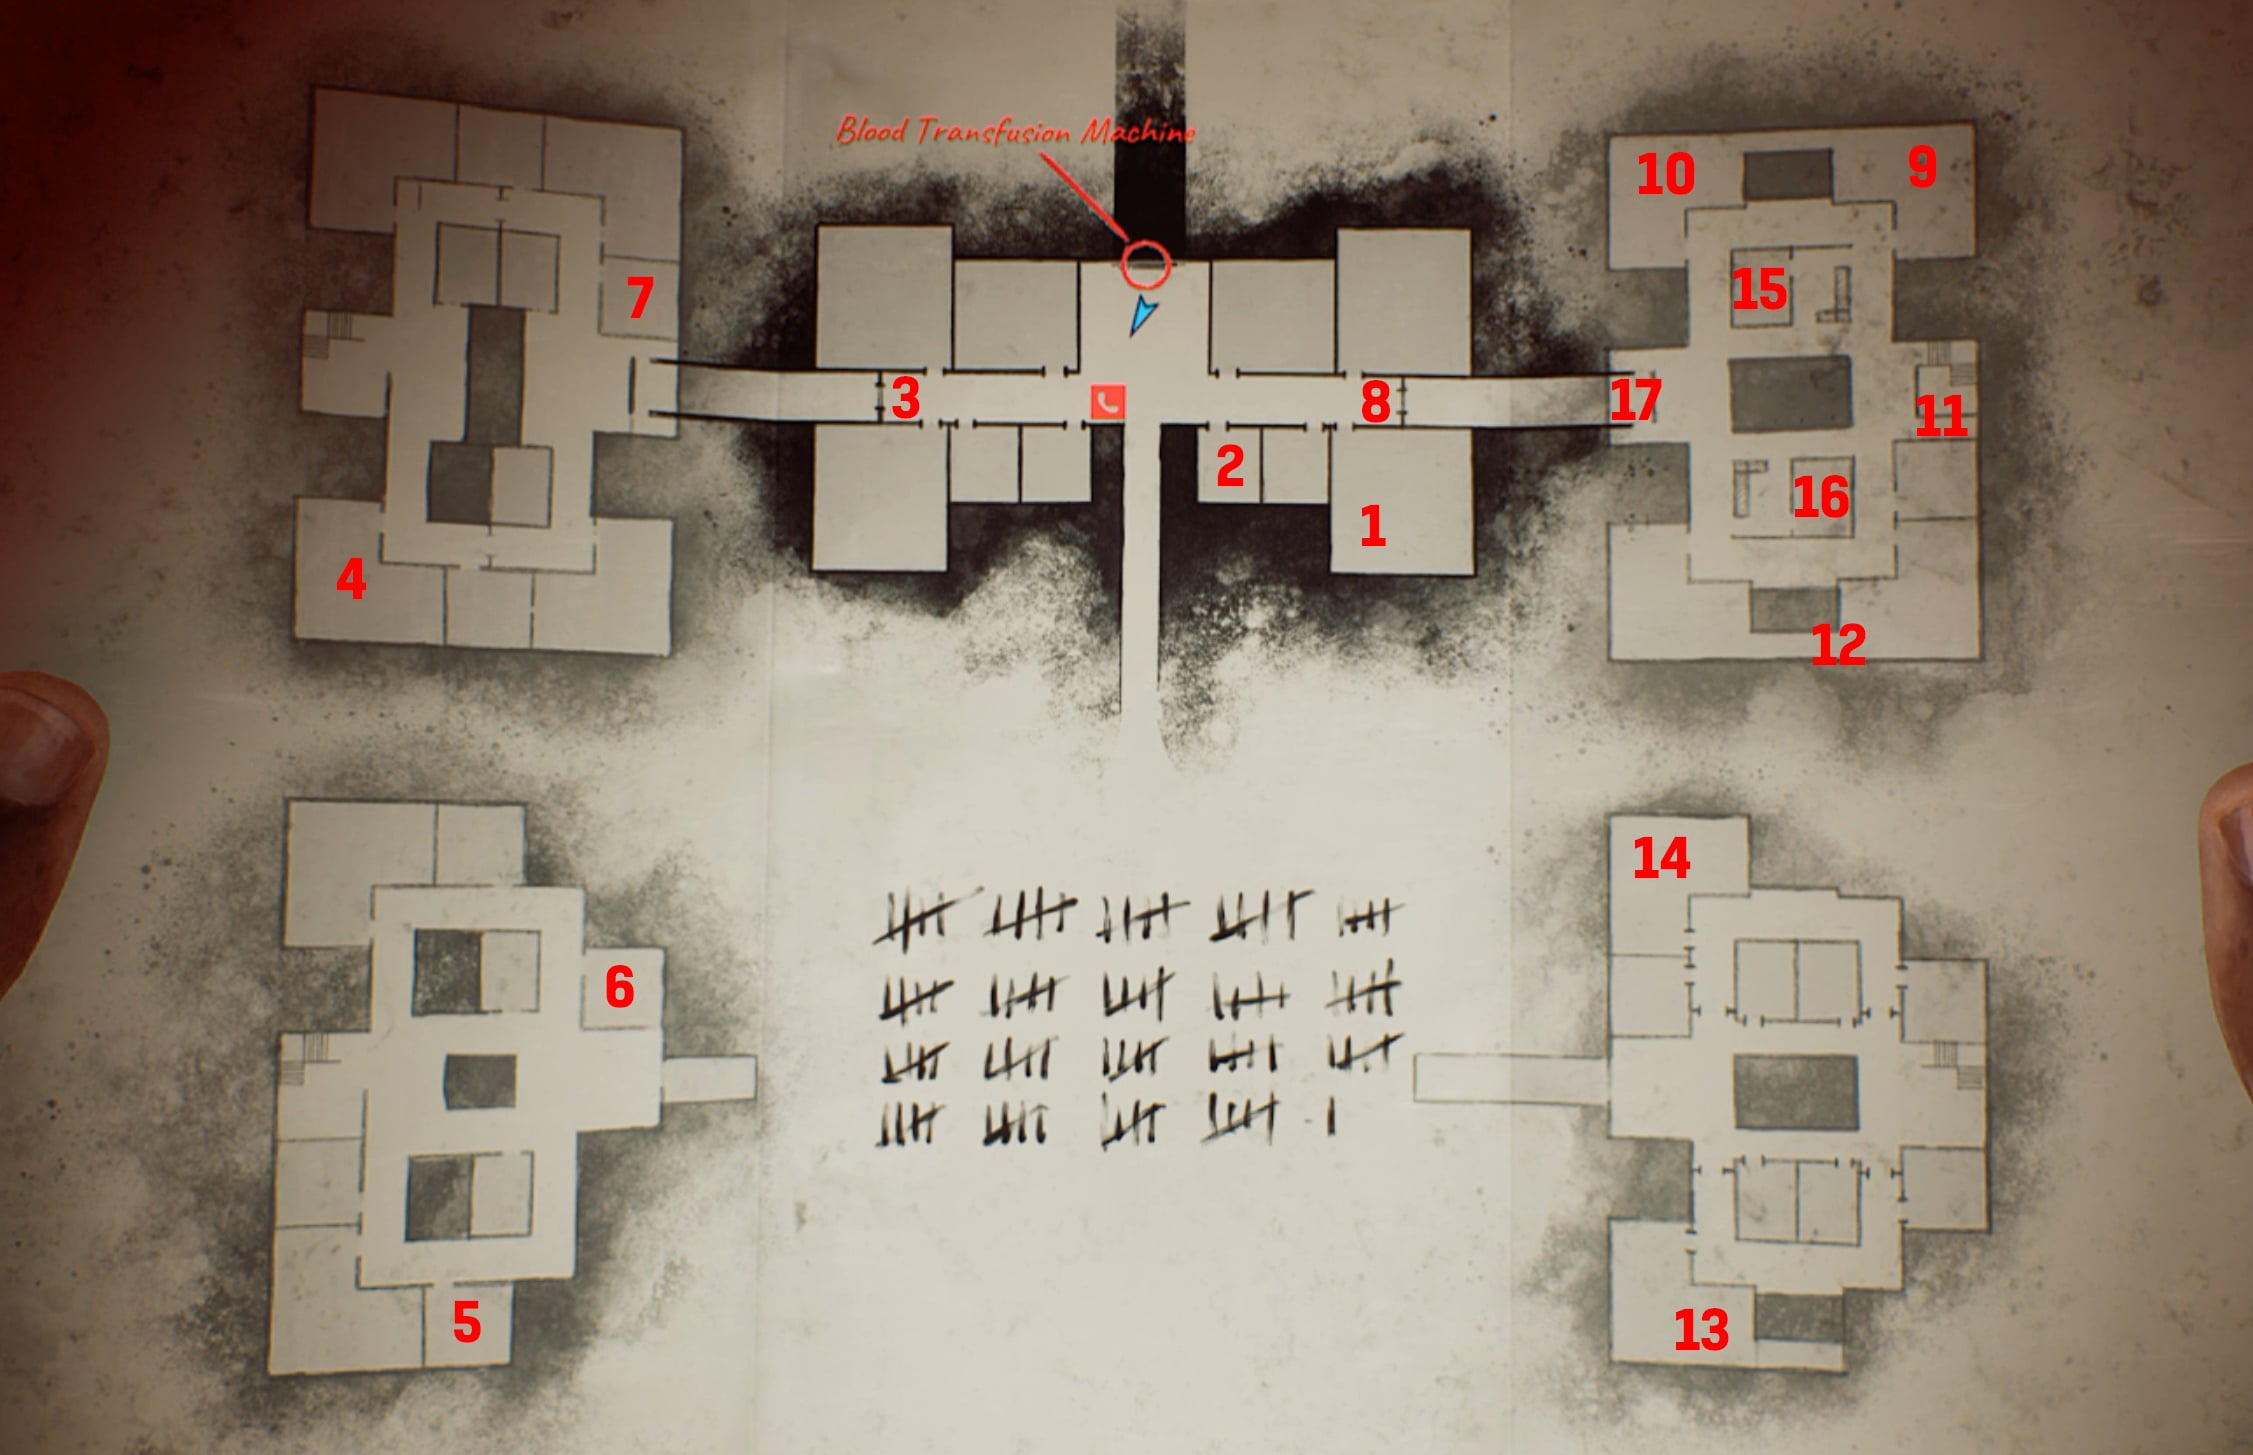
Each step will be explained in detail below, the above is just a reference for where you need to be.
So, the first thing you need to do is go down the right-hand corridor, enter the last door at the bottom (which is Step 1 on the above diagram) and use the vent to reach the other locked room (Step 2).
In here you’ll find the first blood bag, with Alan Duncan written on it, as well as Zoe’s patient list. This list is crucial because it shows you where all the other blood bags can be found, but getting to them isn’t necessarily easy.
One you leave this room and come back out into the main area, head down the left hallway (Step 3) and you’ll come to a transfusion machine.
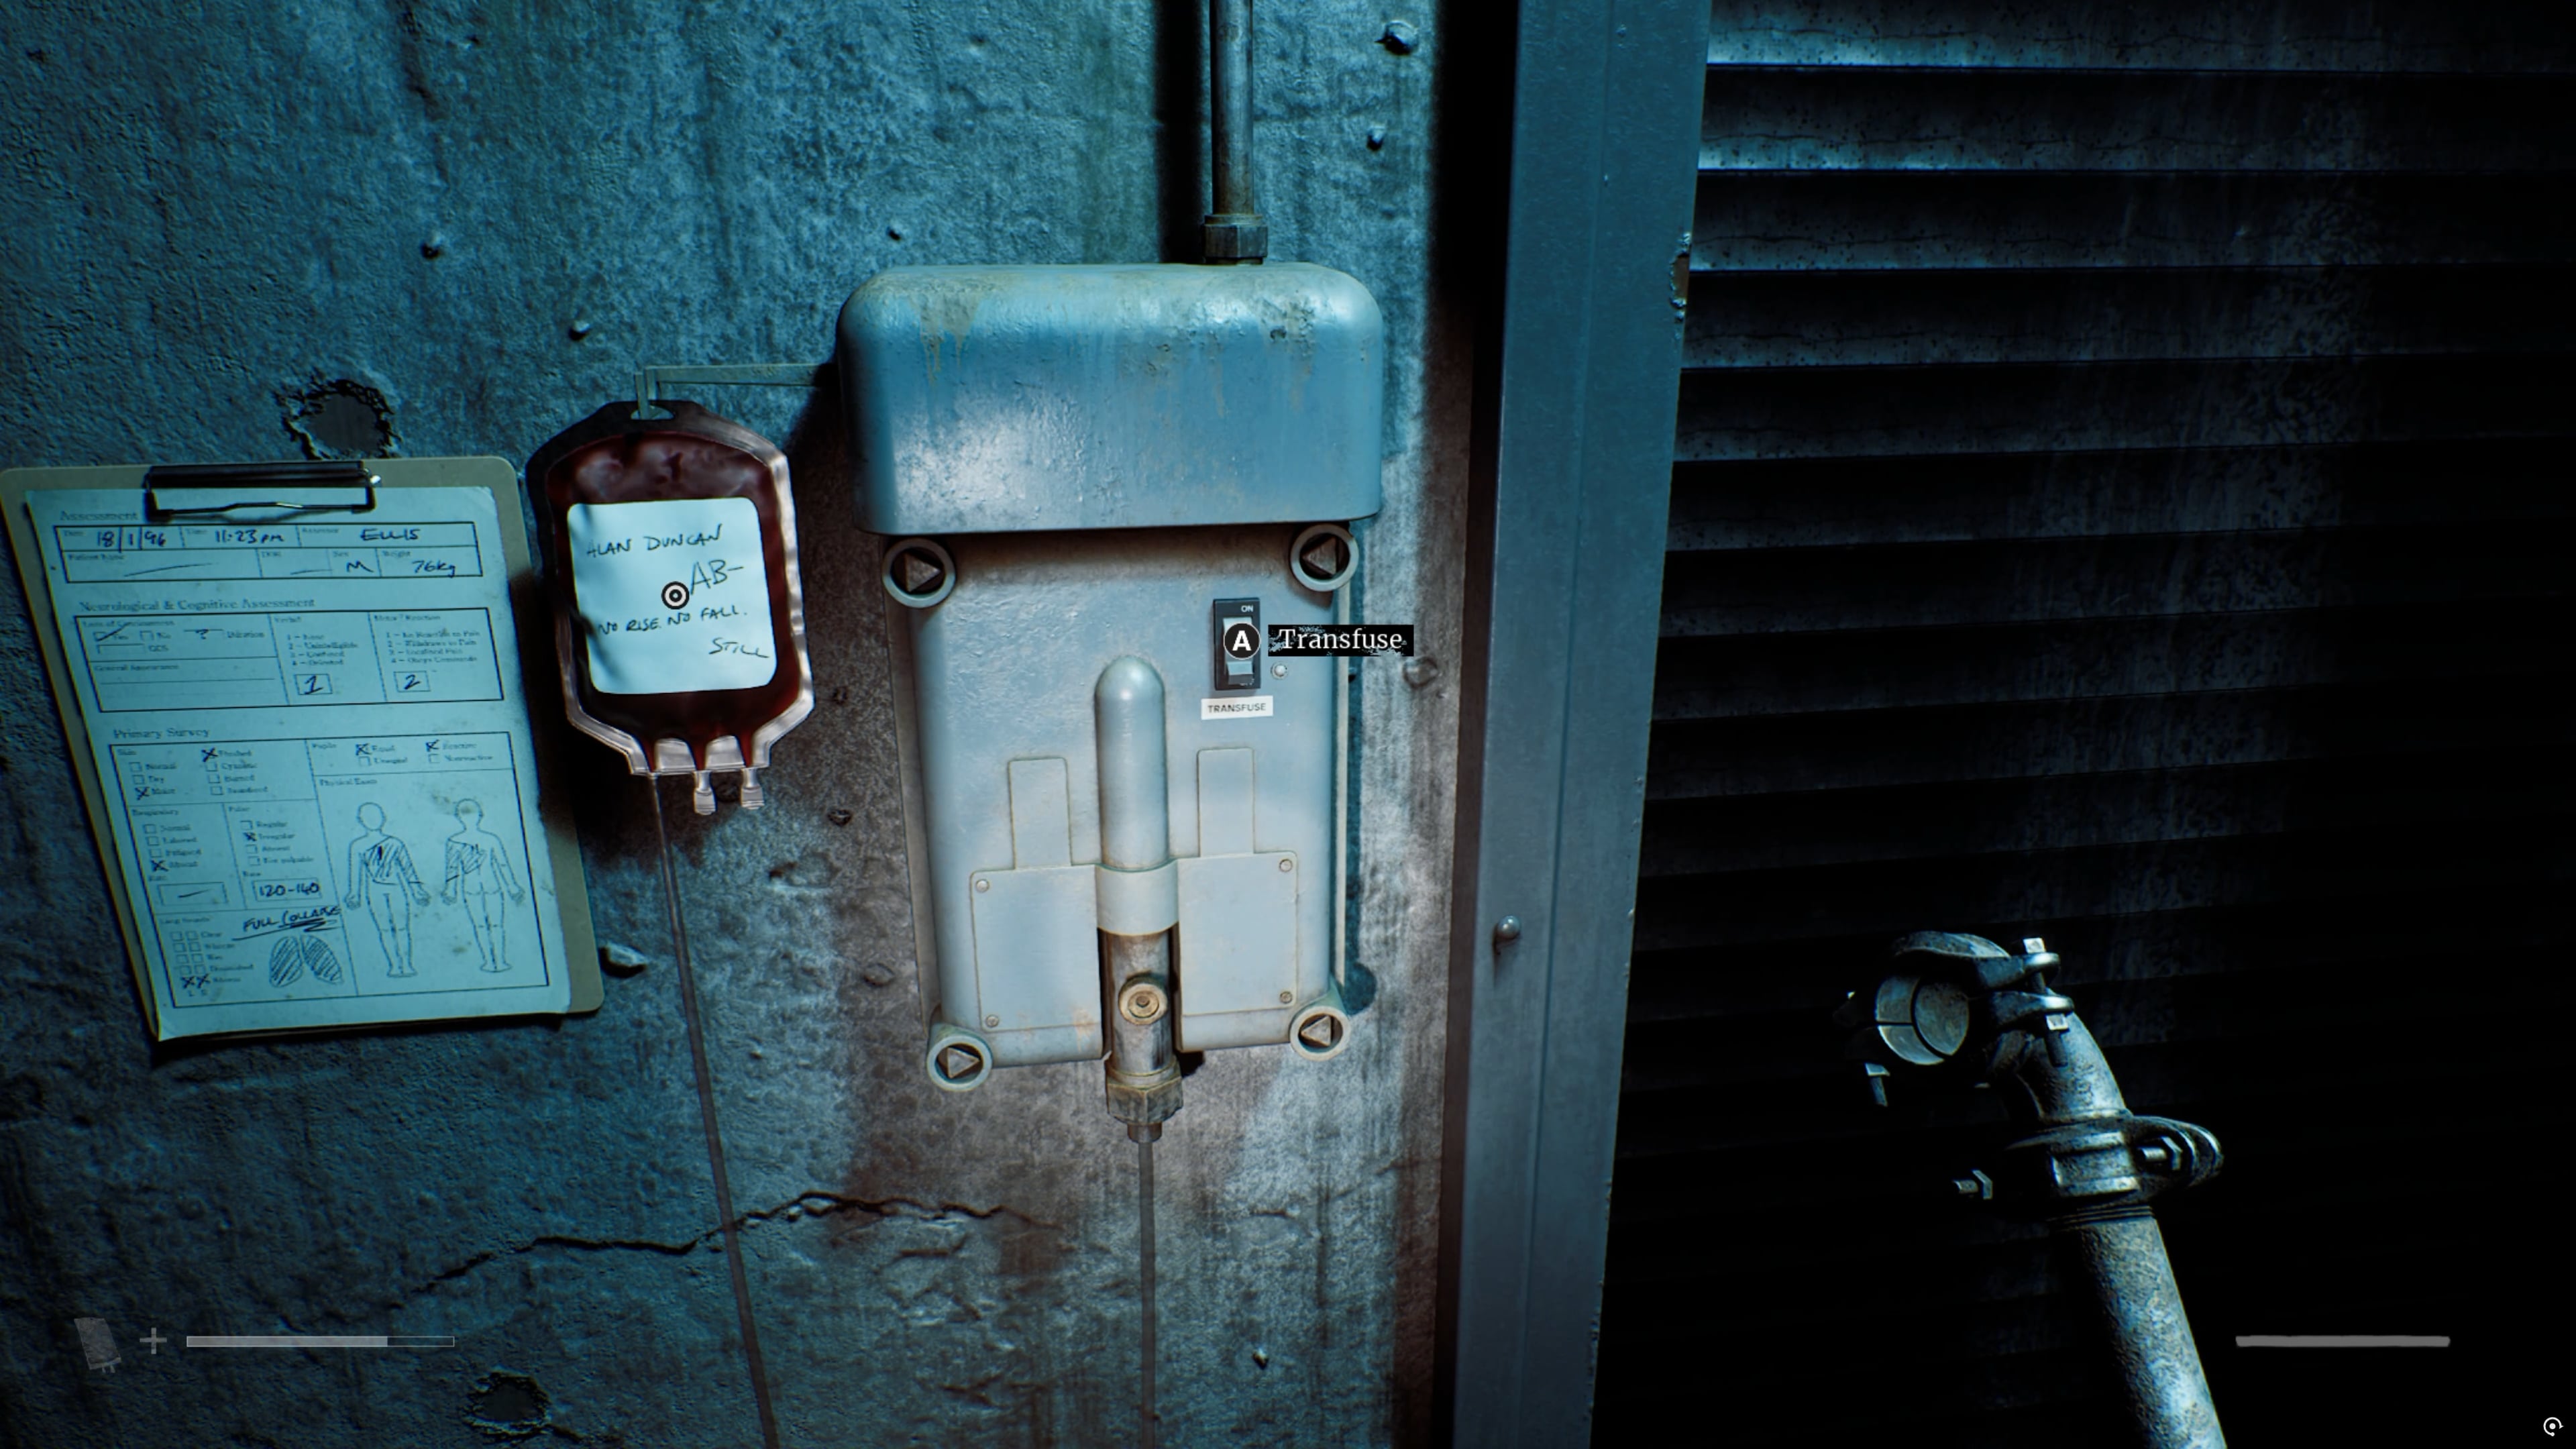
You have to place the Alan Duncan blood back into this machine and hit the switch.
This will start transfusing the blood and open the door to the west side of the map.
The next blood bag to get is Sarah Watson’s, and it’s a pretty easy one. Simply go to the room marked SW on the map (Step 4), and you’ll find it sitting beside the bed.
From this point on, I’d recommend going back to the middle area and using the telephone to save after each step, because you may be about to die a lot and you don’t want to have to keep repeating steps. So go do it now.
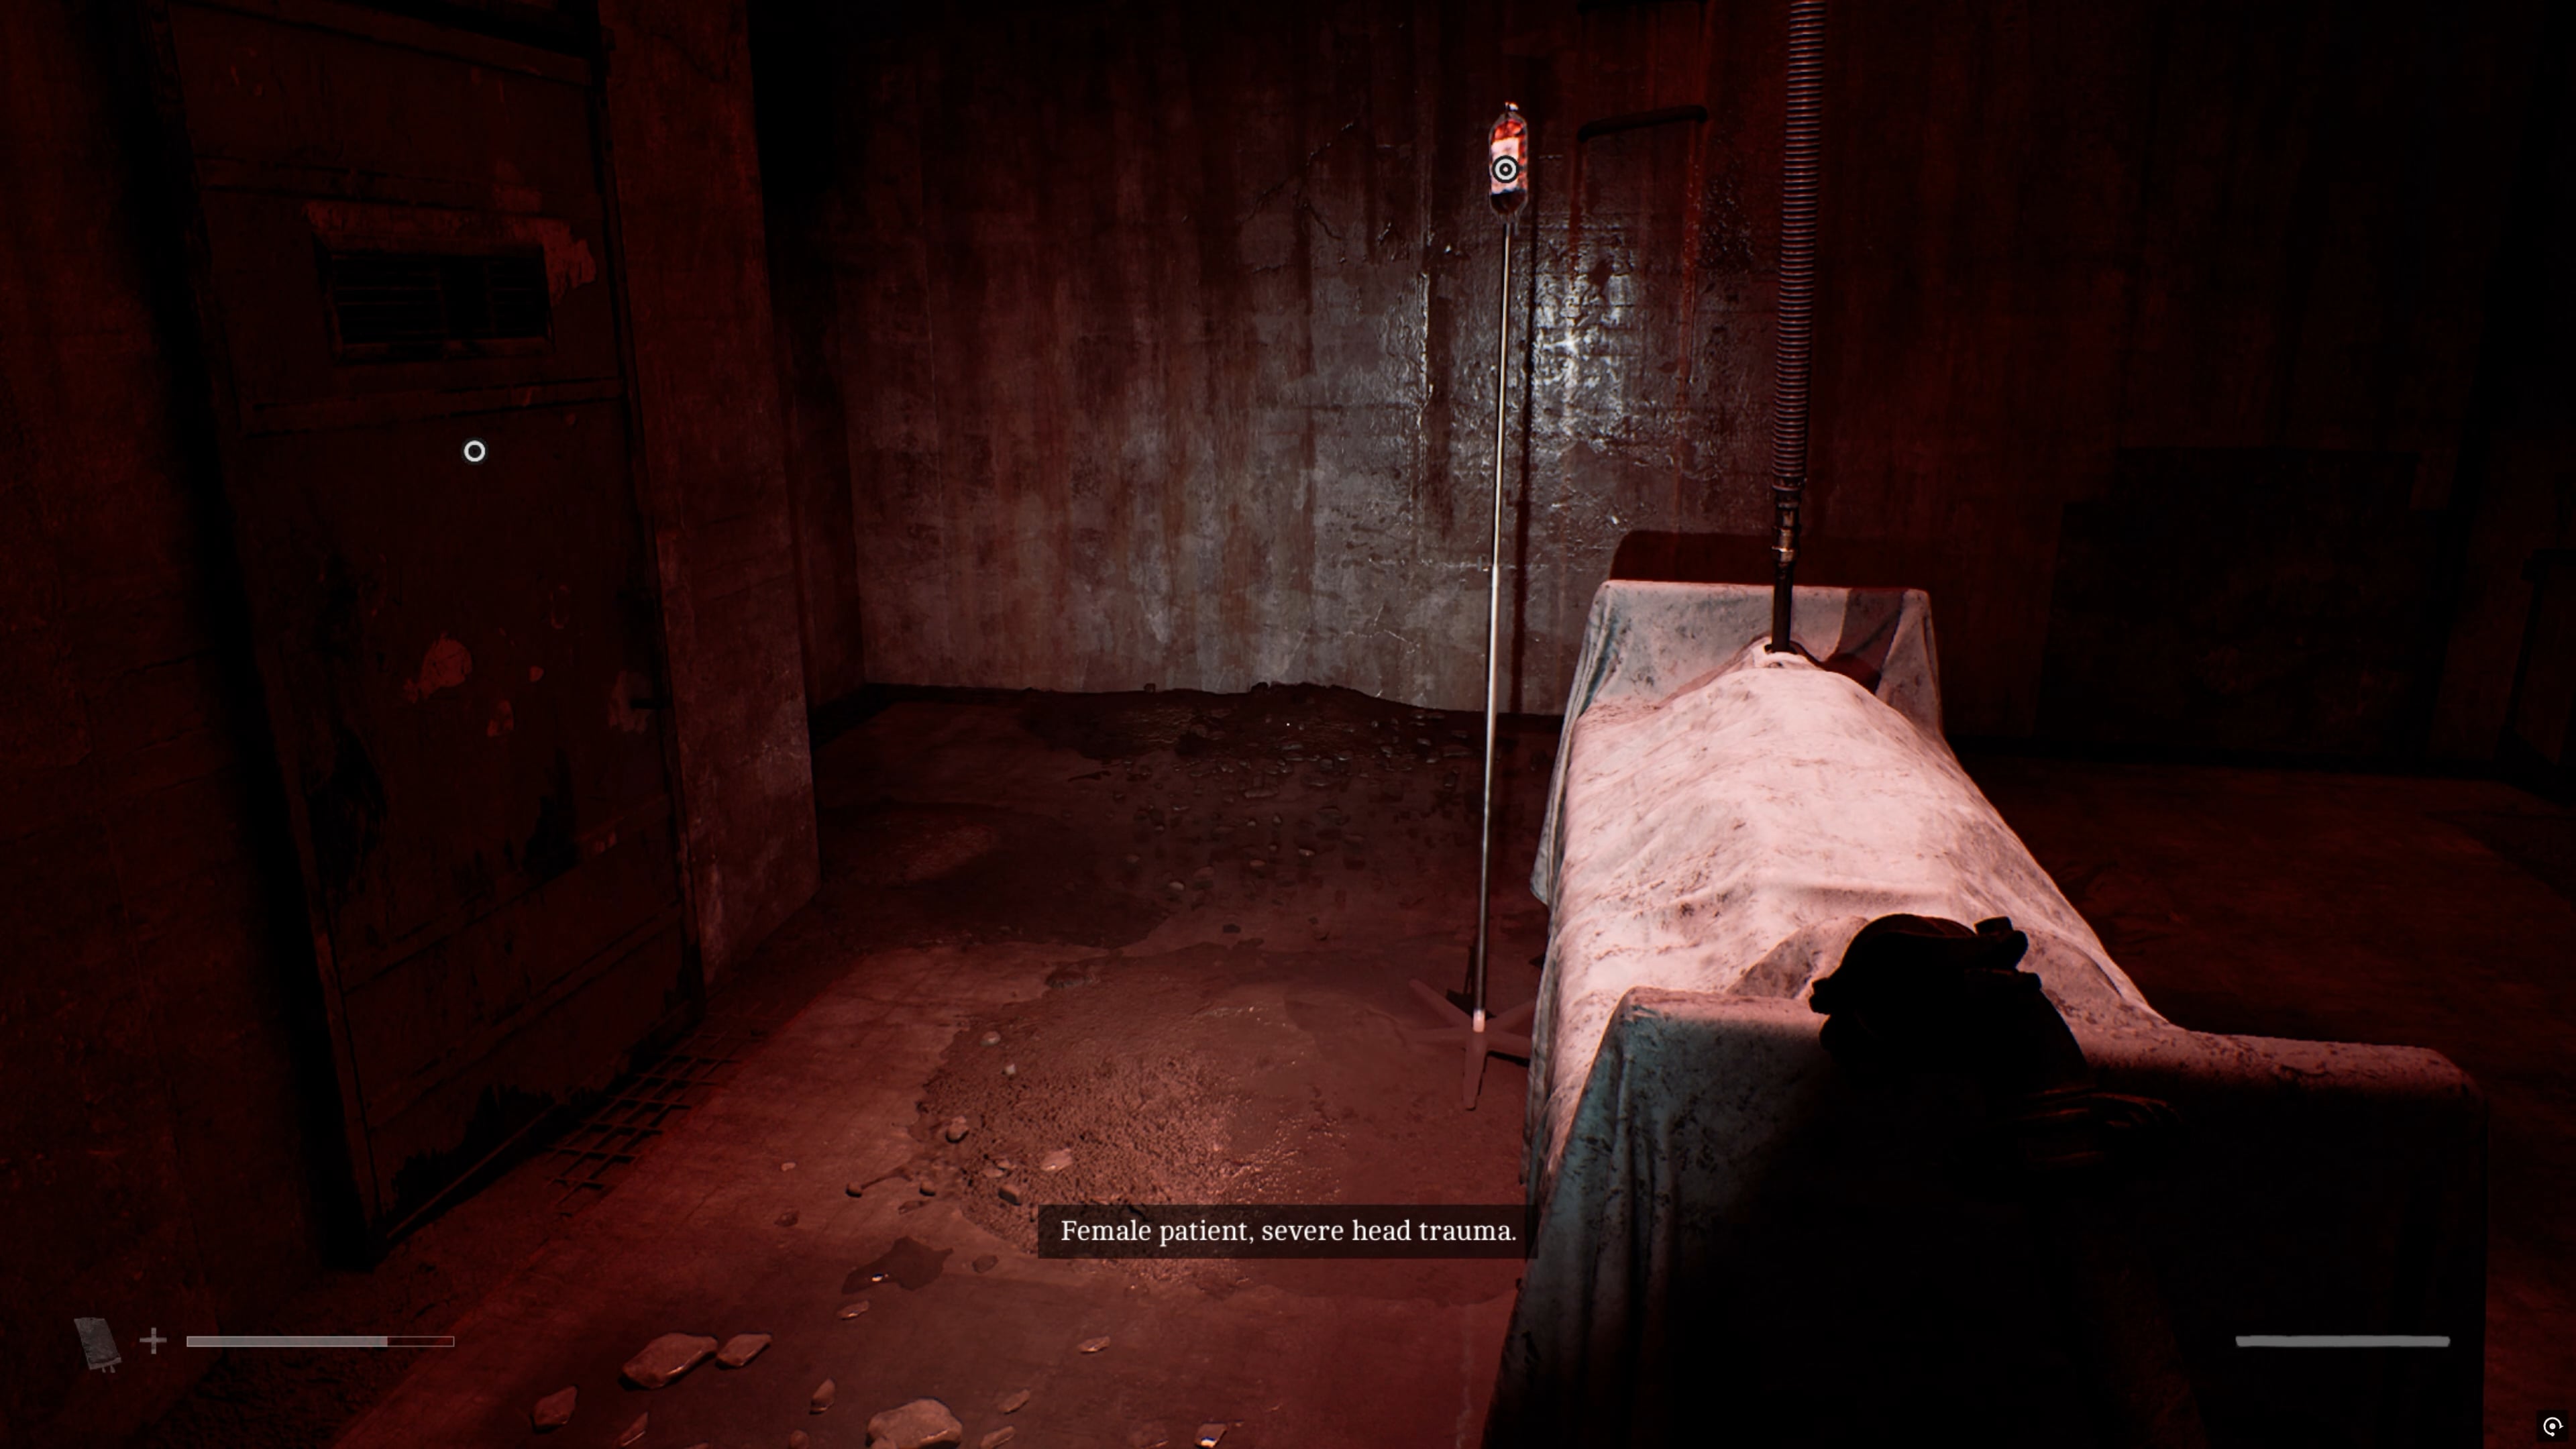
Head back to the west wing and go down the stairs on the far left, but be careful, because The Weight is here. He’s the one with all the mutations on his back, who walks like he’s carrying them as a weight on his shoulders. Tune him into your radio and keep an eye on him because if he sees you he’ll run at you and it’s an instant death.
Tip: If you’re really struggling with this section and The Weight keeps killing you, one tip is to go back to the upper floor, throw a bottle or brick down either the left or right corridors, then hide and wait for The Weight to come up and investigate. You can then sneak downstairs. He’ll only be distracted for a short period, though, so be quick.
The next room you want is on this bottom floor. It’s Room 04, which is the square-shaped room at the very bottom of the map, on the right (Step 5).
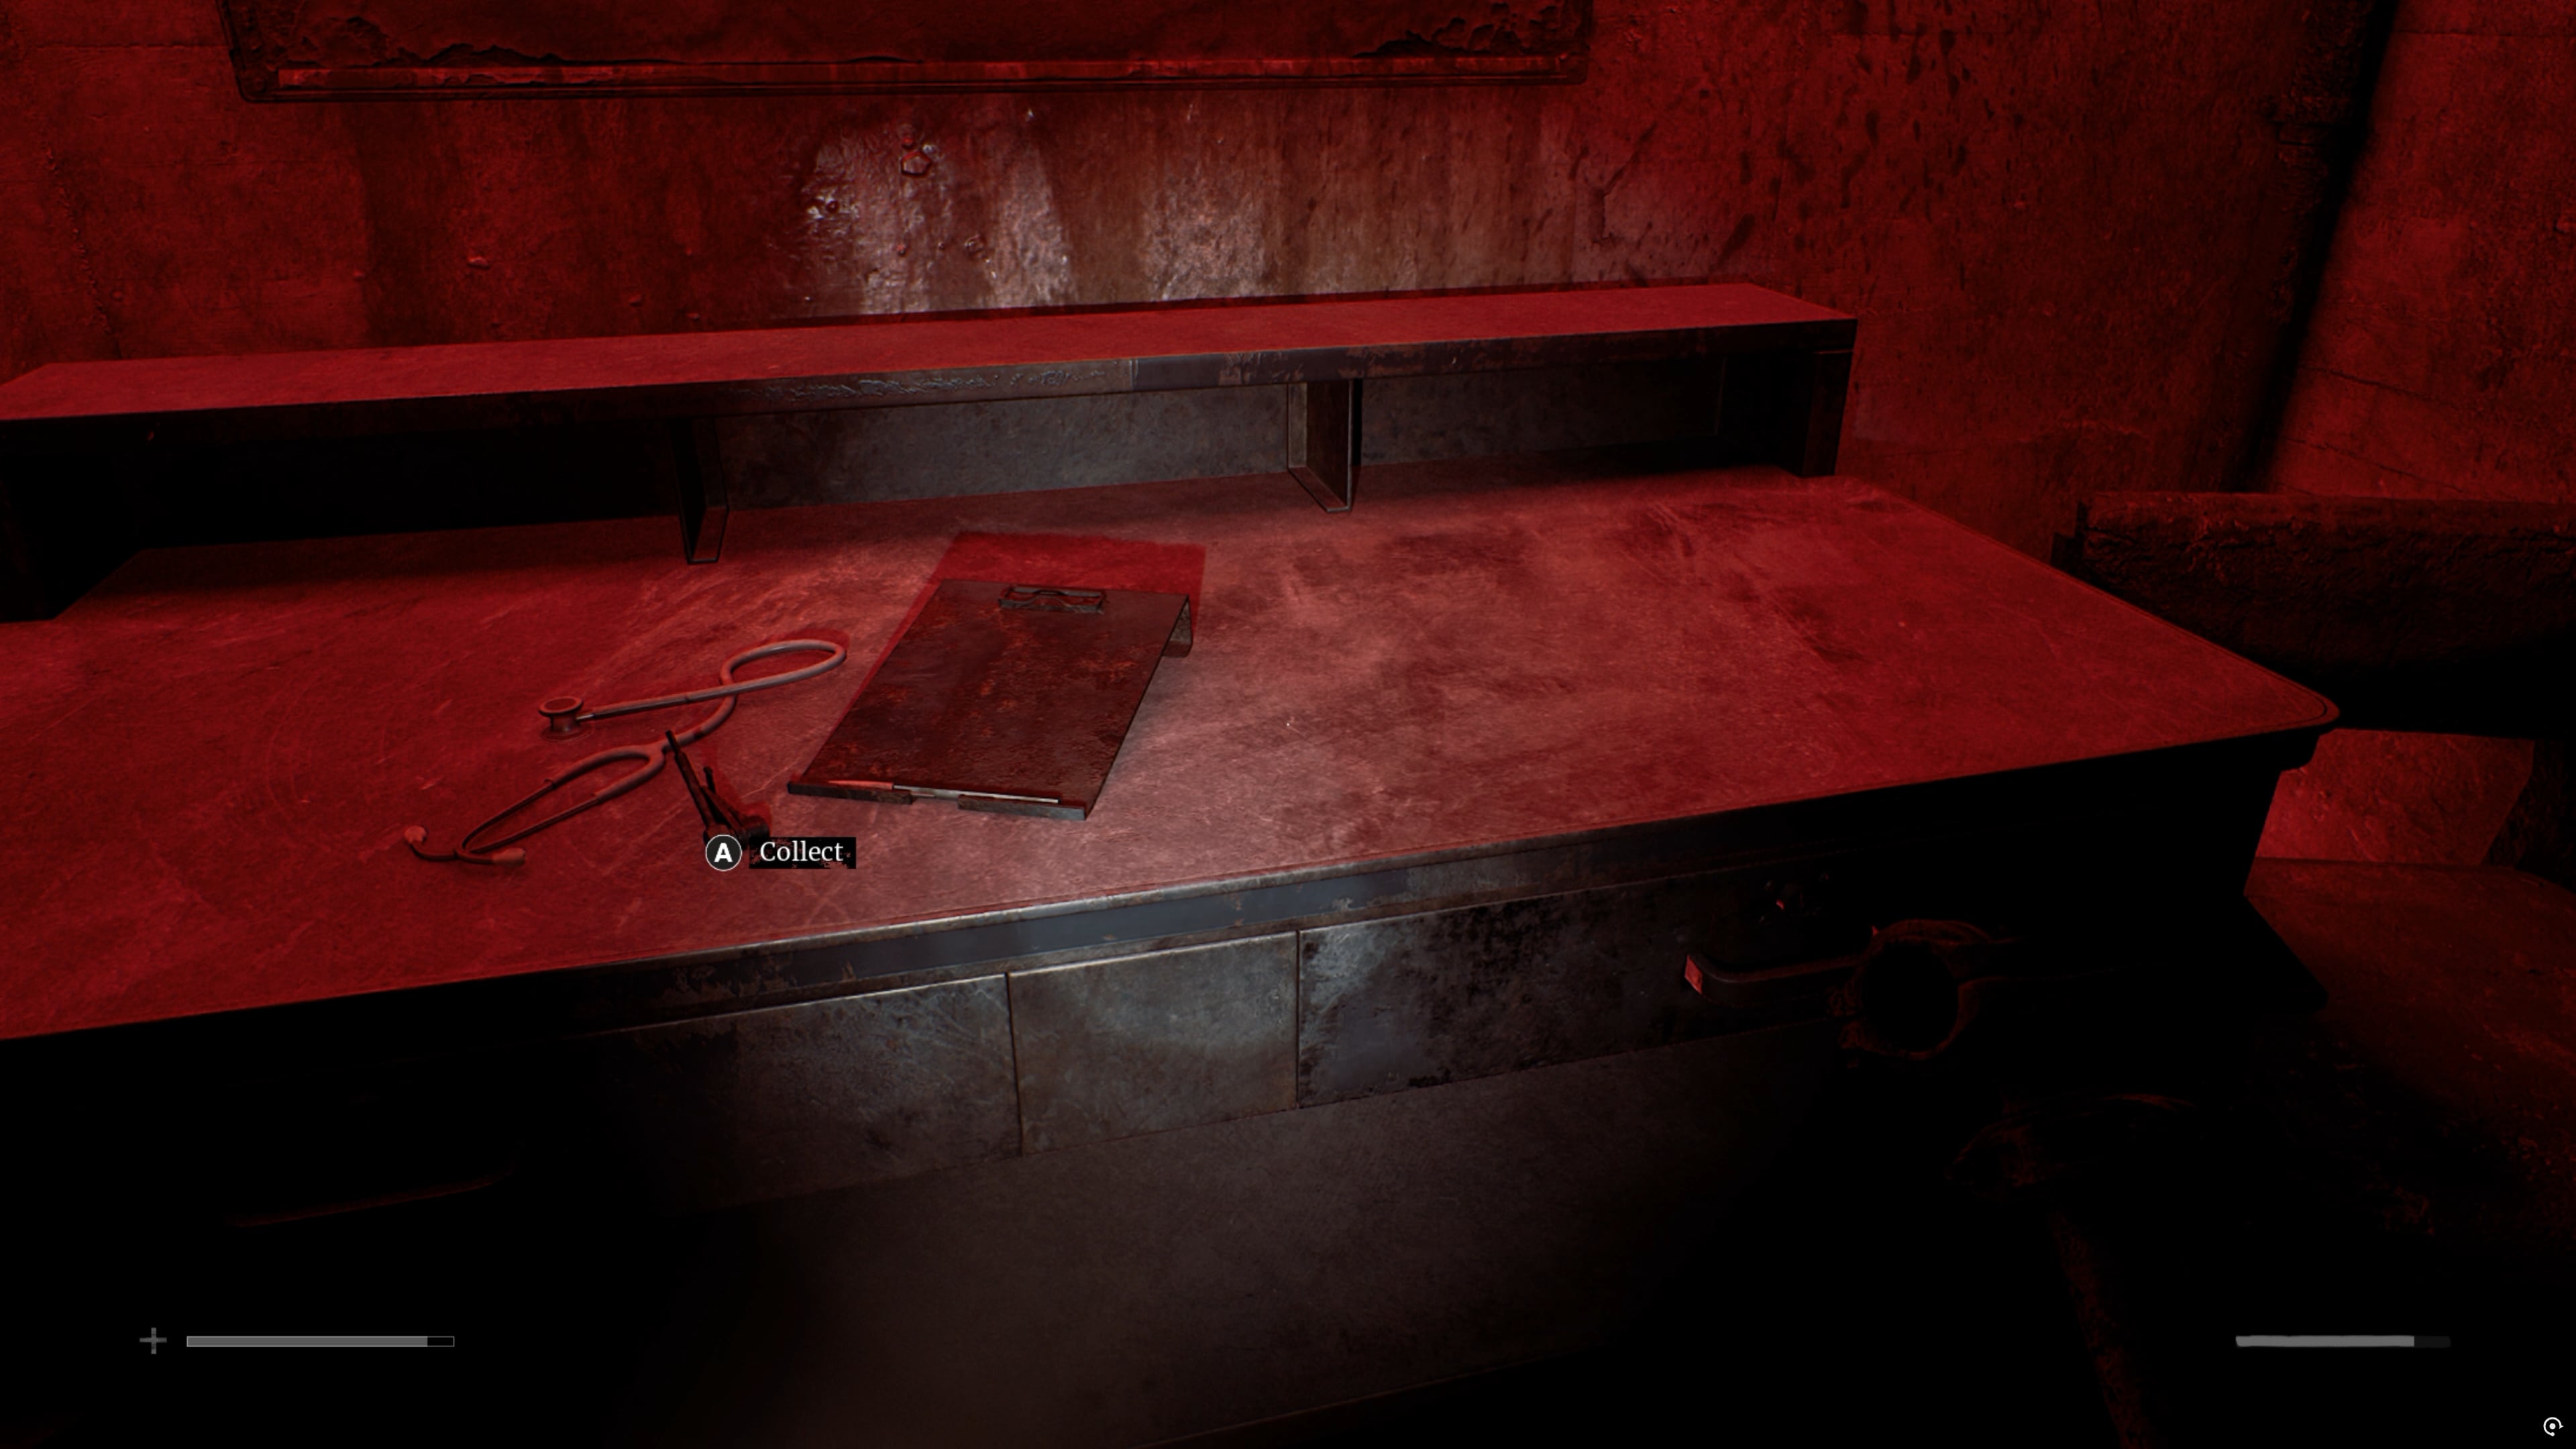
On the table here you’ll find the Ward W Master Key, which opens a number of doors on the west wing.
From here, you want to get to Room 13, which is the square room on the right side of the area (Step 6).
Use the Ward W Master Key to unlock the door to Room 13, and use the ladder there.
This’ll take you up to the otherwise inaccessible room upstairs (Step 7), where you’ll find the Lesley Greer blood bag. Luckily, from this room there’s a vent you can crawl through to stay on the upper floor, but you need to be careful because now The Weight will come upstairs and bother you there too.
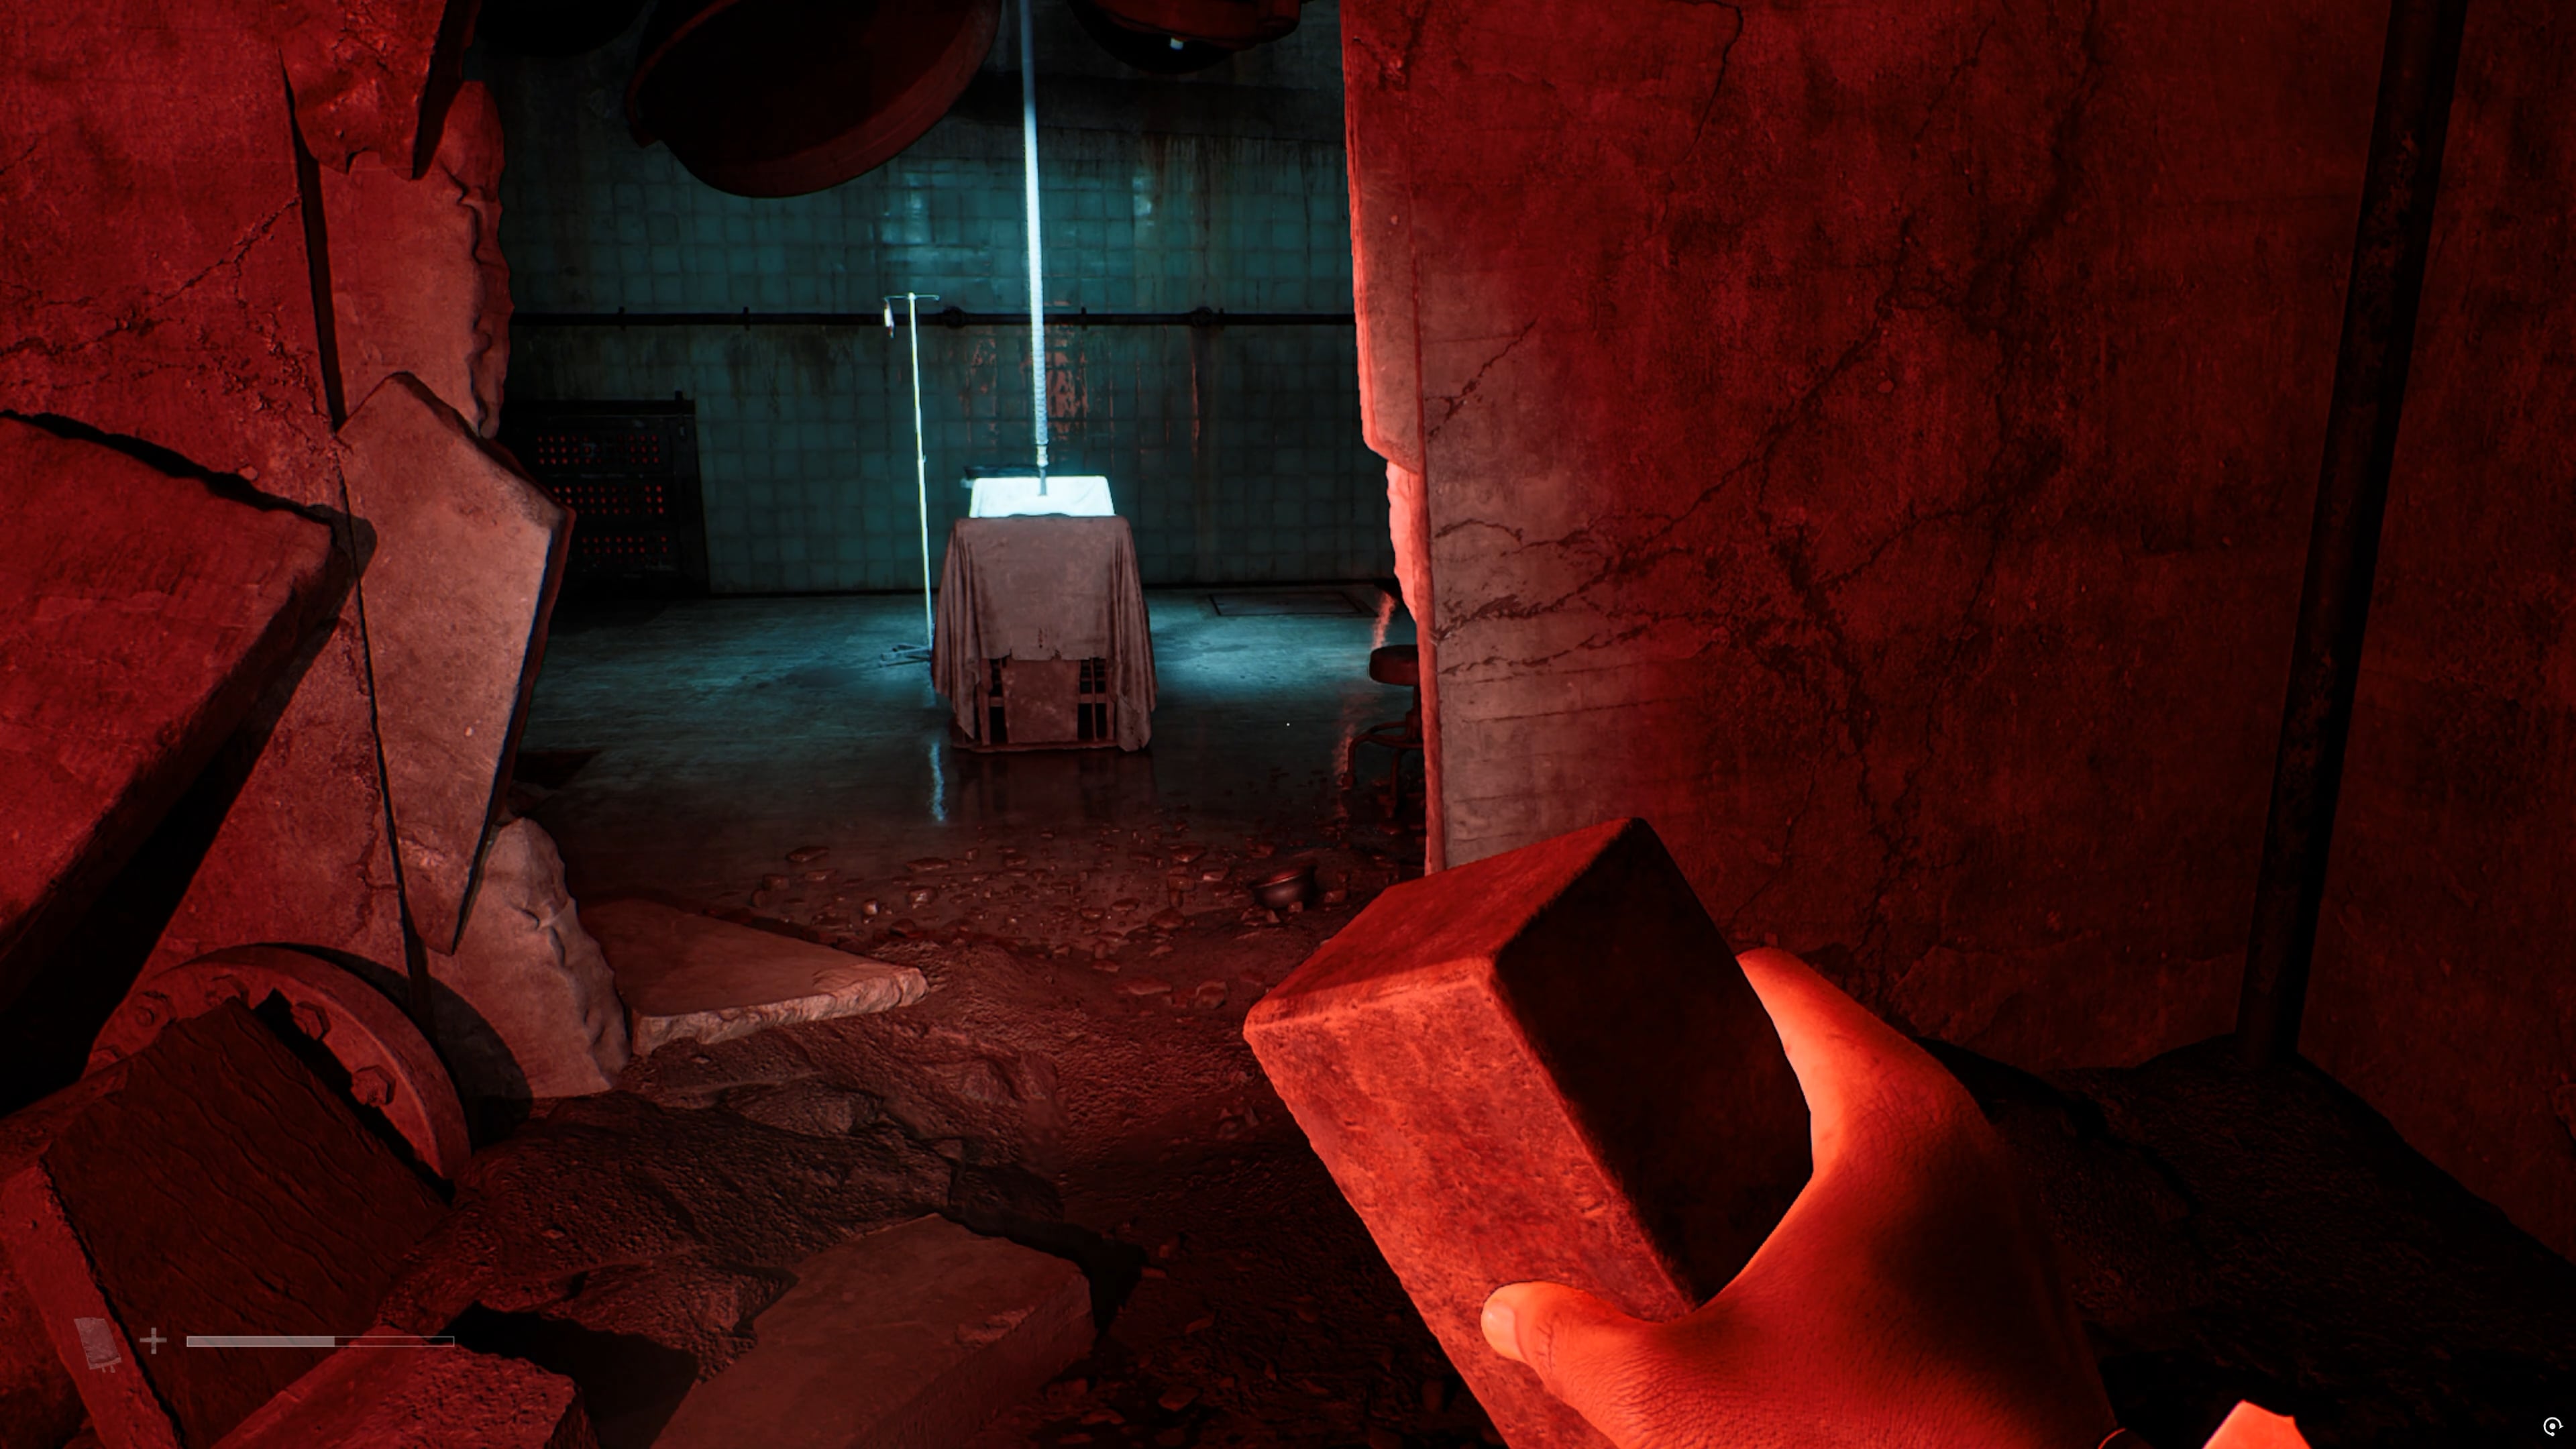
At this point you’re done with the west wing. You can try the other doors to find ammo, health pick-ups and the like, but with The Weight stumbling around you might as well just get out of there.
Use the map to head back to the main middle area (don’t forget to save!) and go down the right-hand corridor this time, where you’ll hit another transfusion door (Step 8).
This time you want to place the Lesley Greer blood bag into the machine and hit the switch – this will open the door to the east wing.
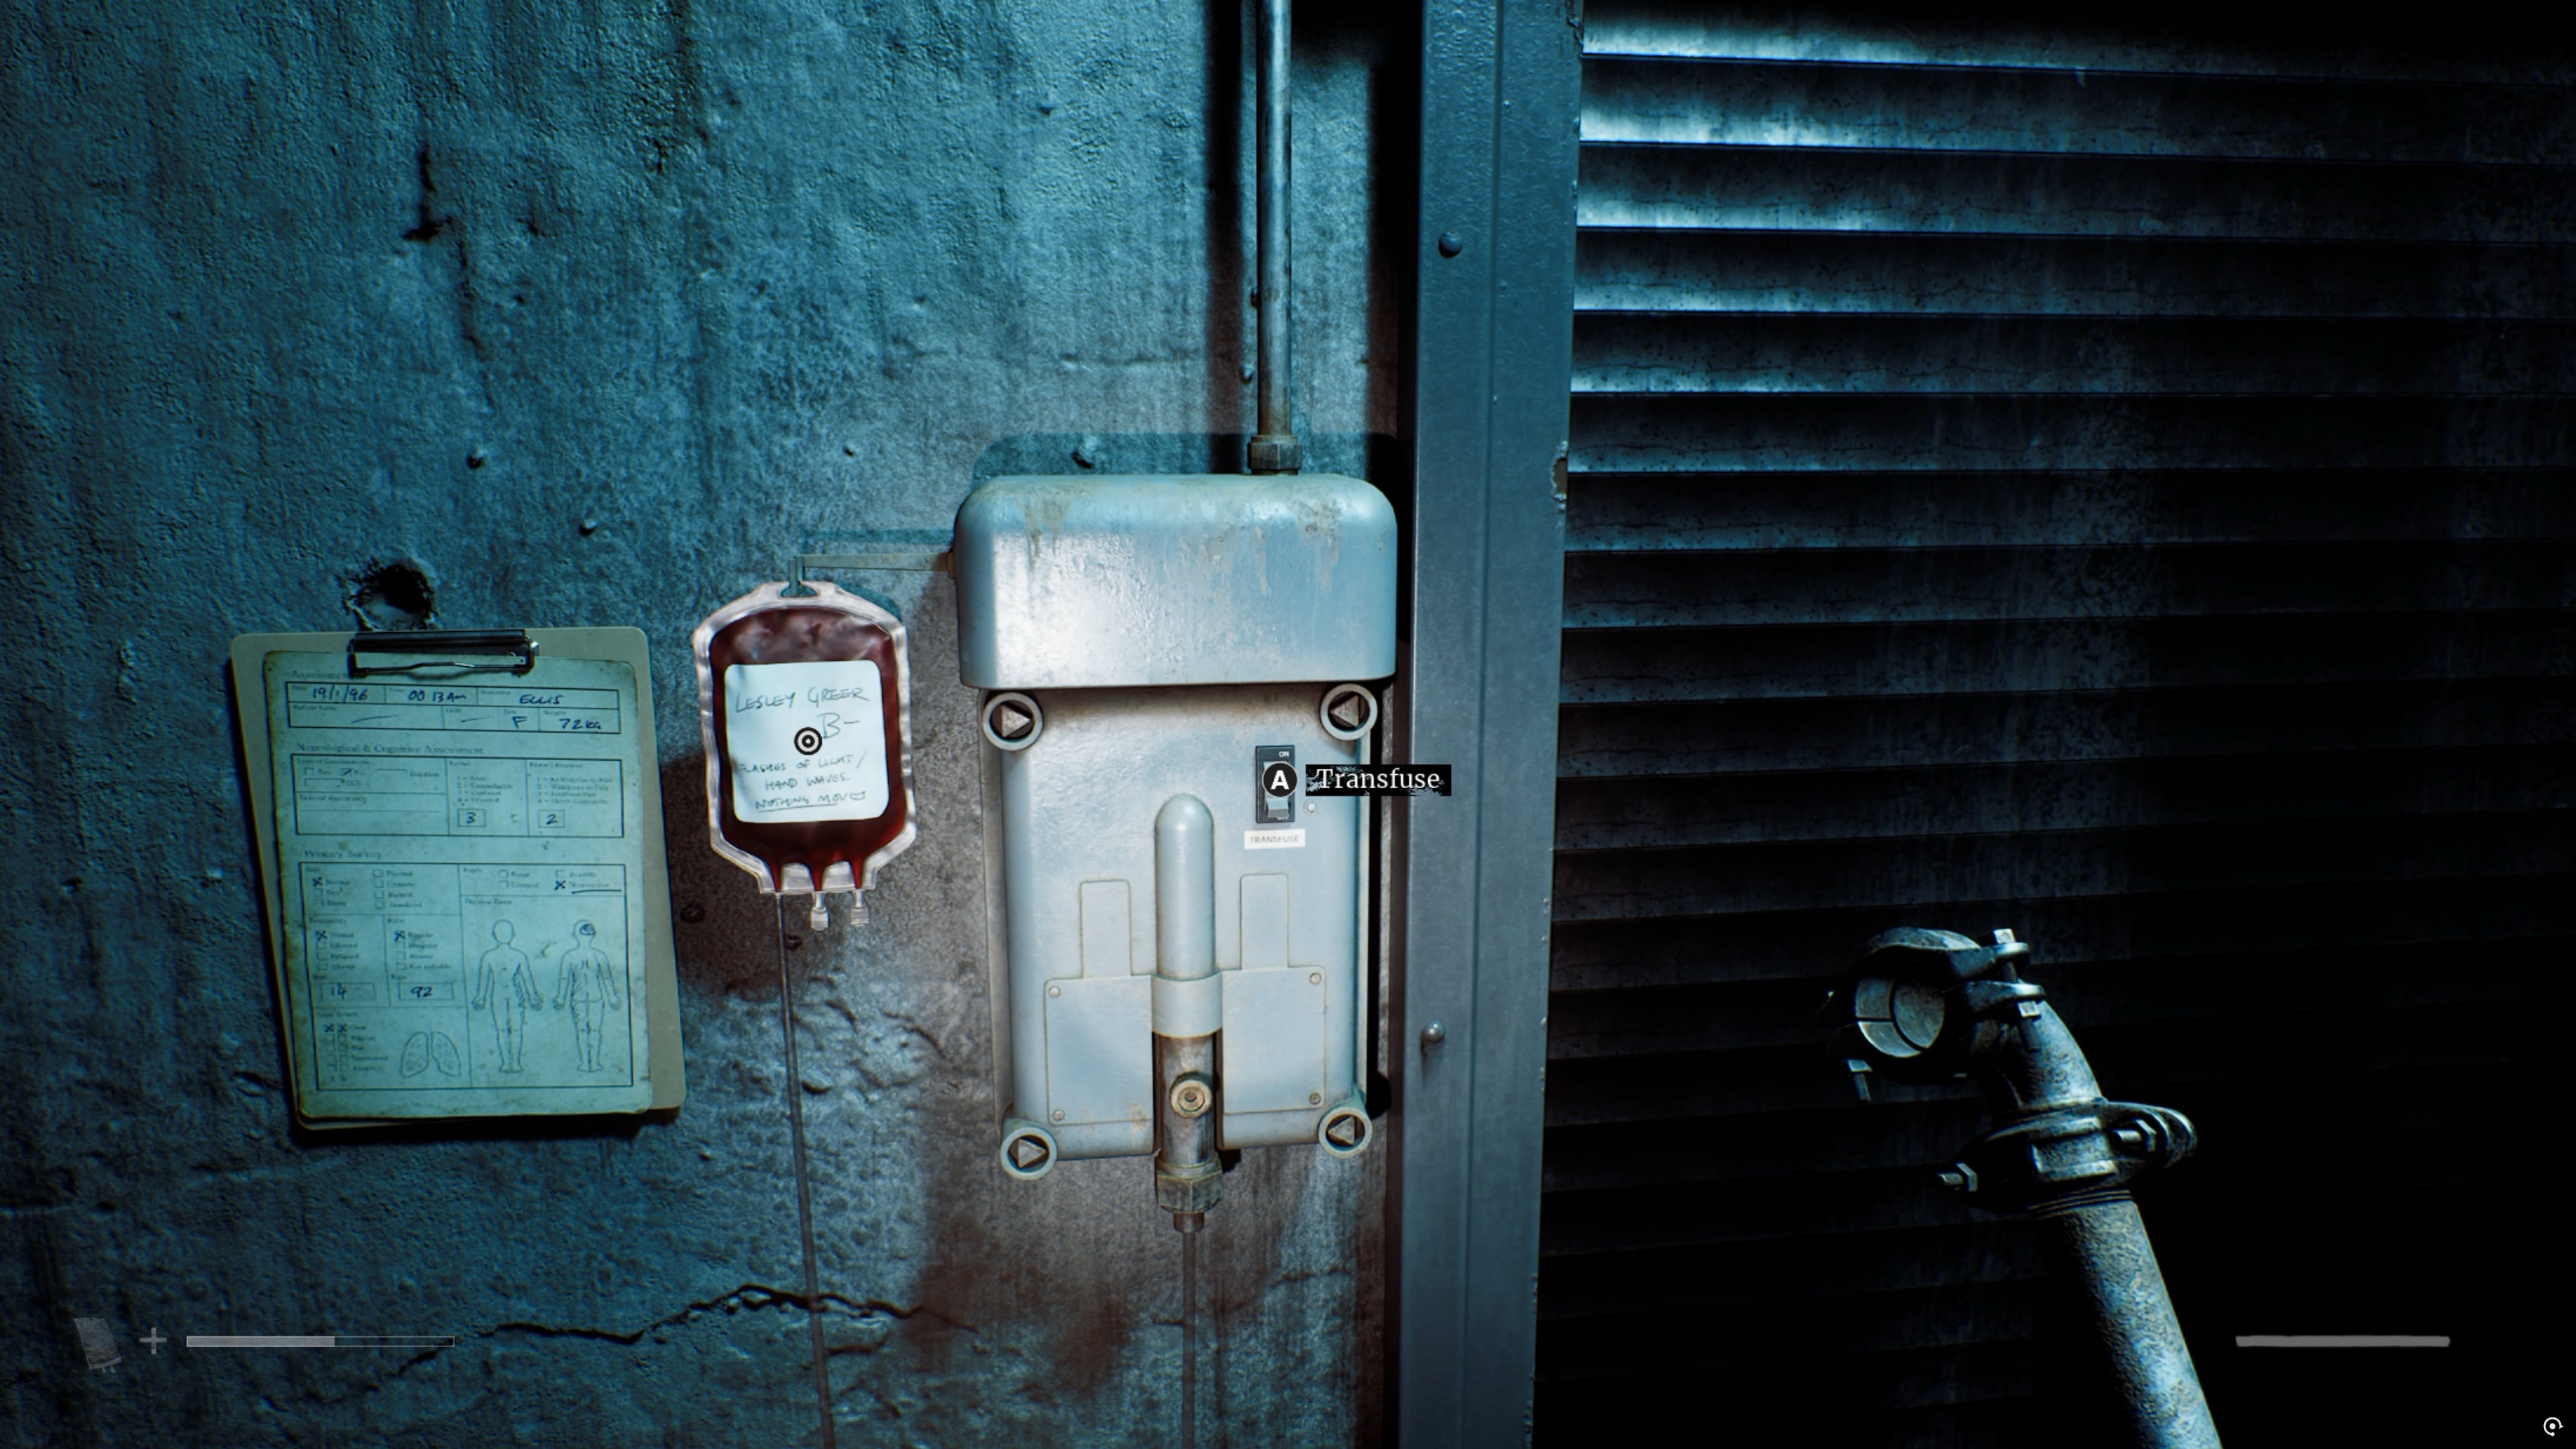
Now that you’re in the east wing there’s one thing to bear in mind – this time The Weight is on the top floor, meaning the bottom floor is the ‘safer’ one for a while.
The first thing you need to do here is go to Room 03, which is on the top-right corner of the map (Step 9), then use the tunnel against the back wall to make it to Room 02 (Step 10).
Here you’ll see Matthew Clark’s blood bag, but it’s stuck in the broken elevator so you can’t reach it. If you press the elevator button, it’ll drop down to the bottom floor, so you’ll be able to get it later.
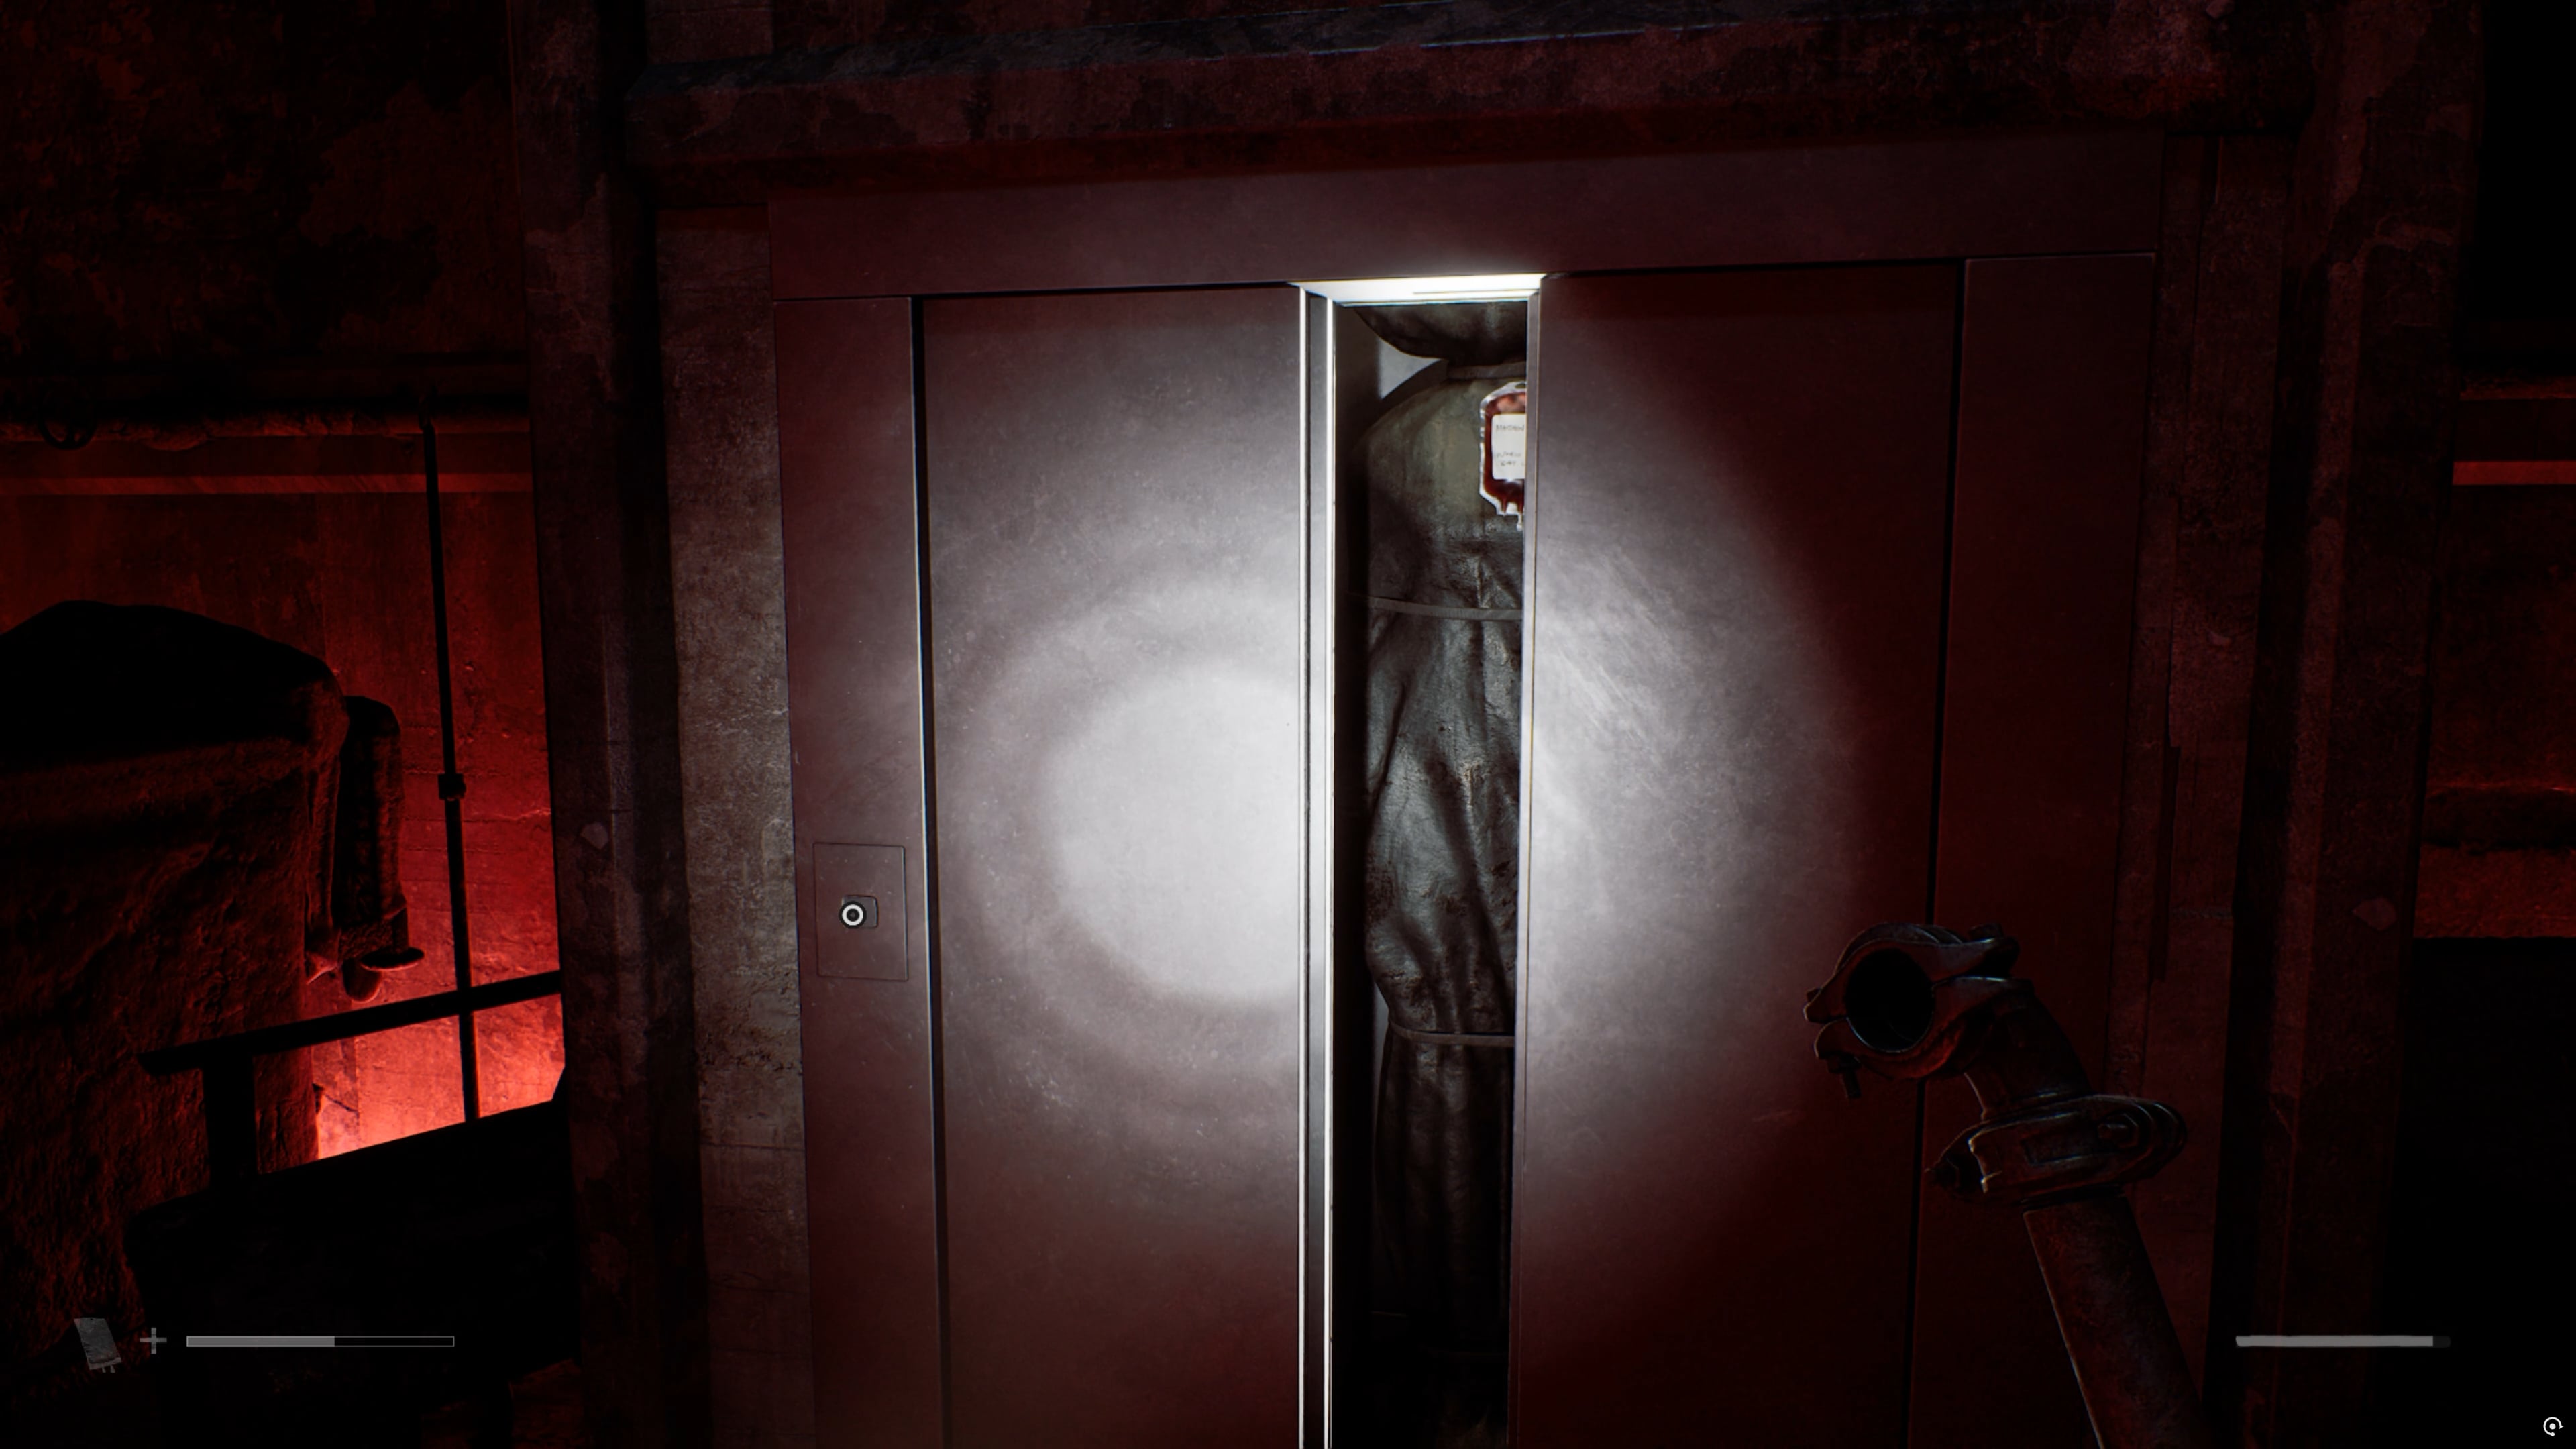
Go around to the right-hand side of the map, stay in the hallway and look at the north wall of Room 06 (Step 11).
You’ll see a vent in the wall. Pull it open and crawl through to get inside Room 06, then keep walking through and round, through Room 07, until you find a gap in the floor (Step 12).
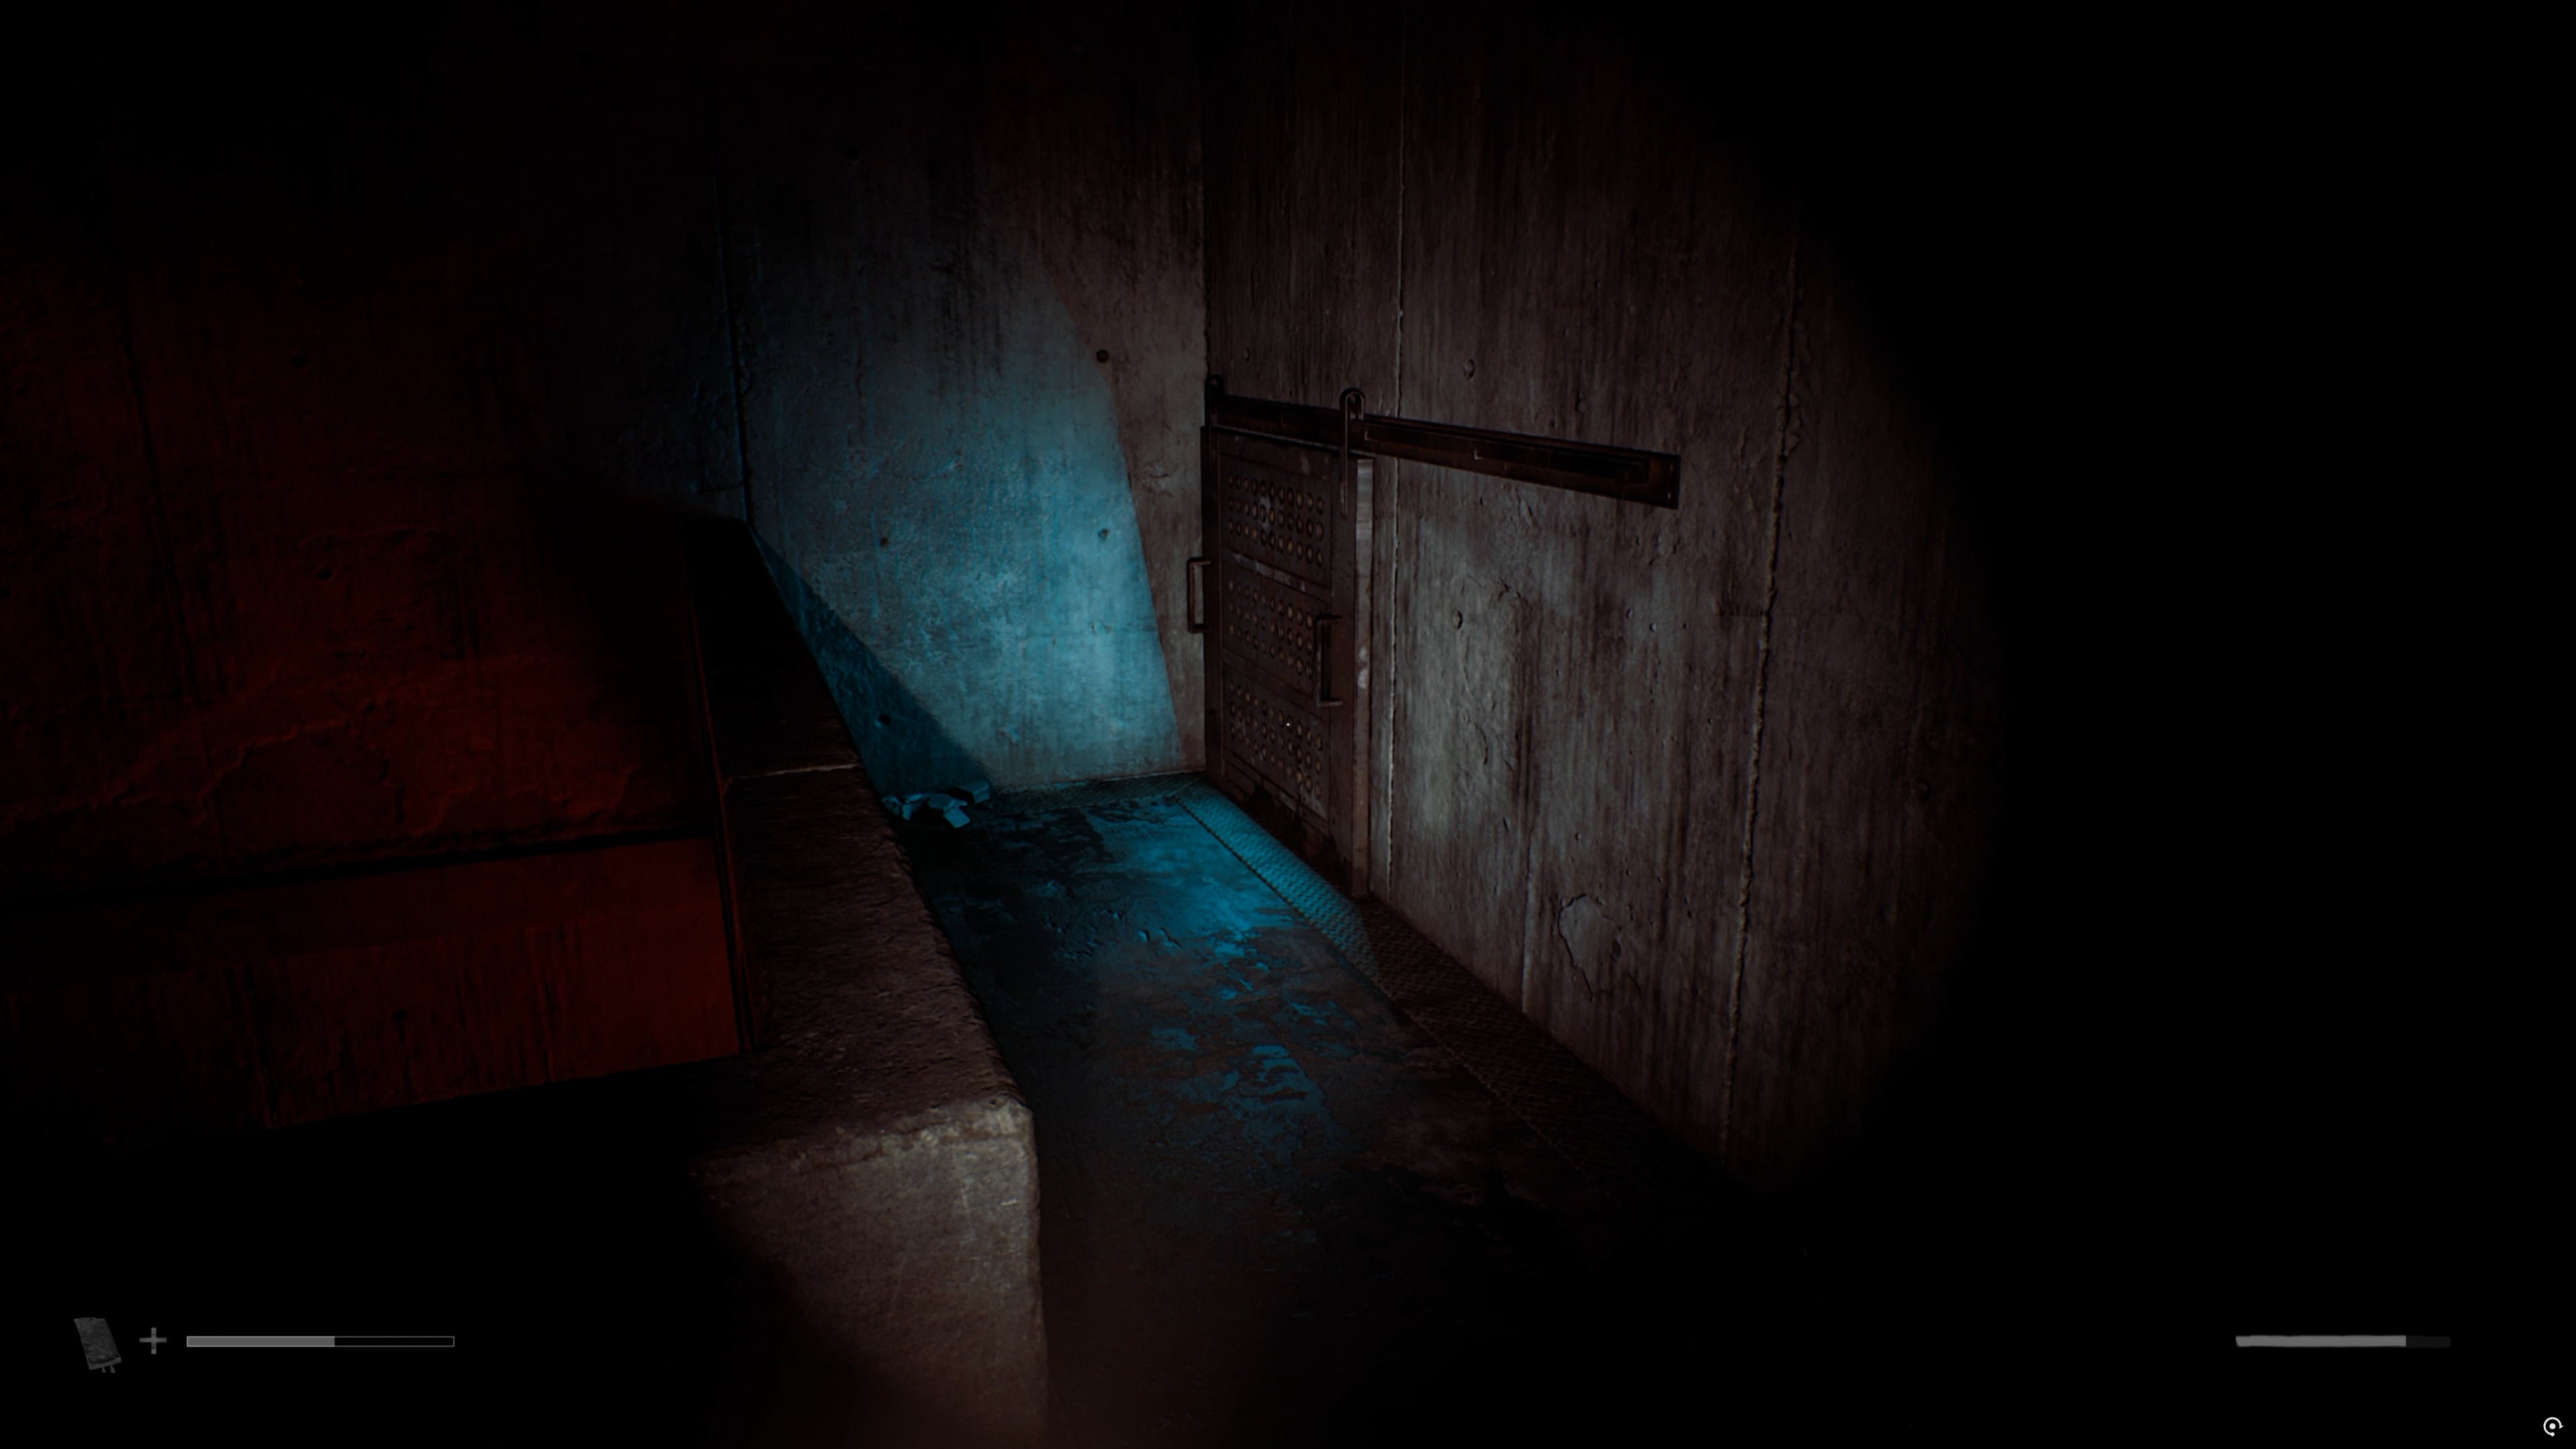
Drop down this gap and you’ll end up on the bottom floor, in Room 10 (Step 13).
This is an important room, because not only will you find George McEwan’s blood bag here, you’ll also collect the Ward P Master Key, which opens a bunch of doors on the east wing, at the same time when you pick it up.
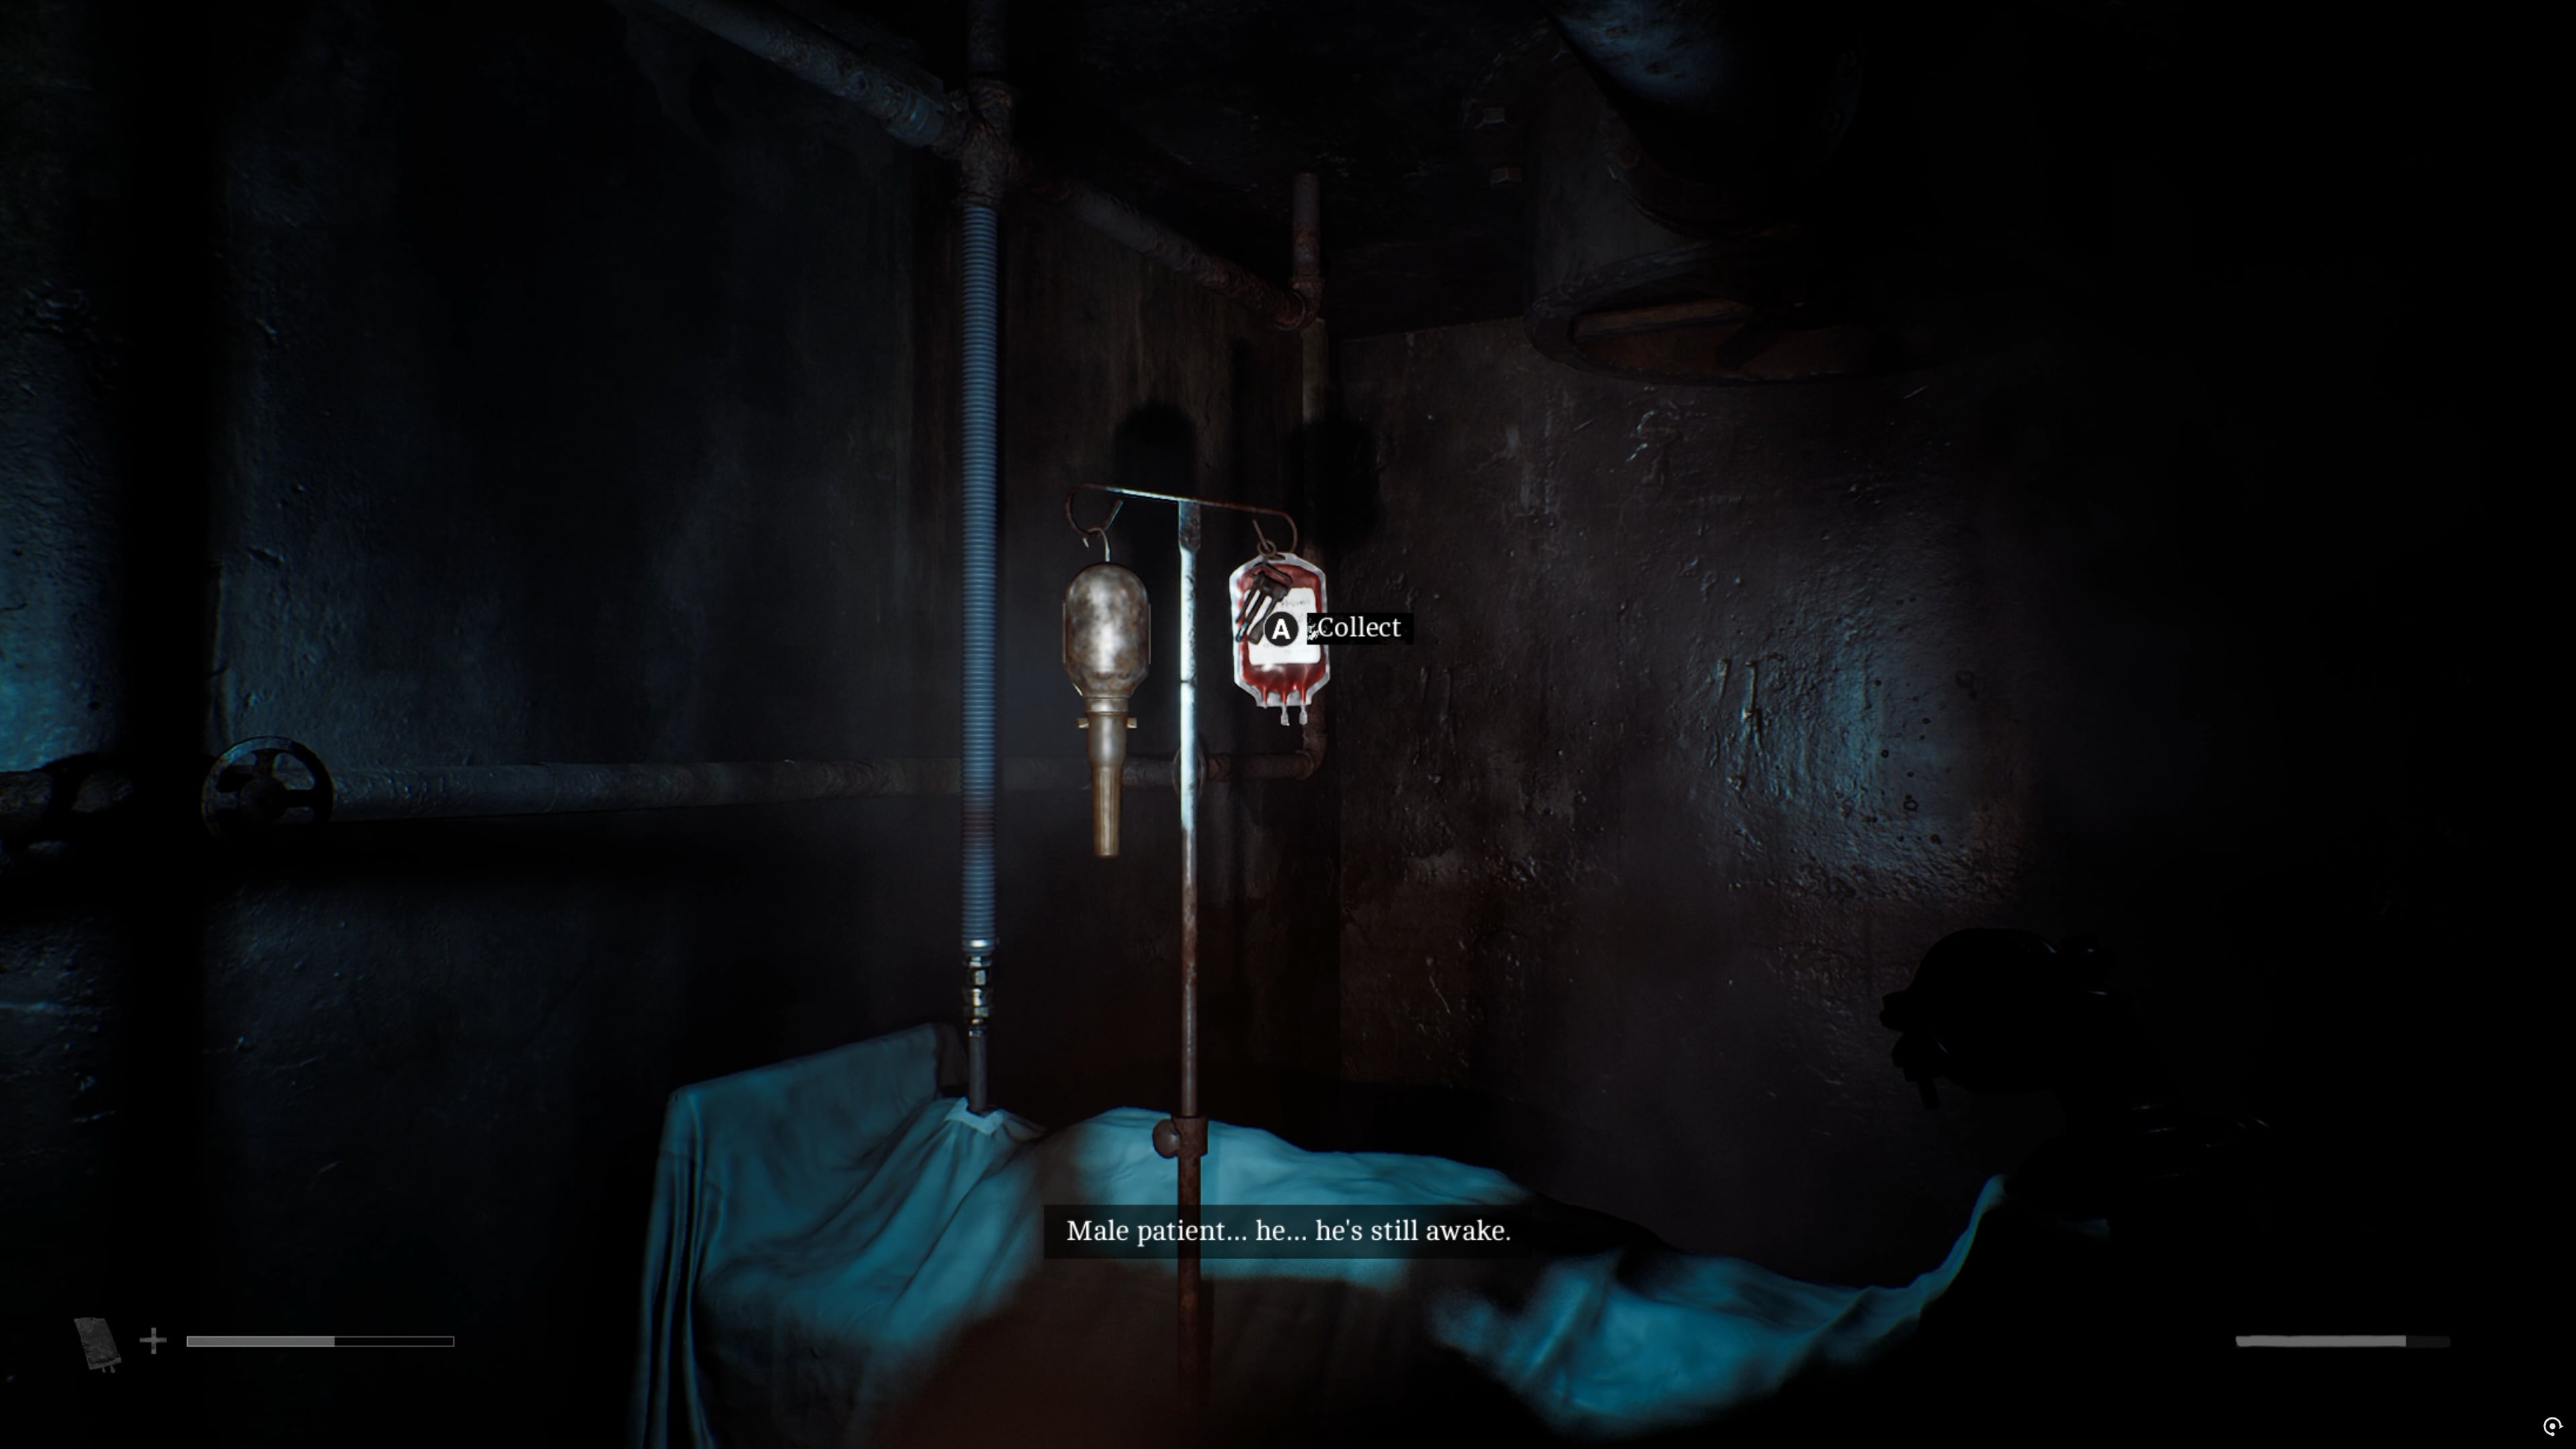
From here, use the Ward P Master Key to unlock Room 10 and leave, then head to Room 03 on the top-left corner of the bottom floor (Step 14) and use the key to get in.
This is the room directly below where you let Matthew Clark’s blood bag drop.
Sure enough, look at the broken elevator and you’ll see it on the floor, where it can now be collected.
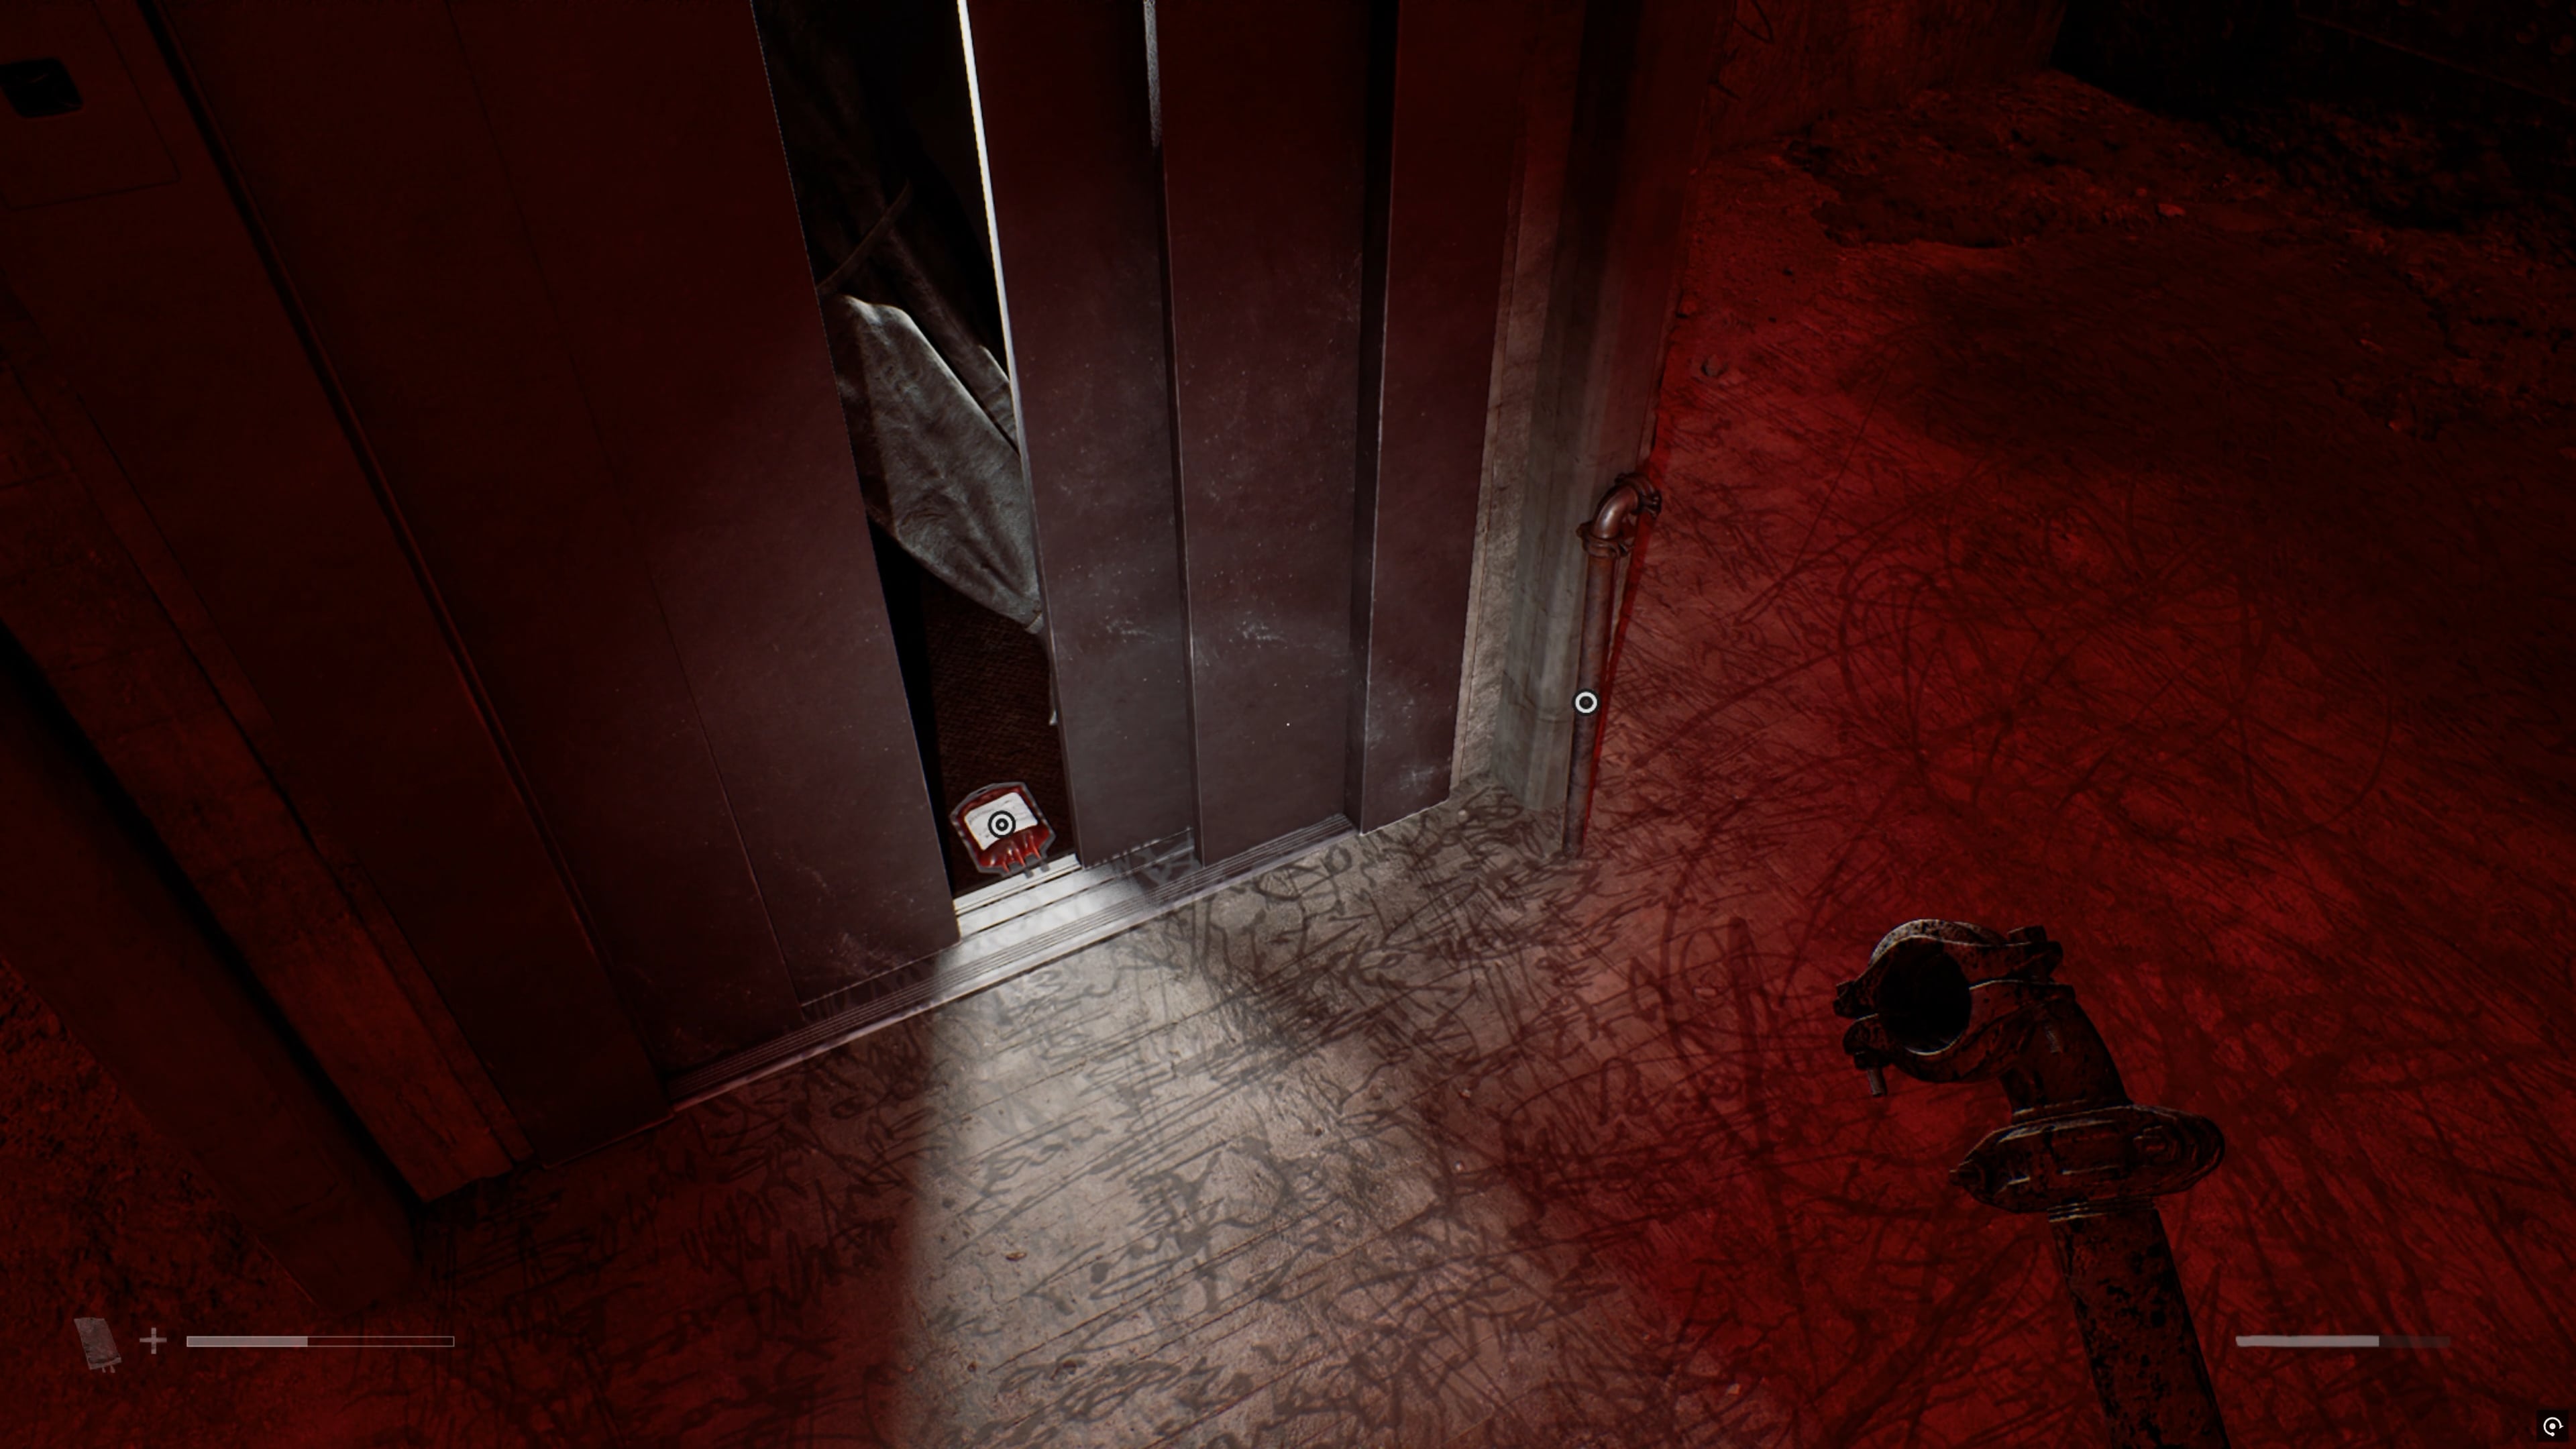
You now have all the blood bags you need, but you aren’t out of the woods yet. When you pick up Matthew Clark’s blood bag, you’ll hear a rumble and Simon will say “the gates have closed”.
You’re now stuck in the east wing until you can open the gates again. What’s more, The Weight has returned and is wandering around upstairs.
There are two valves upstairs, which have to be turned to open the gates. The first is in Room 05 (Step 15) and if you’re quick enough you can run up the stairs, shimmy right and run straight for that room, turn the valve and hide in the locker before The Weight can notice and come over to you.
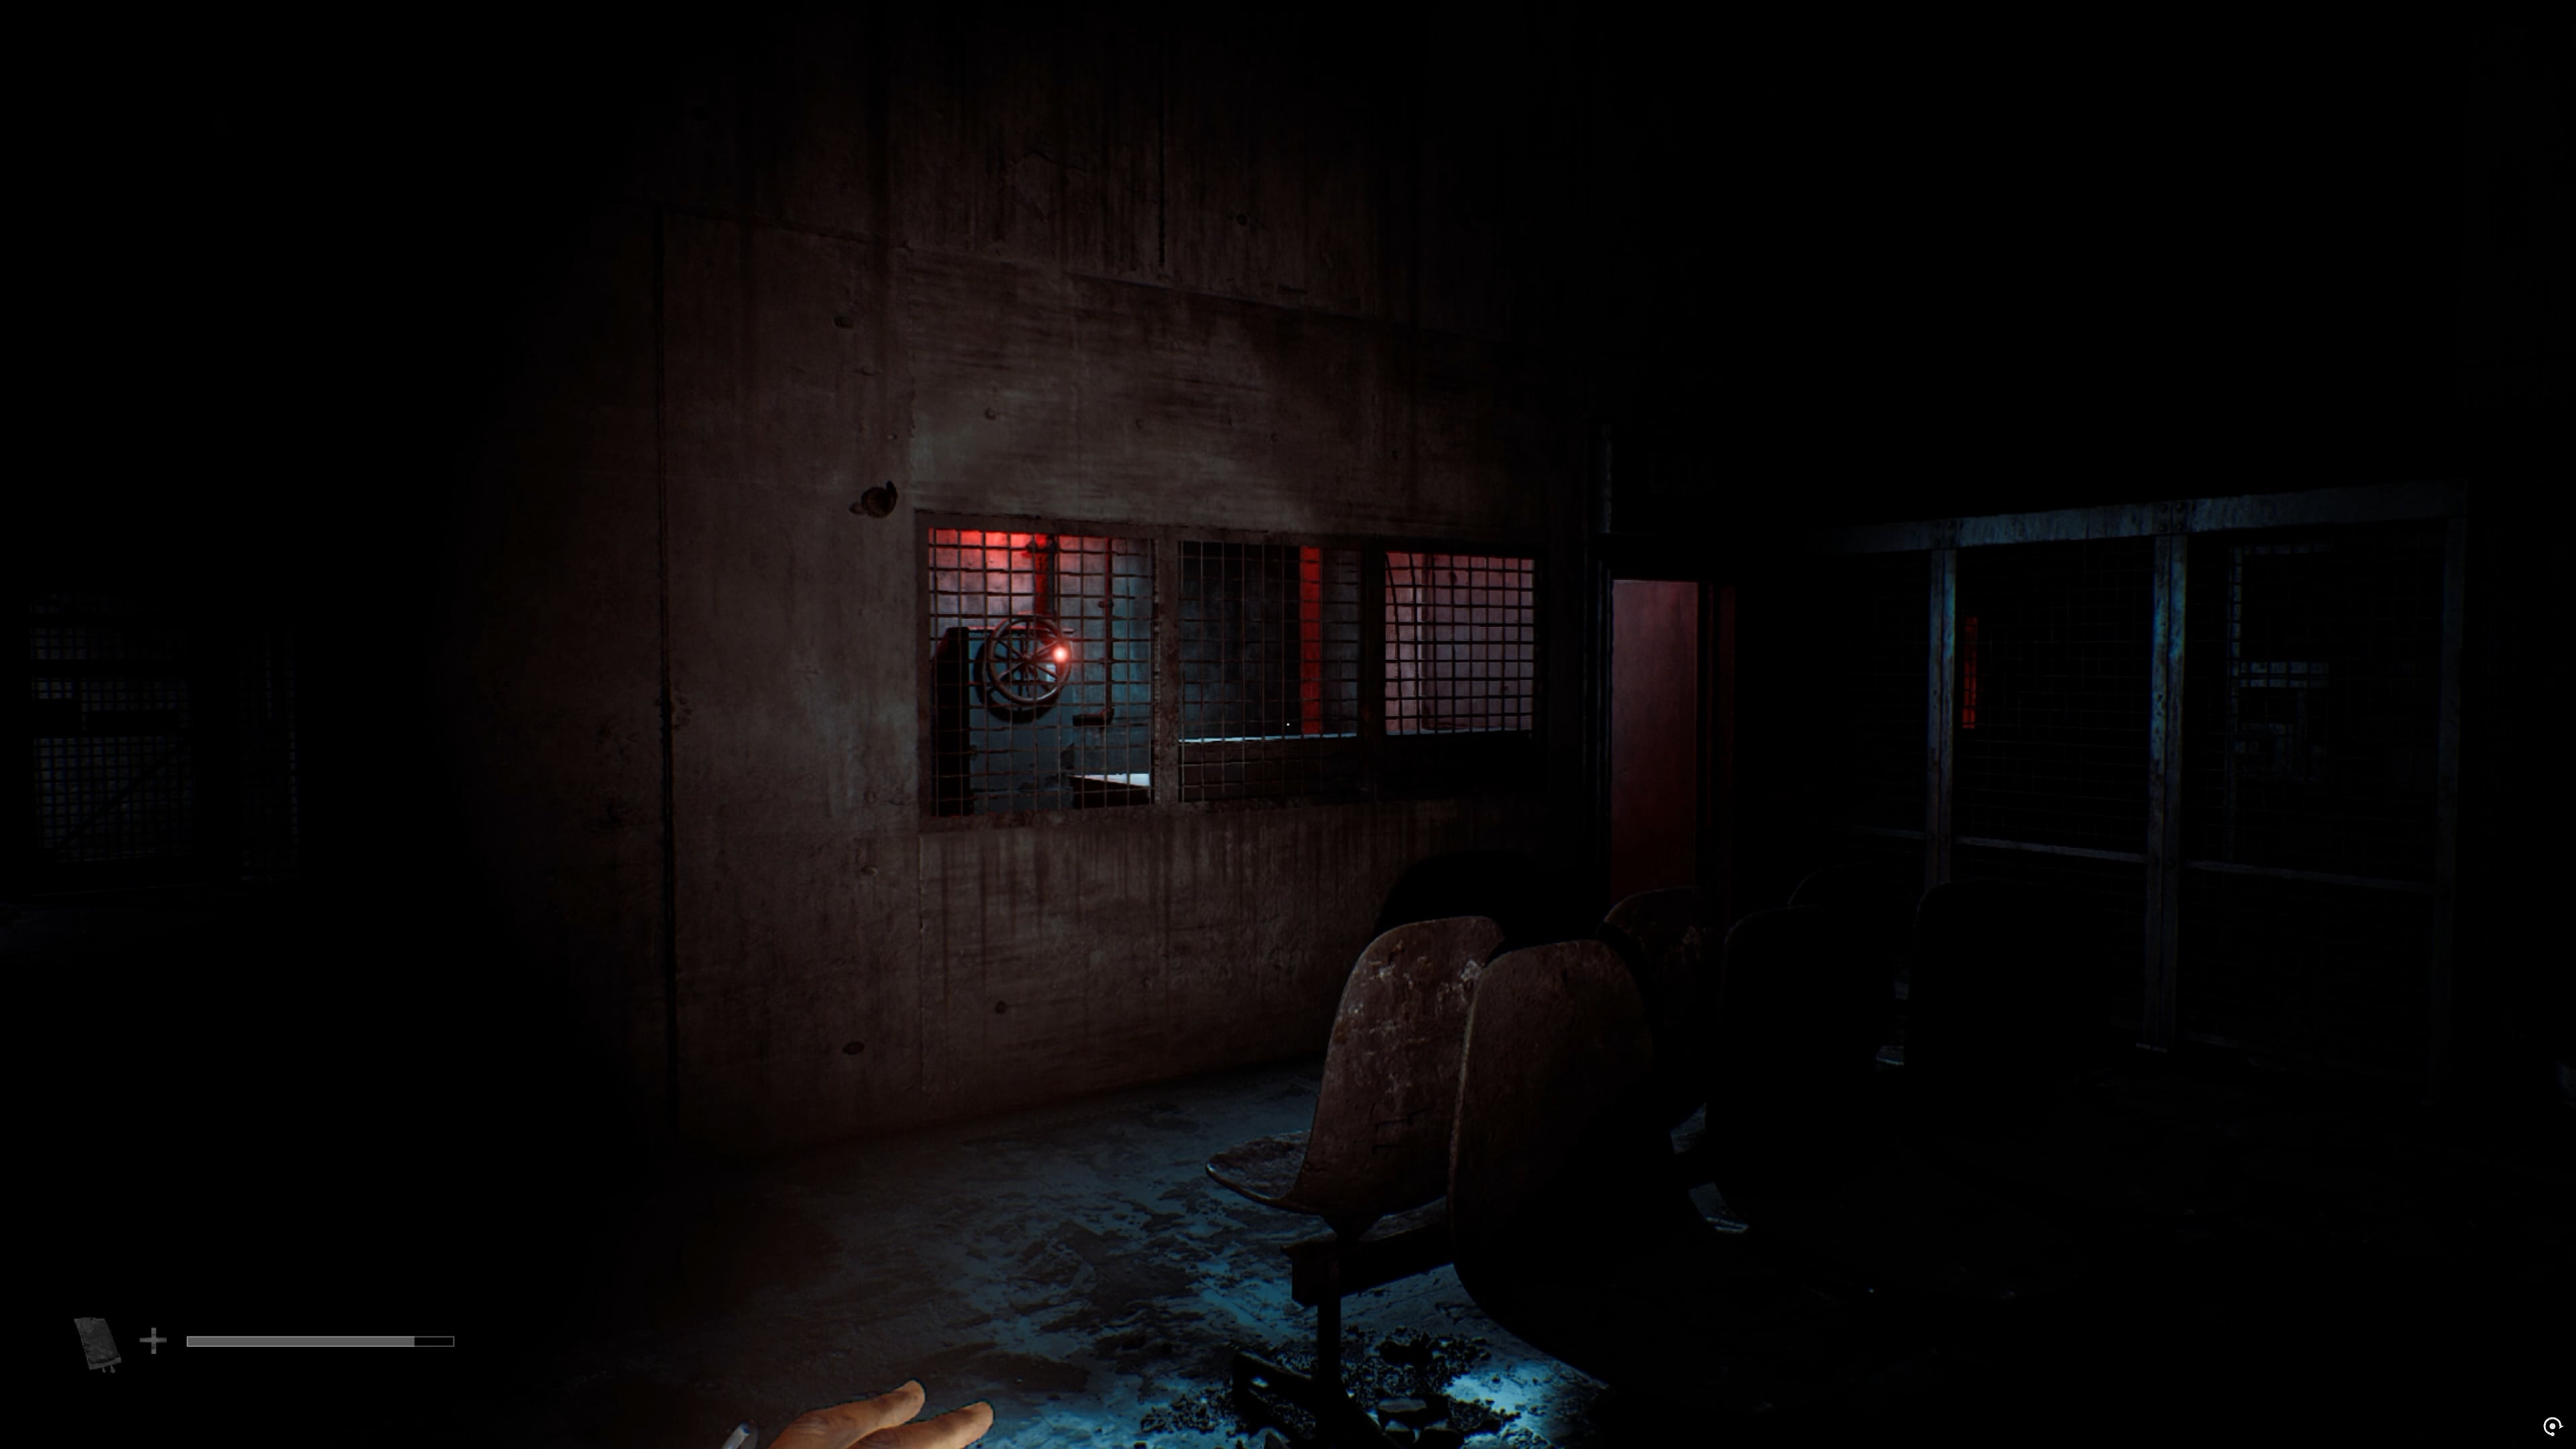
The other is in Room 10 (Step 16), and it can be tricky to get to from Room 05 because some of the corridors will be blocked off.
If you’re struggling to get there, I recommend the same tip that was given before – after you turn the valve in Room 05, run back downstairs and throw a brick or bottle against the far wall.
When The Weight comes down to investigate, run back upstairs and head to Room 10, and quickly turn the second valve.
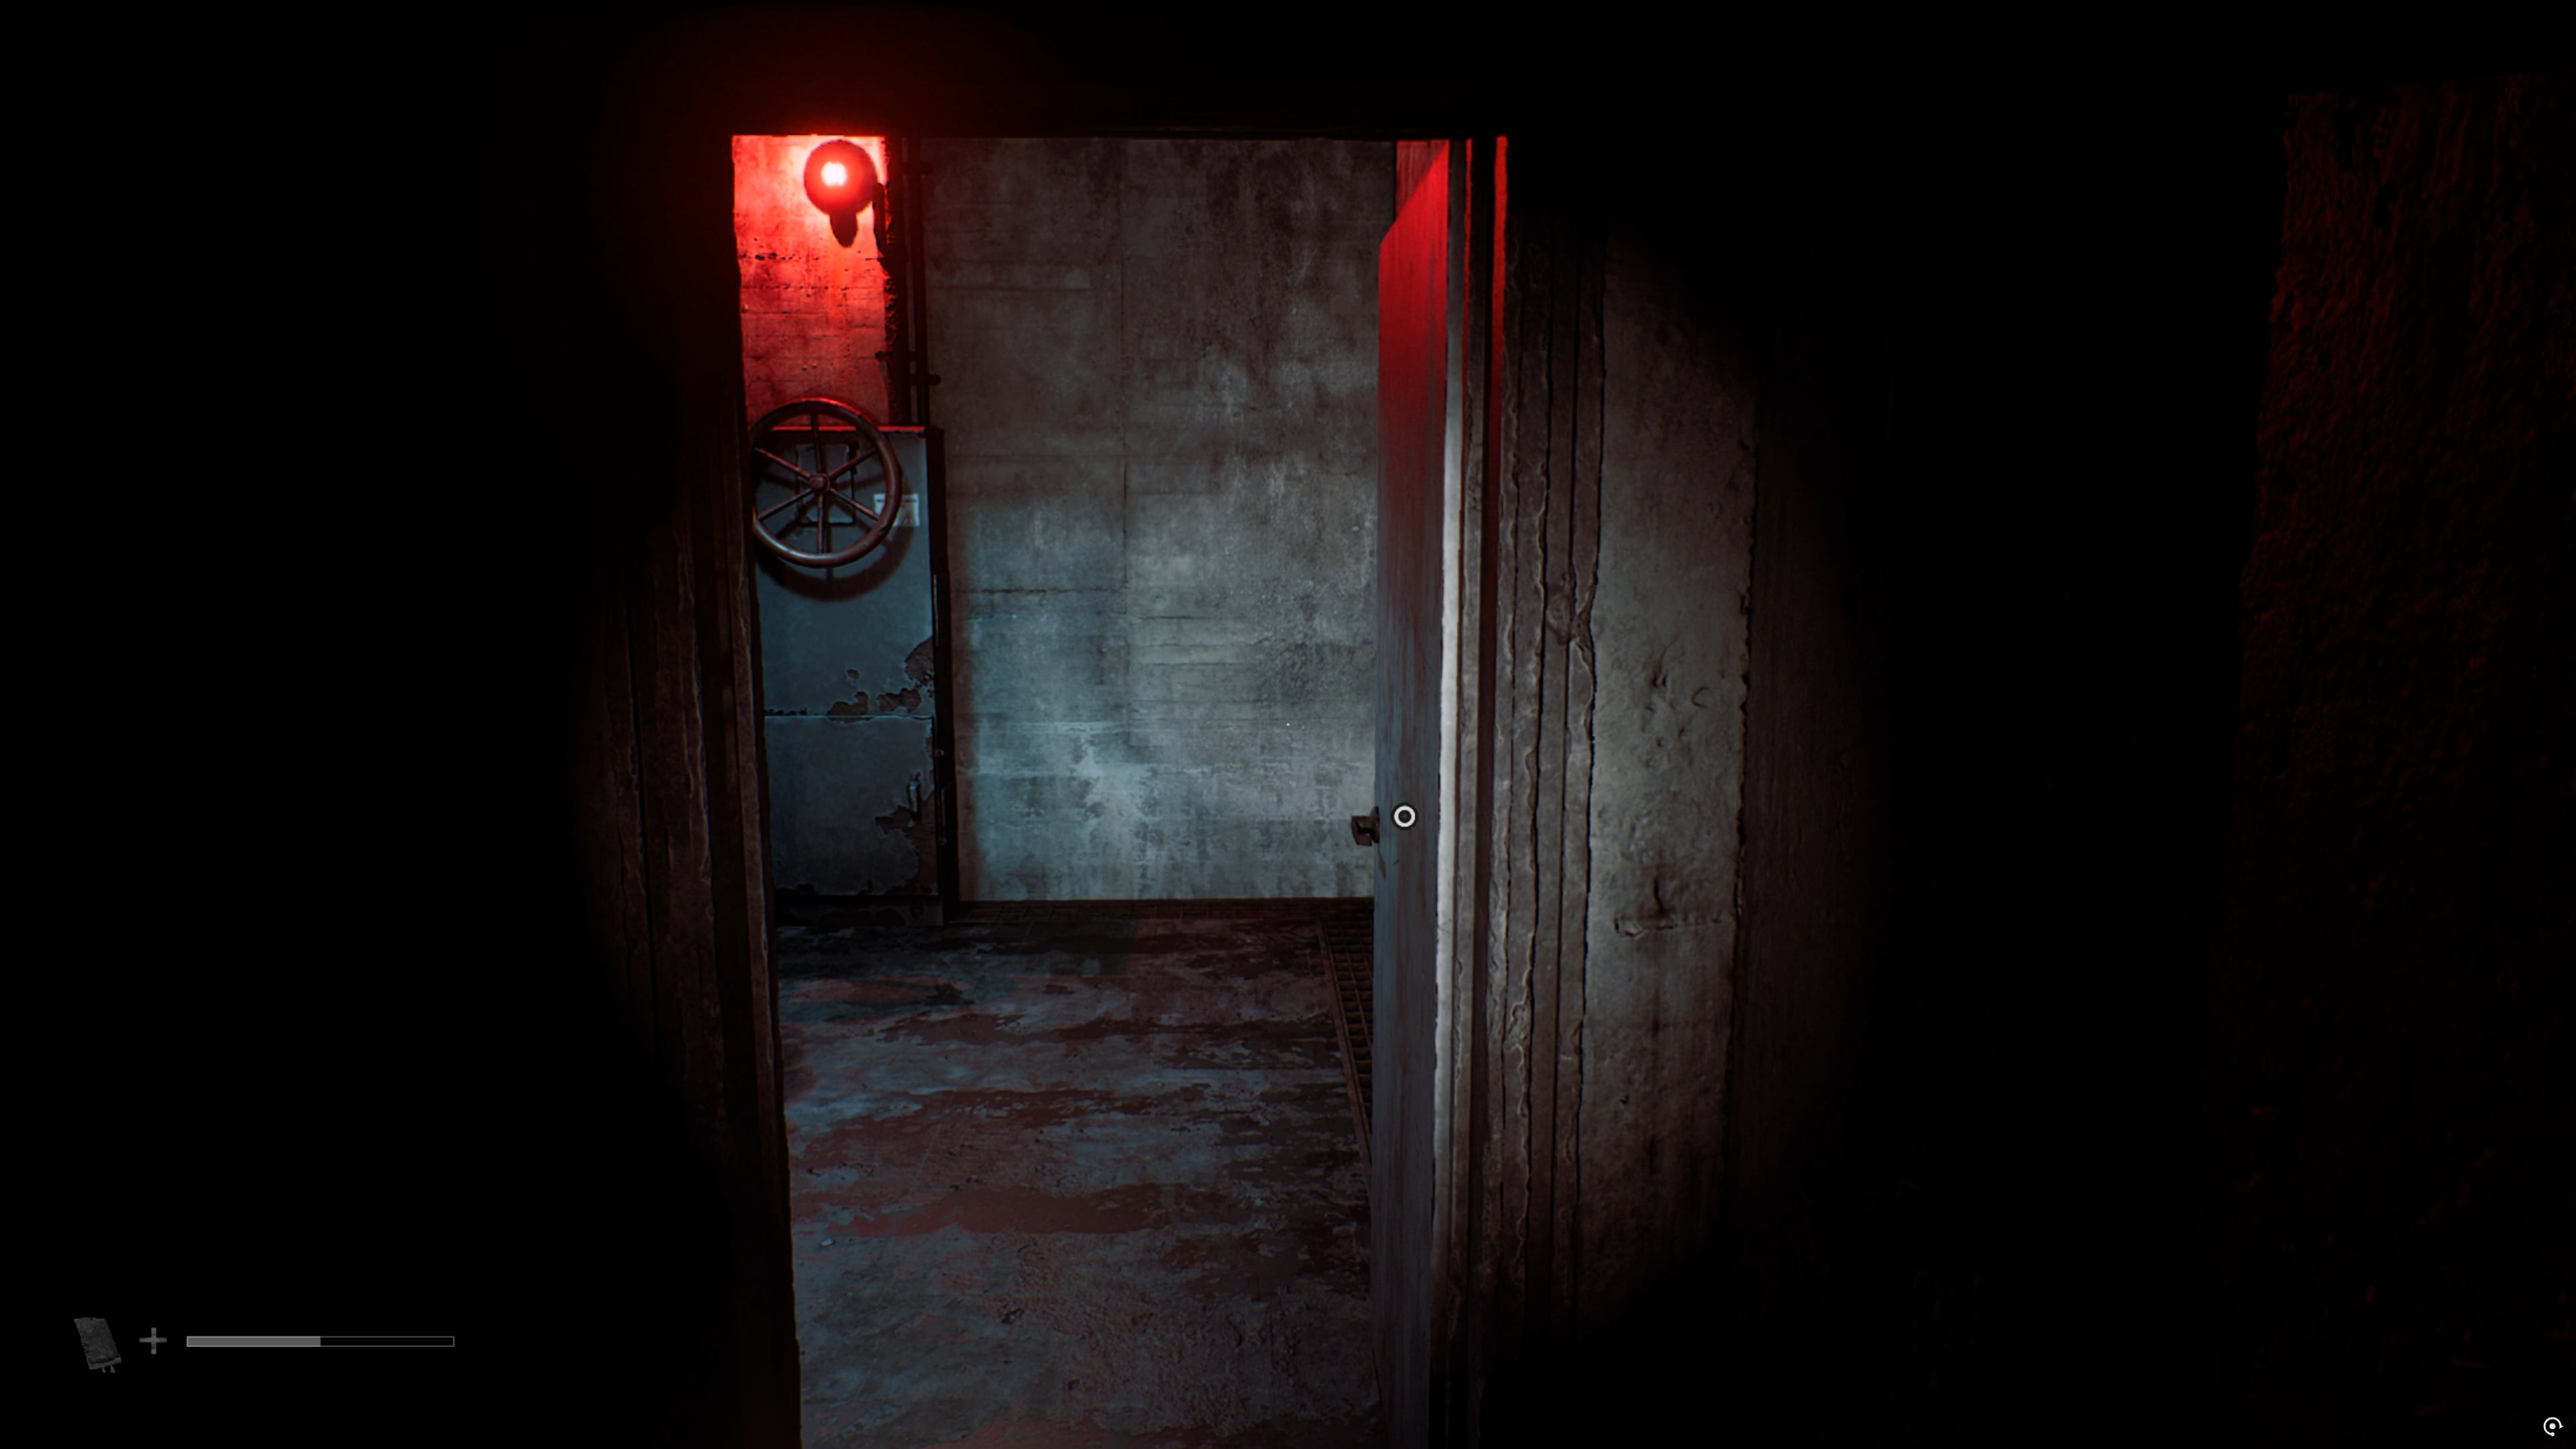
Once you’ve turned both valves the gates will open again, and you can head to the left-side of the top floor (Step 17) where you’ll find the ladder back up to safety.
Head back to the main area, save your game and relax. You still have a puzzle to solve, but the threat of death is gone for now.
Putting the blood bags in the correct places
Now you should have three blood bags in your inventory (the other two were used to open the doors to the west and east wings).
As you might have already figured out, they need to go into the blood transfusion machines located around the large central room, but they have to be placed in the correct ones.
Next to each machine is a report on each patient, explaining what their symptoms were.
The aim is to select the blood bag which matches each set of symptoms.
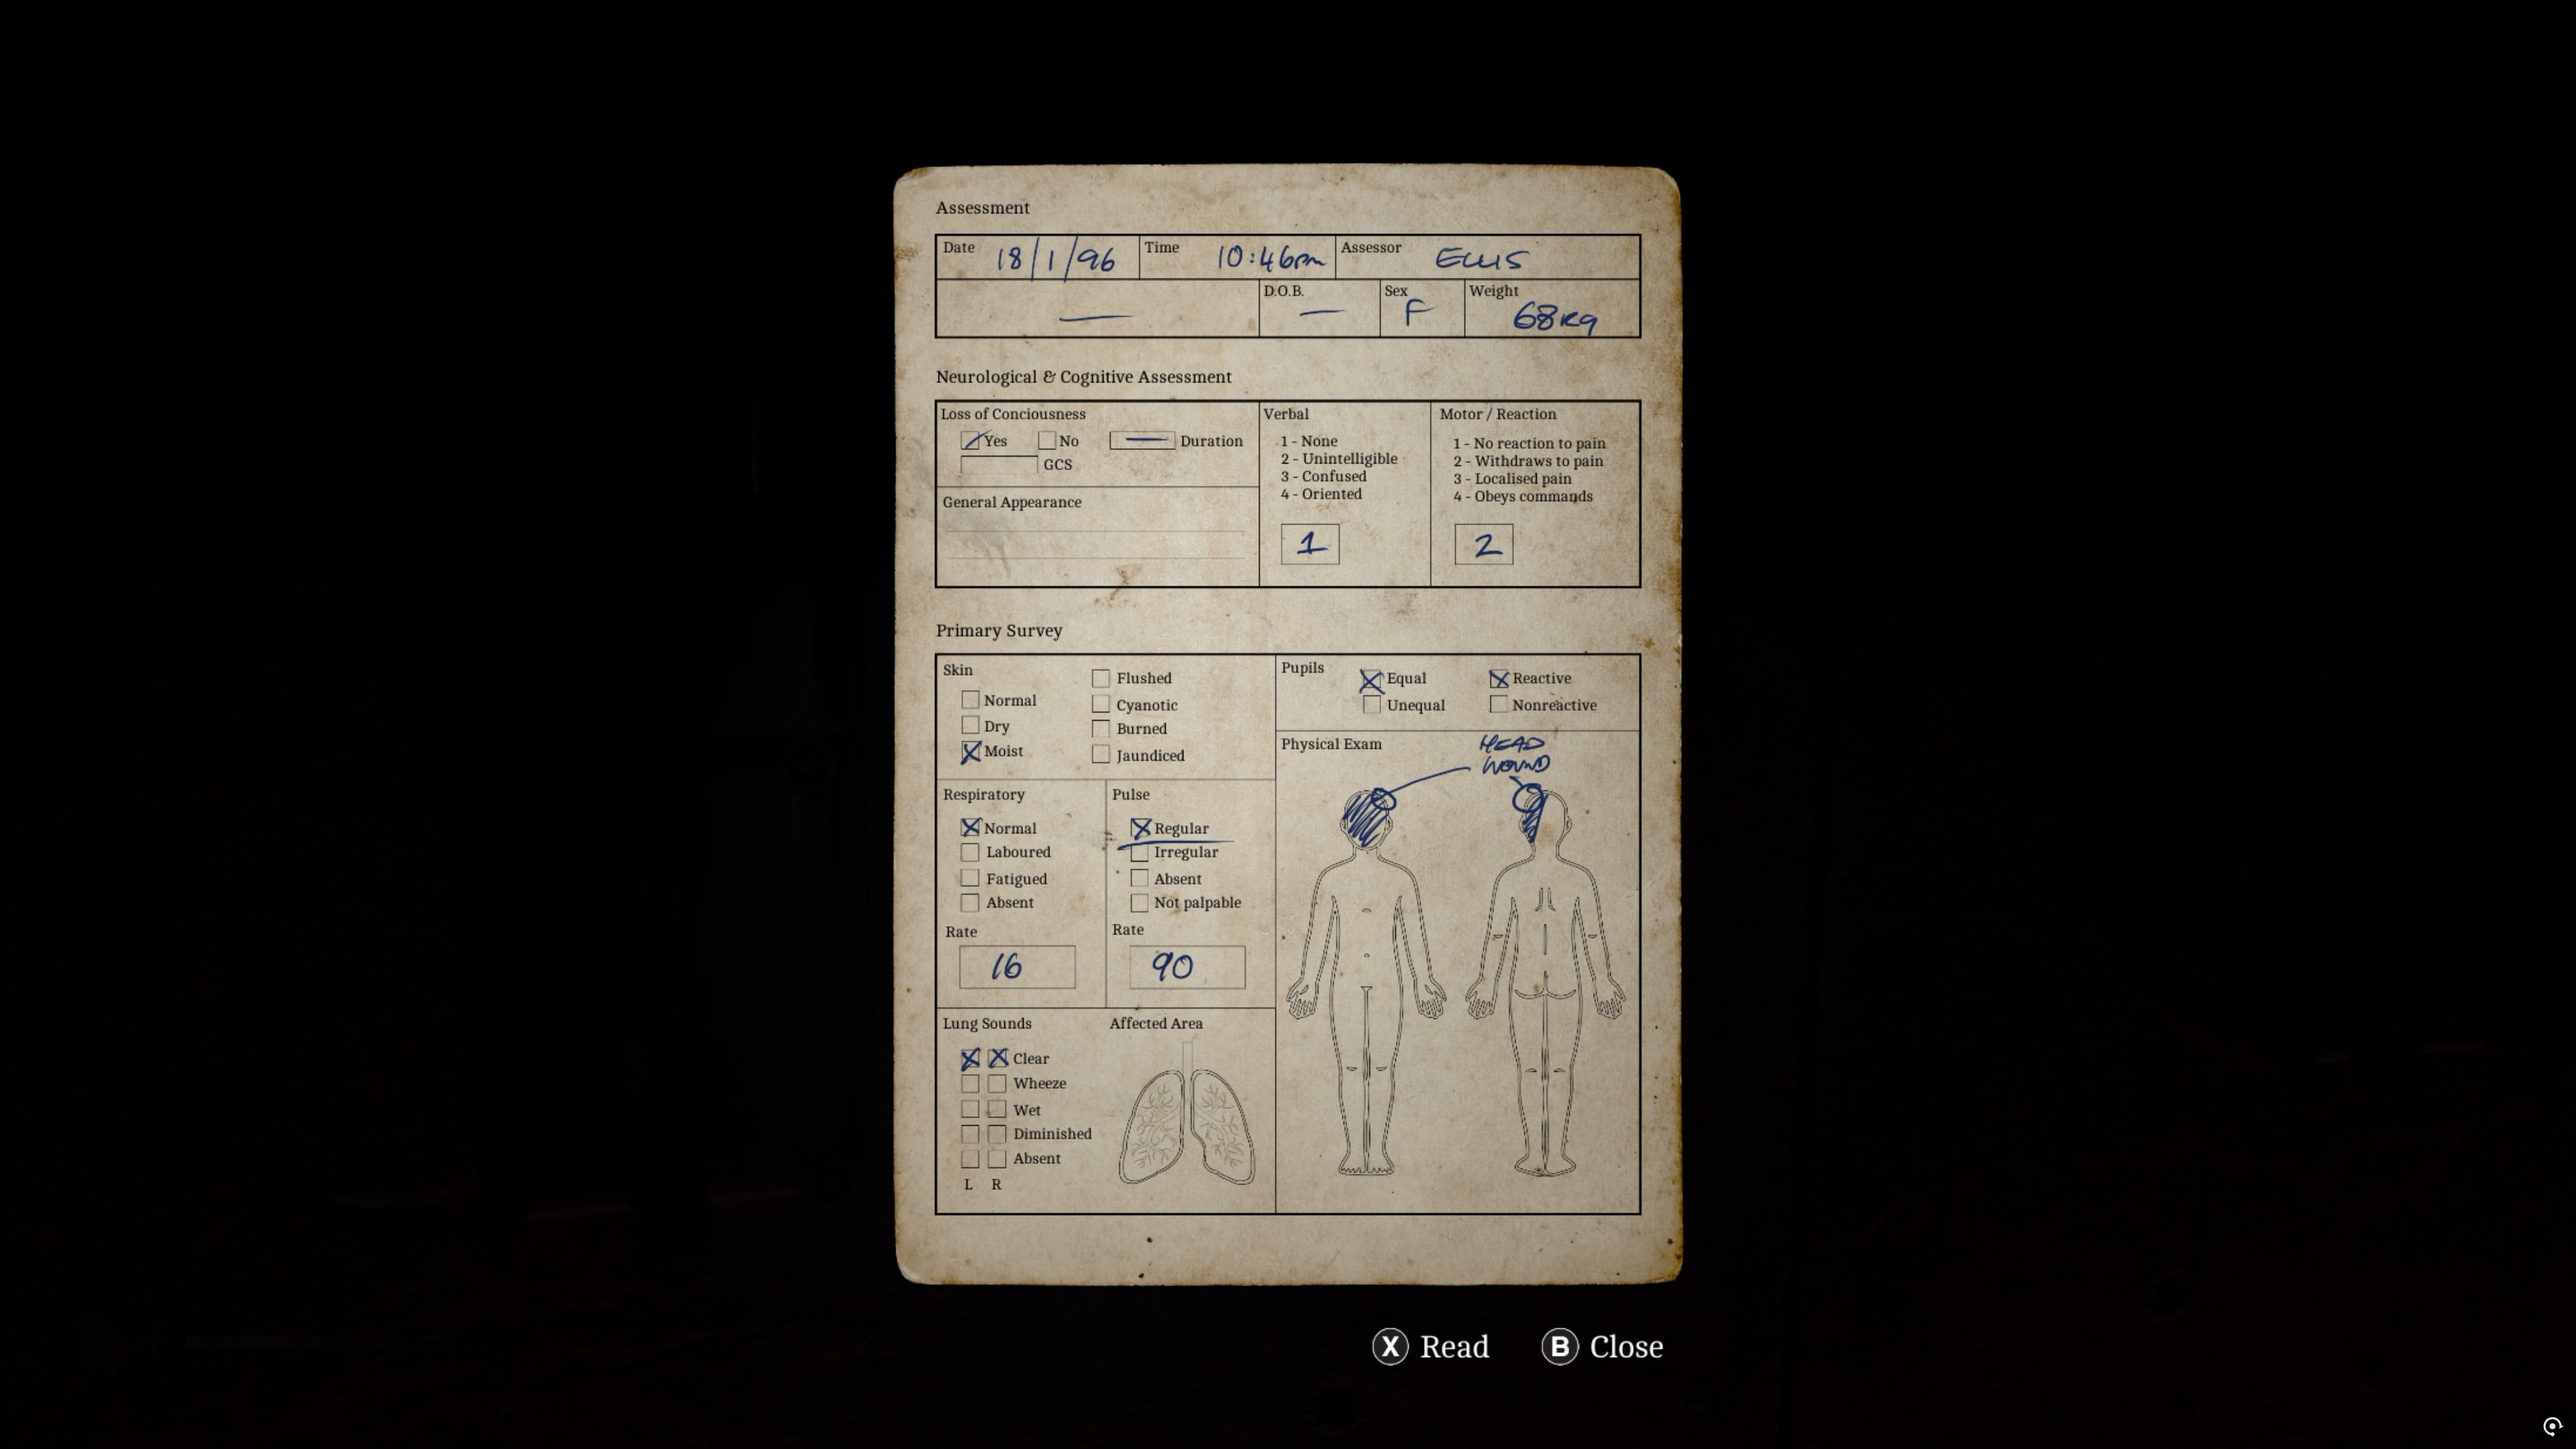
On the left-hand side (with you facing the large door in the middle), the first empty machine has a report for a patient with a head wound.
When you examine Sarah Watson’s blood bag it says: “Rhythm holds. Head doesn’t.” So her bag has to go in the left-hand machine on the left side.
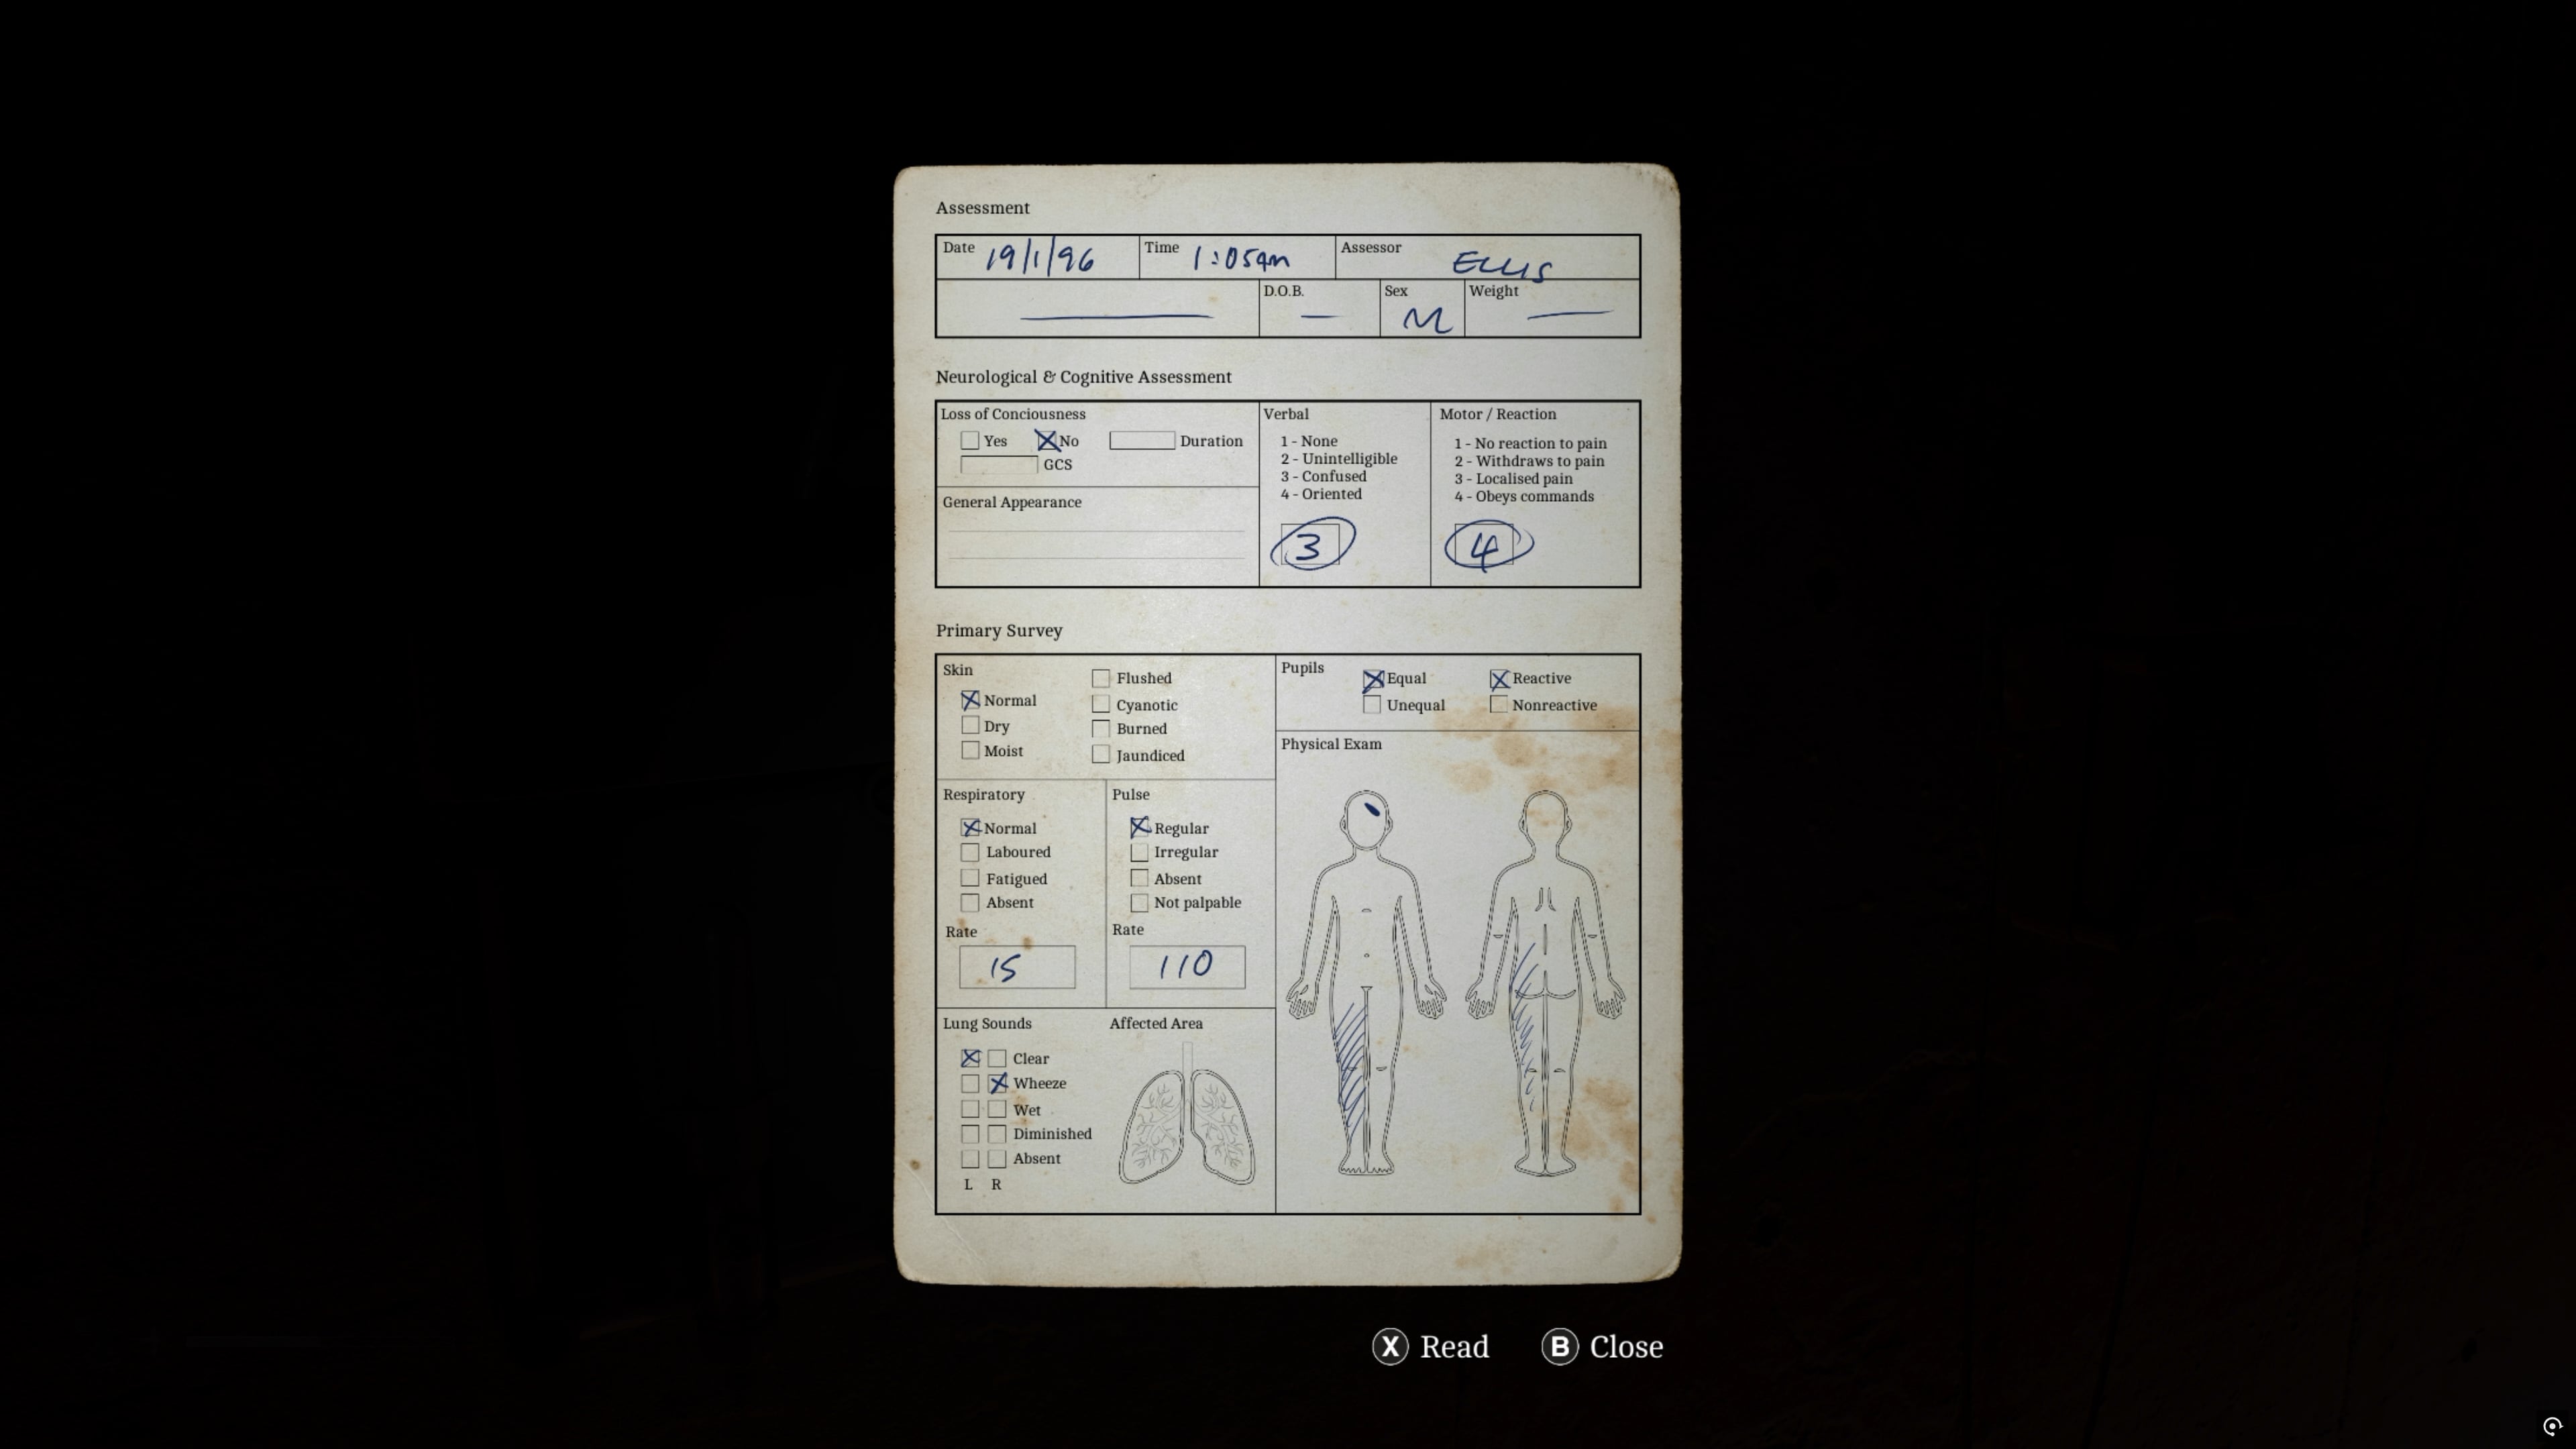
The one to the right of this has a report for a patient whose verbal skills are classified as “confused” and motor/reaction skills are logged as “obeys commands”.
The description for Matthew Clark’s blood bag says “Words scatter. Body complies.” His bag has to go here, in the right-hand machine on the left side.
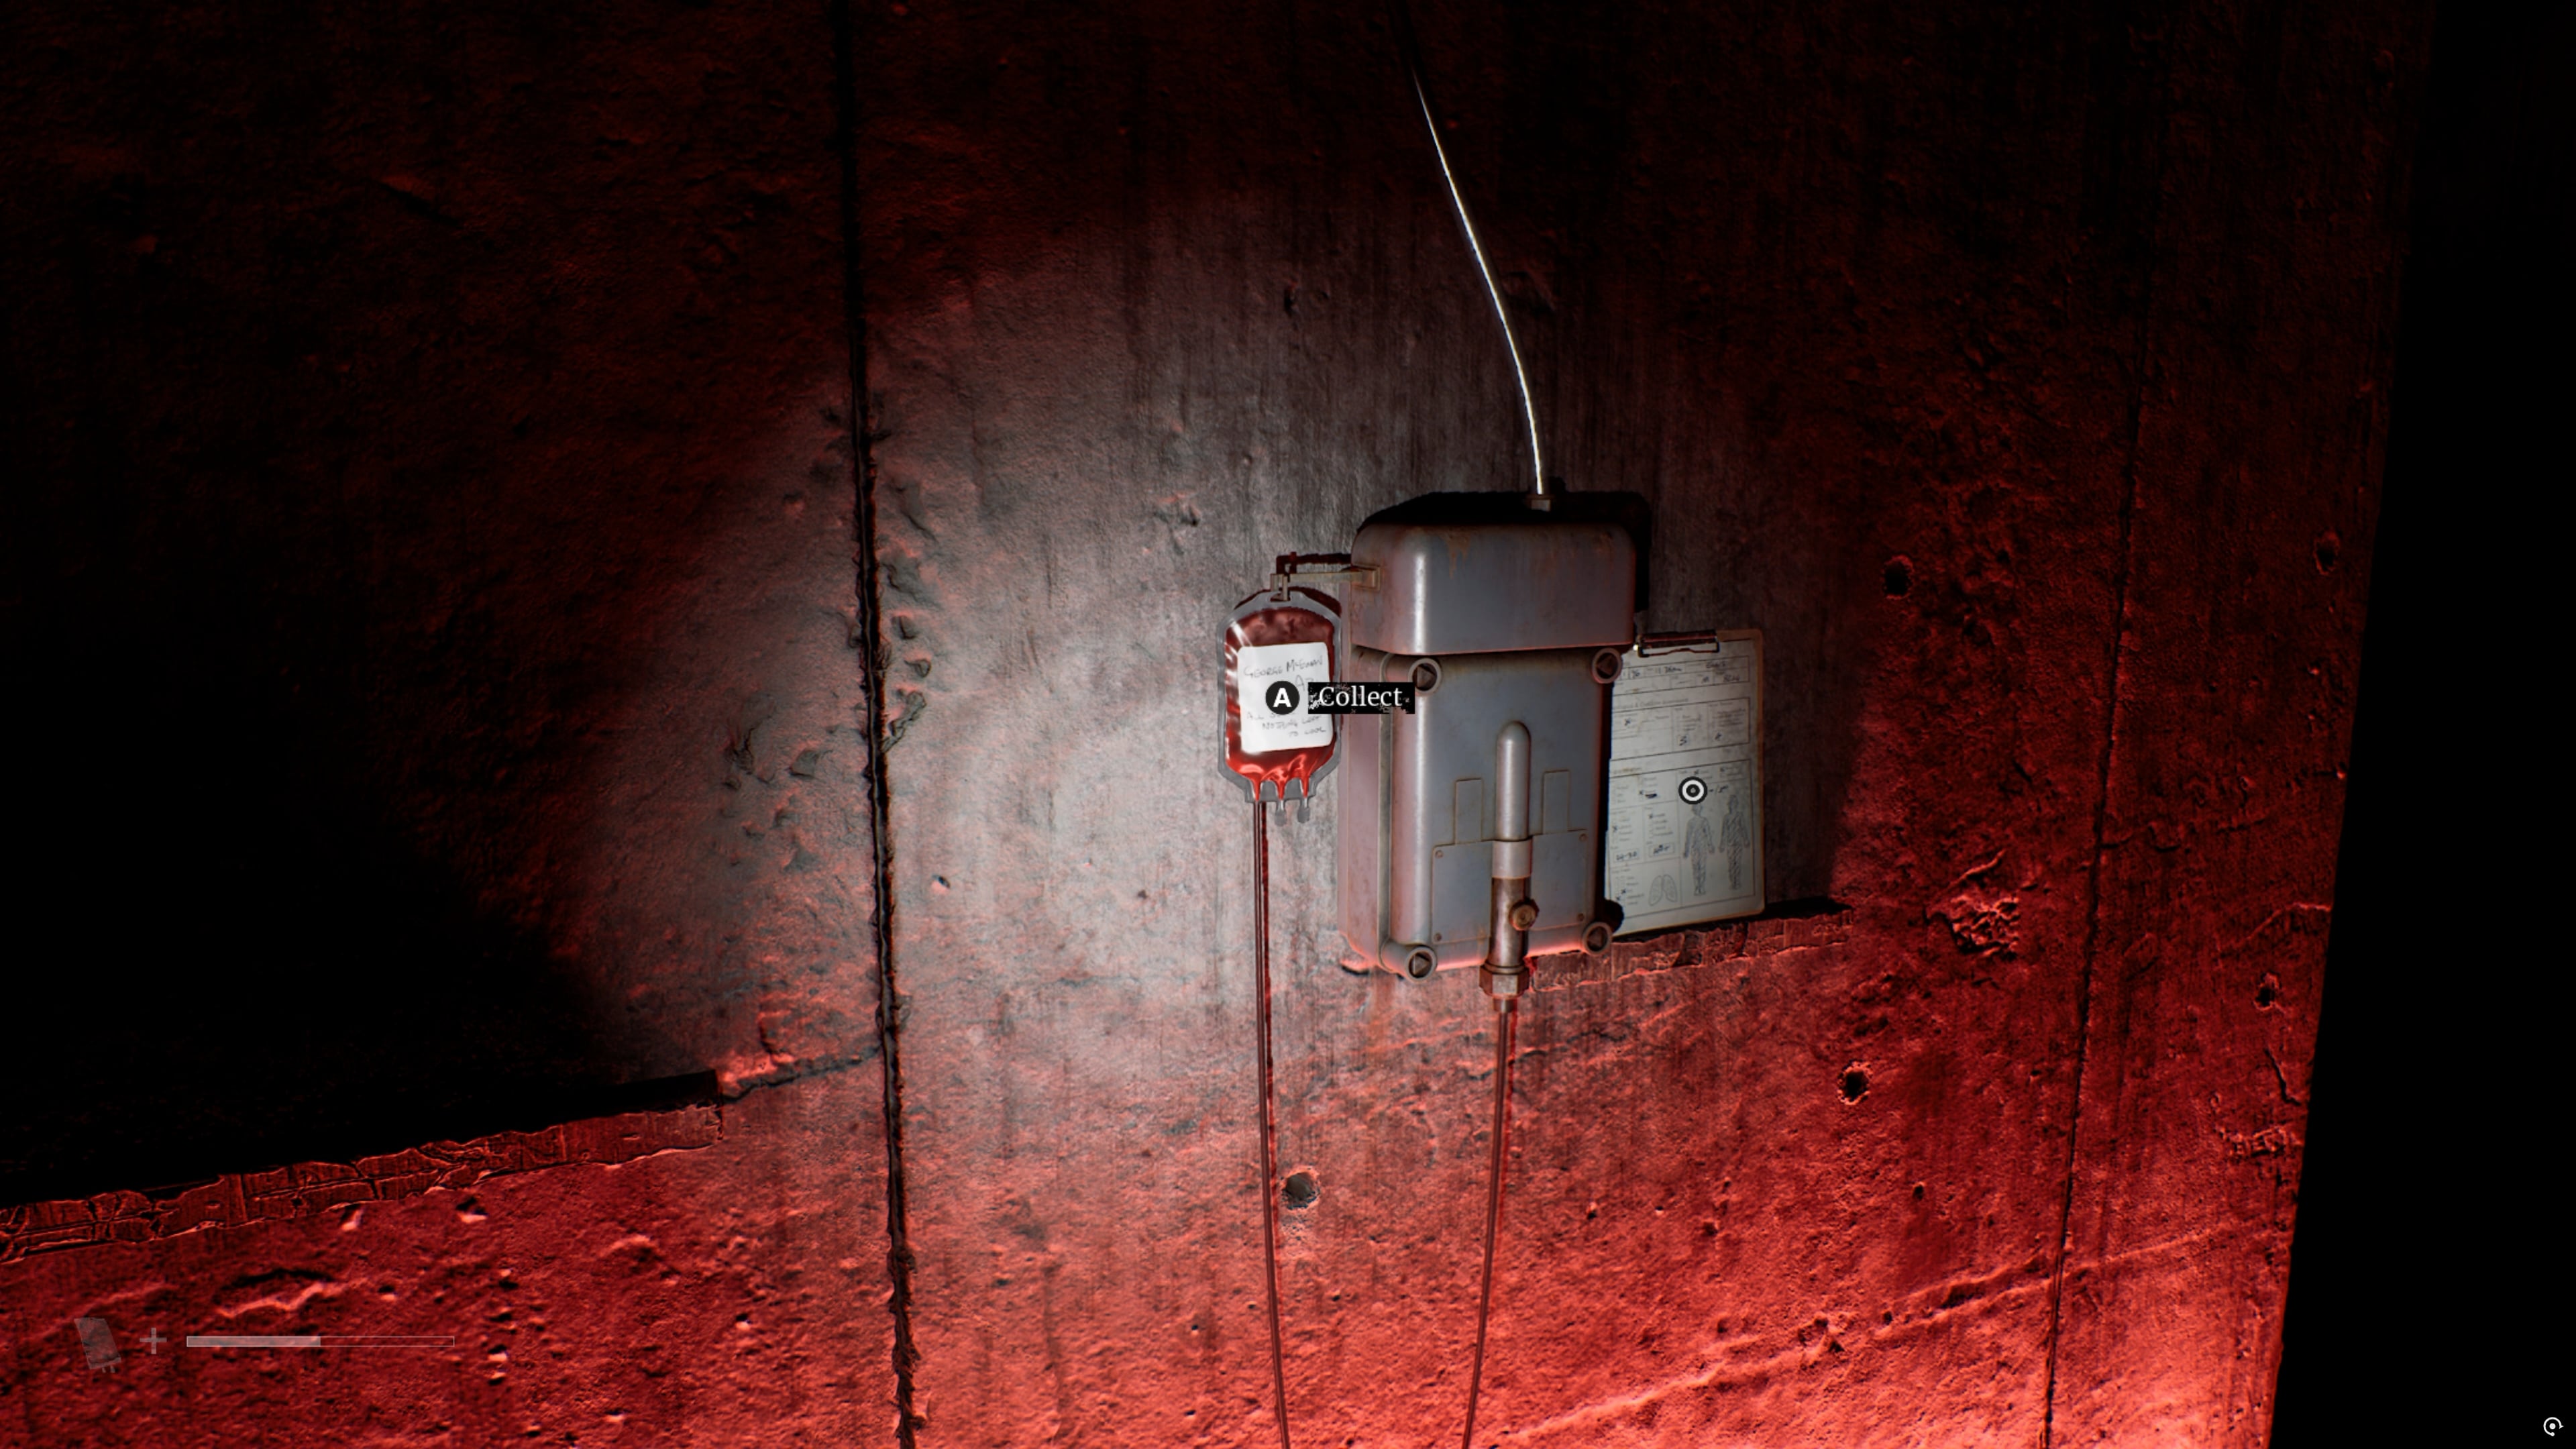
Finally, there’s one machine on the right. You’ve probably already figured out what to do here since you only have one blood bag left but let’s go over the logic anyway.
The report for this one says the patient is covered in burns, while George McEwan’s blood bag description reads: “All over. Nothing left to cool.” Sure enough, then, place George McEwan’s bag on the right-hand machine.
Once all three bags are in the right place, go over to the large door in the middle and hit ‘Transfuse’ on the machine next to it.
The blood bags from all the machines (including the three you just placed) will all transfuse into the machine, and the door will finally open.
Hooray! Um, except now you have one final puzzle to do.
Solving the ‘Ordell’ blood type transfusion door puzzle
At first glance, this one is absolutely bewildering.
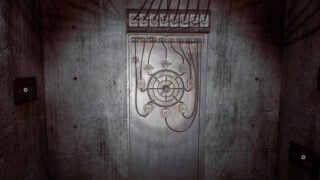
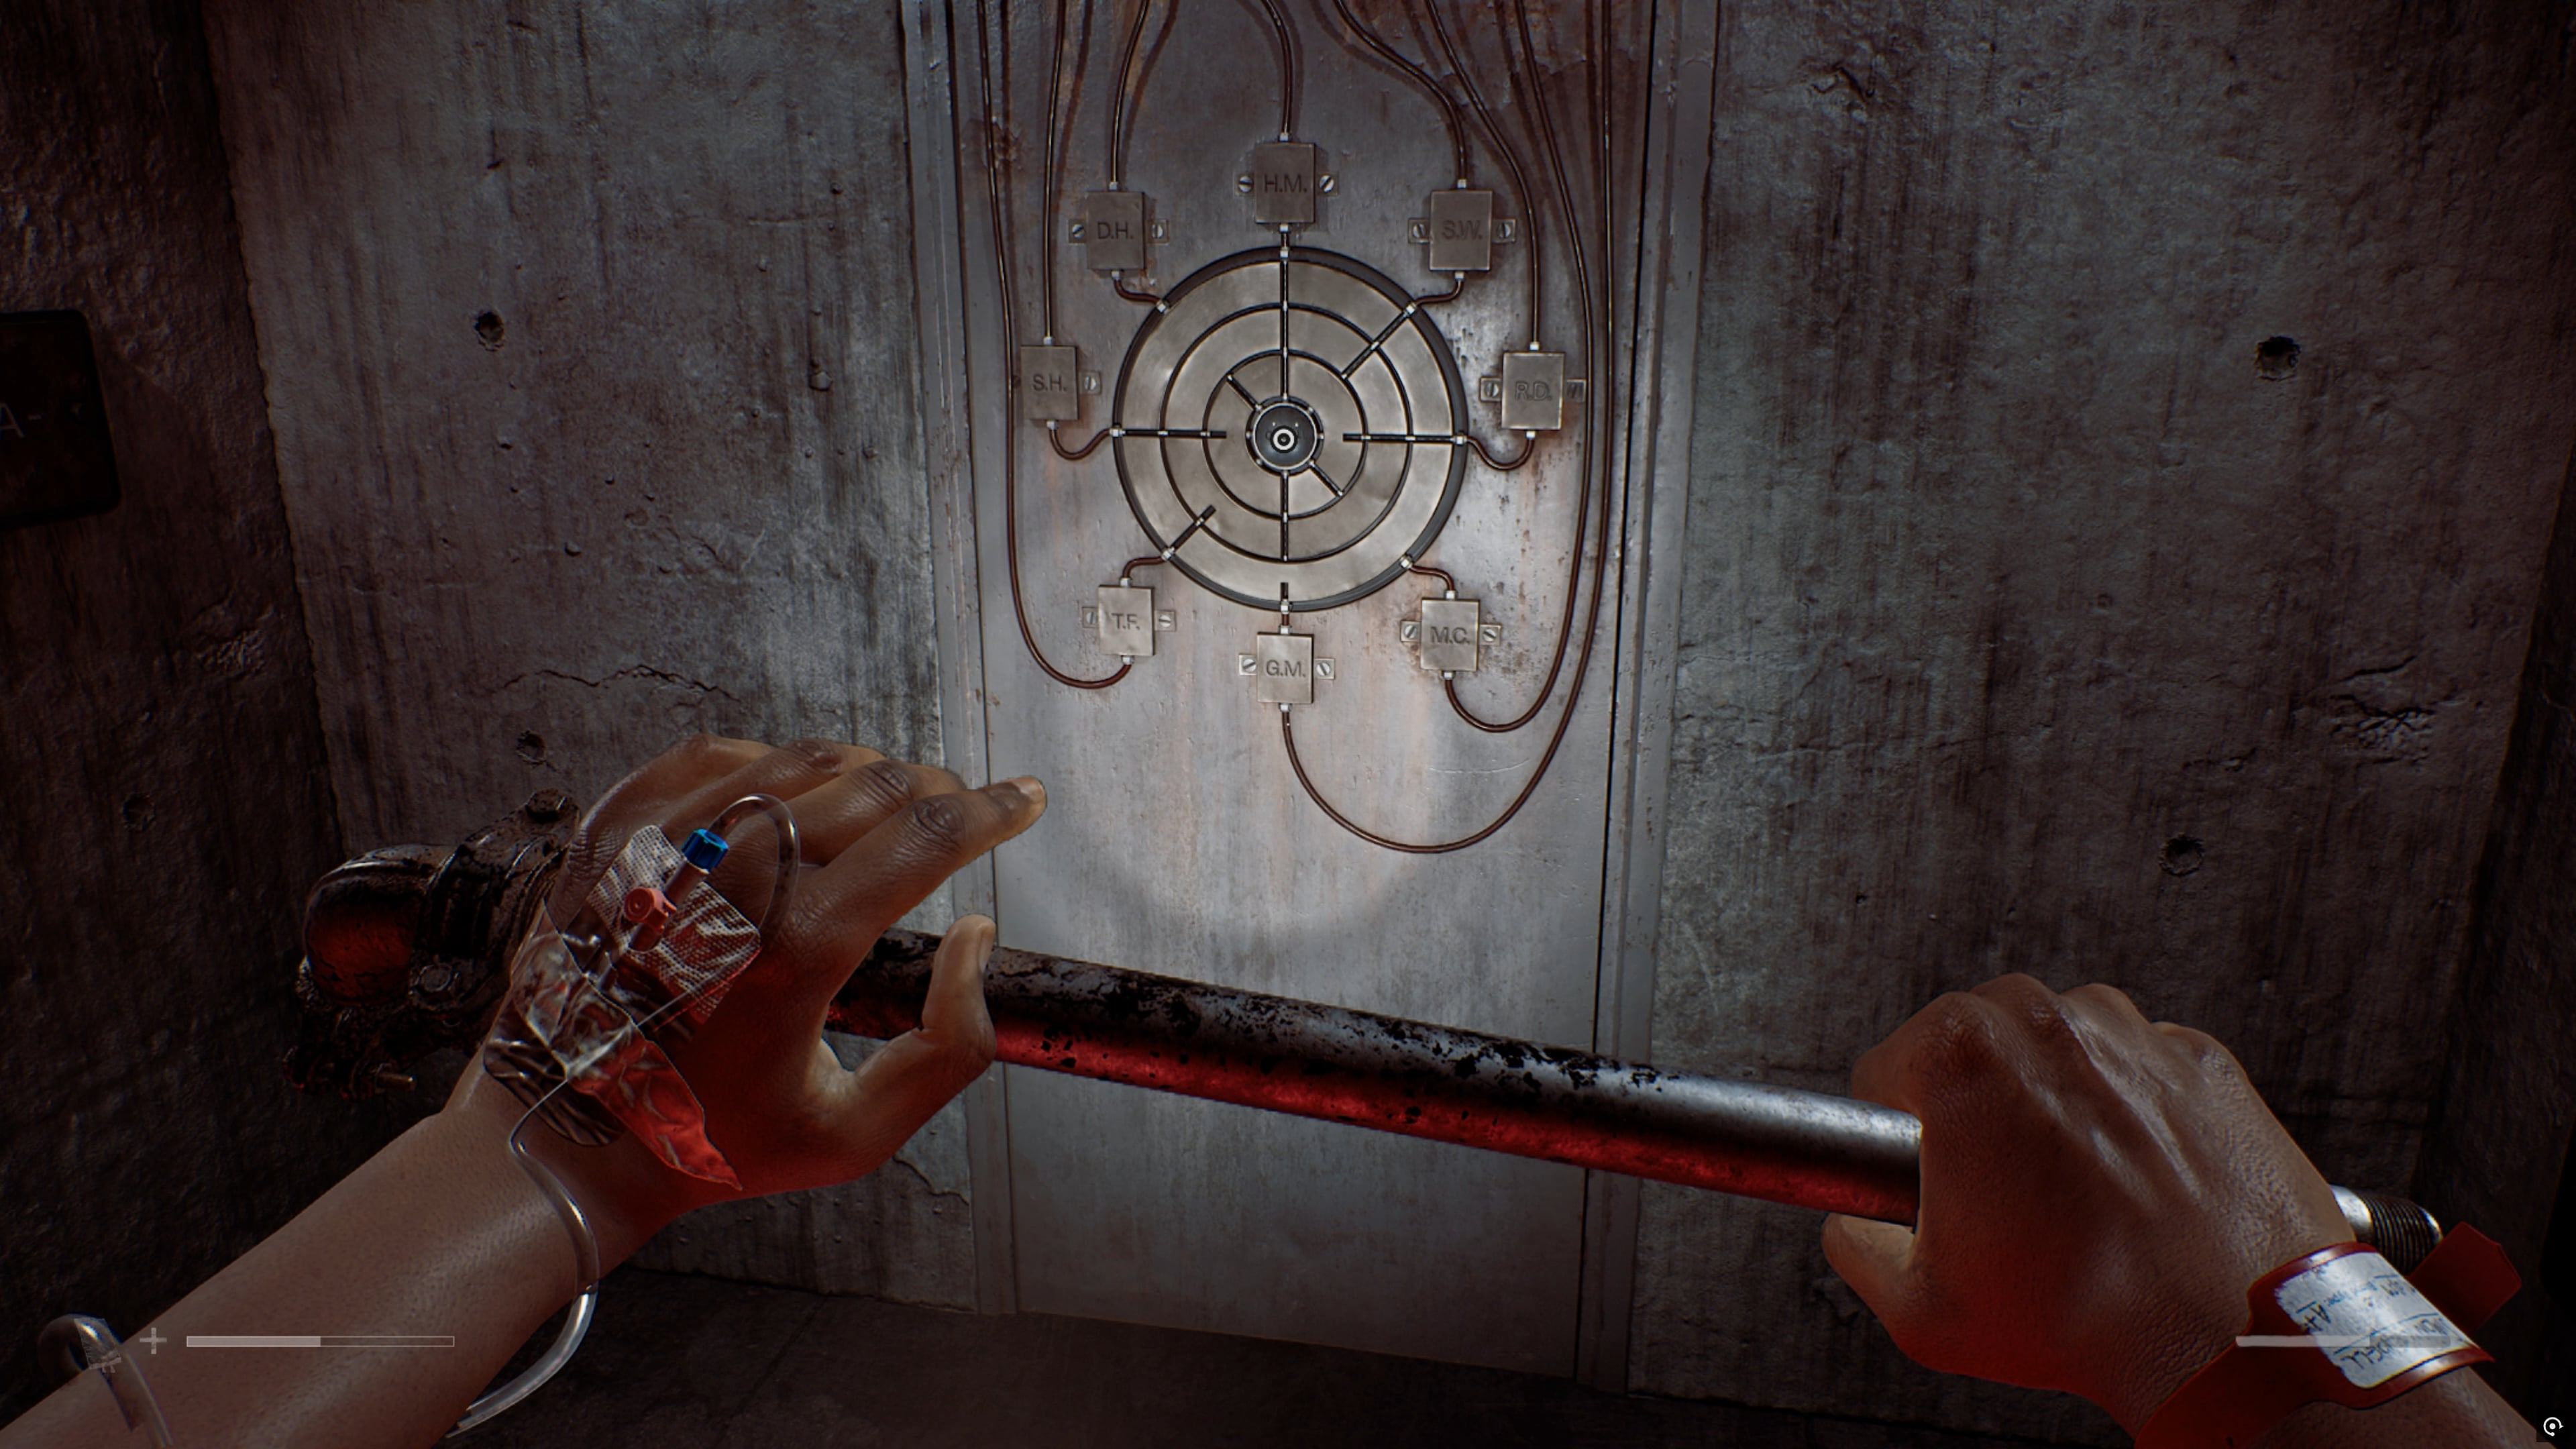
Inside the final room is another door, containing a large circular display with a bunch of letters around it, a rotating dial and some signs on the wall relating to blood types.
In case you haven’t figured it out, the letters on the door all correspond to the patients whose blood bags are set up in the previous room. If you look above, you can see that all their blood bags are running through tubes into this final door puzzle.
In the middle of the dial is the word ‘Ordell’. You’d be amazed how many people are confused here, but if you’ve been paying attention you’ll know that the character you play is called Simon Ordell. It’s been written on your wristband the entire game, after all. This is your door, you see.
If you head into your inventory and look at the Medial Wristband – or just equip a pipe and hold the block button to raise his arms and let you see it for yourself – Simon’s blood type is A+.
With this knowledge, you have to look at the signs on the wall.
Each of these signs refers to which blood types are compatible during a transfusion. If someone of a certain blood type gets the wrong type in a transfusion, it won’t work.
Look for the A+ sign and you’ll see that Simon’s blood is compatible with O-, O+, A- and A+ blood types, but nothing else.
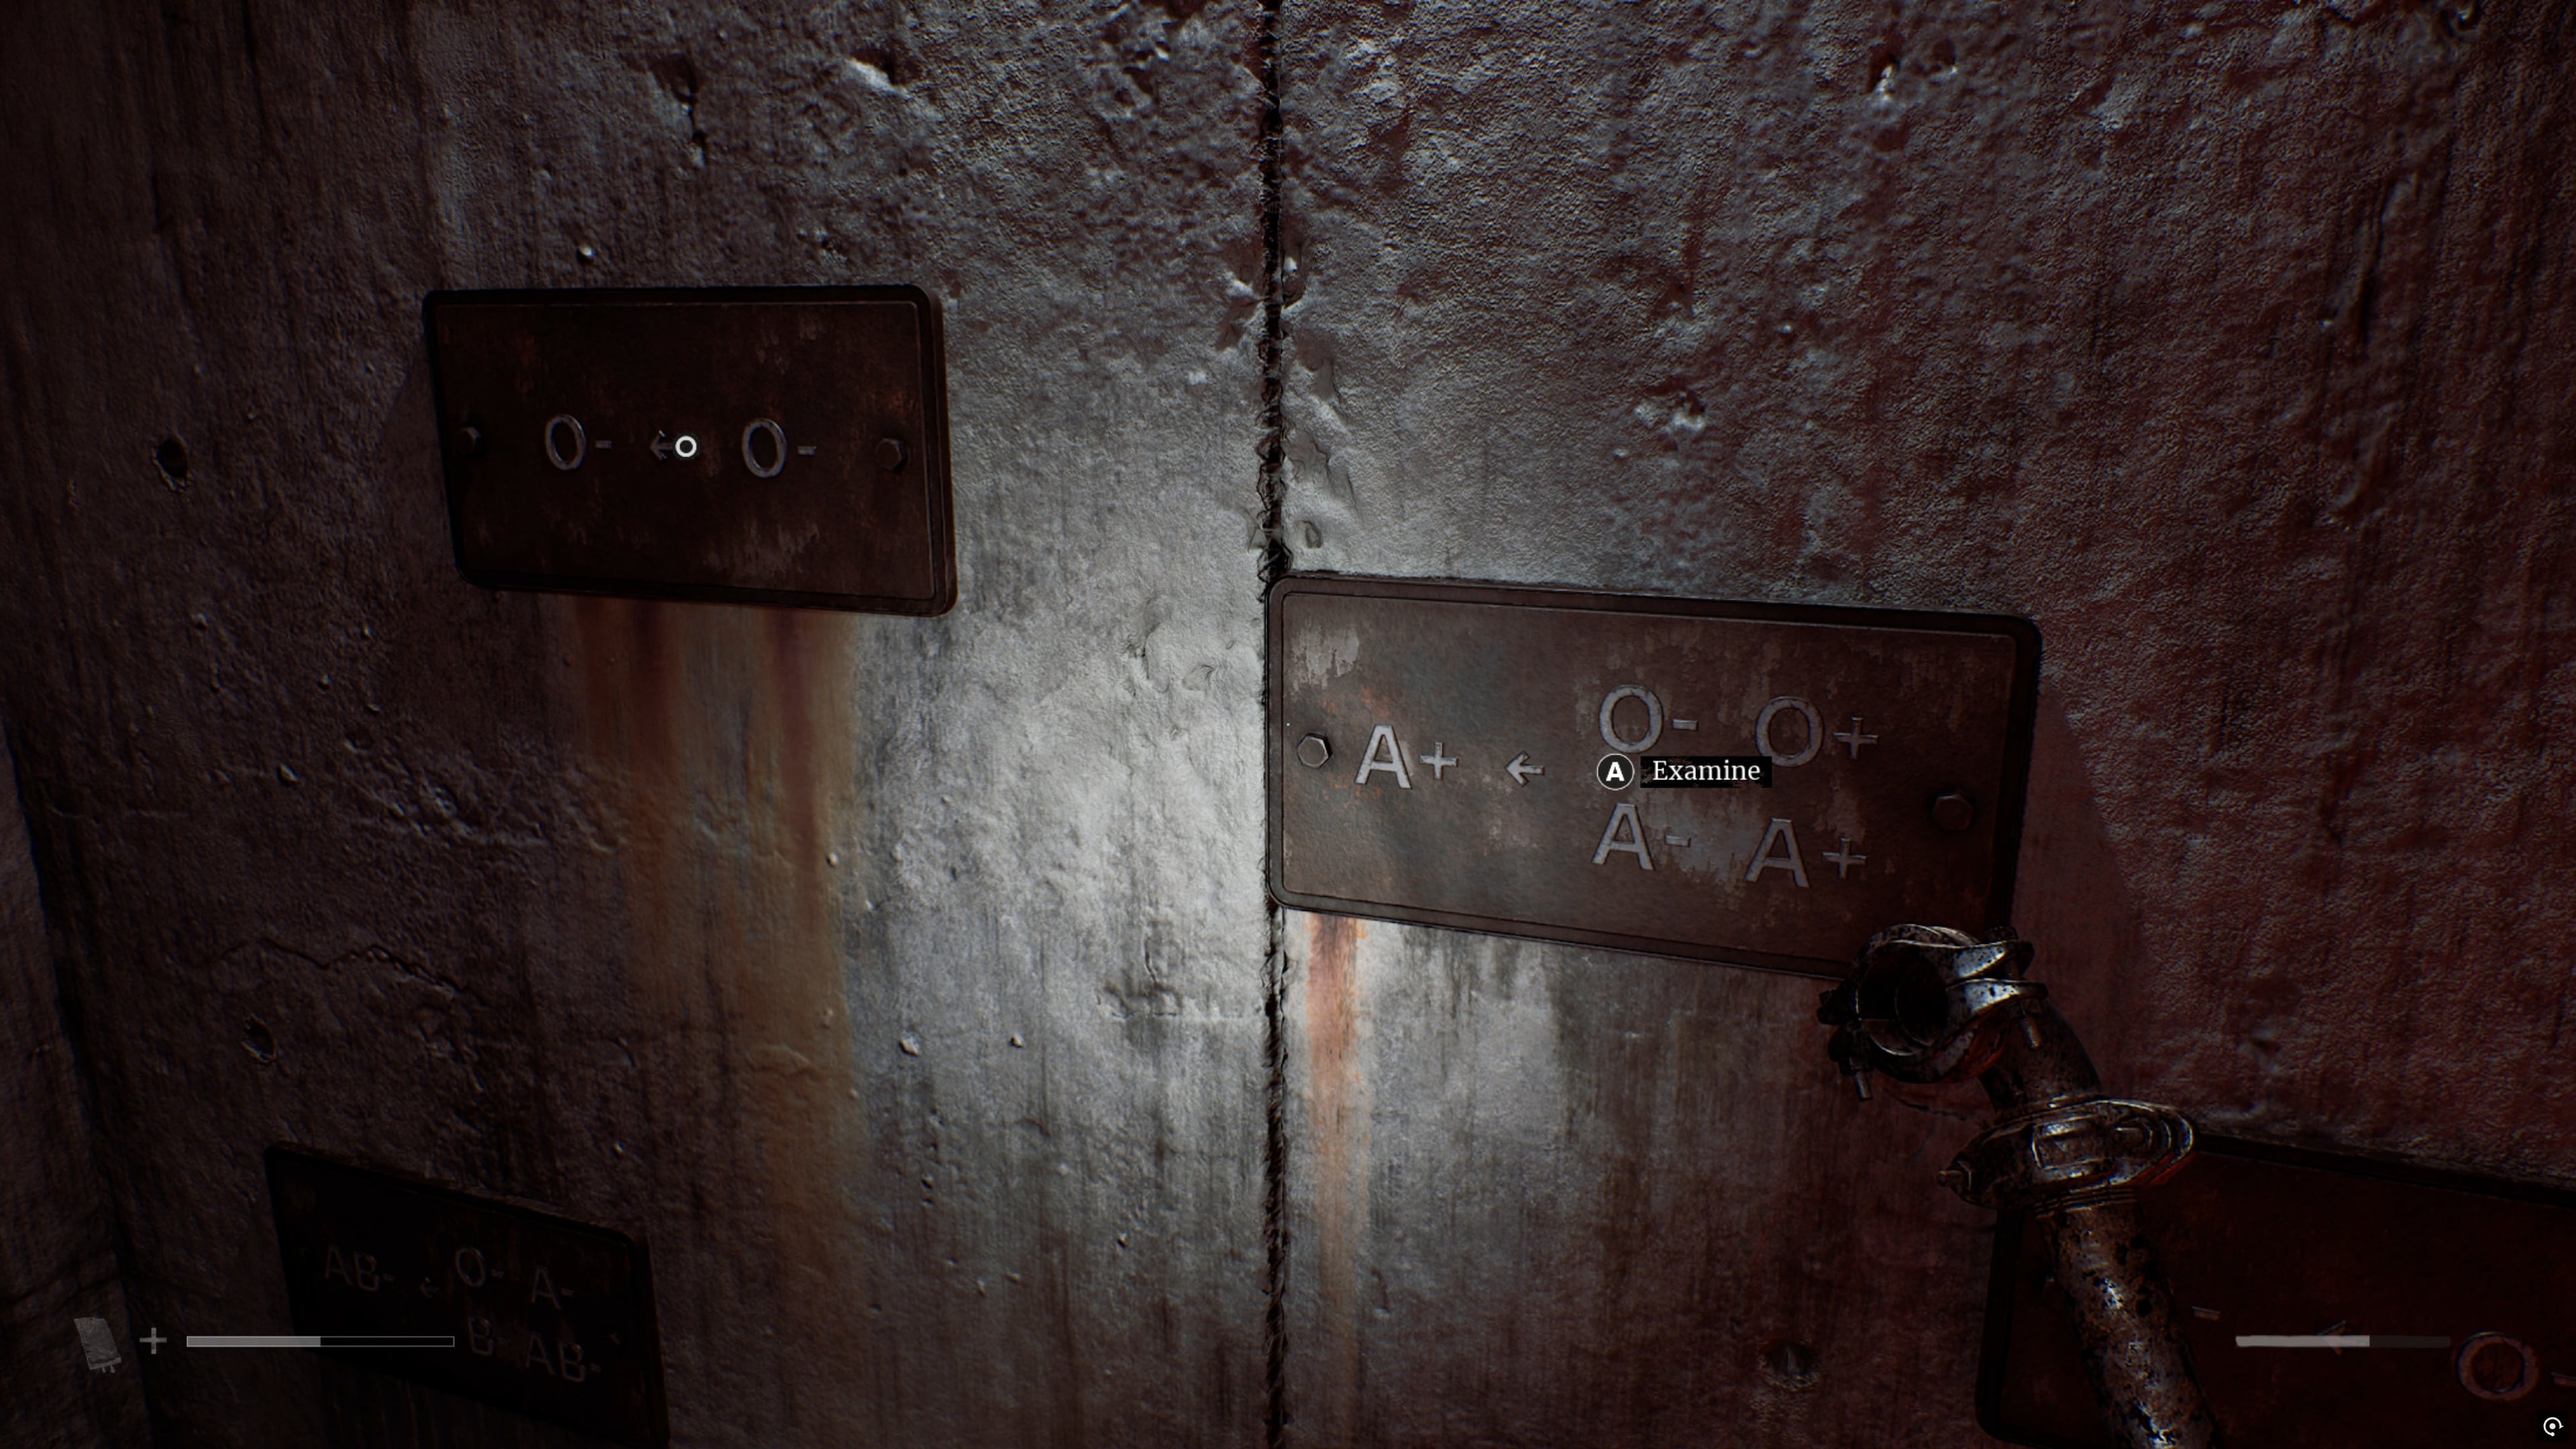
So what does this mean, exactly? Well, first you have to go back out to the blood bags in the main room and check every bag, because they’ve all got blood types written on them.
Once you do this you’ll see that Thomas Fergusson (O+), Hannah McGregor (O-) and Sarah Watson (A+) are the only patients whose blood is compatible with Simon’s.
The aim of the puzzle, then, is to rotate the dials so that only the TF, HM and SW pipes reach the Ordell panel in the middle. If you can’t be bothered figuring it out, here’s the solution:
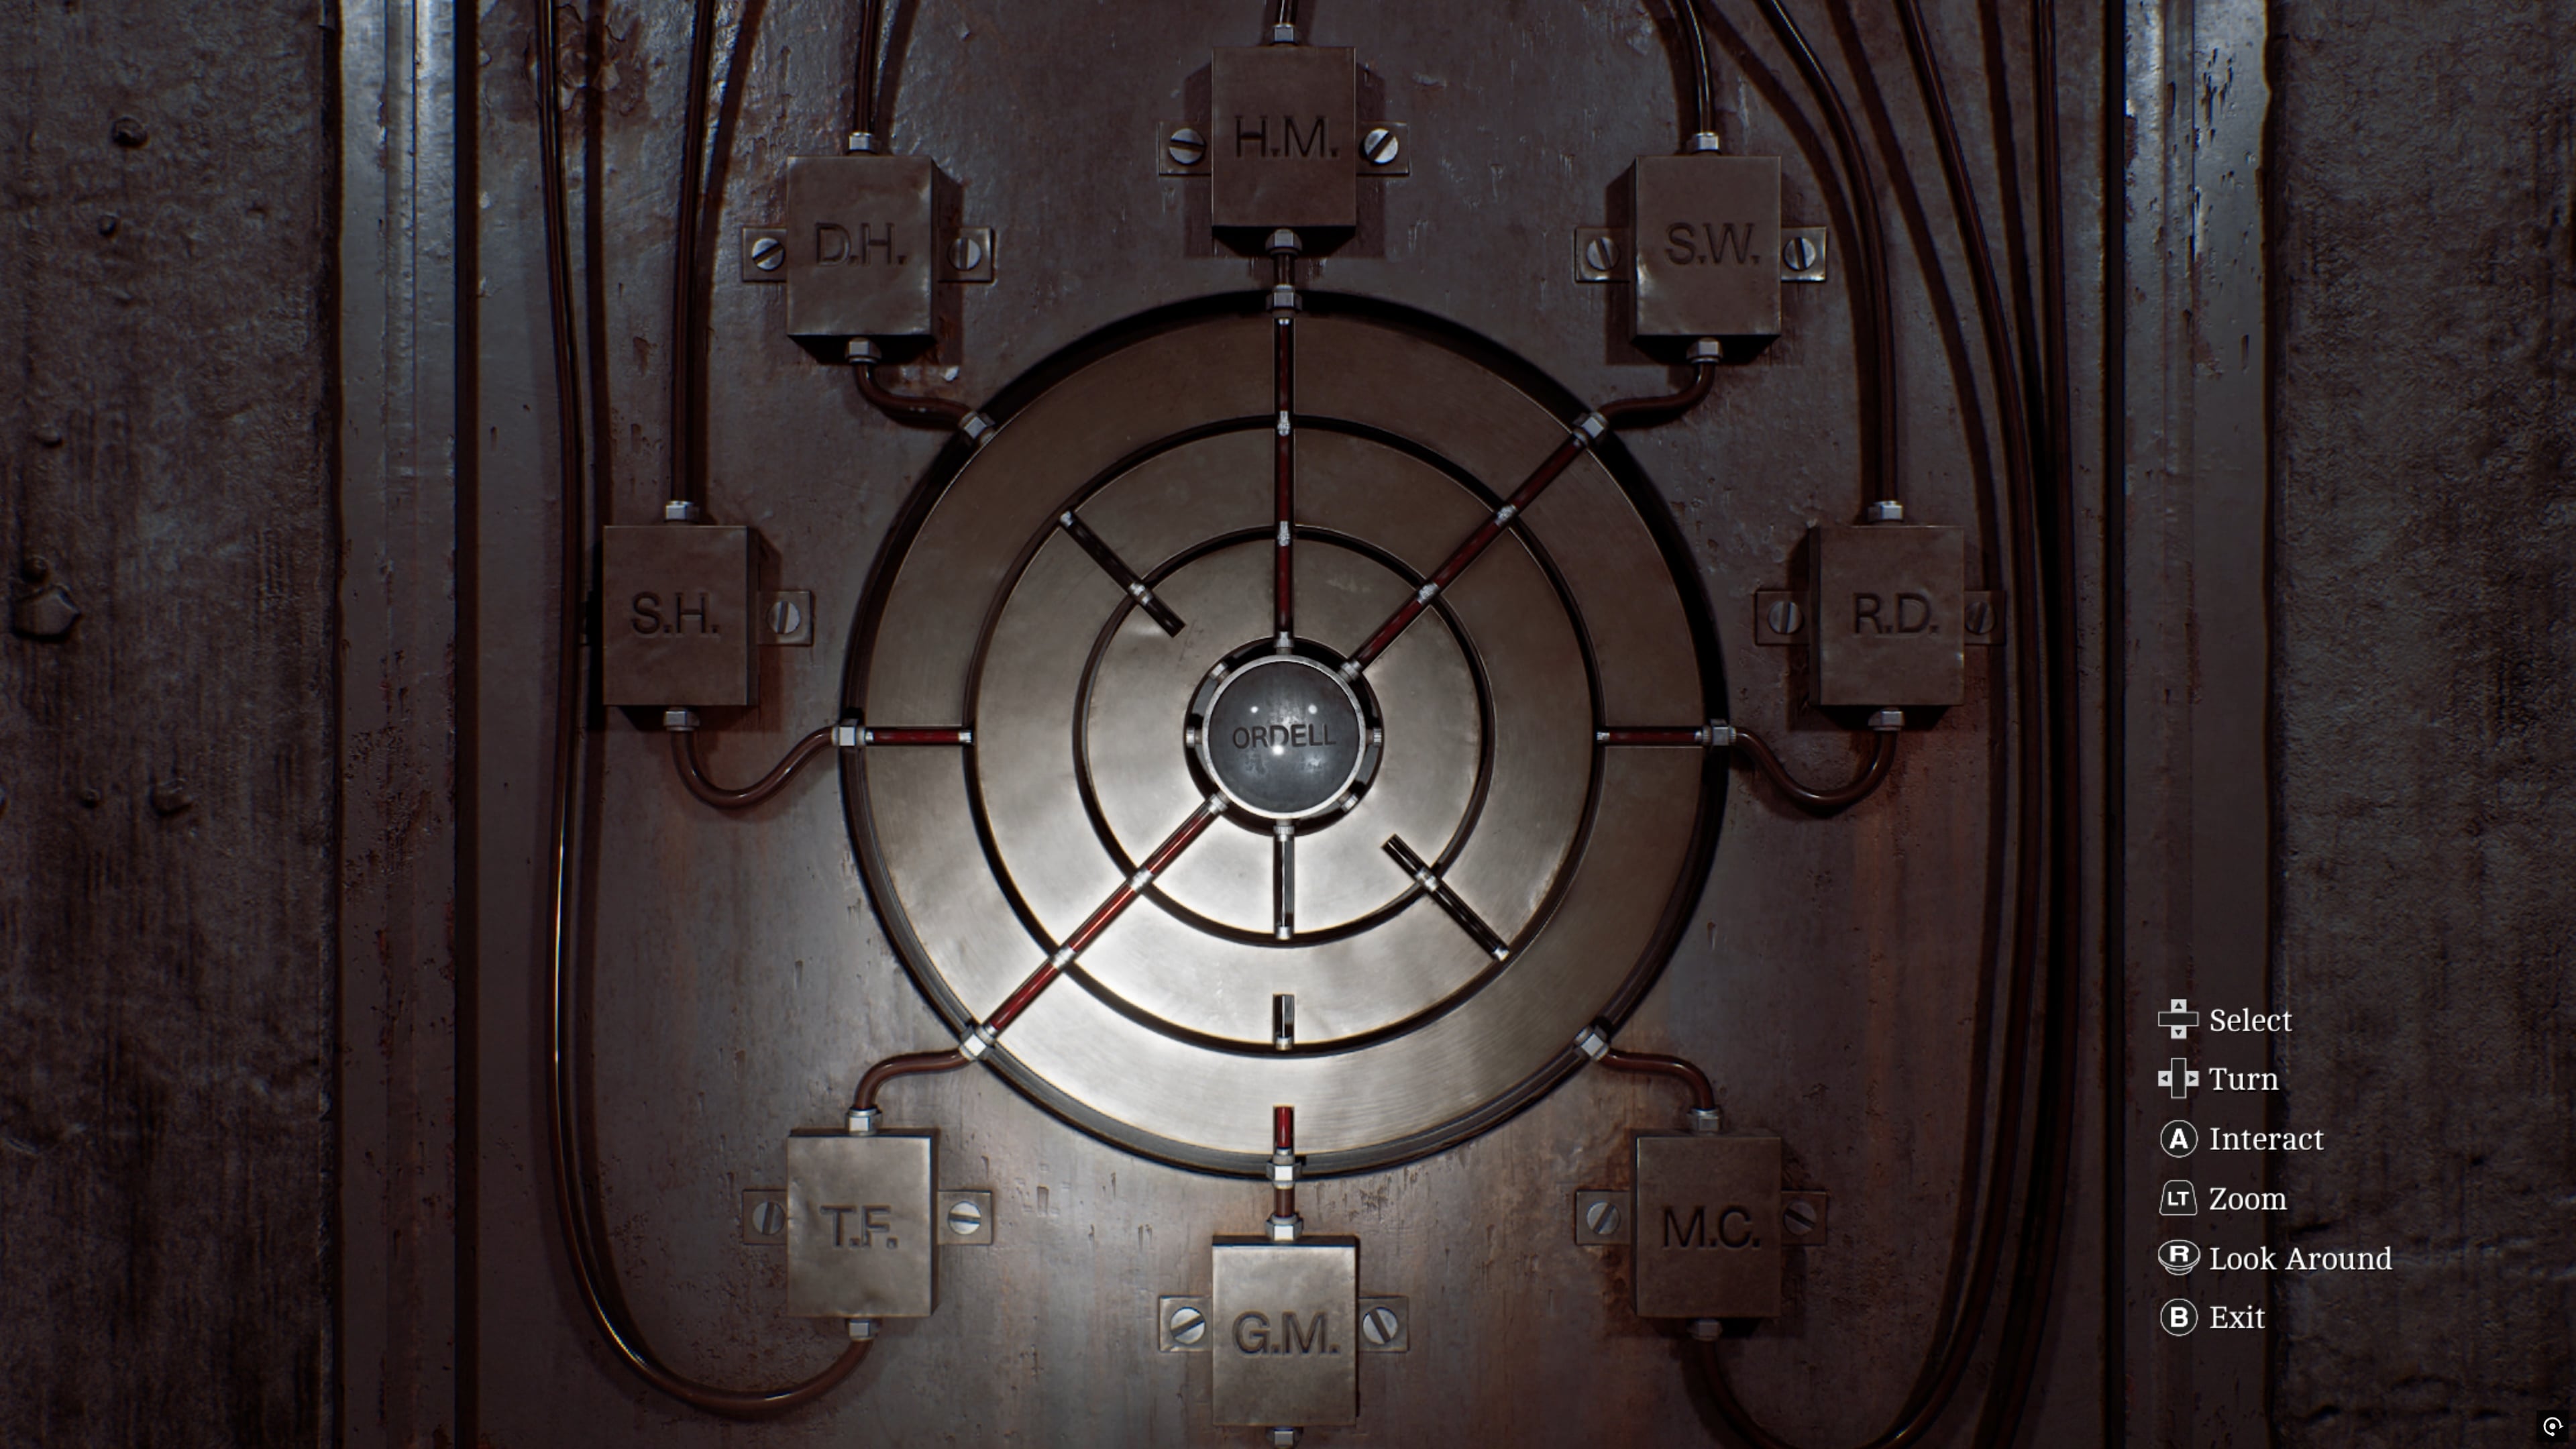
Once you match it up like this, highlight the Ordell panel in the middle, and interact with it.
The door will open and you’ll finally have solved this lengthy puzzle.