Saros Shattered Descent walkthrough and Rhabdom Boss Guide
Everything you need to know about Shattered Descent, the third area of Saros
Shattered Descent is the third area in Saros. In this guide, we’ll explain how to complete this part of the game and how to beat the game’s third boss, Rhabdom.
This step-by-step Shattered Descent guide will explain how to traverse through this tough part of Saros, and explain what you need to do ahead of fighting one of the toughest bosses in the game.
Shattered Descent is a shorter biome than most, but that doesn’t mean it’s any easier, so without further explanation, here’s our guide on how to complete Shattered Descent in Saros.
Saros Shattered Descent walkthrough

The first area of Shattered Descent is a small camp that serves as a story beat in the game. Follow in the instructions, and you’ll be given more insight into what has happened on Carcosa and where the rest of your crew are.
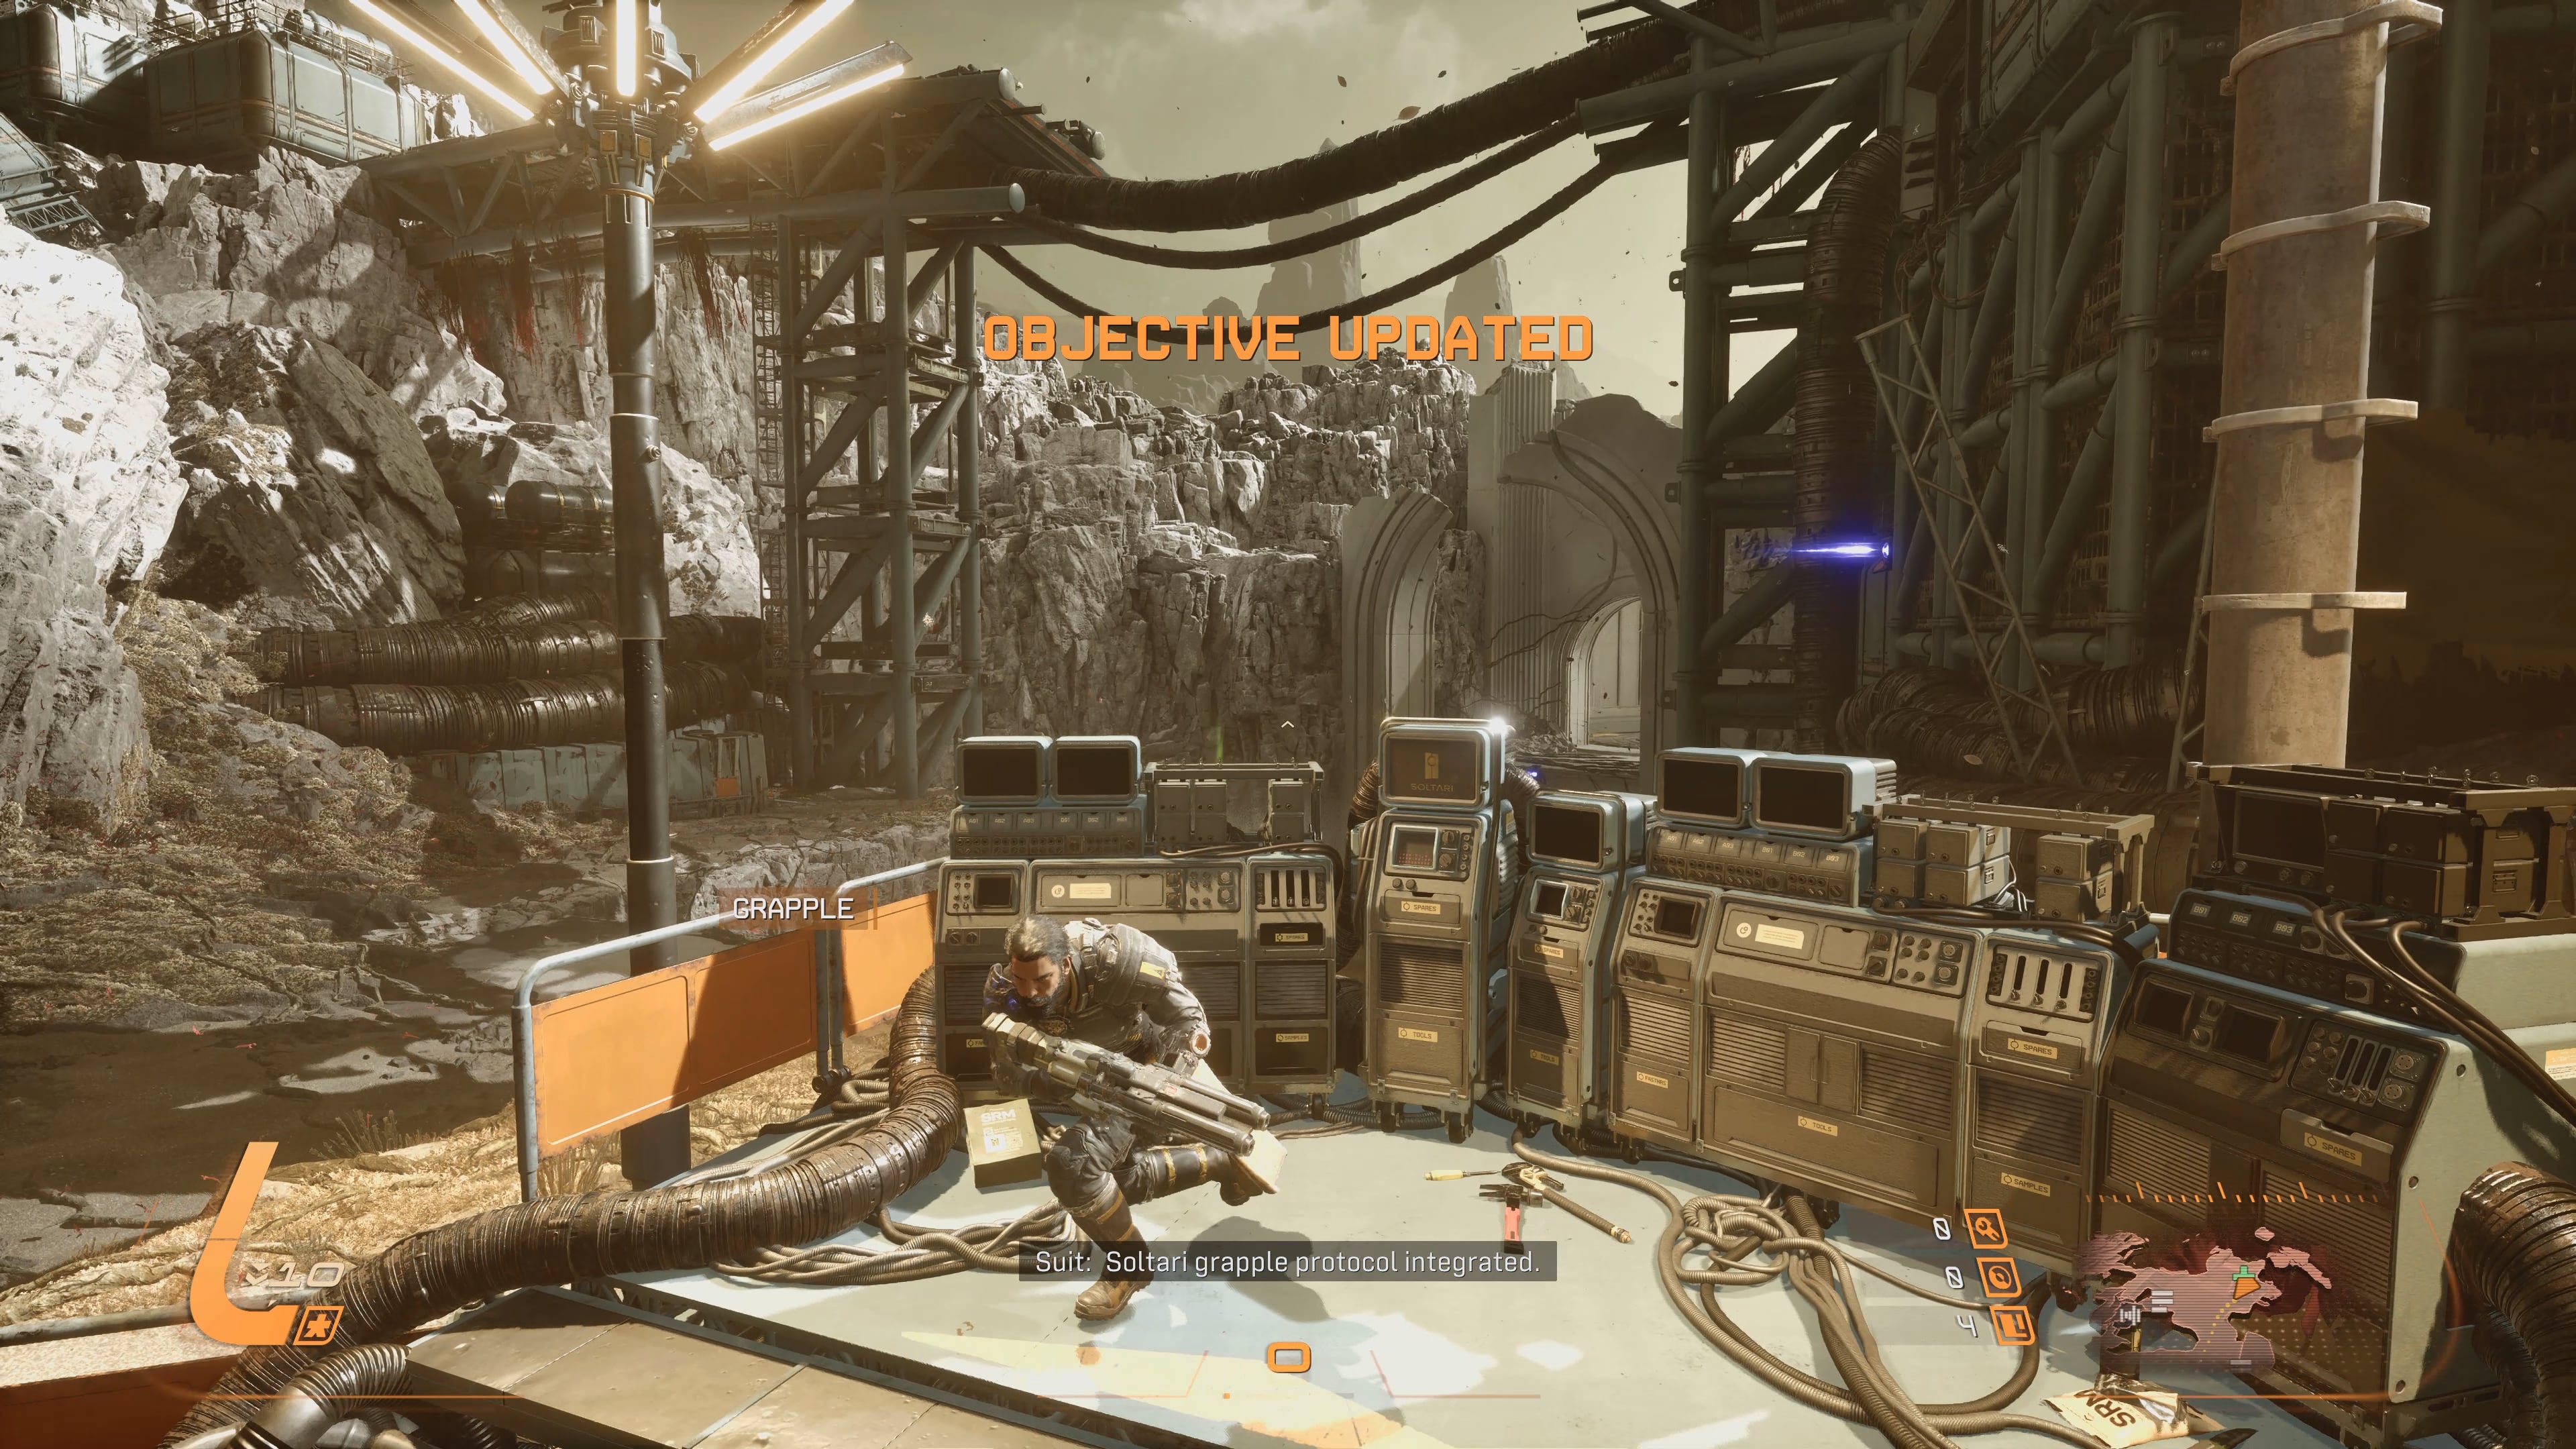
After this, you’ll be given the grapple, one of the traversal abilities in the game. This is unmissable, and a key part of getting through this area, so don’t worry if you don’t have it yet, you will soon.
Grapple across the chasm and head down in the elevator.
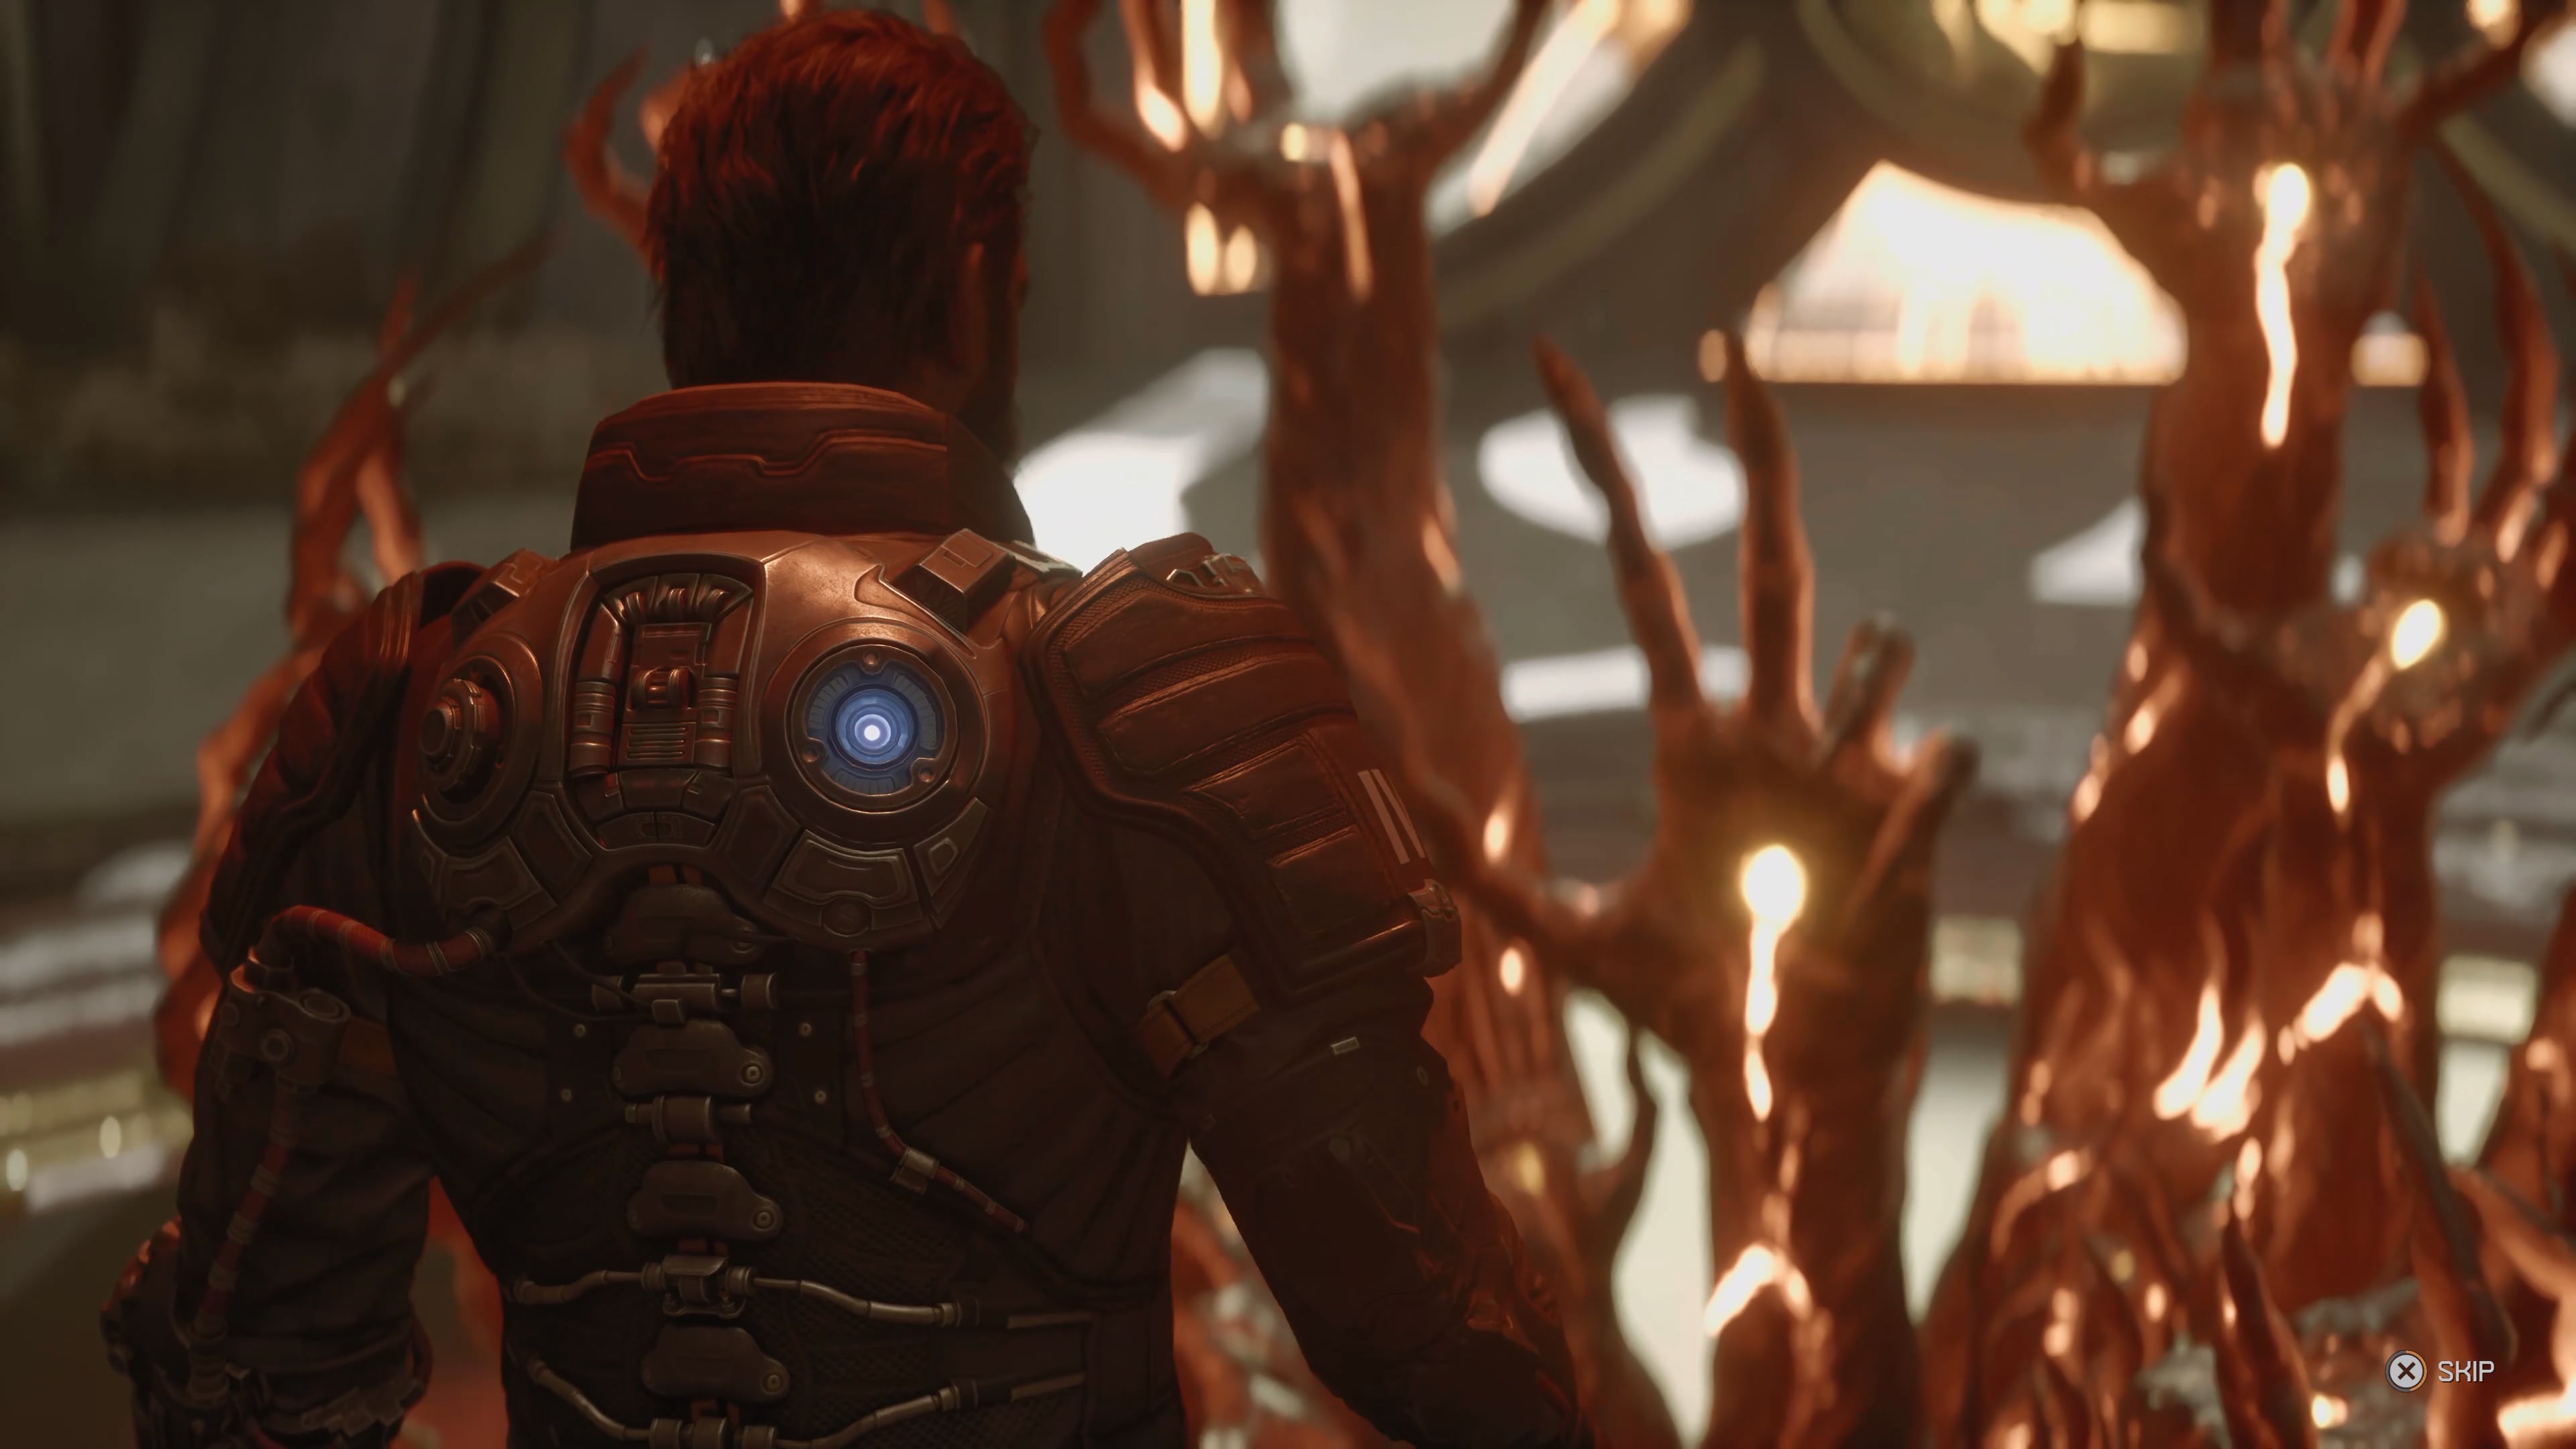
Next, you’ll have to trigger the Eclipse. There’s no other option than to do this, so trigger the Eclipse and head through the door. This area, as you may have guessed from the name, is largely built on you heading down the mountain you are on.
The combat zones are split into smaller islands, where new enemies and beefed-up versions of enemies you met in the game’s opening area roam about. We recommend spending as much time checking for side areas as you can, as there are a large number of encounters that spawn a lot of enemies at once, making it very easy to take accidental damage.
On your way to the boss, you’ll pass a Nightmare Strand. If you fancy your chance and you like the loadout you have, it may be worth completing it, as the Nightmare Strands not only restore your Second Chance ability if you’ve lost it, but they also reward a huge amount of Lucinite, health, and higher proficiency weaponry.
Boss: Rhabdom

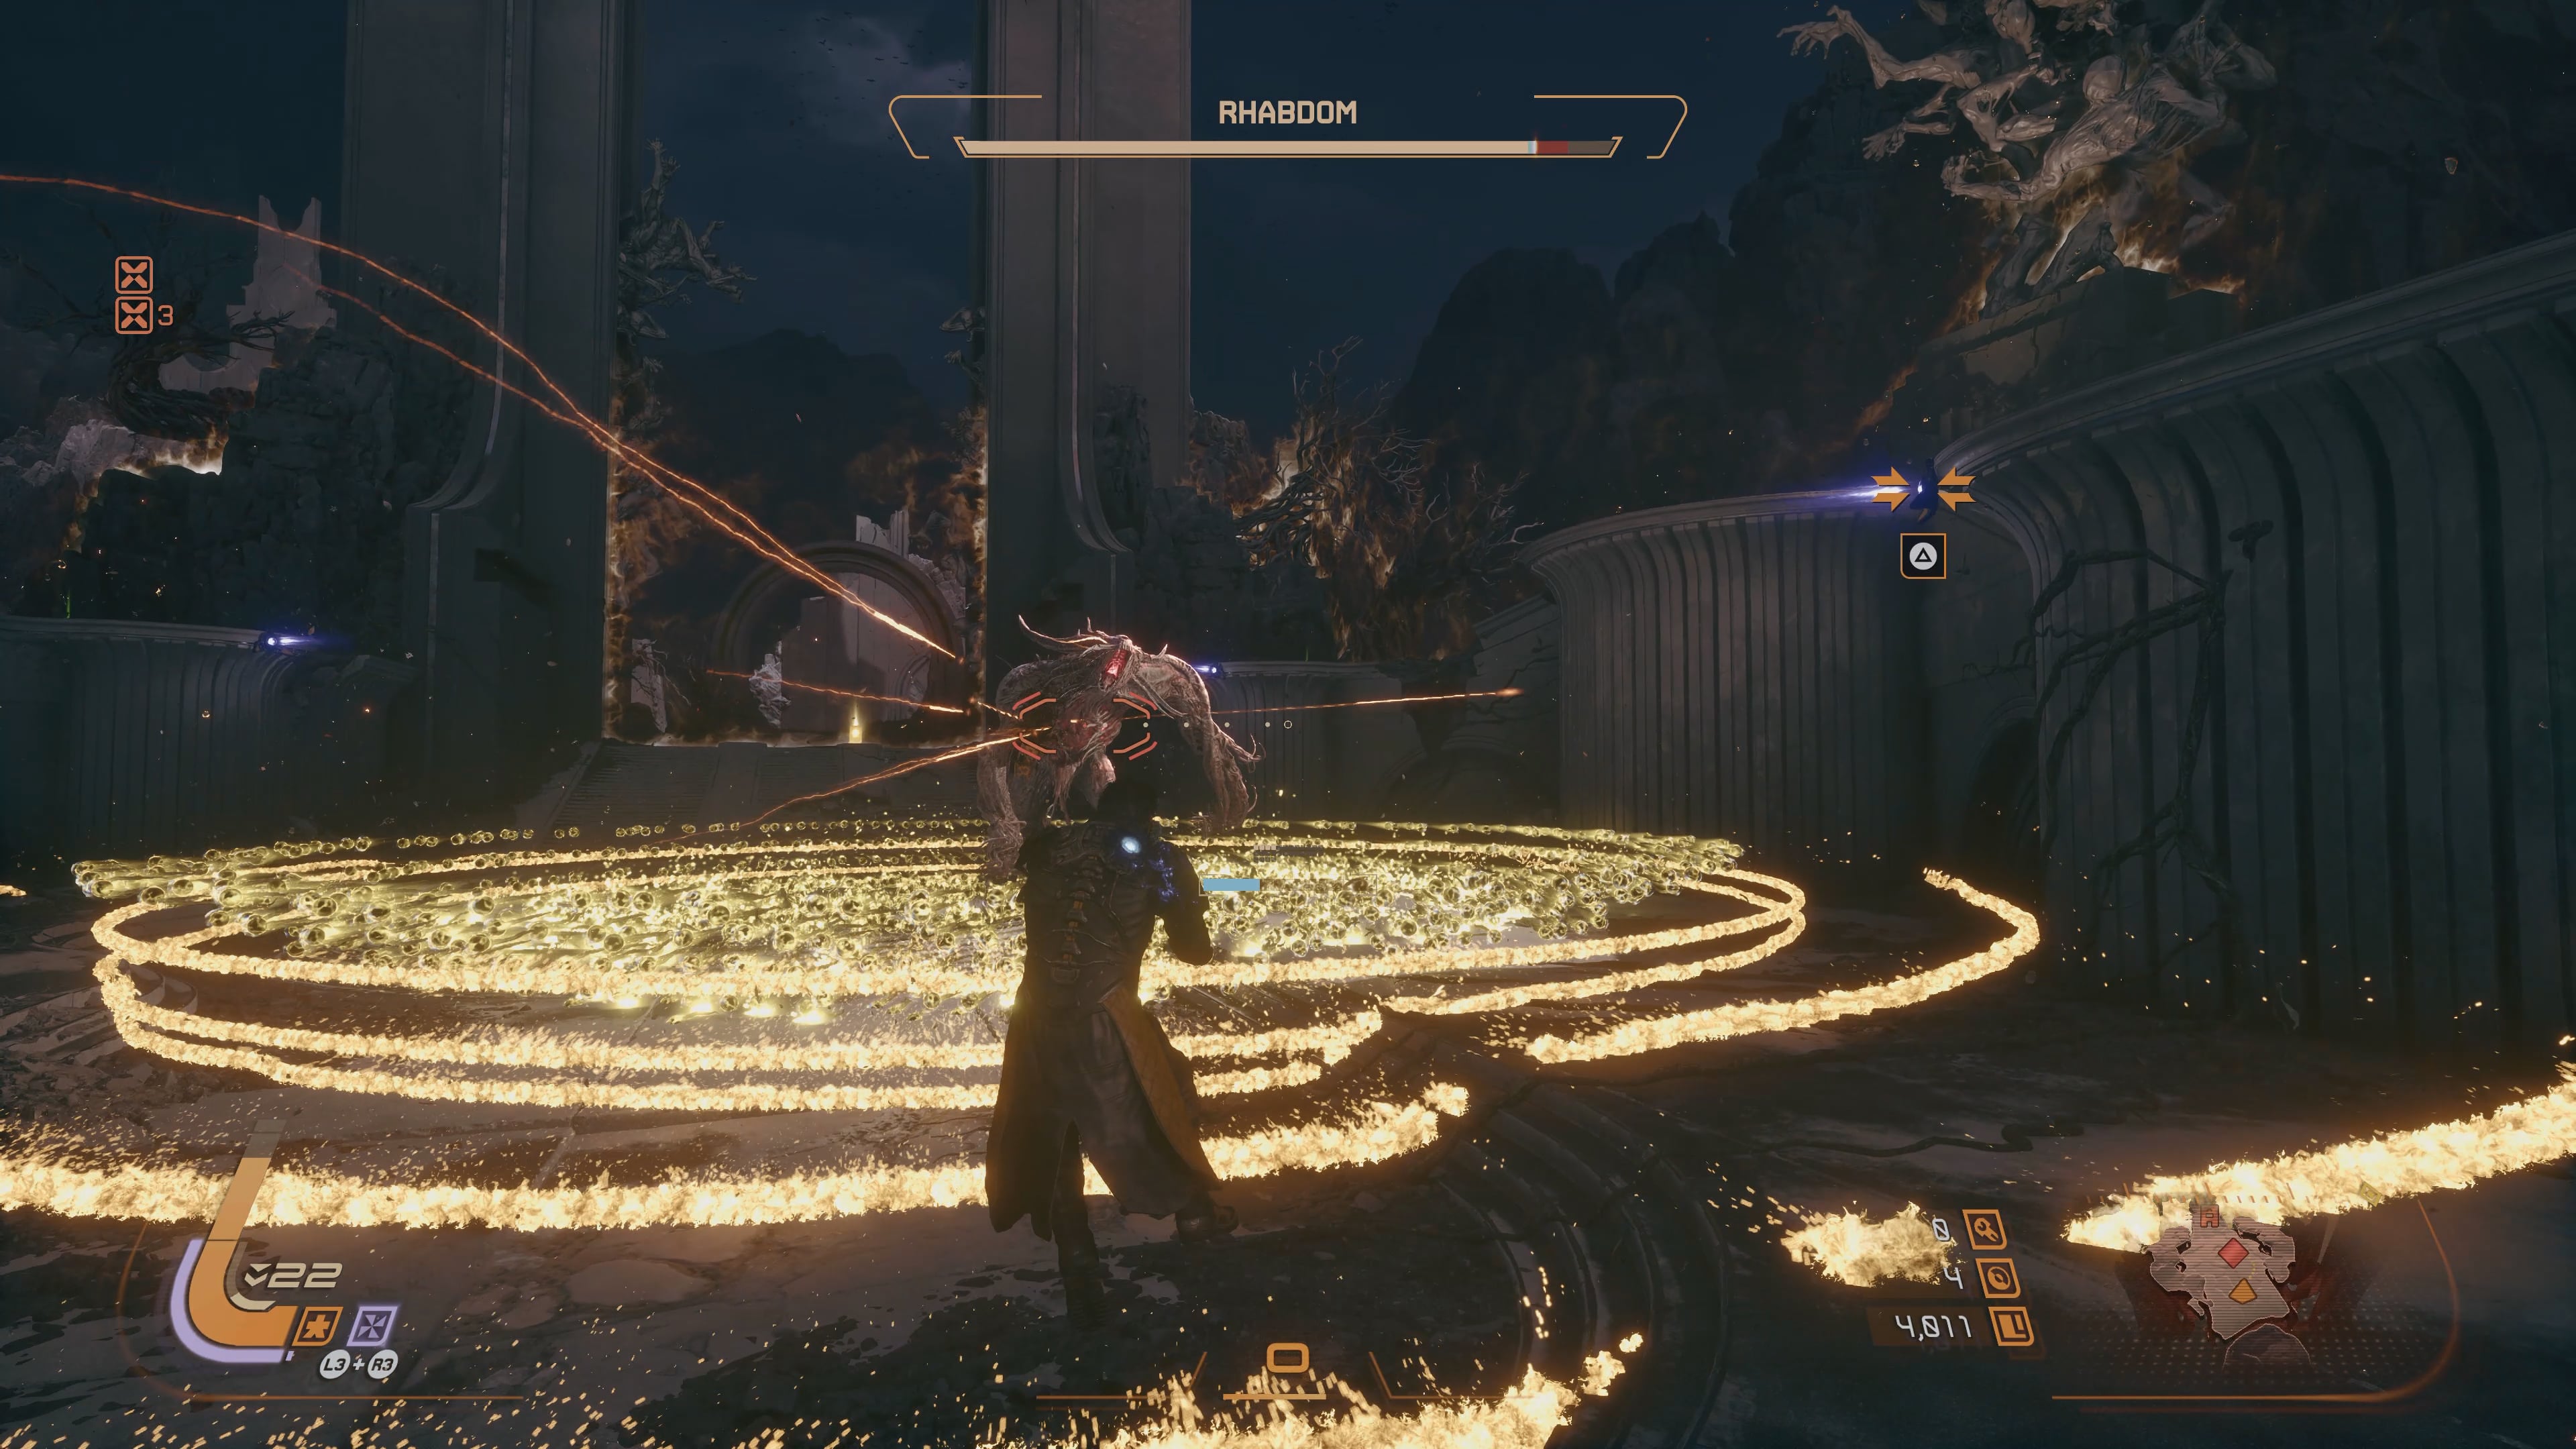
- The boss of Shattered Descent is Rhabdom
Rhabdom is very different from the previous bosses you’ve fought in Saros. Unlike the last two, Prophet and Bastion, Rhabdom is very mobile. Rhabdom will chase you down throughout the boss arena, making it a pretty different challenge from the last two fights.
Rhabdom only has one health bar, unlike the last two, possibly a concession of how much tougher this fight is than the previous. Rhabdom has several moves that are devastating. Here are the ones you need to look out for.
- Rhabdom will lunge at the player and leave behind an explosion of red glowing orbs. Avoid this by grappling towards a ledge. There are four grapple points in the boss arena.
- Rhabdom will send slashes of yellow corruption towards the player.
- Rhabdom will shoot a group of homing missiles towards the player.
- Rhabdom can also stomp the ground and emit a large number of corrupted attacks (pictured below).
I found it most effective to use a repeater crossbow, not only due to the stacking damage effects, but also the fact that it allows you to concentrate more on evasion when it comes to Rhabdom lunge moves.
Also, you can actually do some damage to Rhabdom as it is spawning into the boss arena, so it’s worth getting up close and laying into it for a few seconds at the start of the fight.