Romeo is a Dead Man: City Hall safe combination puzzle solution
Here’s how to open the safe’s combination lock in Romeo is a Dead Man

Romeo is a Dead Man is fairly light on puzzles, but the one or two it has in there can sometimes catch you off-guard. This includes the safe combination in City Hall.
Not only is the solution hidden in four separate locations, it can also be slightly confusing when you reach the point where you have to enter the combination.
This guide will tell you how to find the safe combination in City Hall, and how to enter it.
Before you can enter the safe combination you need to find two things – the Vault Key, which lets you get into the vault, and the the combination itself. This is a four-digit number and each of the four digits is hidden in a note located around City Hall.
The notes can be found in the following locations – you can find them in any order, but we’ve arranged them by numerical order (each note has a number on it).
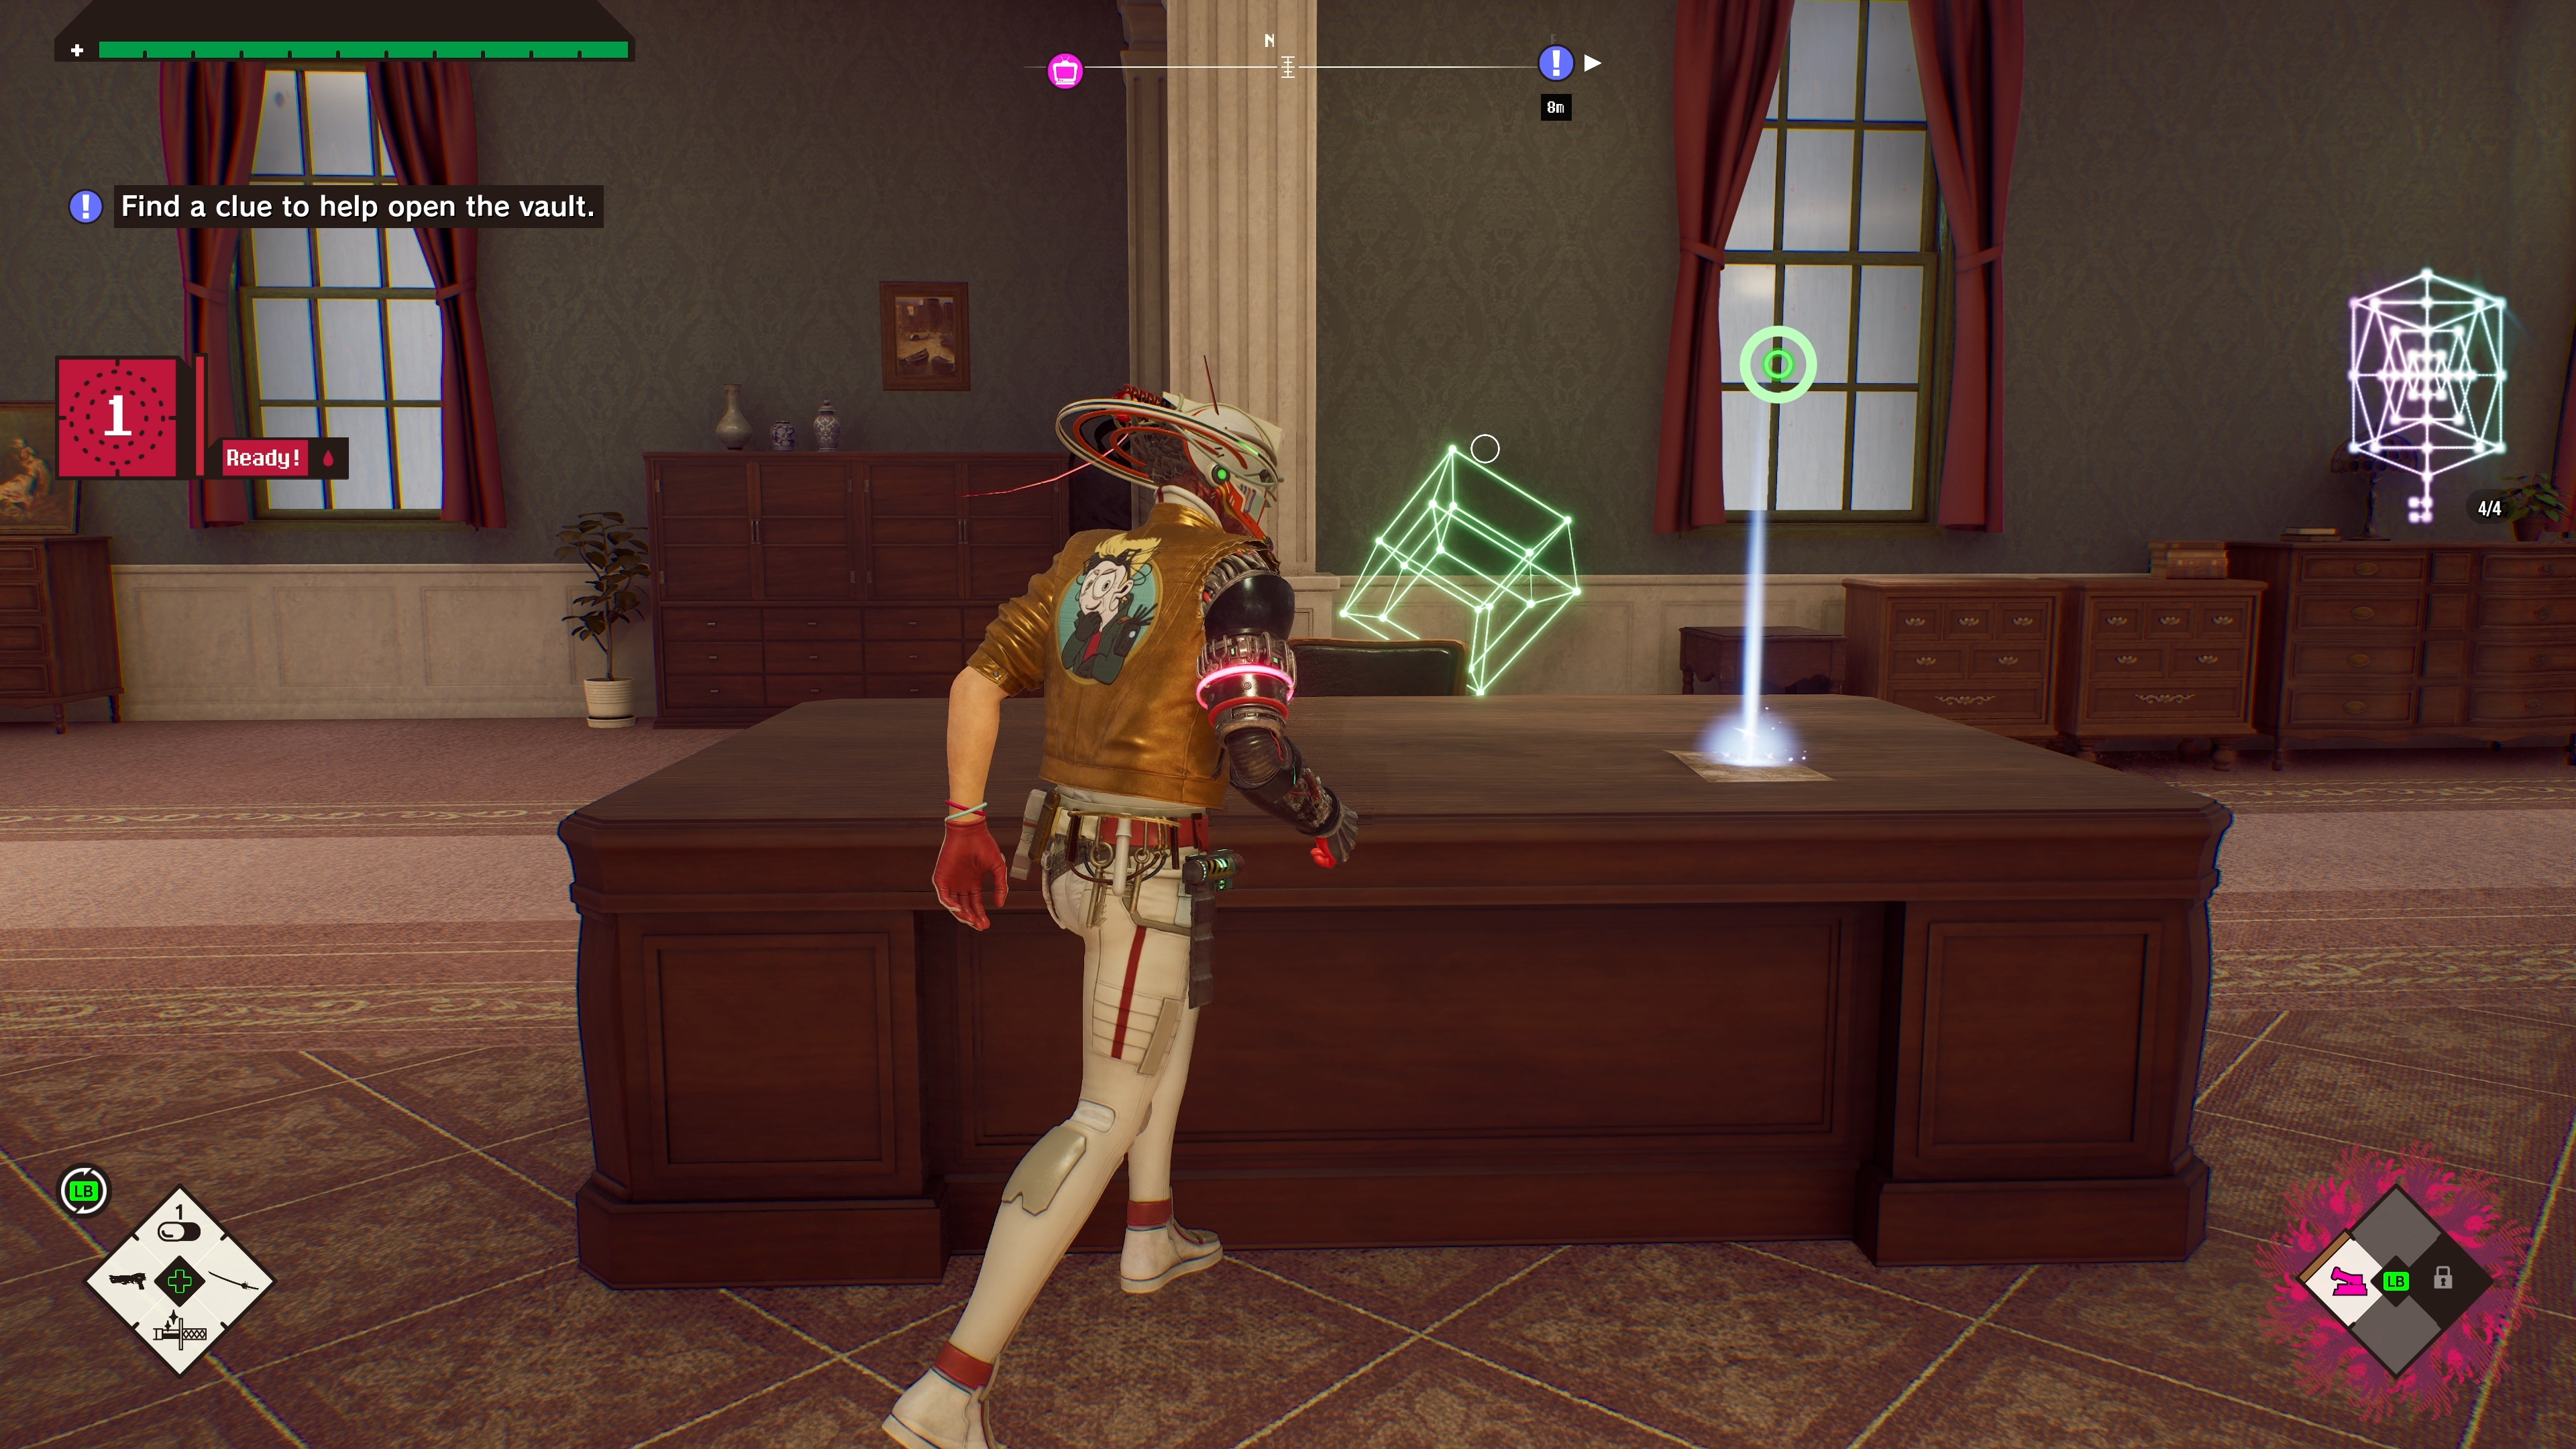
- Note 1 – In the mayor’s office, sitting on his desk on the right-hand side.
- Note 2 – In the underground area, in the room where you defeat the giant green skeleton creature and collect the Underground Warehouse Key. The note is on a small desk in the corner of the room.
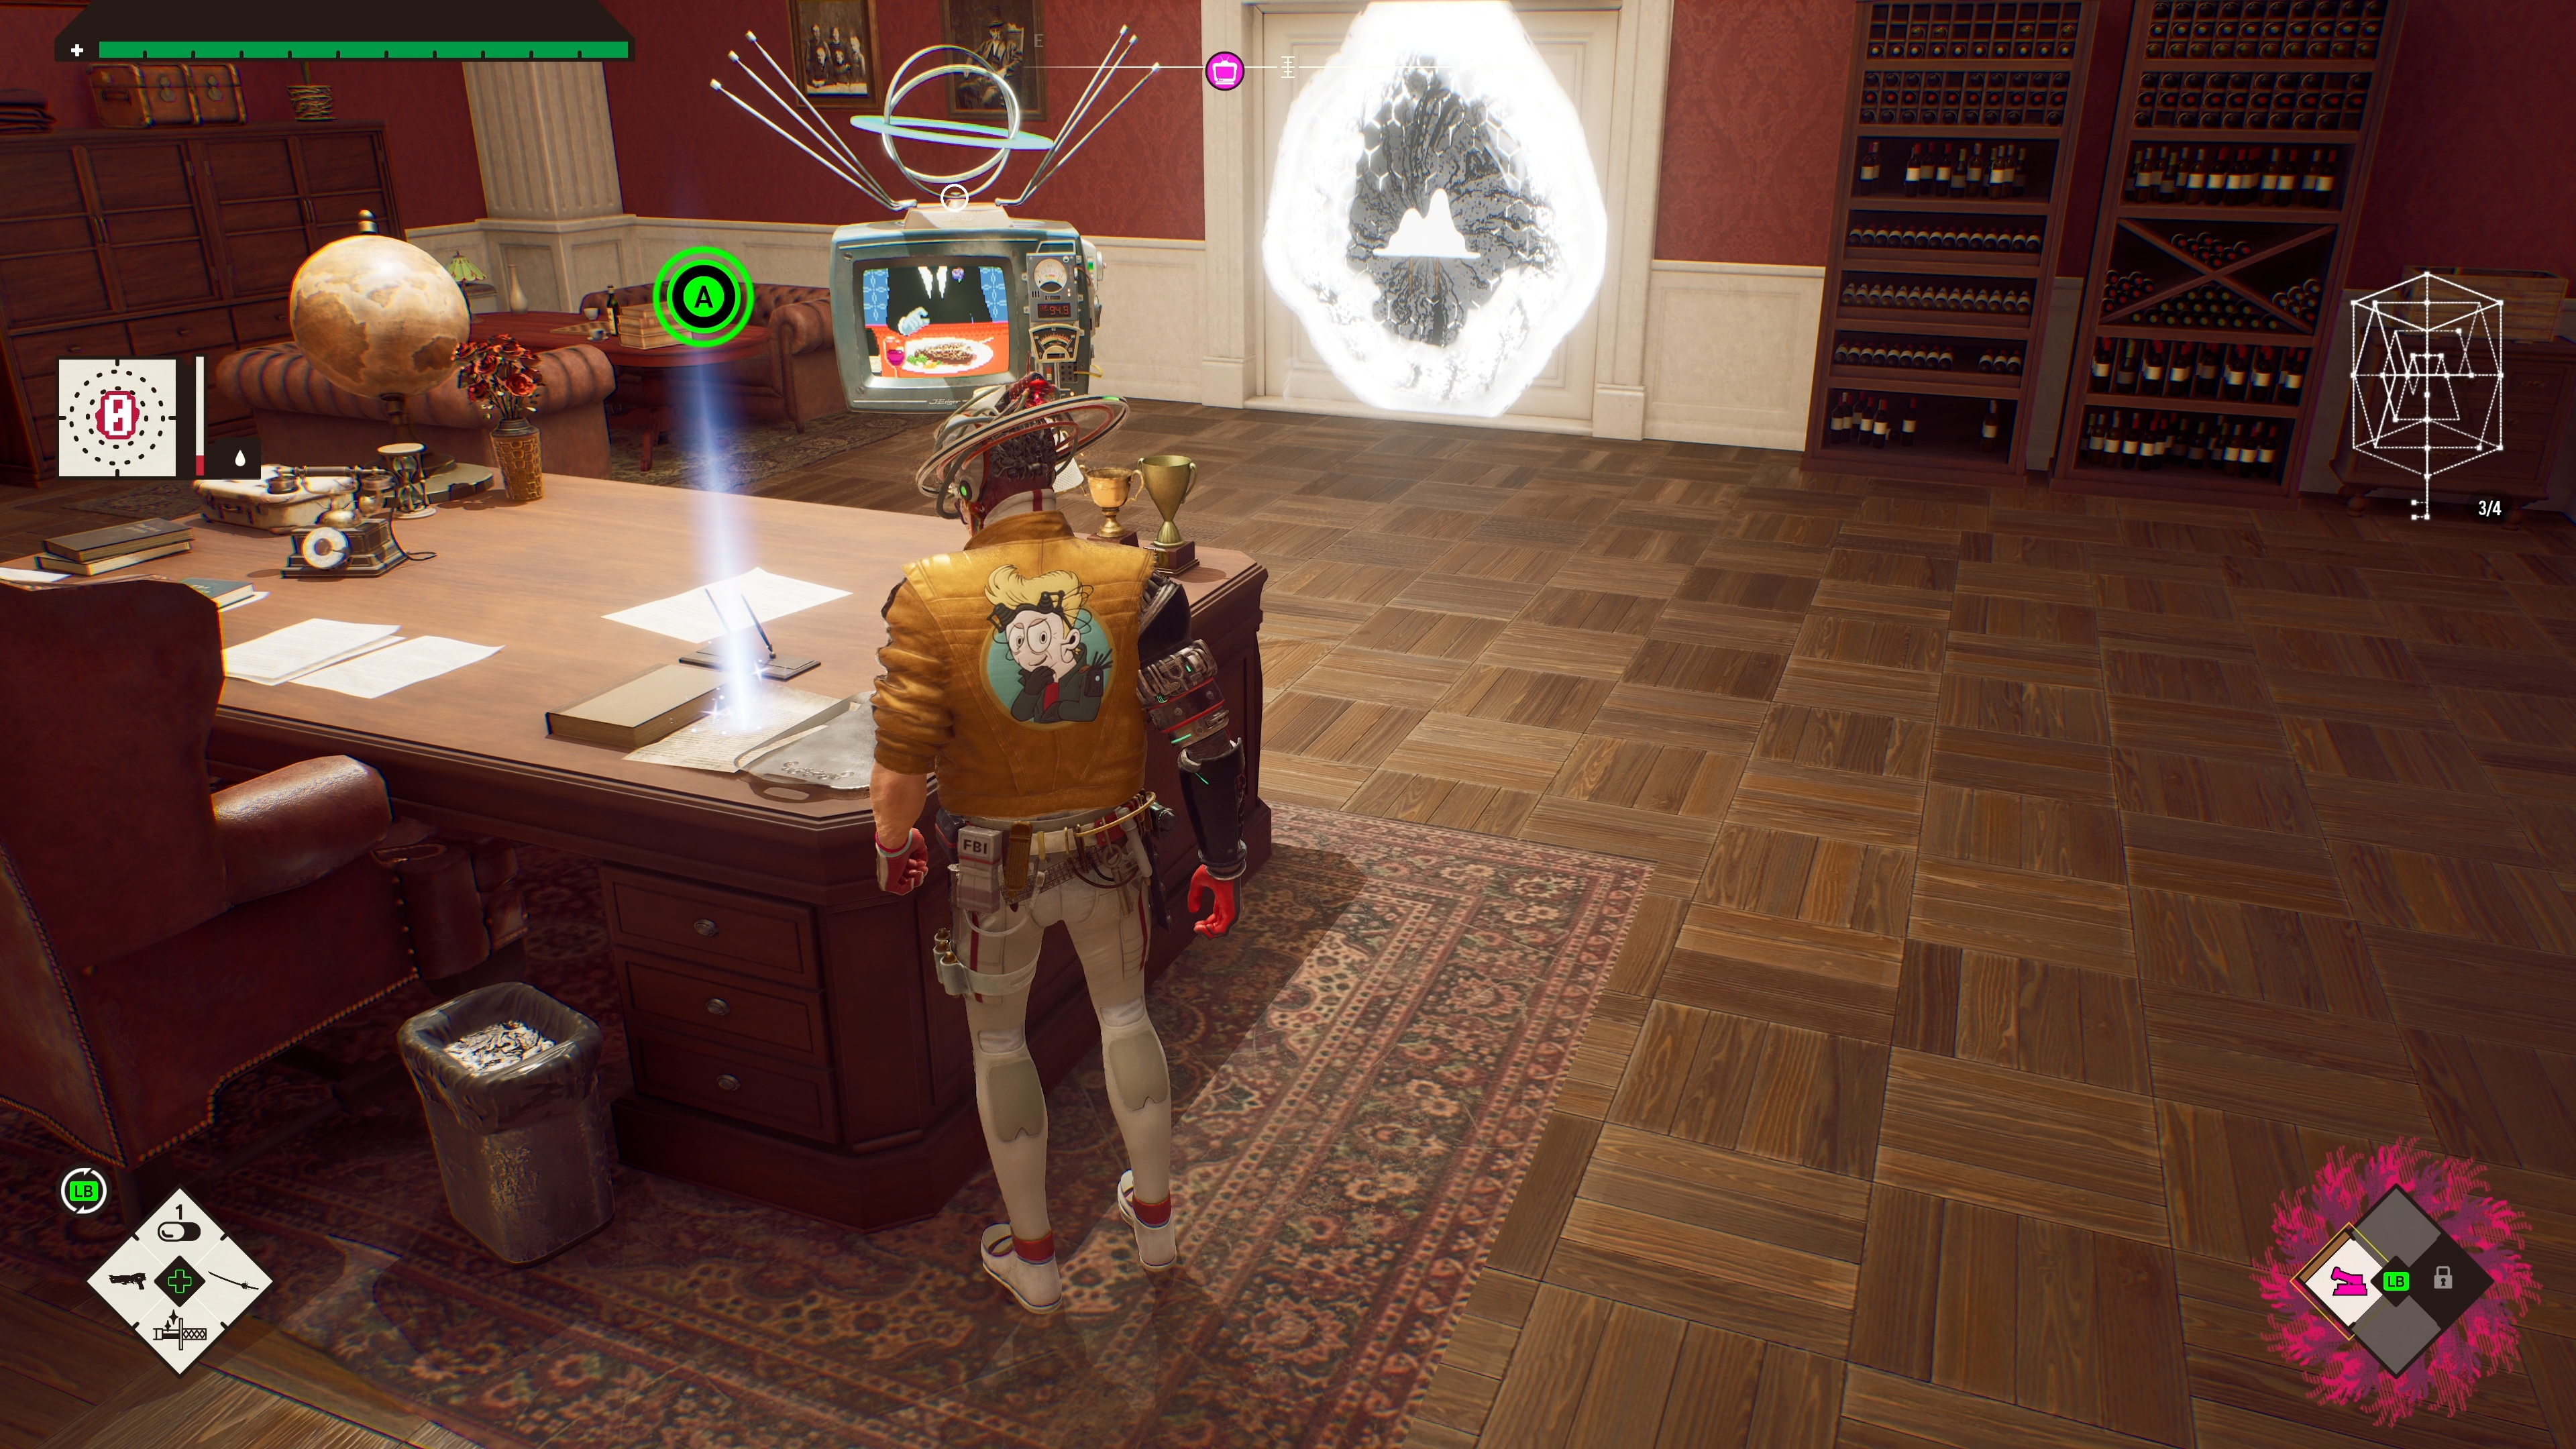
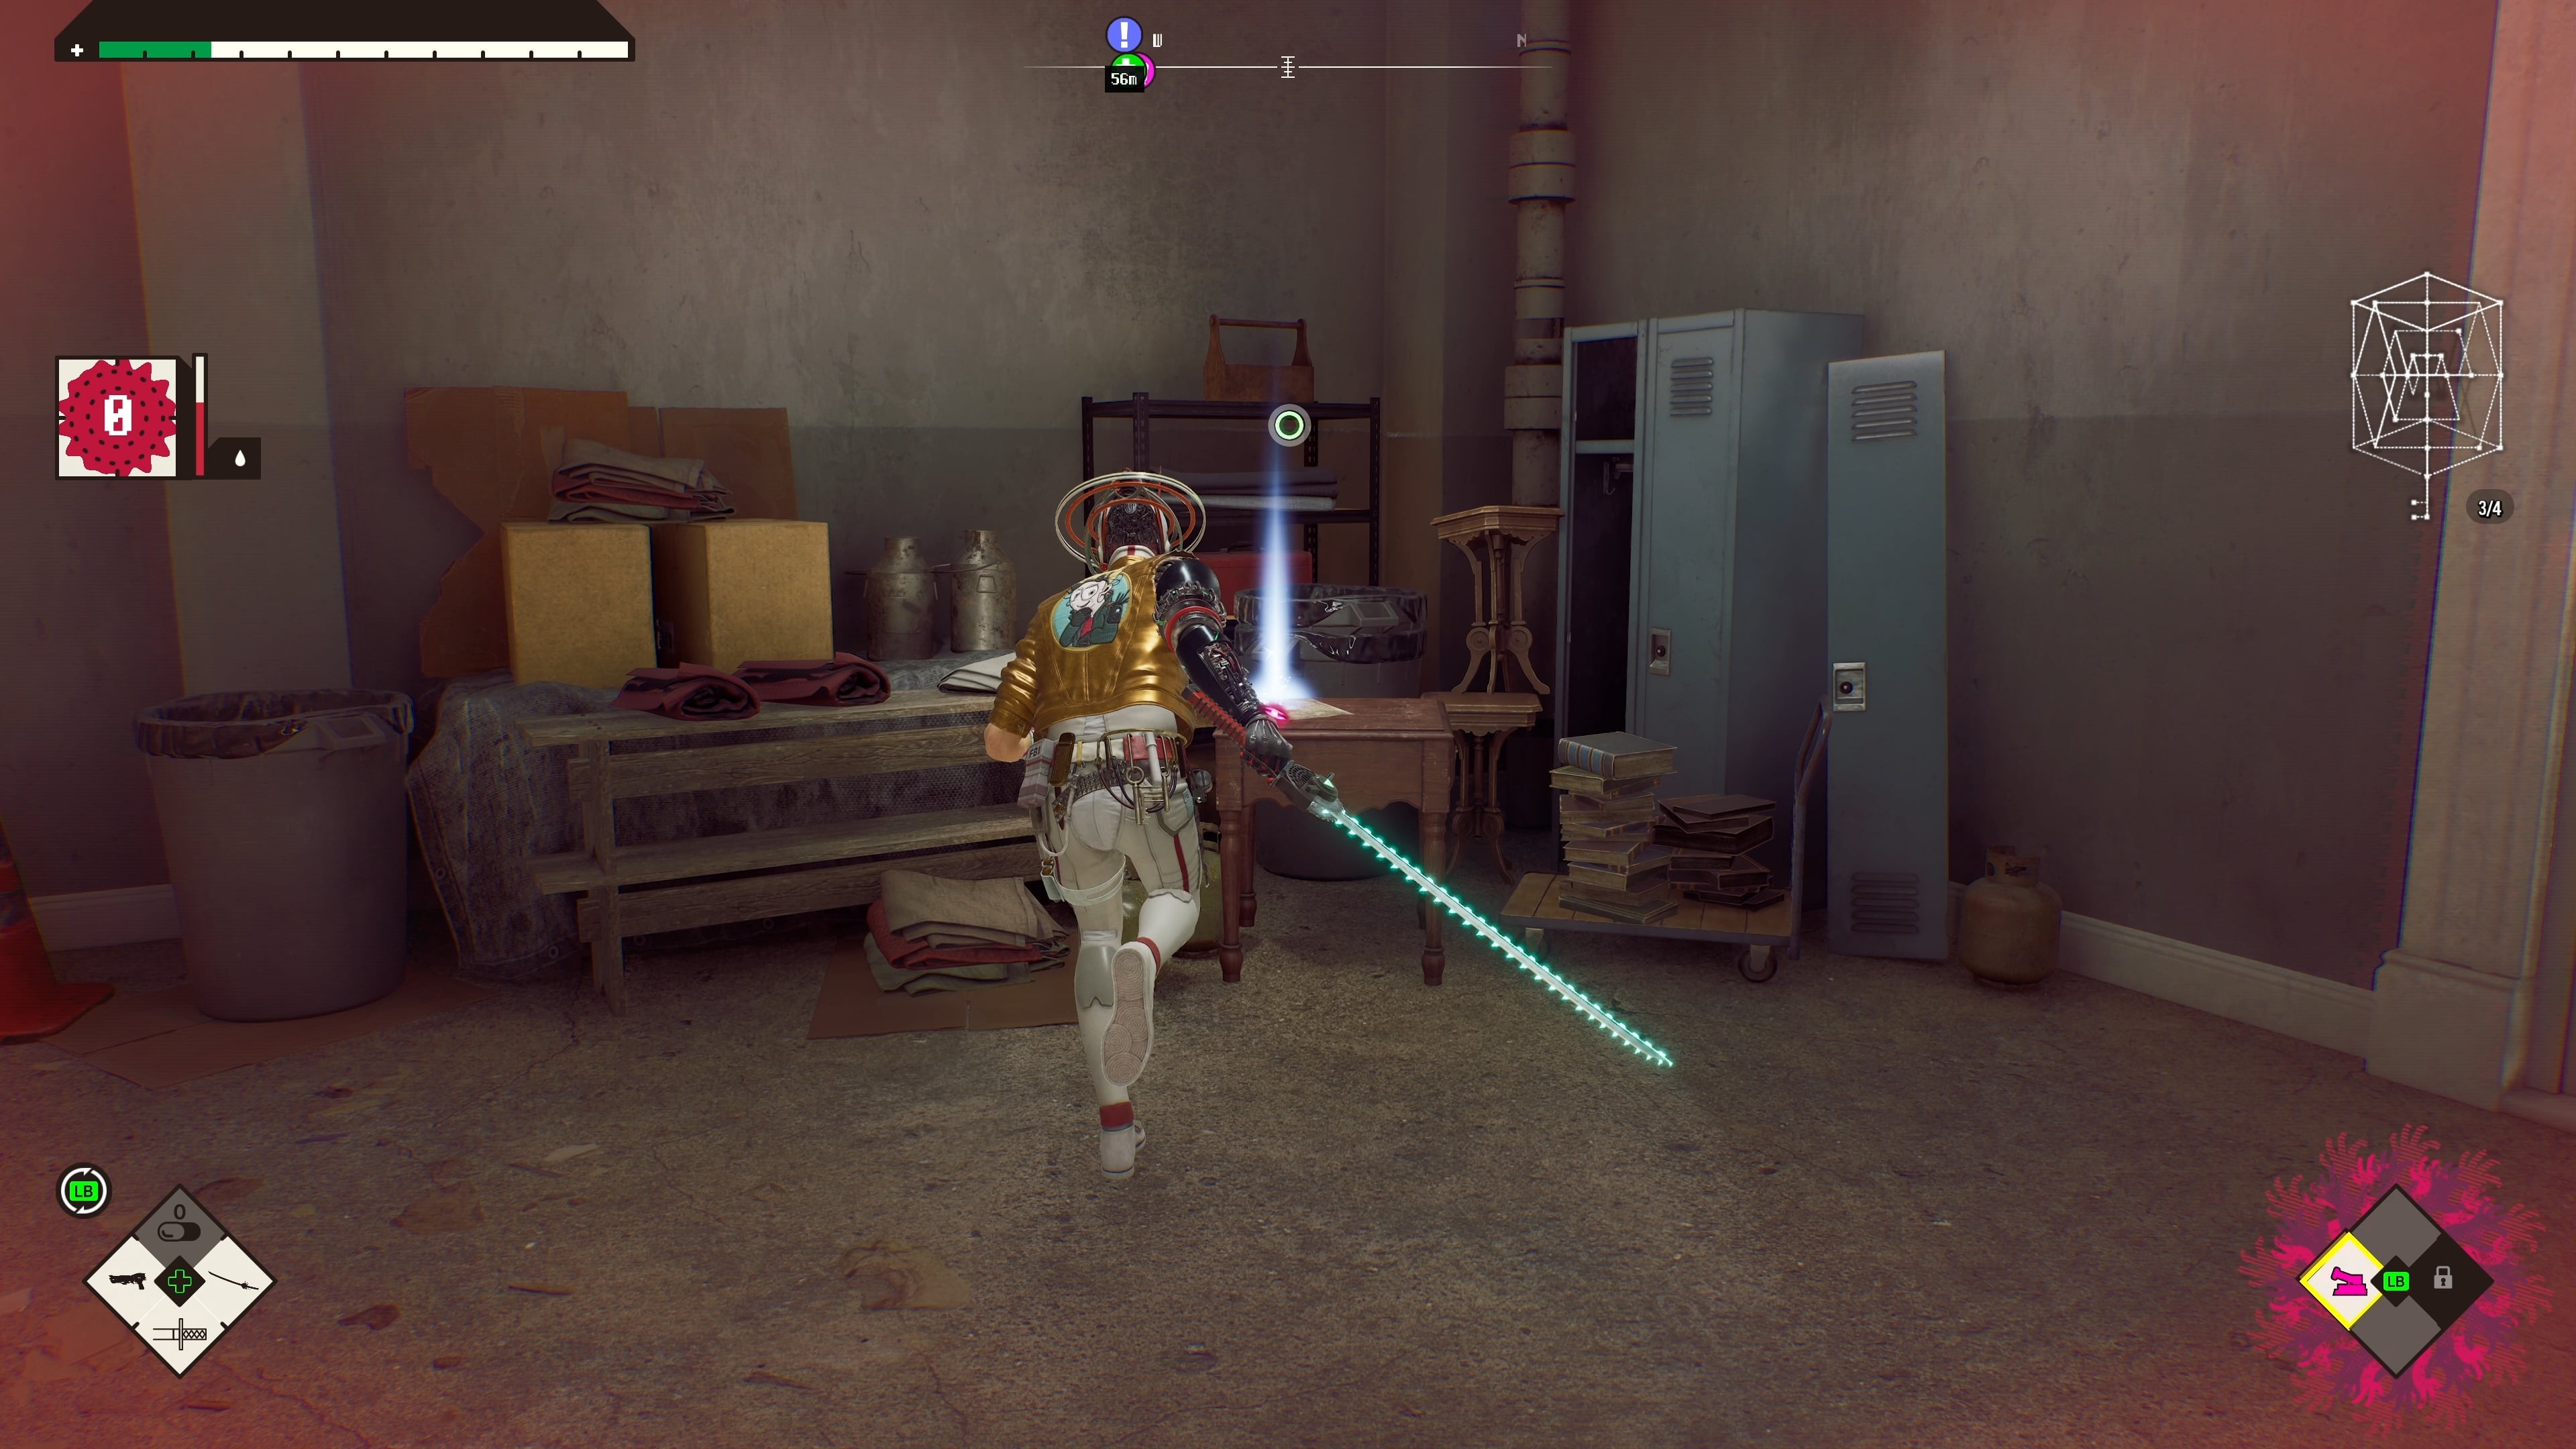
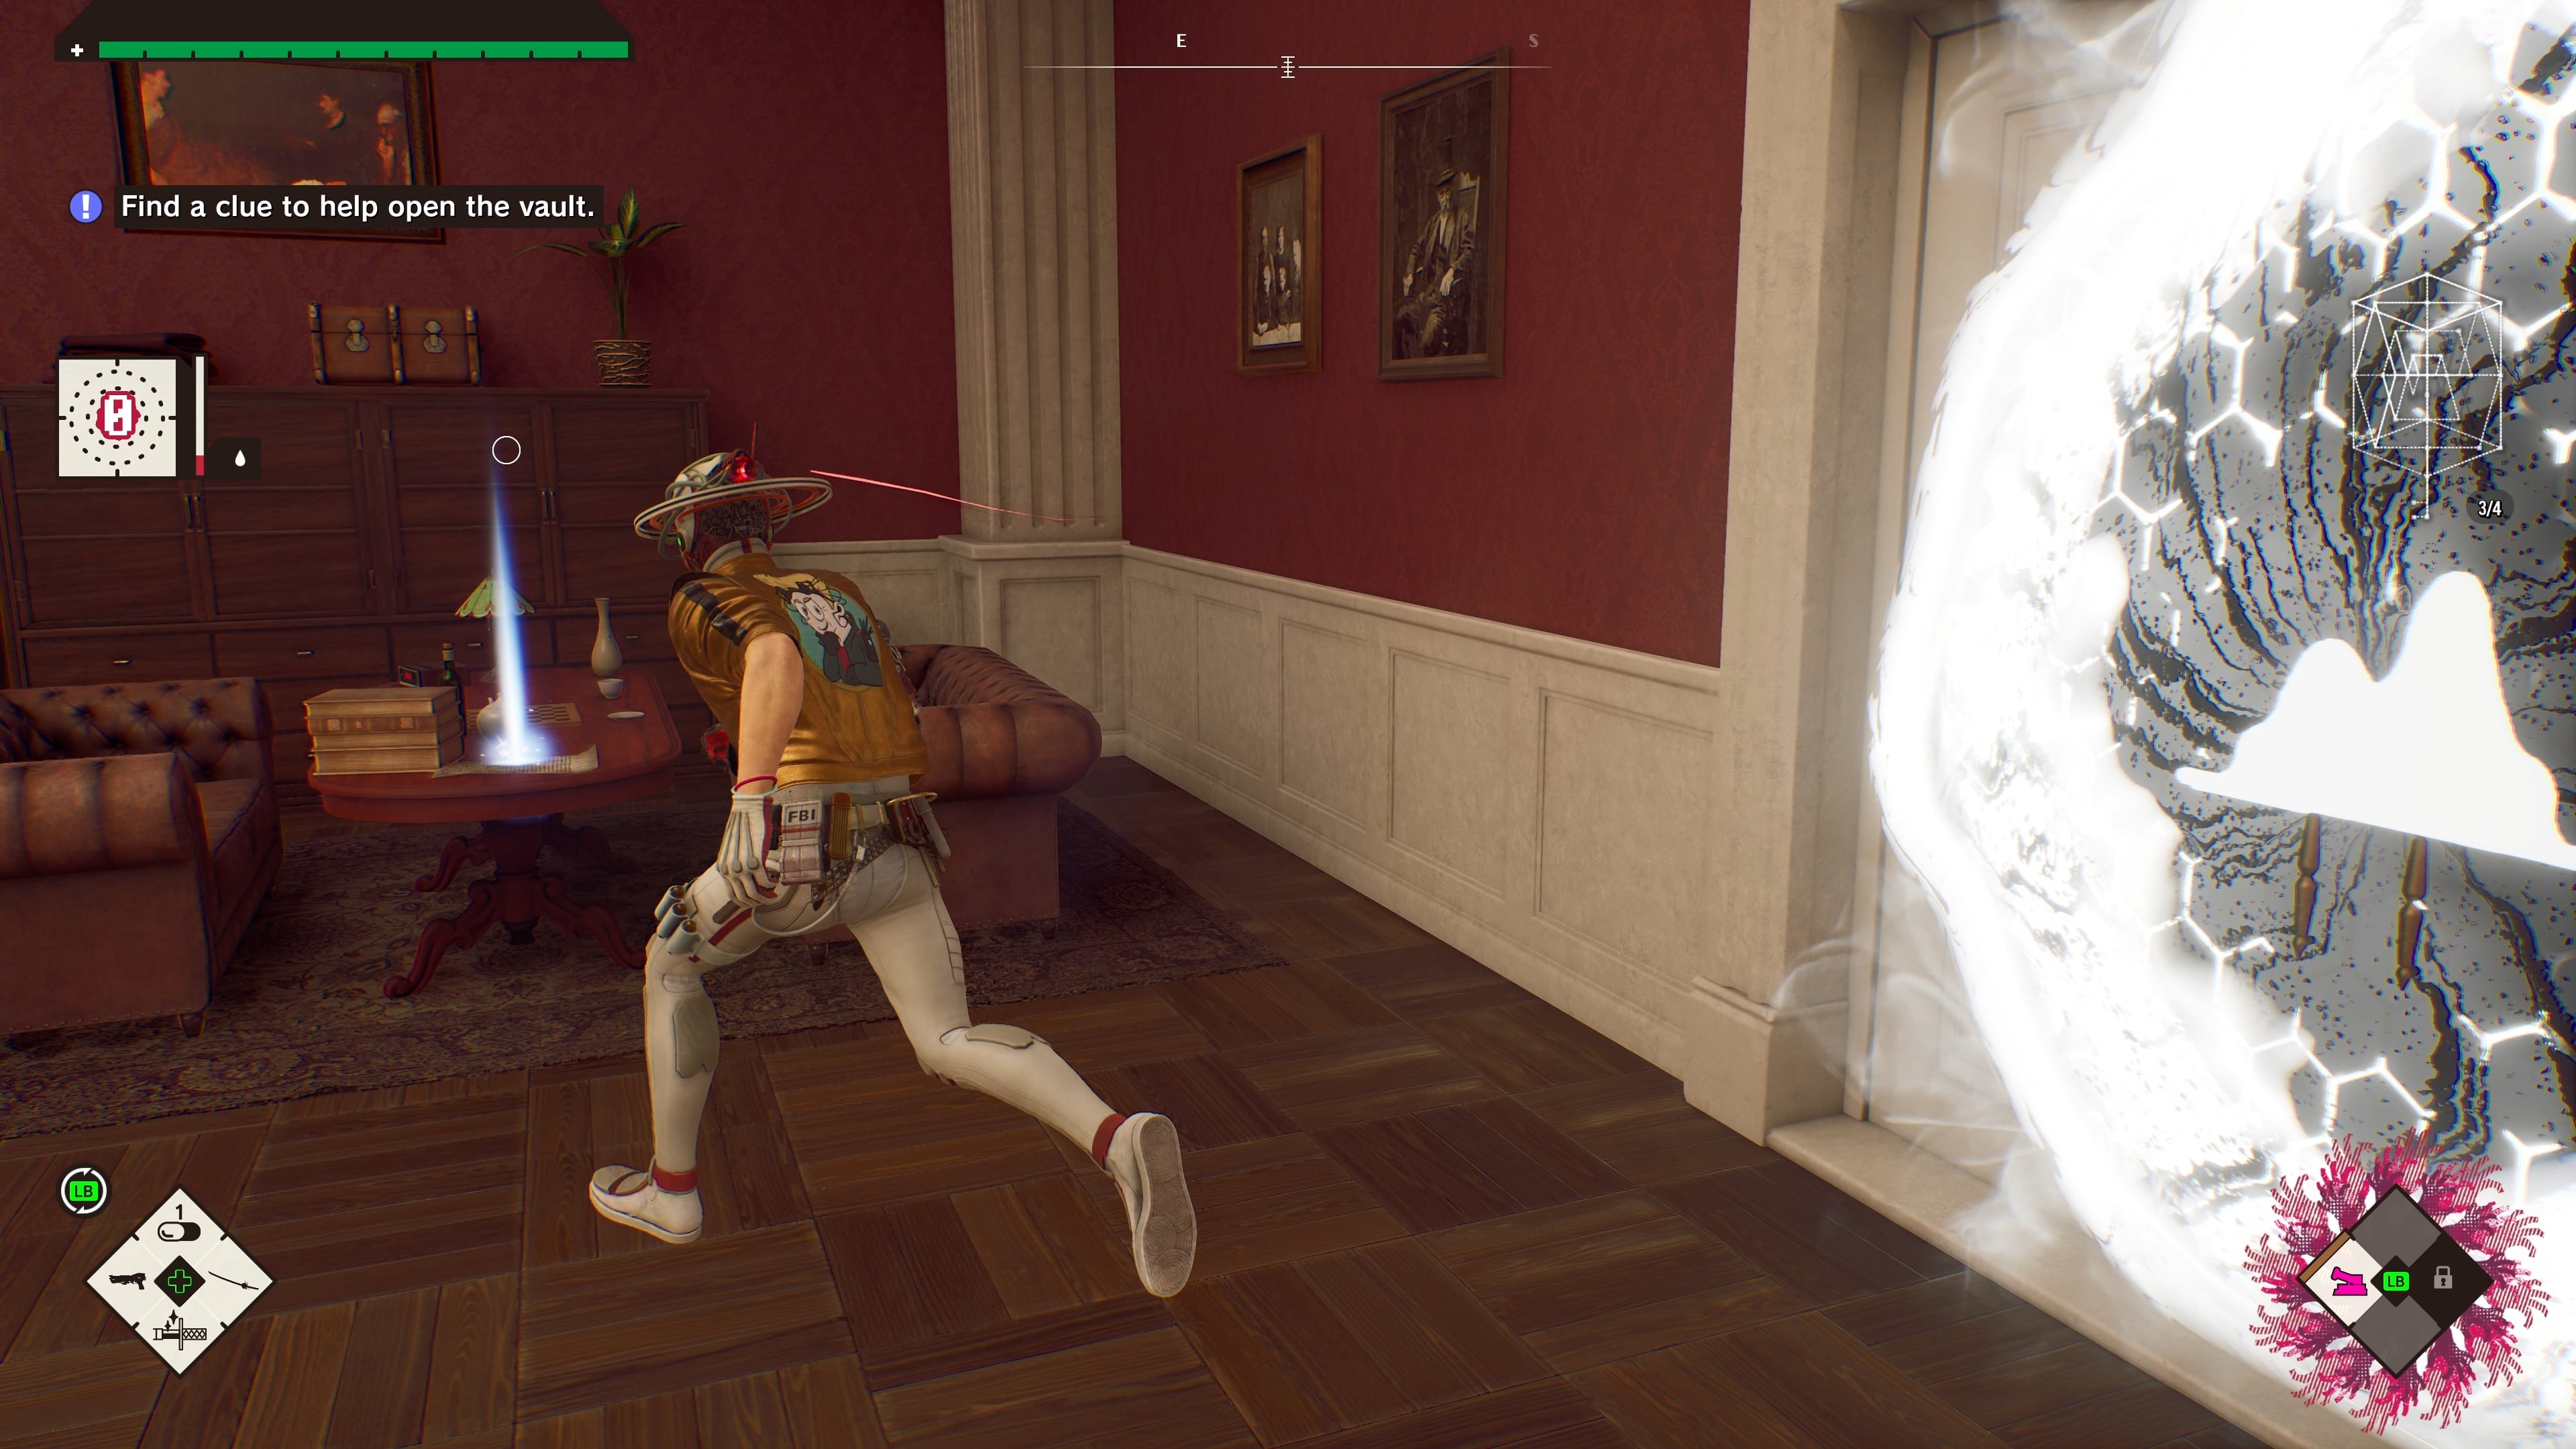
- Note 3 – When you’re in Subspace, after you save at Space-Time Pharmacy 2 and claim the last Klista Gate Key, go through the TV that appears and the note will be on the desk in this new room. This room is also where the Vault Key is found.
- Note 4 – In the mayor’s office, sitting on the table between the two couches.
Here’s images if you’re struggling to find them:
Once you have all four notes you have to make your way back to the mayor’s office, being sure to also collect the Vault Key in the room where you found Note 3.
If you’re struggling to find the mayor’s office again – from the room where you collect the Vault Key and Note 3, leave through the door, turn left, head up the stairs on your right and the mayor’s office is right there at the top.
Romeo is a Dead Man: How to use the combination to open the safe
To open the combination, study the notes in numerical order. You’ll find that each one has a number and a direction highlighted:
- Note 1 – 9, right
- Note 2 – 7, left
- Note 3 – 4, right
- Note 4 – 12, left
It’s easy in this situation to misinterpret these directions as the number of times to turn the dial – right nine times, left seven times and so on. This doesn’t work.
Instead, you have to first move the dial to the starting number, which is 8 – you’ll feel the controller vibrate when you turn the dial to 8, just so you know it’s right.
Then, you have to keep turning the dial to the right until you reach 9 (which means all the way around, not just one over). Then turn it to the left until you reach 7. Then to the right until you reach 4. Then to the left until you reach 12.
You’ll feel the very slightest rumble in your controller as you hit each number to let you know it’s working. When you reach 12, the door will open and you’ll reach the Klista Gate to the boss.