Resident Evil 9 Requiem walkthrough: Full Grace Care Center guide
Everything you need to collect three Quartz gems and escape the Rhodes Hill Chronic Care Center as Grace in Resident Evil: Requiem.
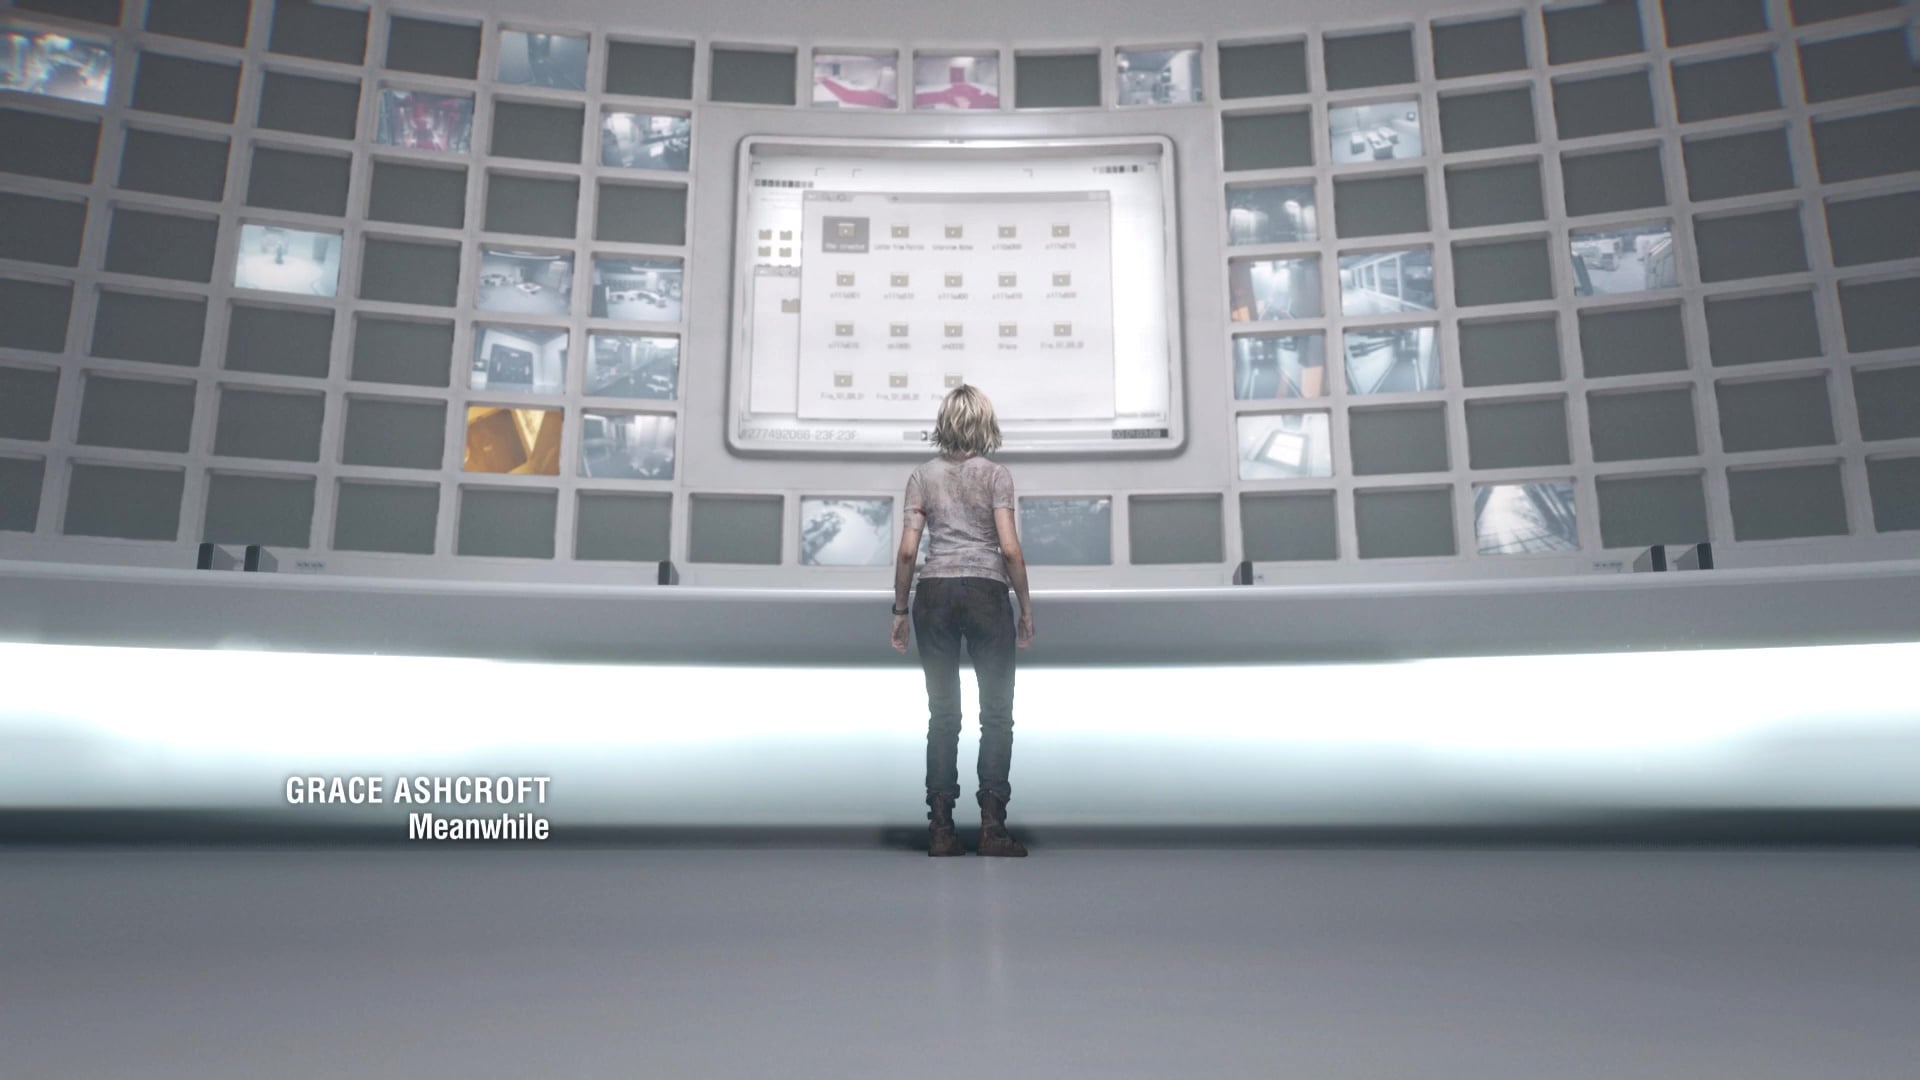
After the spooky intro in Resident Evil 9’s Wrenwood Hotel, Grace will find herself tied to a table in the Rhodes Hill Care Center, where Victor Gideon has established his base of operations.
The Care Center is a massive, sprawling complex with a large East and West Wings, in addition to an Attic and a basement that is incredibly imposing. In this guide, we’re laying out the broad strokes of what you need to do to clear through the Rhodes Hill Care Center as Grace in Resident Evil 9: Requiem. Your primary goal is to collect three Quartz cubes to open the door to the Courtyard and escape. Strap in, because there’s a lot to do.
On this page:
- Finding the Fuse, Escaping The Girl
- West Wing walkthrough, finding the Moon Quartz
- East Wing walkthrough, finding the Sun Quartz
- Finding the Artificial Organs and ID Wristband (Level 2)
- Isolation Ward walkthrough, finding the Star Quartz
Finding the Fuse, Escaping The Girl – RE9
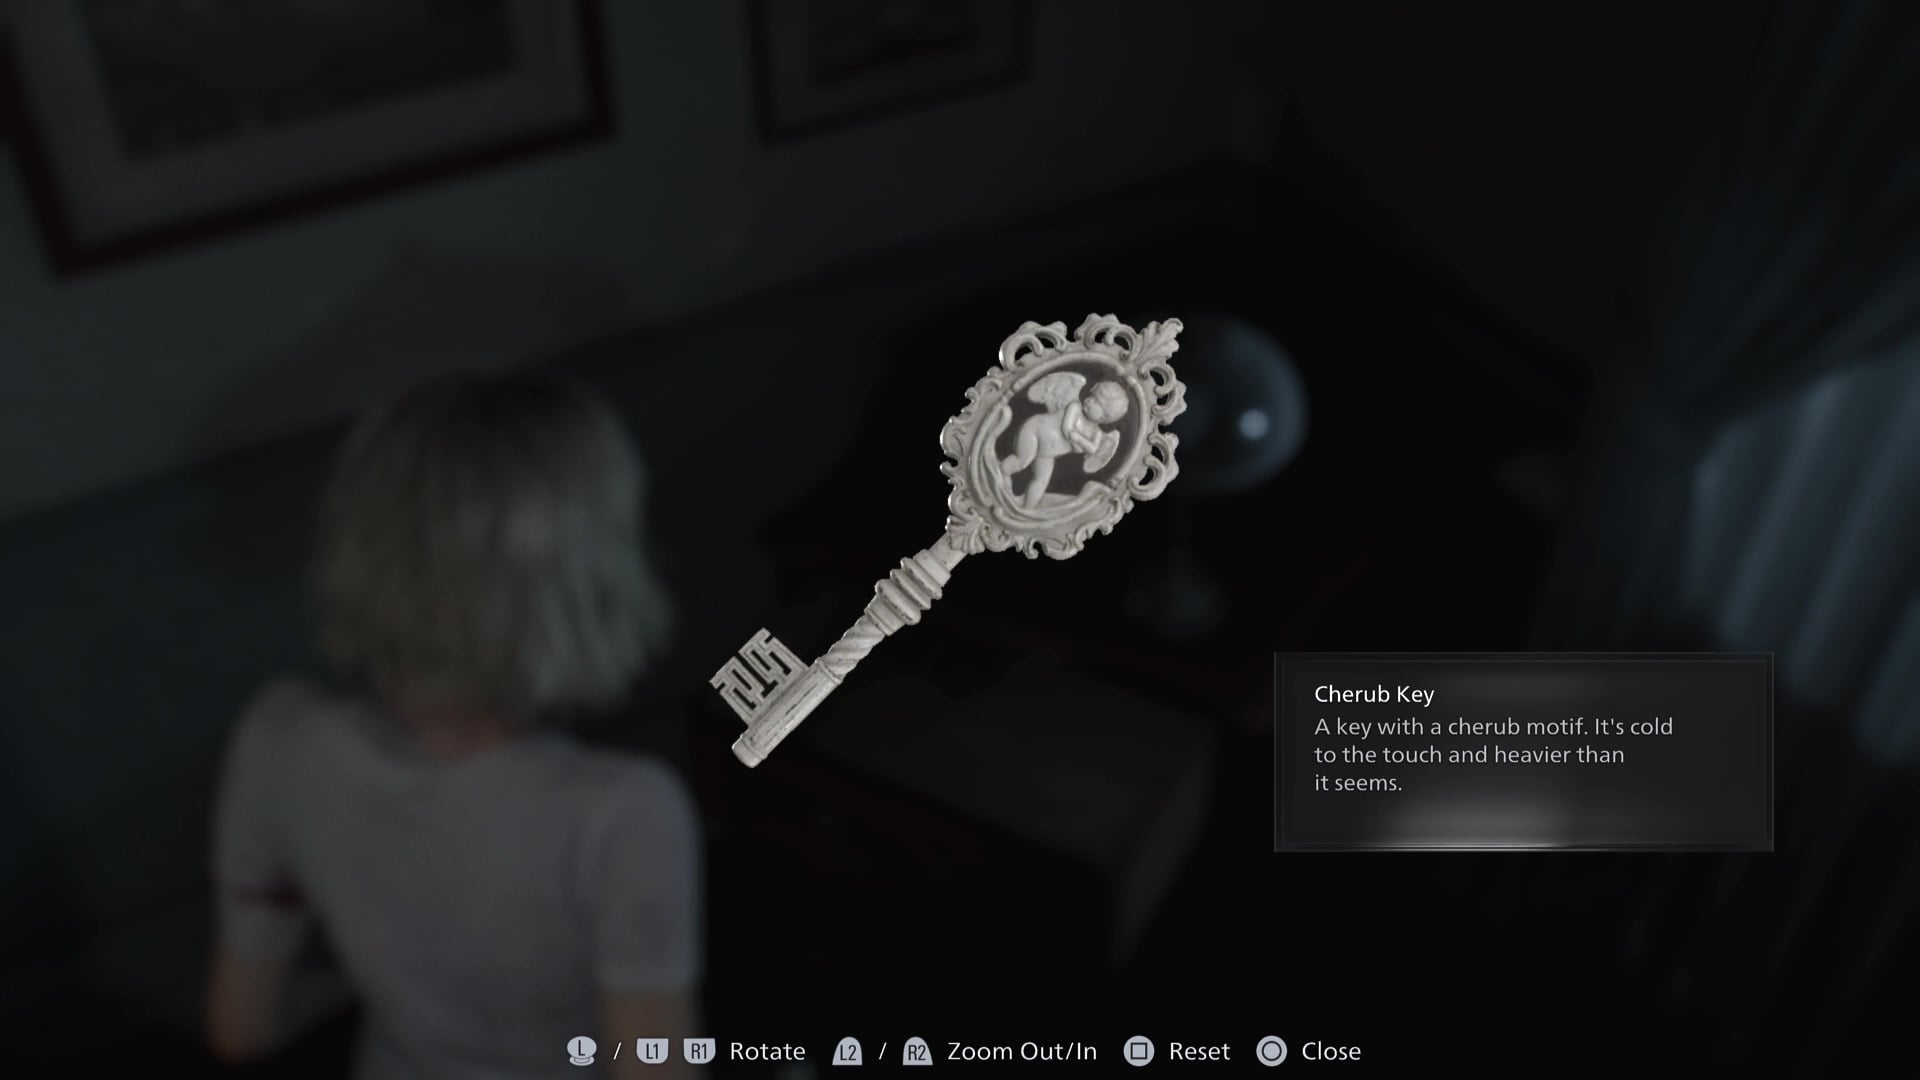
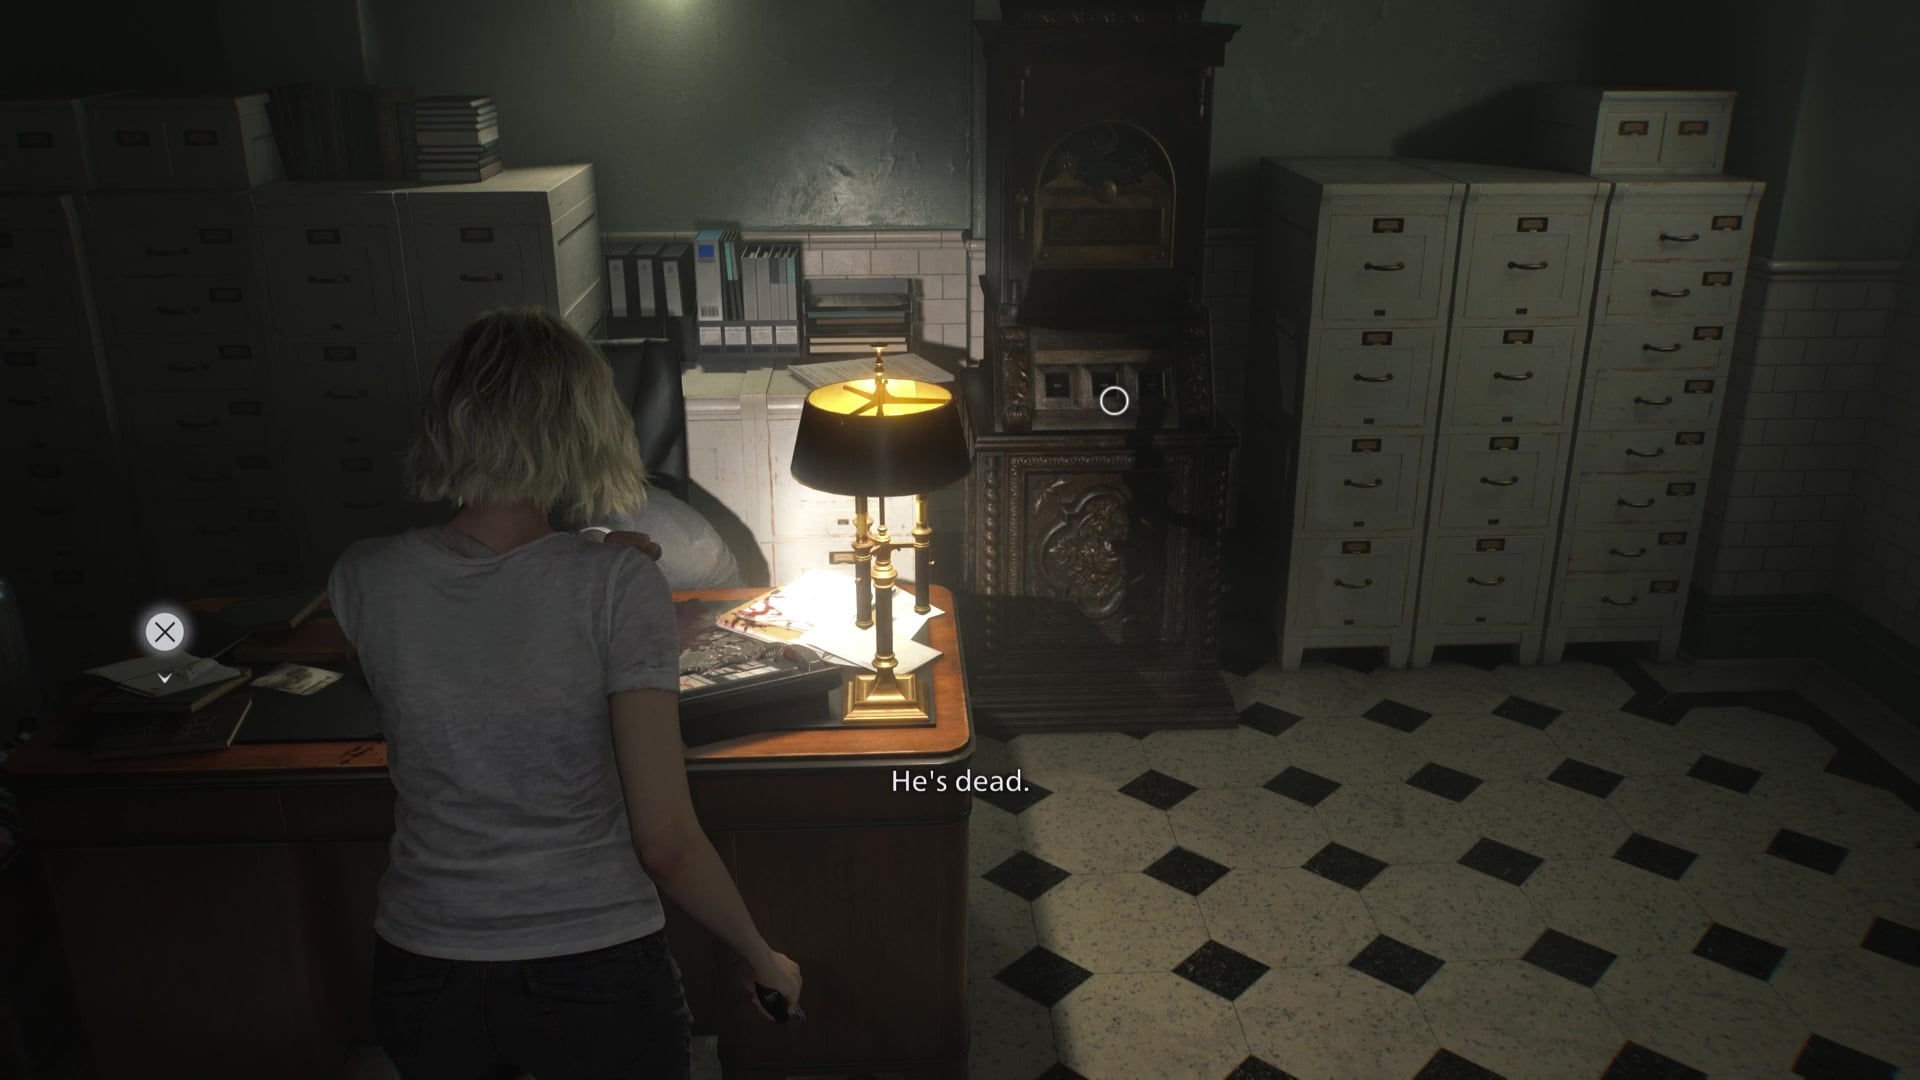
Grace wakes up tied to a table and upside down. In this area, light will protect you, so don’t turn off the overhead lights and lamps. First, head down the long hallway straight to the end to find a gate that requires two Fuses to open. Check the nearby table with a lamp on to find the Cherub Key, and use it on the Cherub Door. Inside, you’ll find the second Fuse, but you’ll need a Screwdriver. Luckily, you will have a Lighter to illuminate dark areas now.
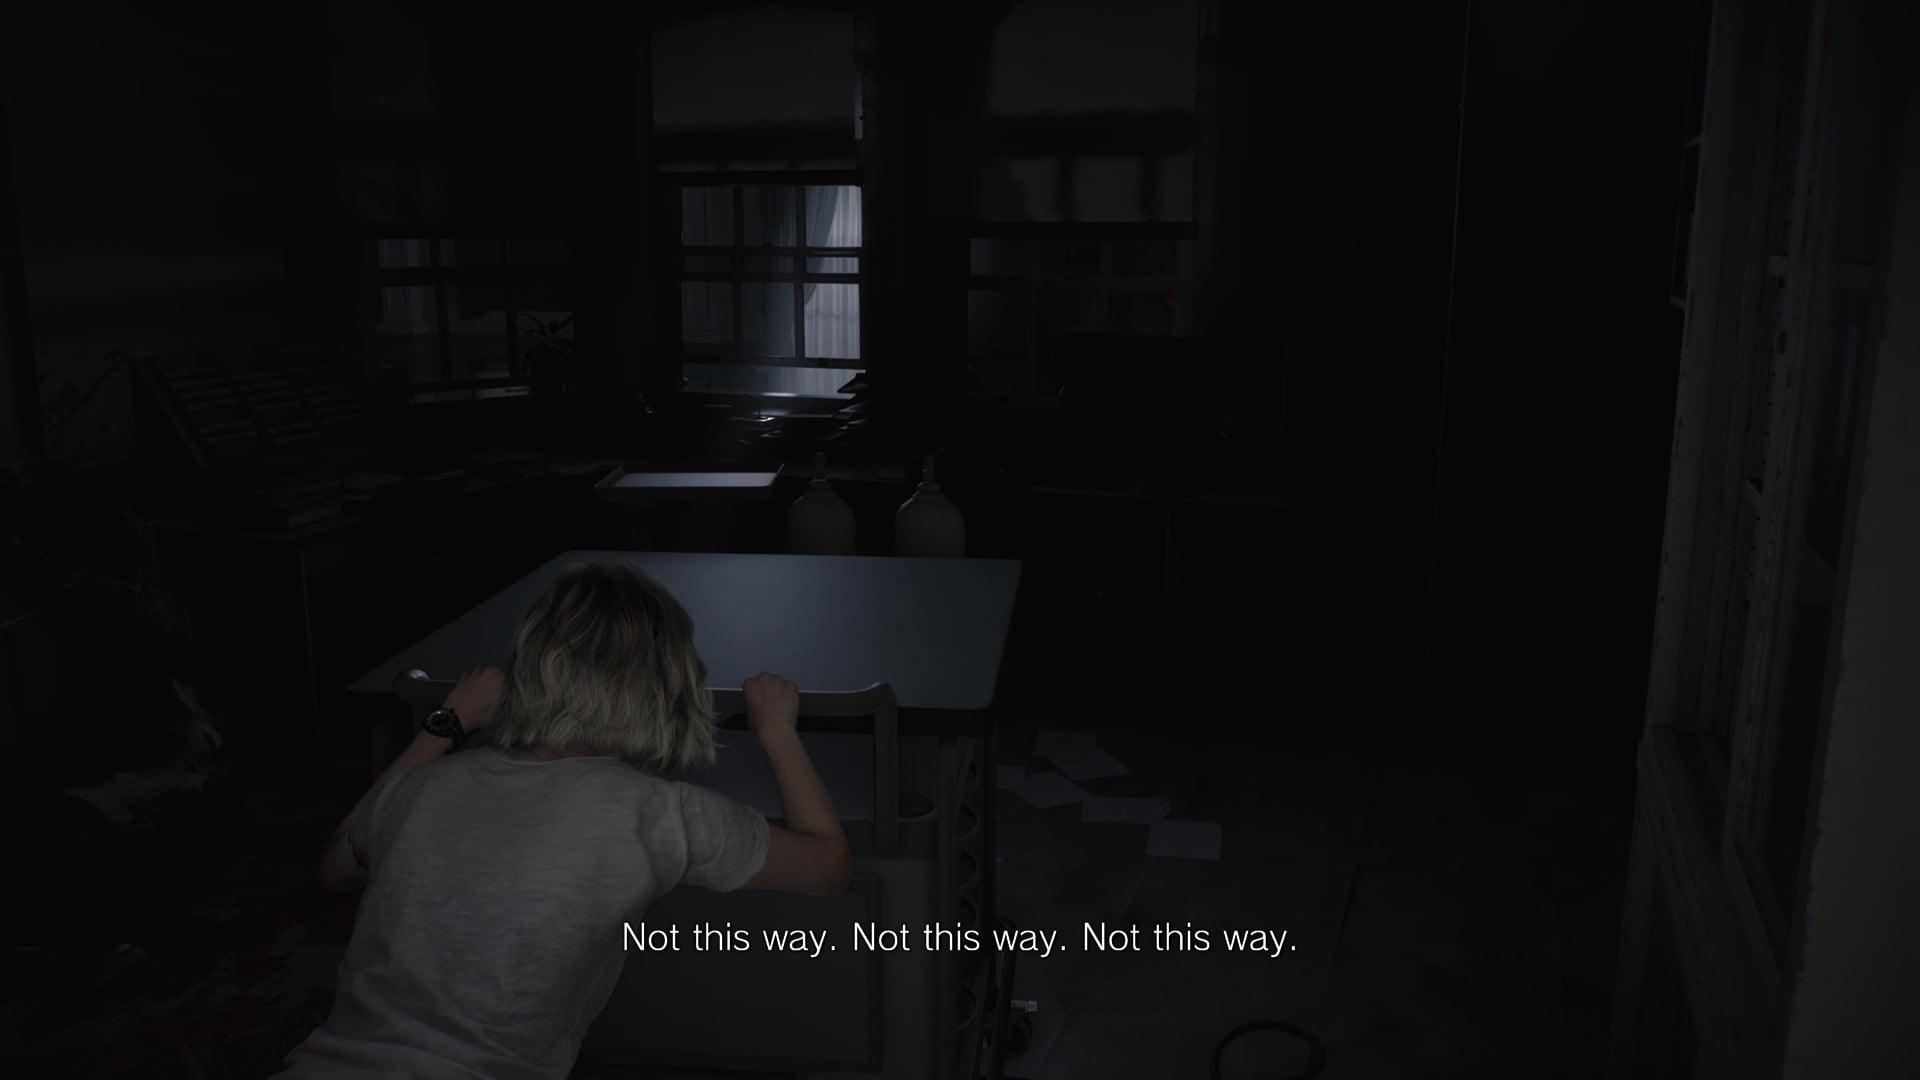
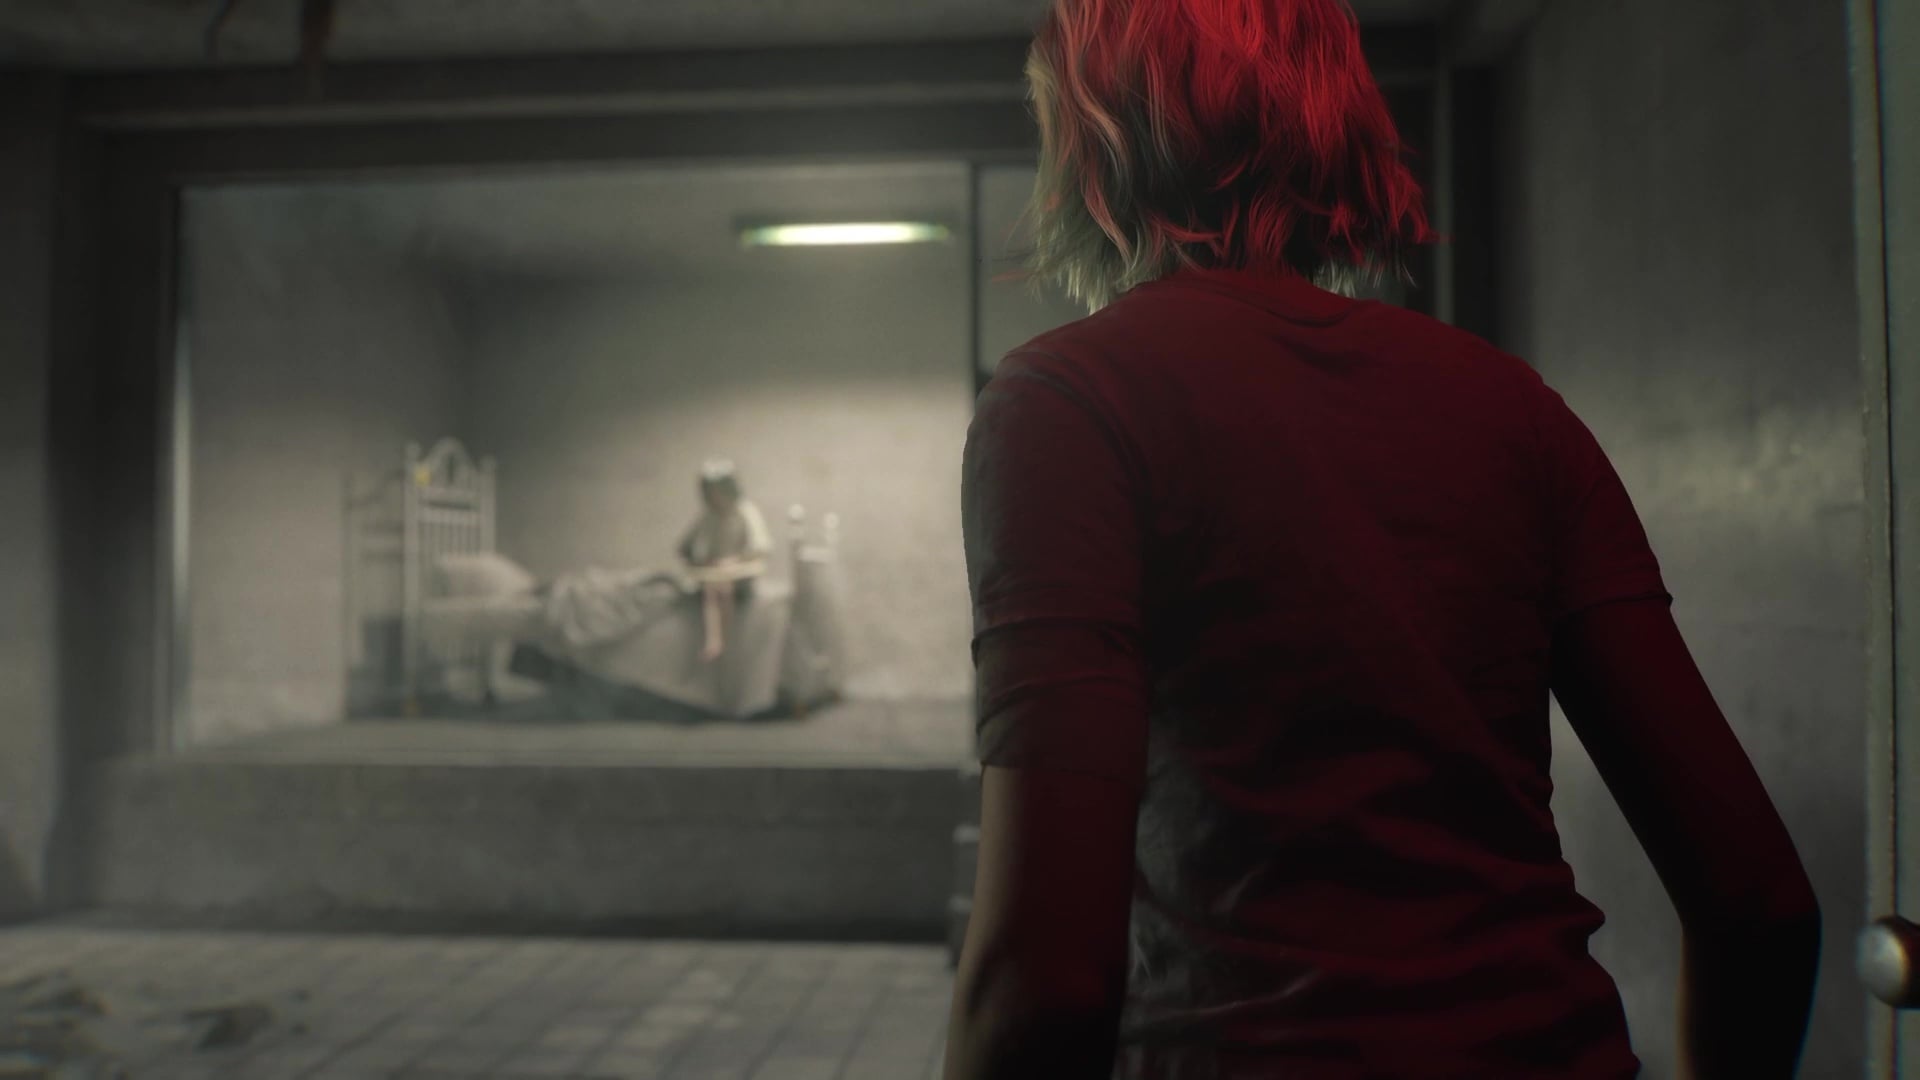
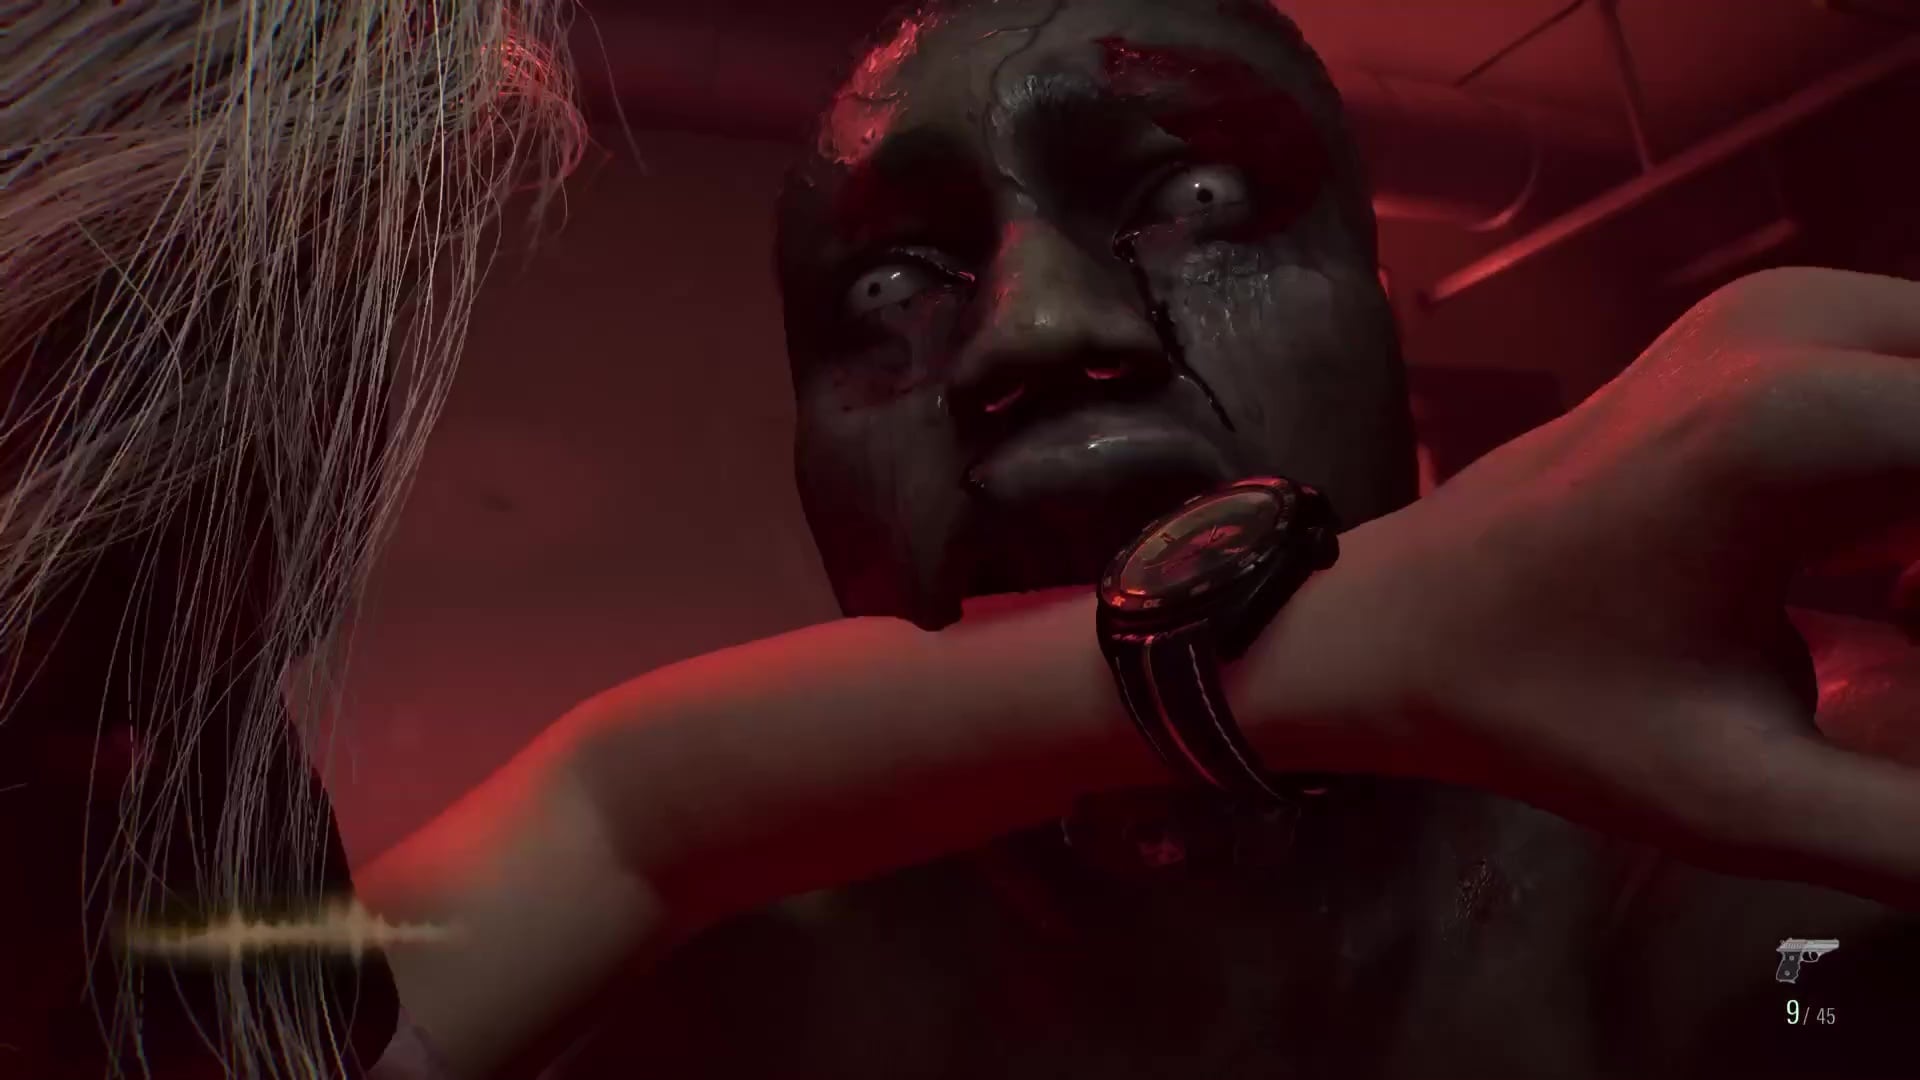
Move back down the corridor toward where you came from and turn right into the Prep Room. You can move a large trolley in here to climb up and reach a toolbox on a shelf in the upper-right corner of the room. You will be chased by The Girl, and must move to a room with lights in to avoid her.
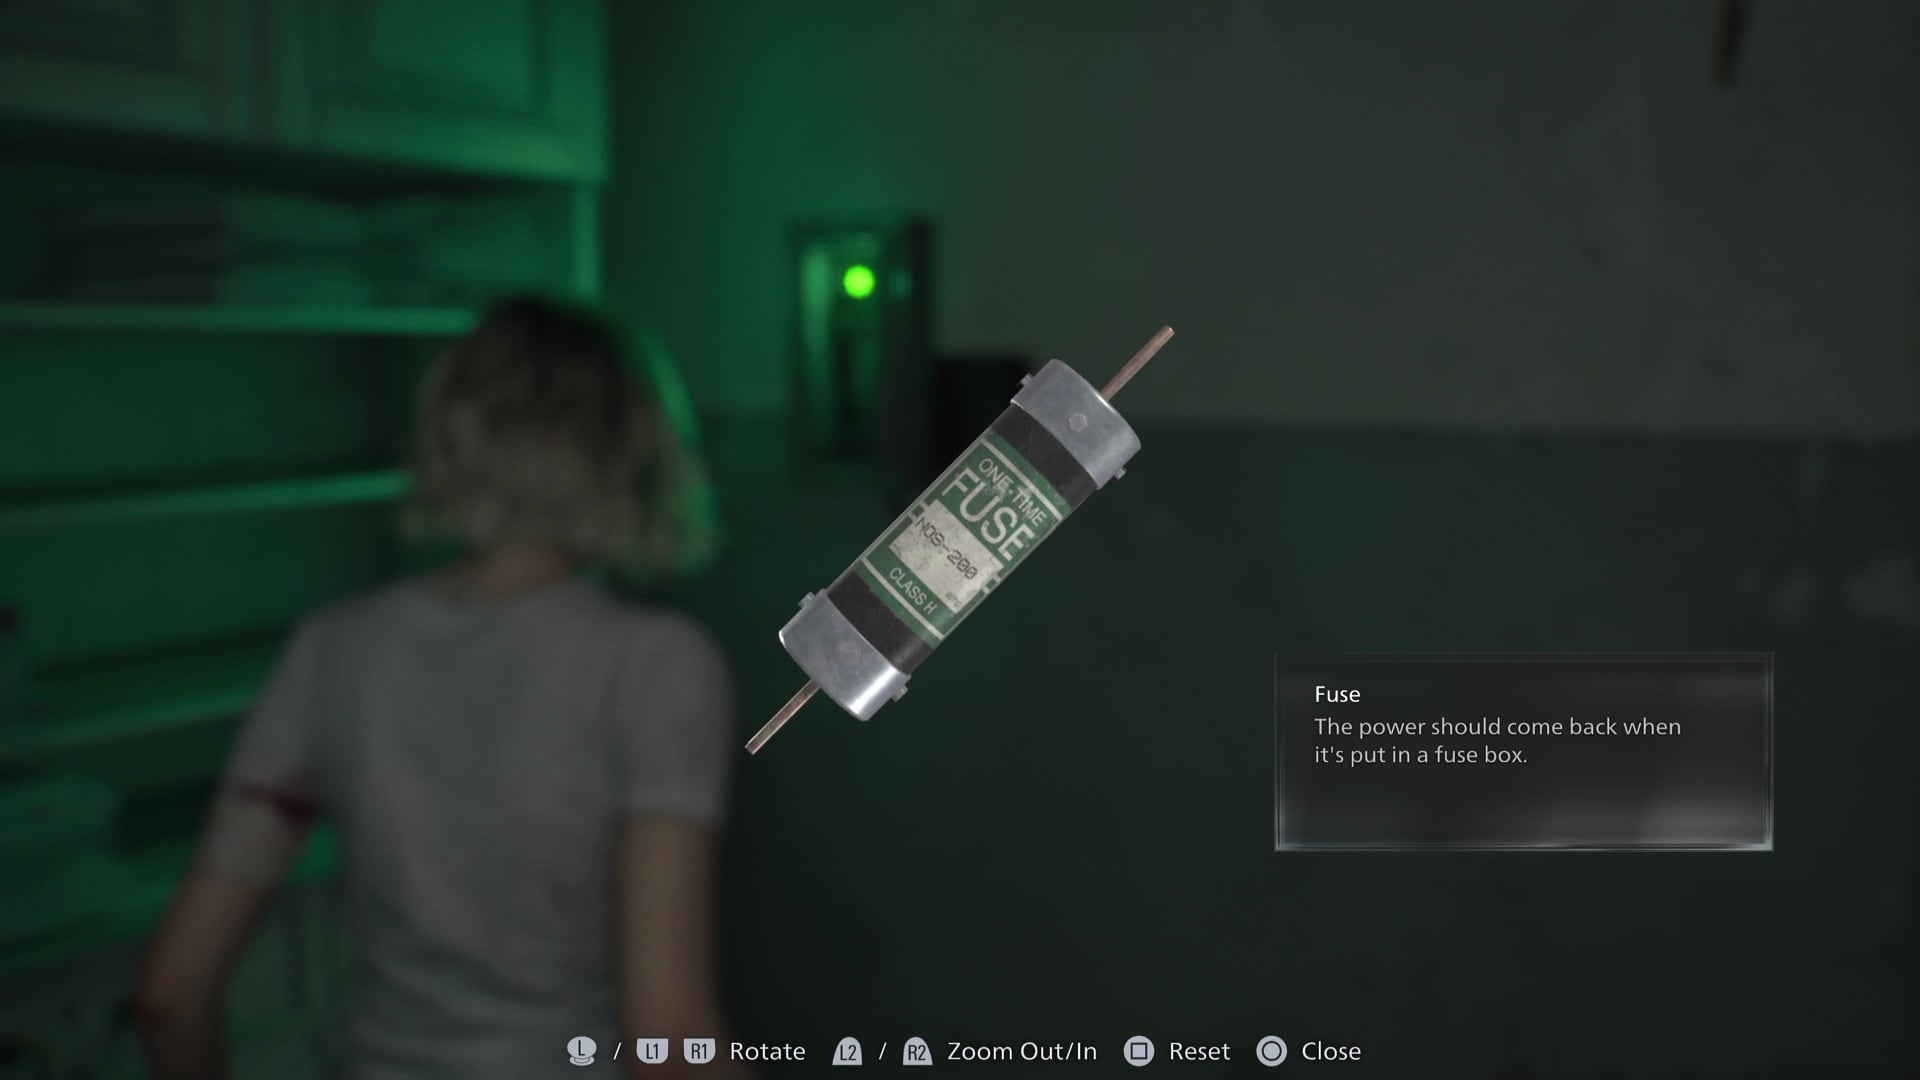
With the Screwdriver from the Reception in hand, move back to the Cherub Room and remove the Fuse, returning it to the gate. This will conclude Grace’s Care Center intro, allowing you to explore part of the Care Center as Leon. Leon’s section is linear, but it will include your first opportunity to find a Mr. Raccoon statue.
West Wing walkthrough, finding the Moon Quartz – RE9
The first thing you should do when you get control of Grace again is move downstairs and into the Guard Office, which is where you’ll find a typewriter and an item box. This is a safe room, and enemies won’t follow you in here. In the Medication Room attached to the Guard Office, you’ll find Emily, along with a West Wing Keycard.
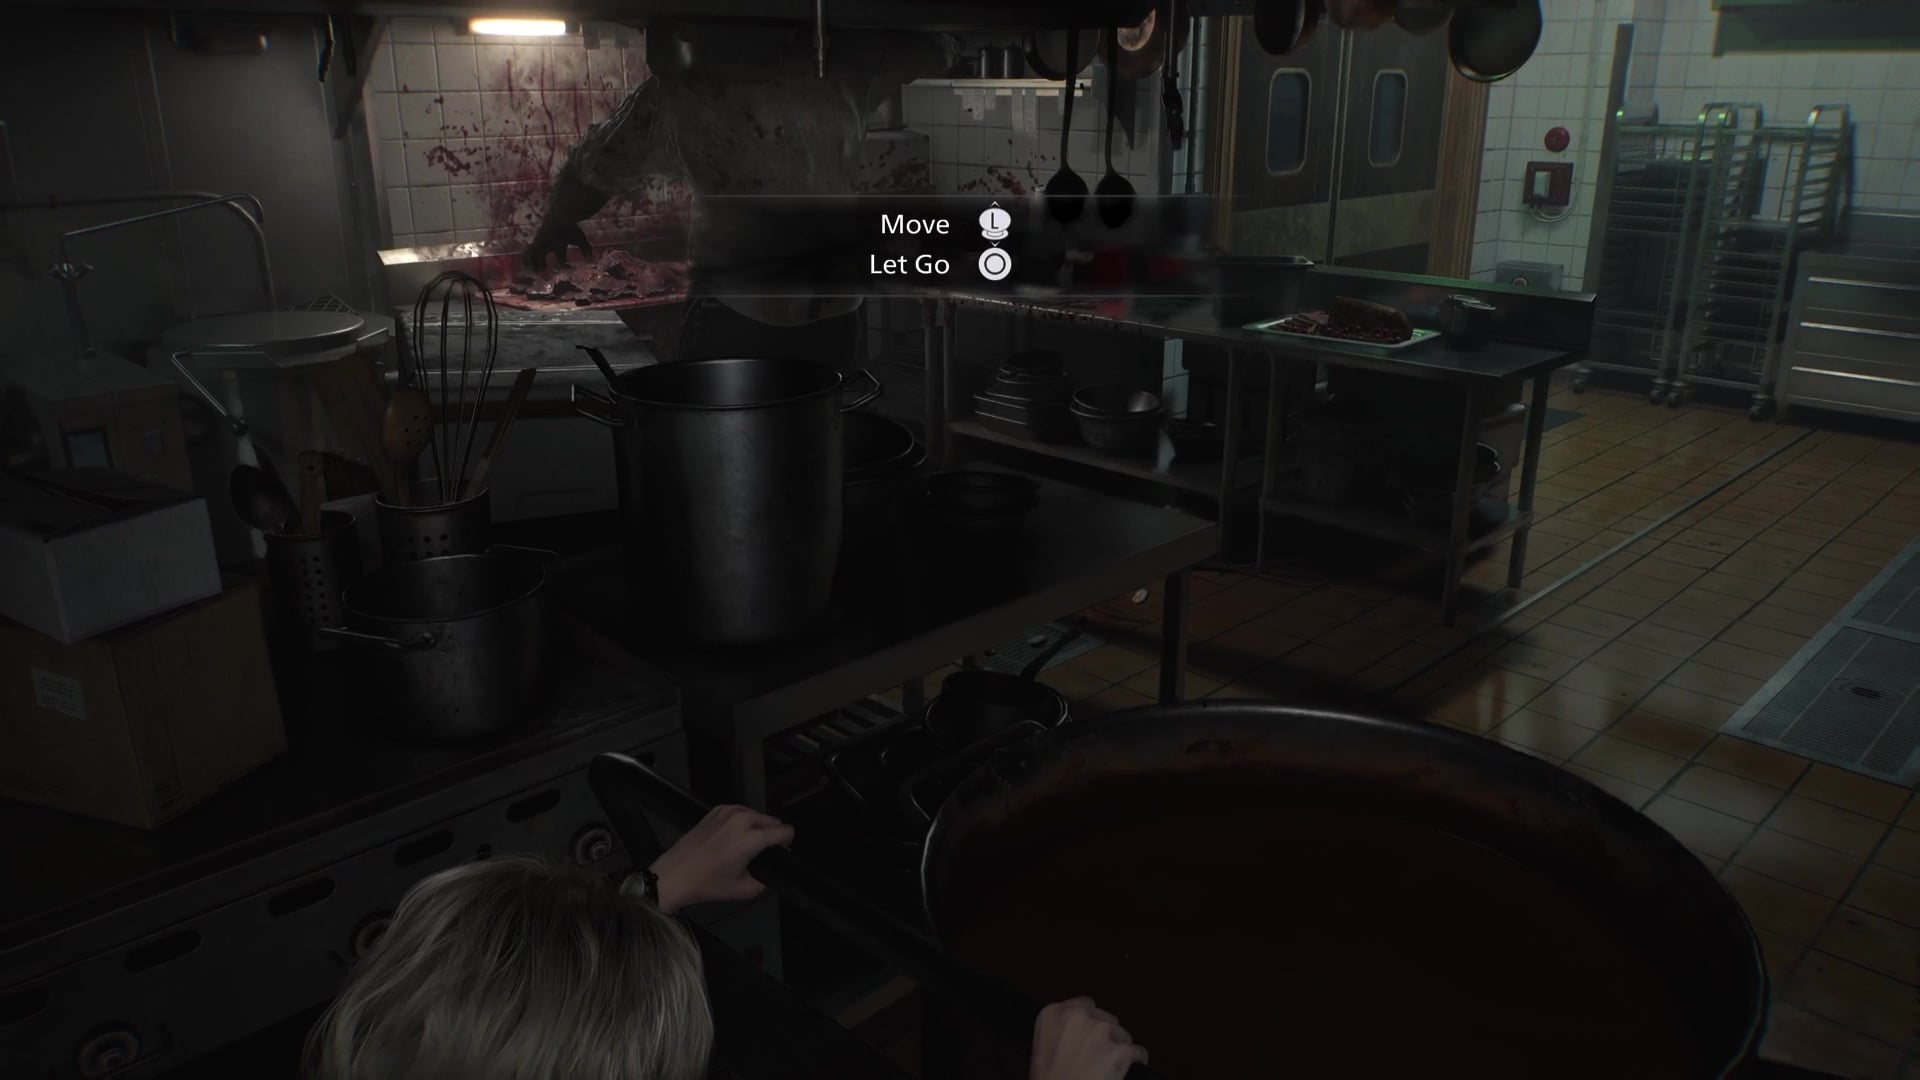
When you first enter the West Wing, you’ll only be able to move through the Kitchen, where you’ll first meet the chef. The chef is a big, mutated brute that Grace won’t want to fight head-on. When the chef isn’t looking, Grace can push a metal cart with a large pot on it across the room to make a path to the exit — when you hear the chef say either “Wrong” or “Next,” you should move back toward the kitchen entrance to avoid him. He’s not particularly smart, but you don’t want to be seen by him. After two or three pushing sessions, you should be able to make your way across the kitchen.
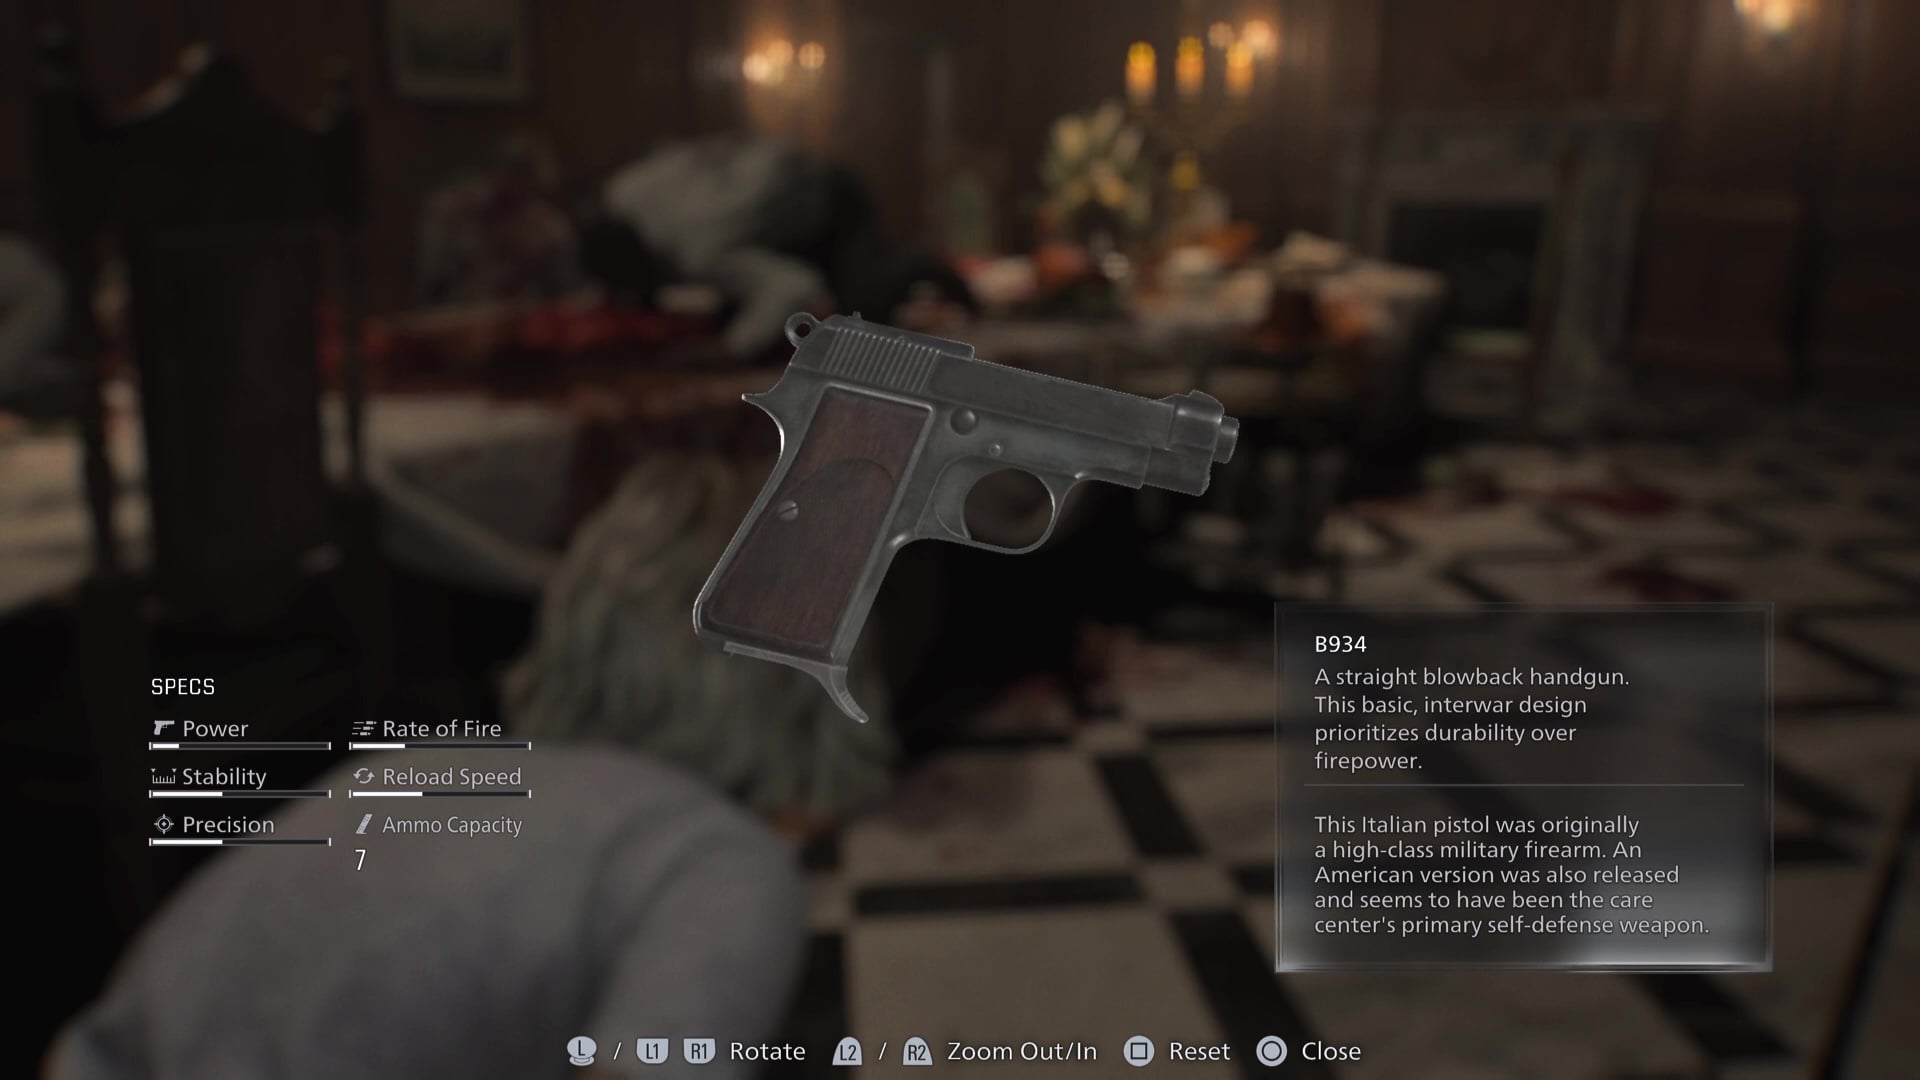
In the next hallway, you can open a shortcut to the West Wing entrance – so you’re not forced past the chef again – and go through the Dining Room. Make sure to collect the B934 pistol from the floor as you make your way through the room.
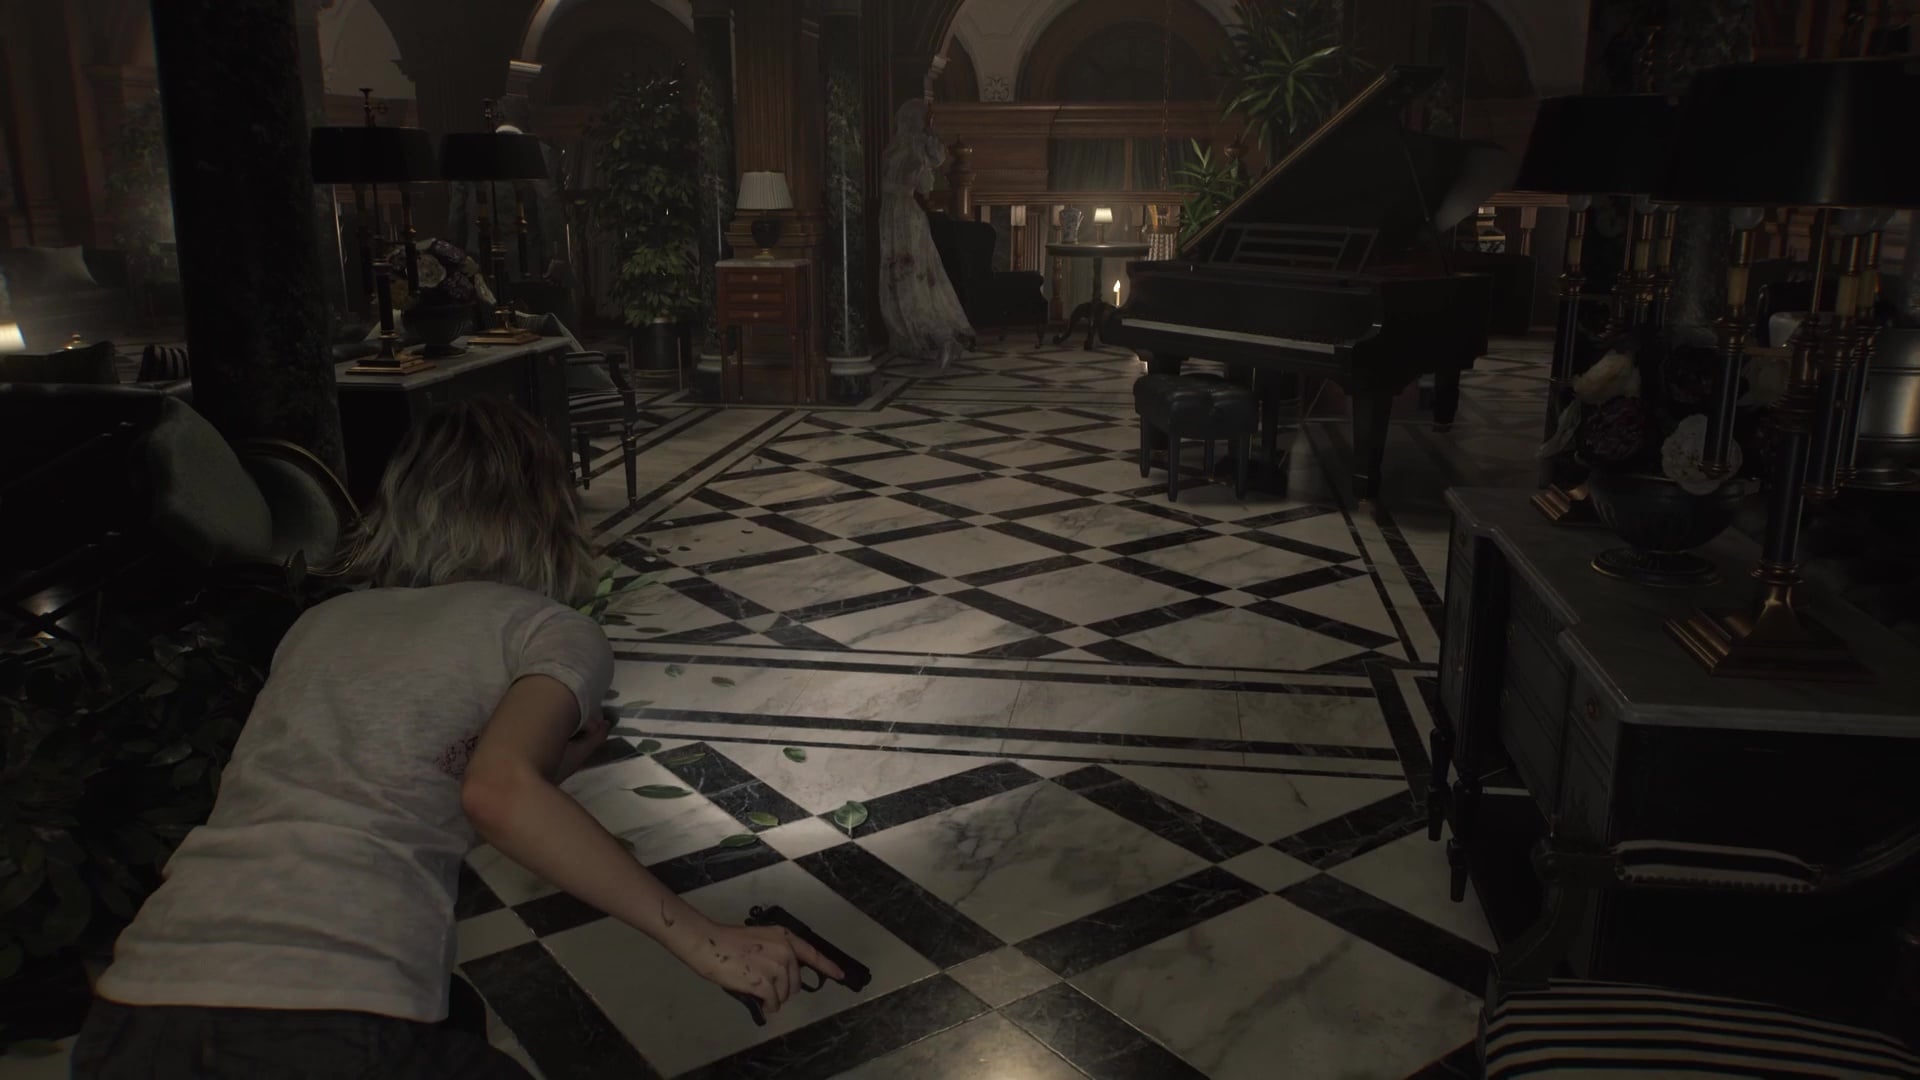
At the end of the hallway, past the Dining Room, you’ll find the Cold Storage door, but it will immediately snap off the turnwheel handle if you try to open it. Instead, take the stairs to the Bar & Lounge above the Dining Room — if you’re feeling brave, there’s a pistol behind the Bar for you to take, the S&S M232, Grace’s own pistol that she lost.

Through the Bar & Lounge and down the hallway, you’ll find the Chairman’s Office. Make sure to pick up the Unicorn Trinket Box and open it by using Examine, as this contains the Red Jewel, which you need to open the Parlor in the West Wing. Wipe out the monsters inside and use the Pencil from the desk on the notebook on the table to reveal the password order for the puzzle box. The code is Moon, Sun, Star Moon, and this will give you the Moon Quartz.
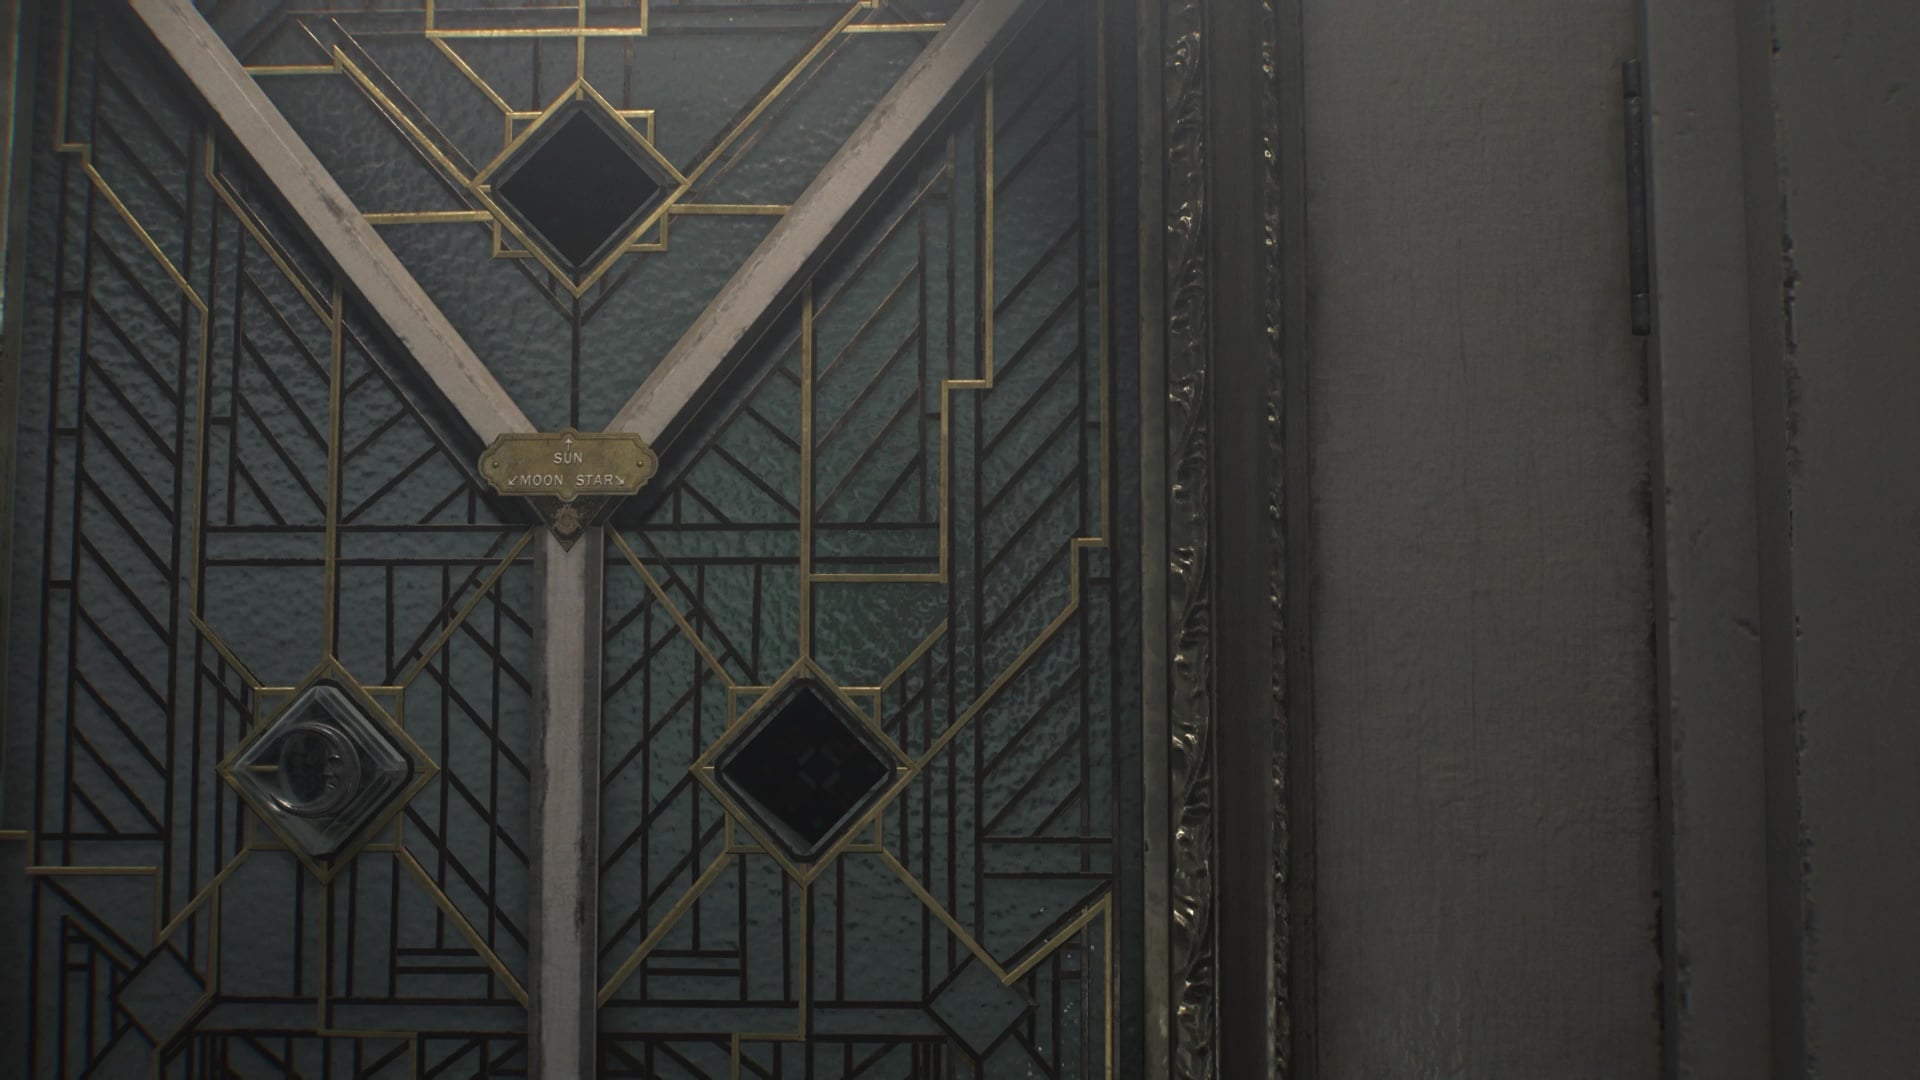
Turn right when exiting the Chairman’s Office to find yourself back in the Central Hall, and you should insert the Moon Quartz into the door at the back.
East Wing walkthrough, finding the Sun Quartz – RE9
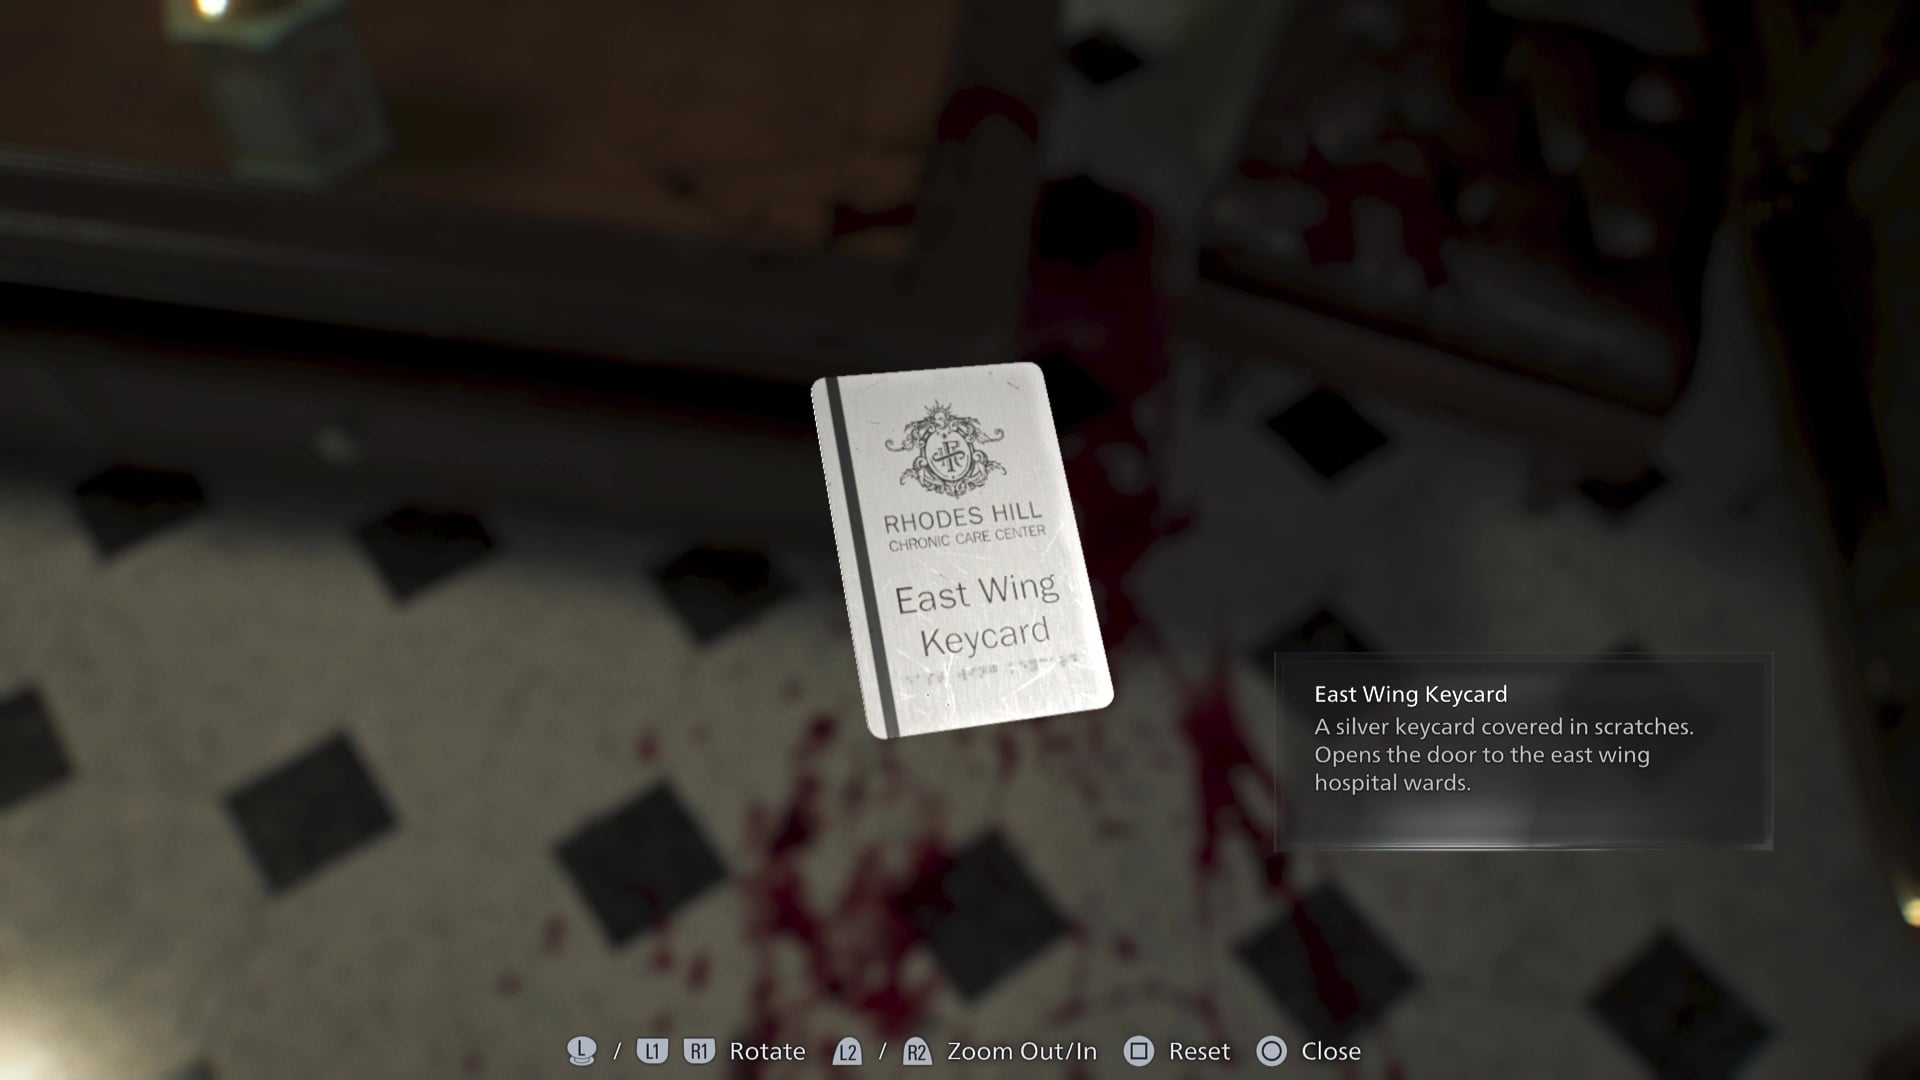
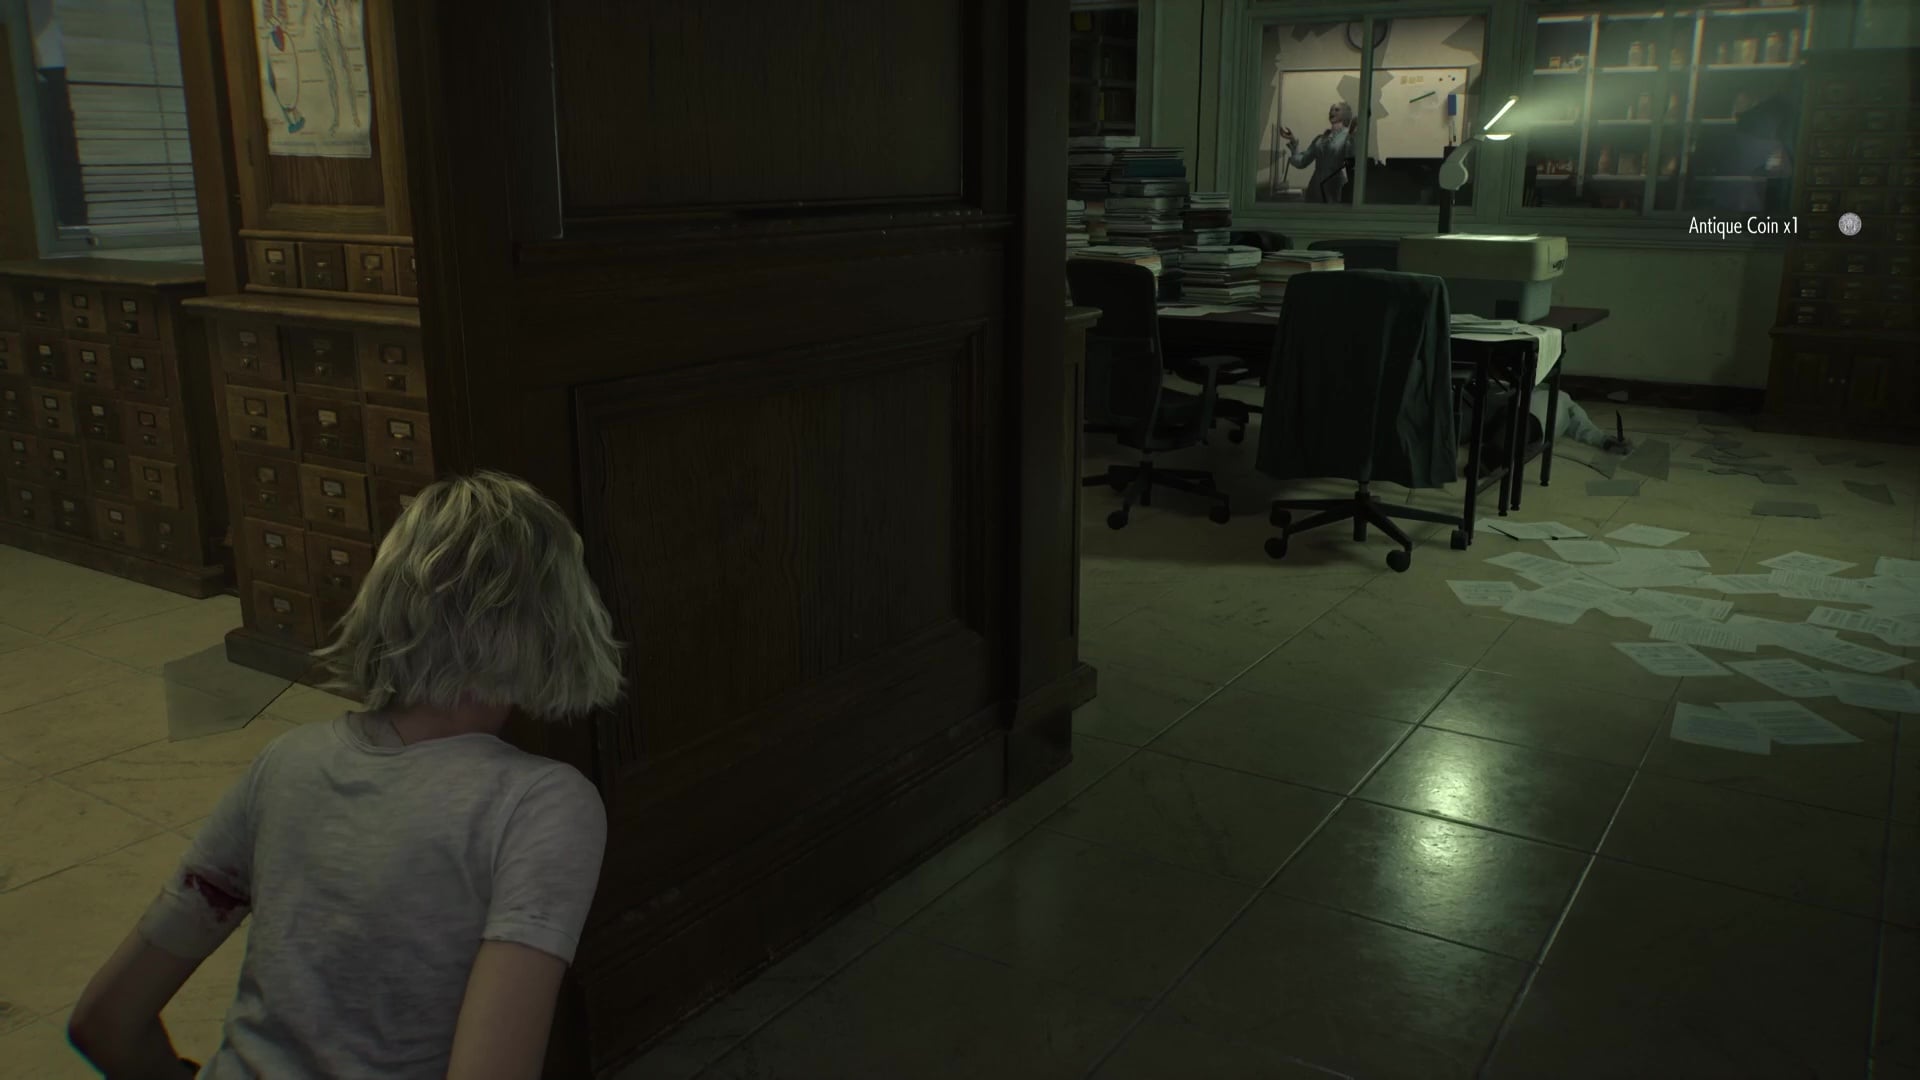
With the Red Jewel from the Unicorn Trinket Box, you can now open the door to the Parlor in the West Wing. Just watch out, as the chef now patrols the hallways, and you’ll need to sneak past him. Inside the Parlor, you’ll find the East Wing Keycard in a severed hand underneath a table. Now we can go to the East Wing, but make sure to spend any Antique Coins you found here in the Parlor on upgrades for Grace.
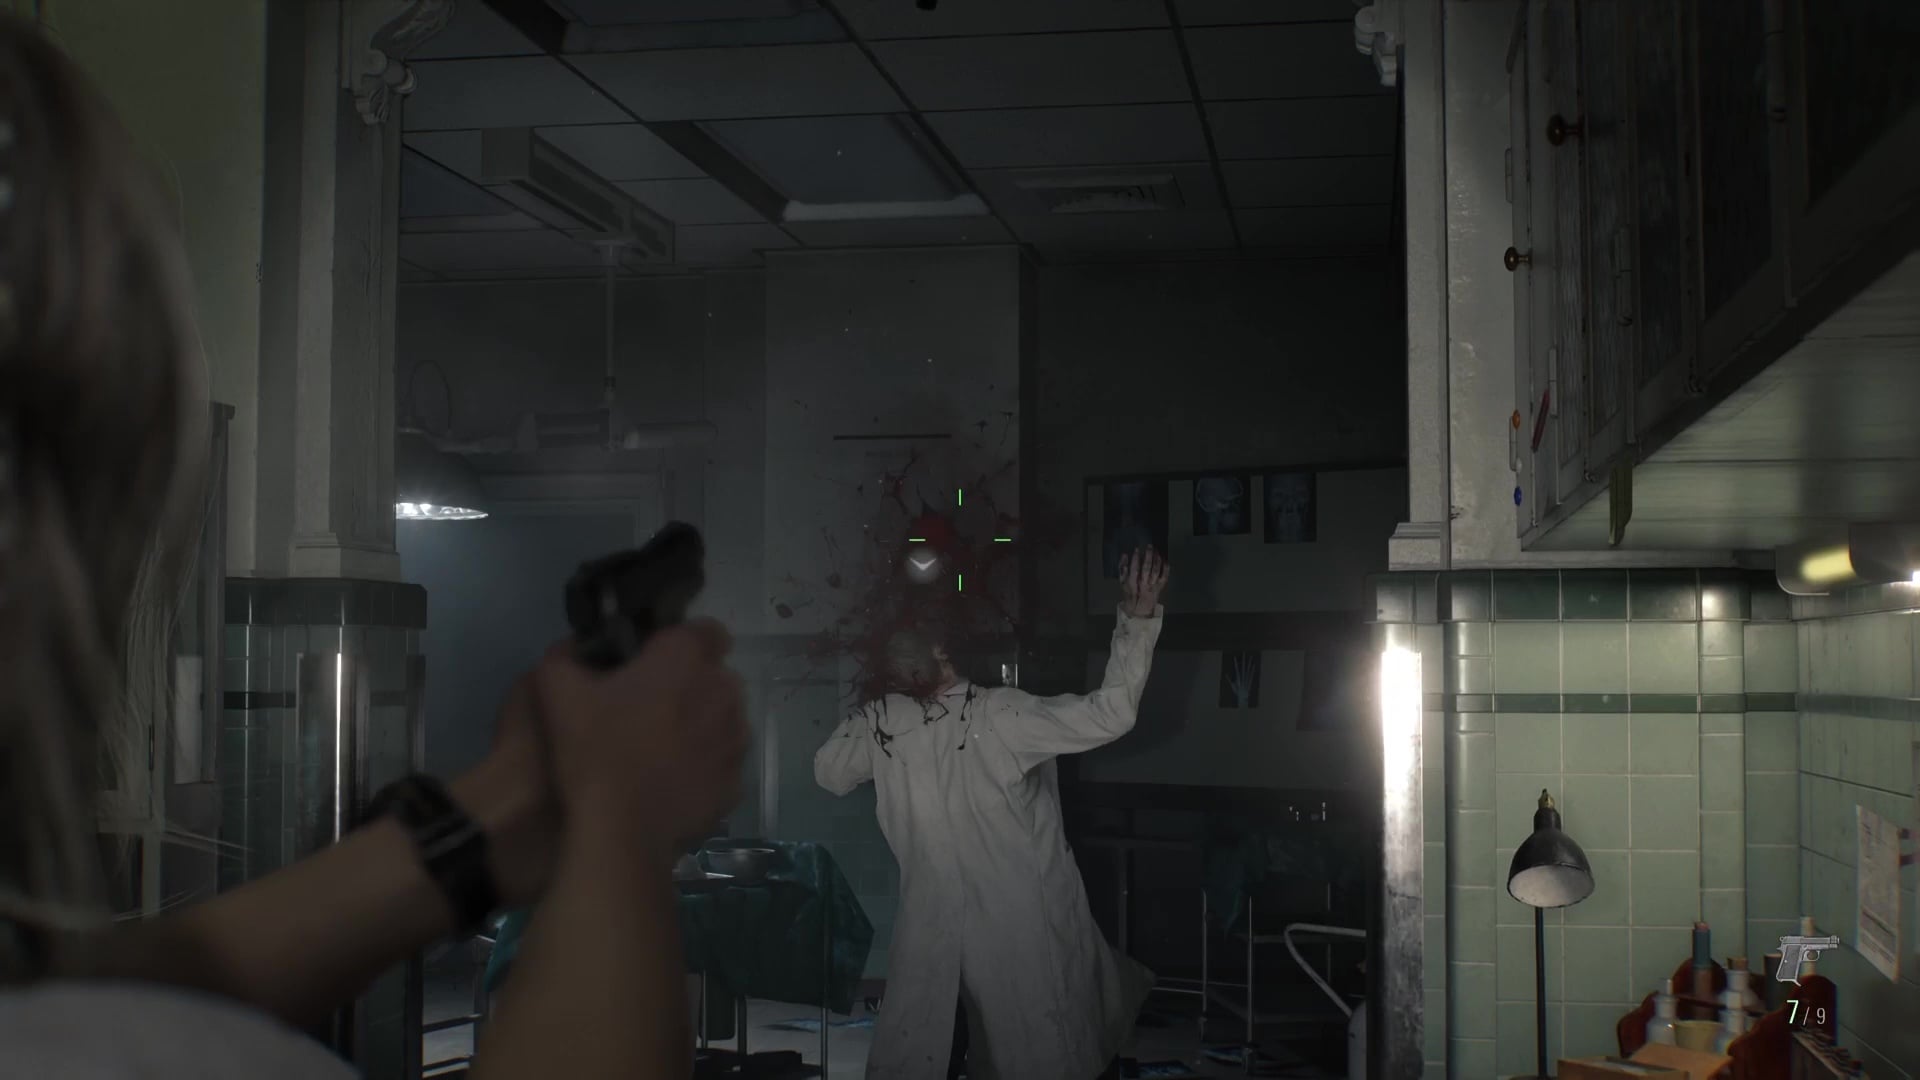
There’s only one route through the East Wing Lobby when you first enter, and that’s to the Examination Room, where you’ll find a corpse missing organs on the table. This is also a tutorial opportunity for the Hemolytic Injector, which you can use to permanently get rid of zombies that are in your way — that includes the chef.
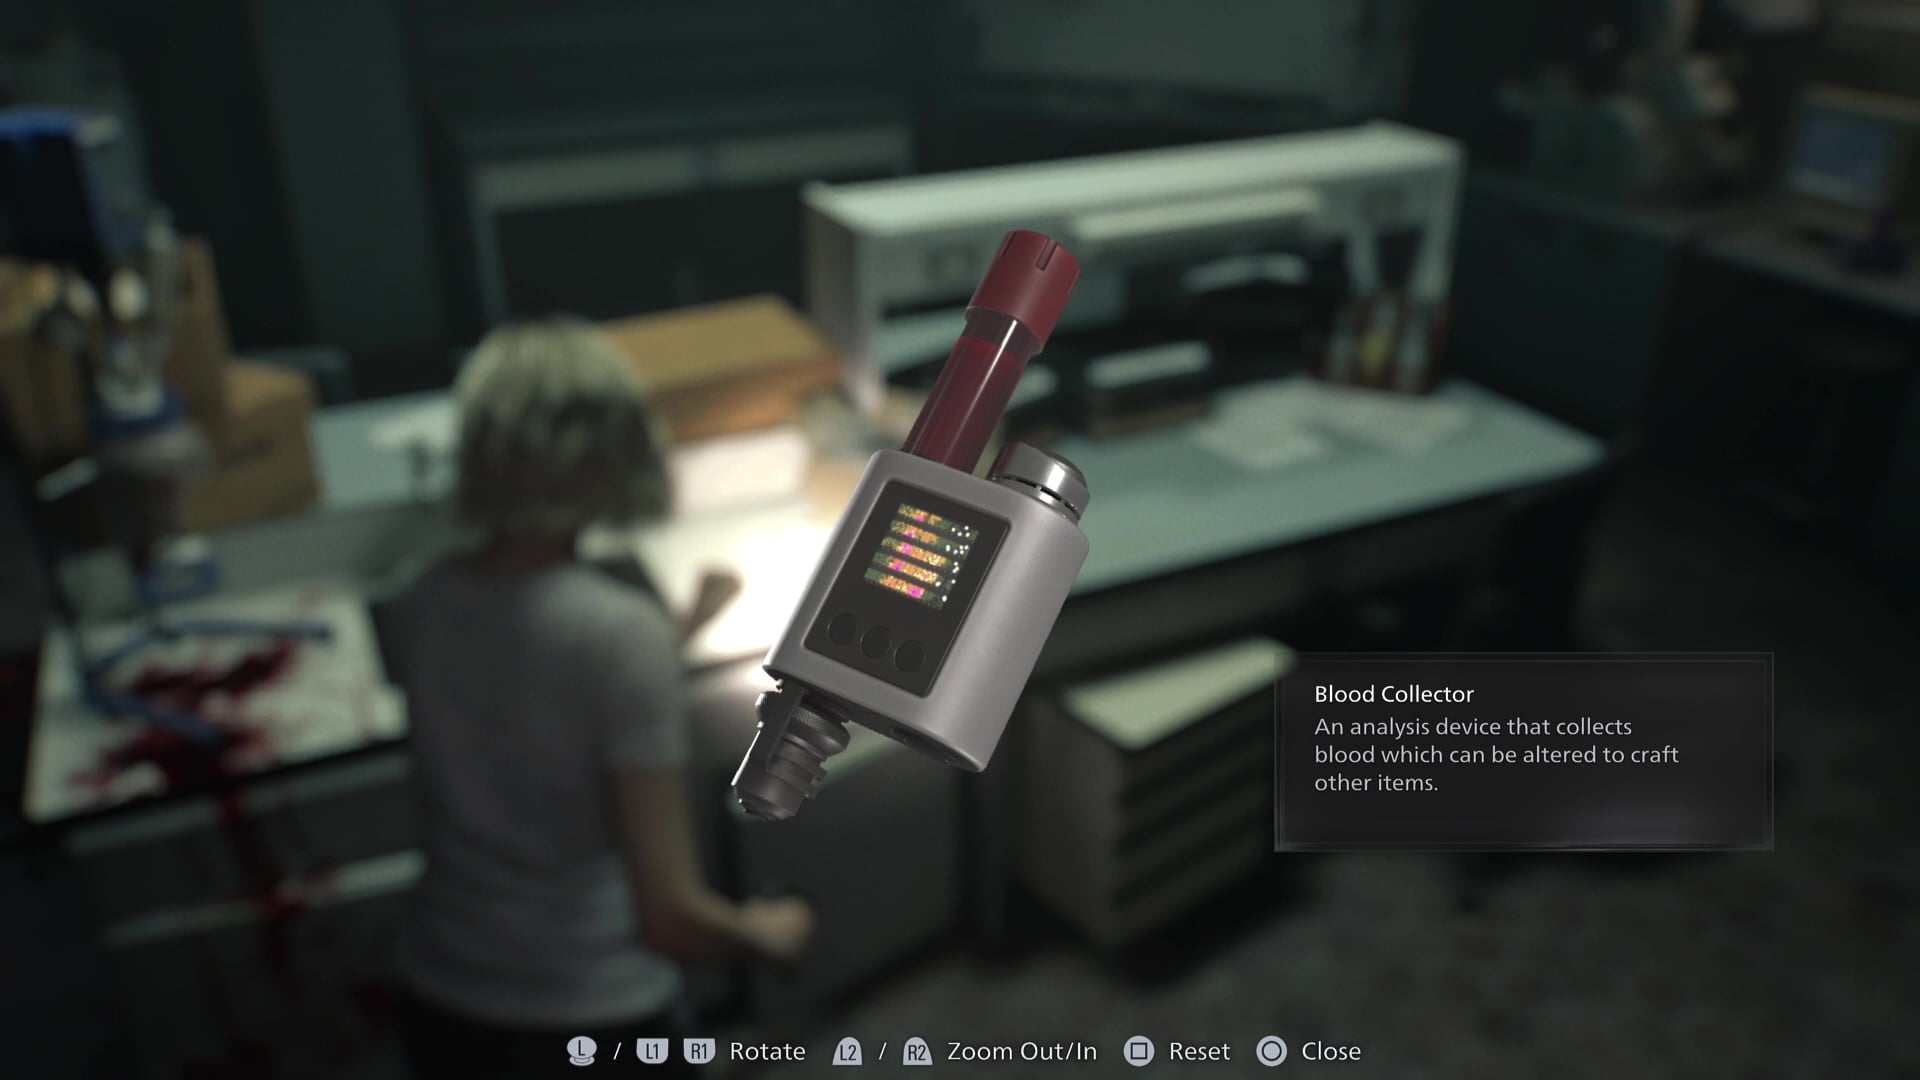
At the other end of the hallway from the Examination Room, you’ll find the Blood Lab, where you’ll get the Blood Collector and Blood Specimen (Denatured). These will unlock your ability to craft items using Infected Blood — this is technically all optional, but is essential for your first run.
Back down the hallway where the zombie is turning off lights, turn left and go through the hallway to find the stairwell. Upstairs, you’ll find the Lead Researcher’s Office, and another puzzle box containing a Quartz, only this time it’s locked via a padlock, and you’ll need the Corrosive from the Conference Room to get it open. Inspect all of the pictures in the room to add them to your files, as they contain puzzle box hints.
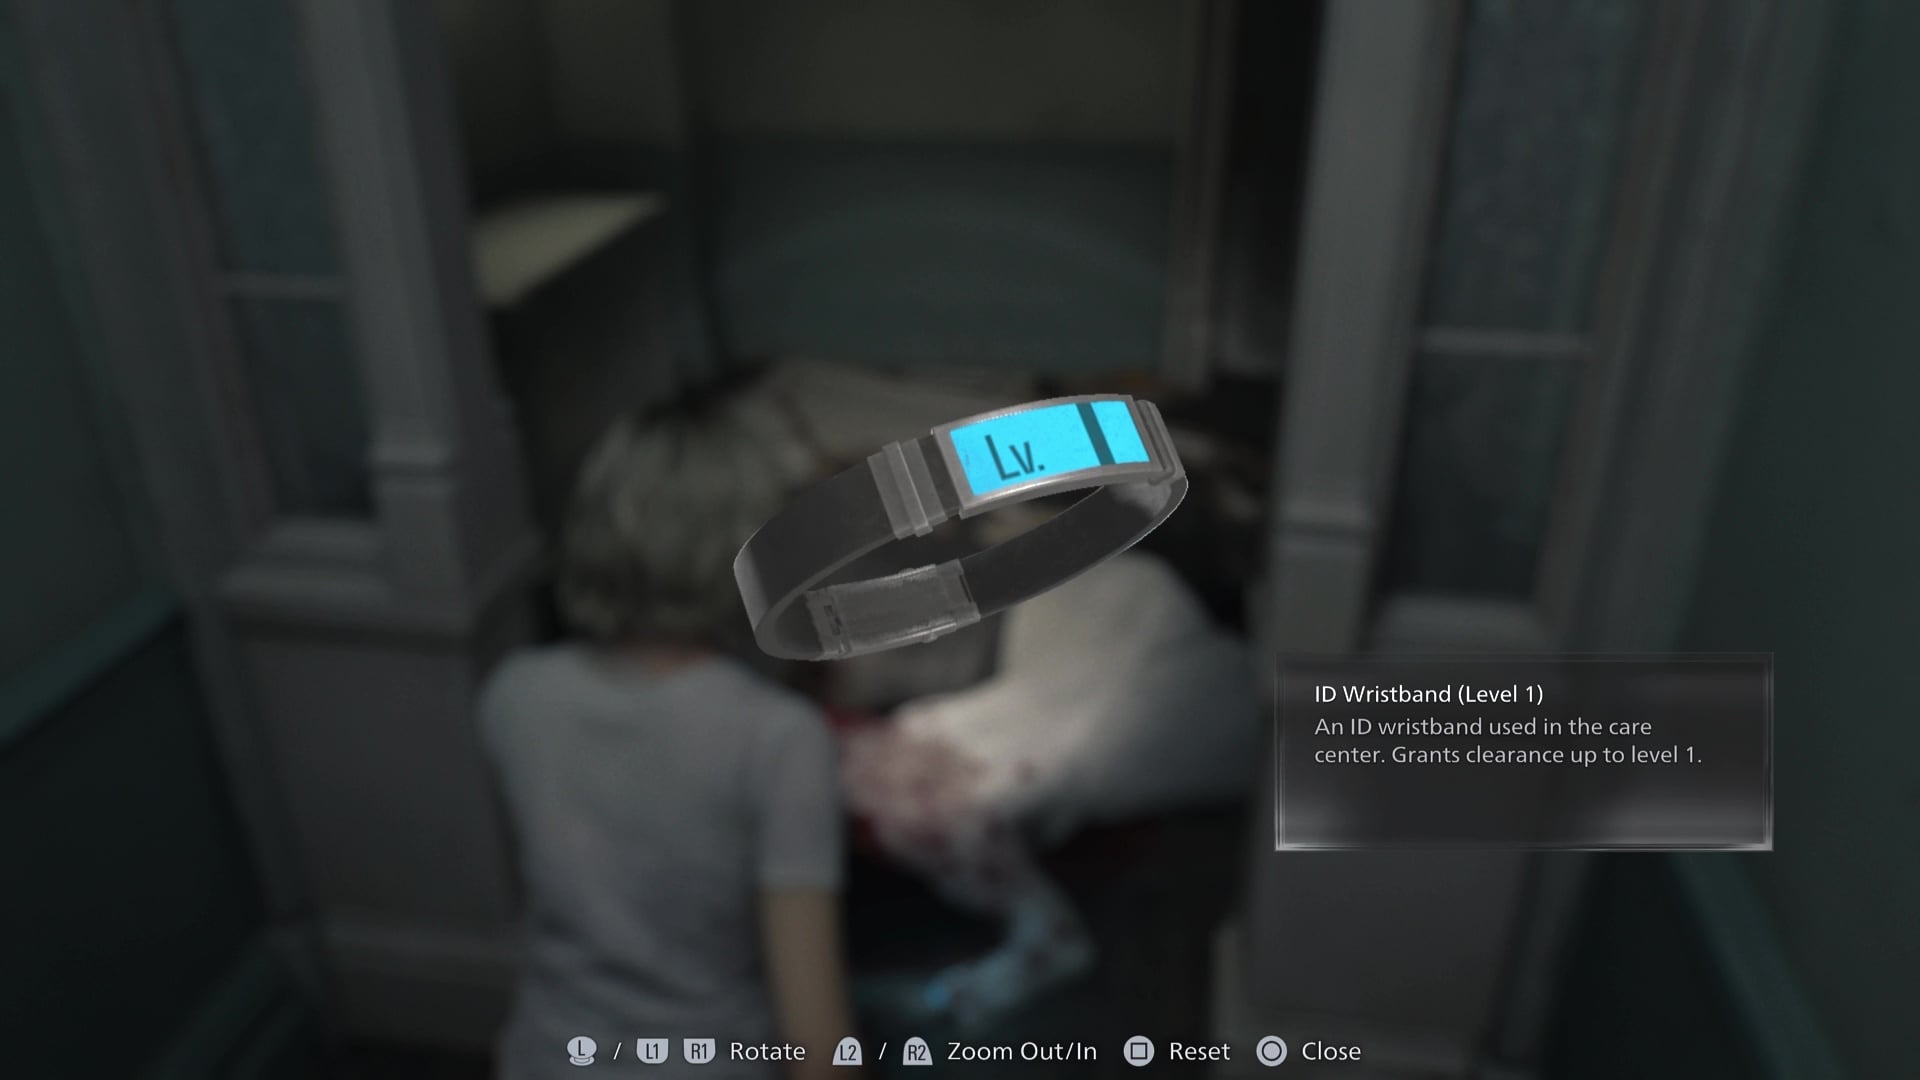
When you exit the Lead Researcher’s Office, make your way down the hallway on your left to find the ID Wristband (Level 1). Just make sure you have a free slot in your inventory to pick it up first. You’ll then need to back up to either the Examination Room, or you can head through the left door just past the bottom of the stairwell and cut through the Waiting Room straight to the East Wing Lobby. Chunk is a new enemy that will patrol this area, though he can be taken down with either a few Requiem bullets or three Hemolytic Injectors.
You need to get past Chunk and head down to the room past where you pick up the ID Wristband, which will lead you to the Conference Room. There’s another annoying Singer enemy in here, just be careful as you make your way through the room and grab the Corrosive. With the Corrosive in hand, you can return to the Lead Researcher’s Office and open the puzzle box with the code Star, Sun, Moon, Sun. This will get you the Sun Quartz and the Leatherbound Notebook, which you will want to inspect. Return to the Guard Office to organise your inventory, and insert the Sun Quartz into the door in the Central Hall.
Finding the Artificial Organs and ID Wristband (Level 2) – RE9

Now that you have the ID Wristband (Level 1), you can explore a few more optional sections of the Care Center, or you can move forward to the Garage. You can access the Custodian’s Office – another safe room – and the Garage through the Level 1 door past the Parlor, before entering the Kitchen. Inside the Custodian’s Office, you’ll find the Wrench. Organise your inventory and move into the Garage, where you’ll find the Organ Transport Box. When approached by the vehicle, just stay back and fire at the driver.
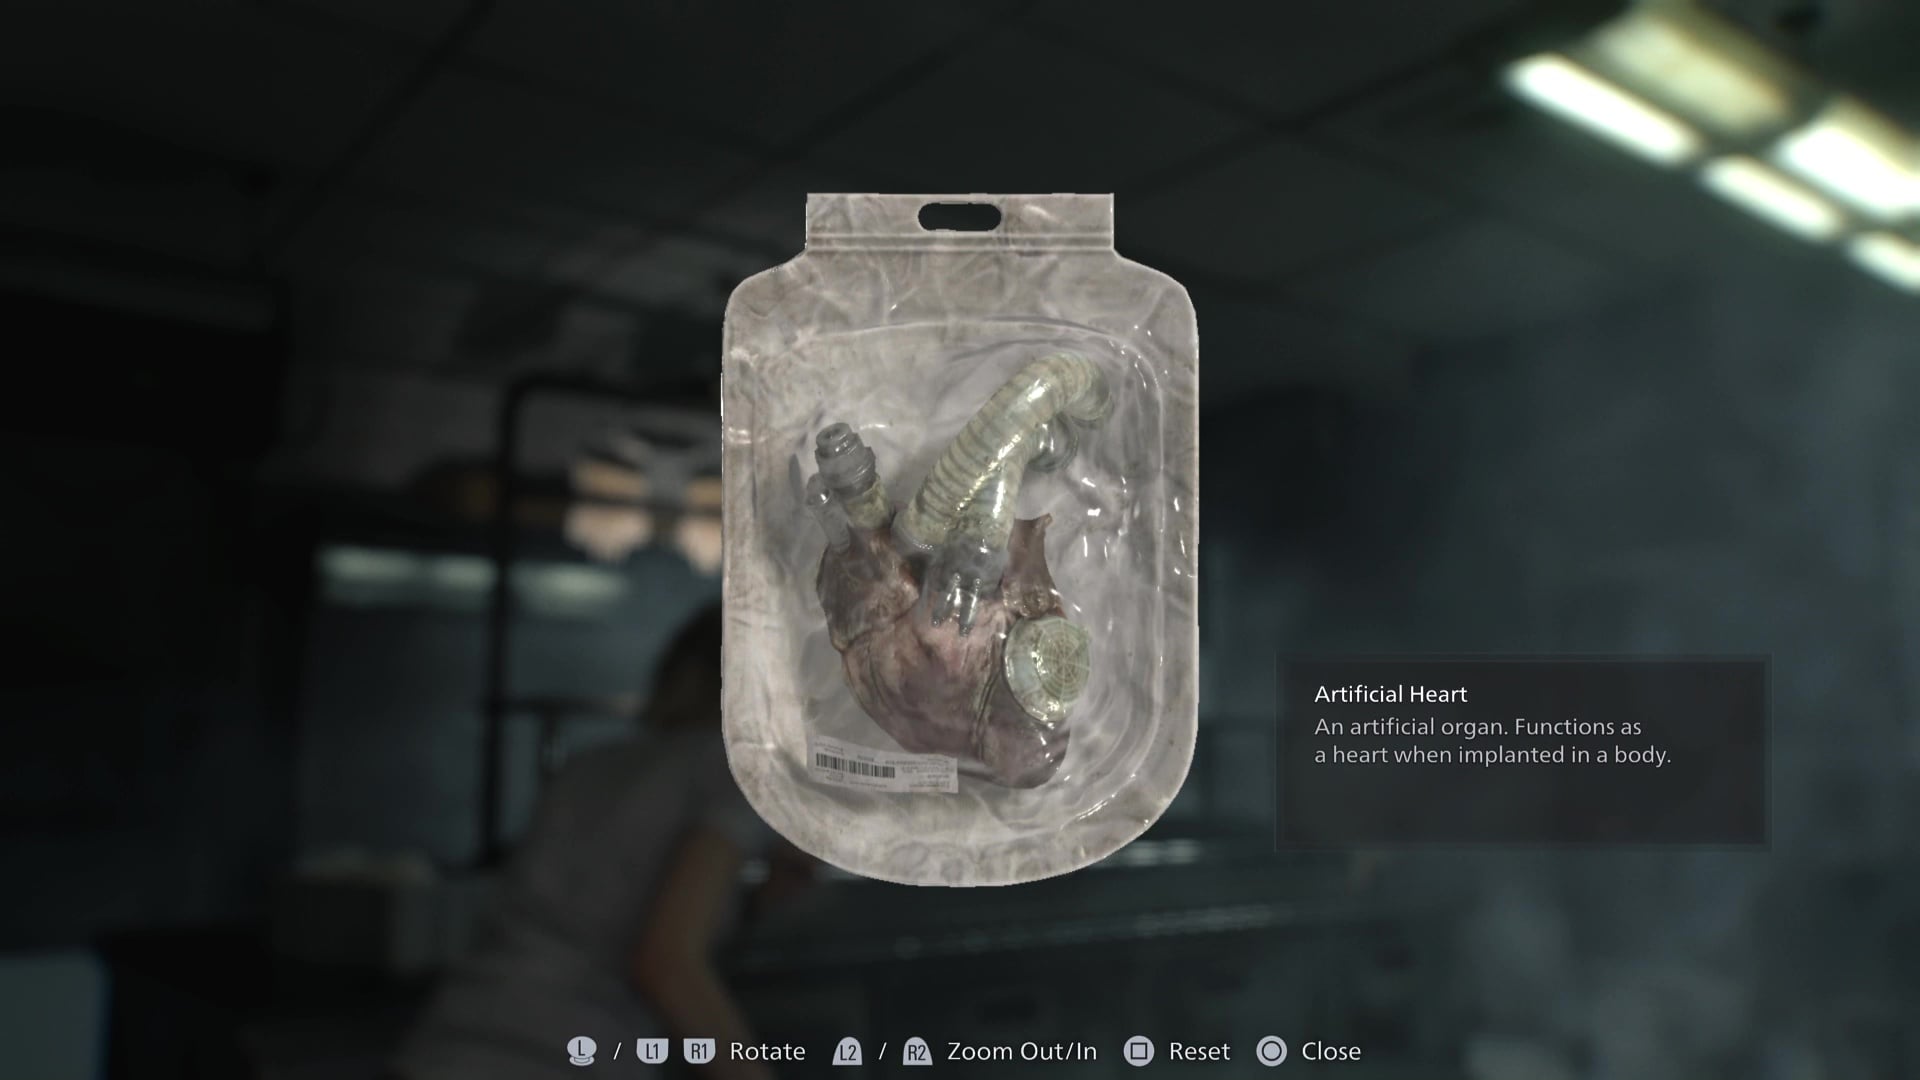
Examine the Organ Transport Box and use the puzzle solution from the Leatherbound Notebook to open it and reveal the Artificial Lungs. Now that you have the Wrench from the Custodian’s Office, you can also open the Cold Storage door. Take the stairs opposite the Custodian’s Office through the upstairs Office, and you’ll find yourself just upstairs from the Cold Storage room, where you’ll find the Artificial Heart.
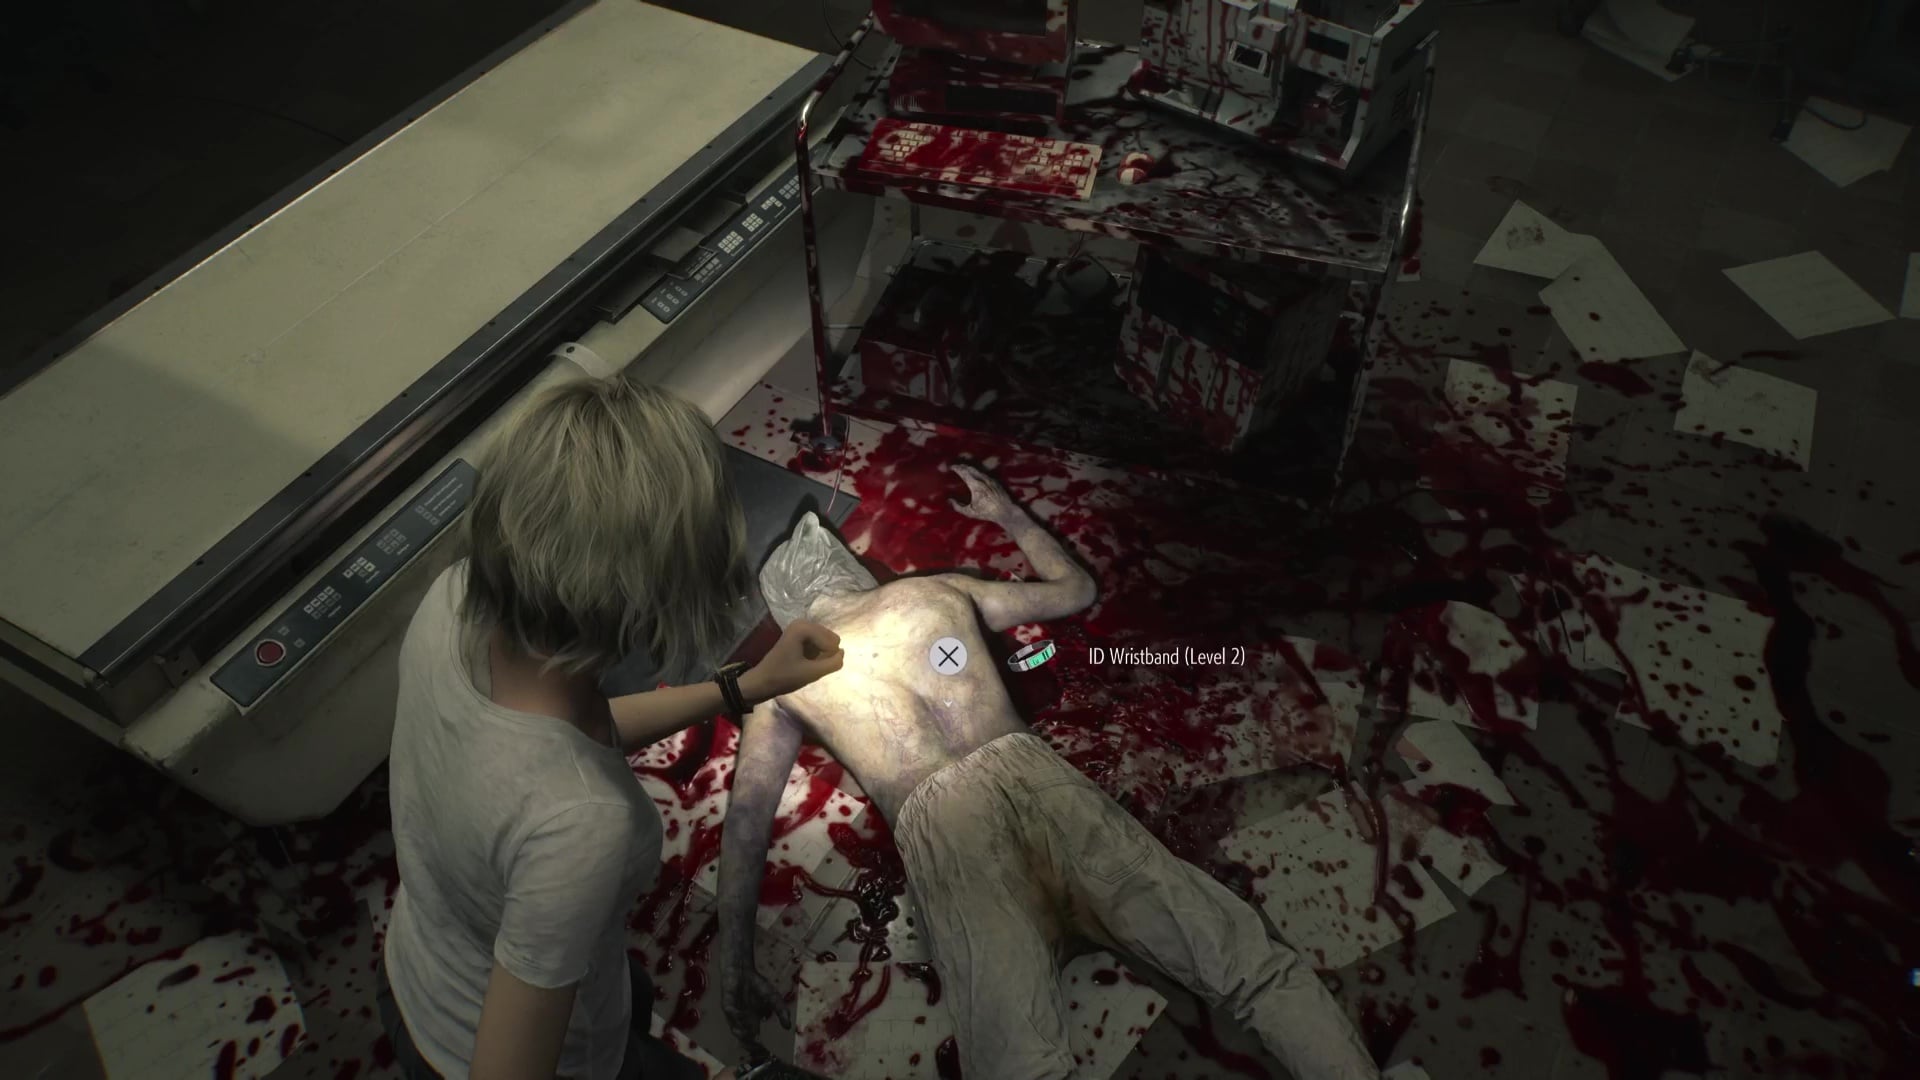
Take both Artificial Organs to the Examination Room where you found the organless corpse from before, and insert them into its body. The corpse will reanimate, but don’t bother fighting it. After flailing about, it will collapse onto the ground, where you can get the ID Wristband (Level 2).
Isolation Ward walkthrough, finding the Star Quartz – RE9
The only new place you can access with the ID Wristband (Level 2) is the Isolation Ward near the Examination Room in the East Wing. Move through the Isolation Ward to find the Security Manager’s Office, which houses the final puzzle box you need to find. The notebook on the desk will even give you the puzzle box solution – along with the ID Wristband (Level 3) – but the box itself only has braille text on it. Intelligent FBI agent Grace could probably solve this herself, but she decides to ask the blind girl from the Guard Office cells to read it for her.

The girl’s name is Emily, and she regularly reads braille. While with Emily, Grace must carry her, only able to put her down on the sofa in the Guard Office, so you might want to clear out enemies before pushing forward with Emily in tow. Once you make it back to the Security Manager’s Office, Grace will have to fight off several waves of foes while Emily solves the puzzle.
Once this section is complete, you’ll be tasked to get Emily back, and you can explore the Care Center once again, but this time as Leon. Leon can open any Warped Closets you encountered that Grace couldn’t, so make sure to find those before moving on.
The next section of the game is covered in our Full Grace Basement and Courtyard walkthrough.
Guides: Read our Resident Evil 9 Requiem complete walkthrough for a step-by-step guide to finishing the game 100%, including all Mr. Raccoon Memoriam statue locations, all safe codes, locations, and rewards, all Quartz puzzle box solutions, and more.