Resident Evil 9 Requiem walkthrough: Full Grace Basement and Courtyard guide
Everything you need to clear through the Care Center Basement and Courtyard as Grace in Resident Evil: Requiem.

After making your way through the halls of Rhodes Hill Care Center in Resident Evil: Requiem, Grace will find herself in the Care Center Basement.
The Basement is dark, dank, and very creepy. You’ll find more mutated abominations, basic zombies, and a bunch of loot to collect down here. The darkness can be disorienting, and you’ll need to carry around Joint Plugs in order to get anywhere. Our goal is to find three Joint Plugs to open the Holding Cells and free Emily, but it won’t be easy. We’re breaking down every necessary step in our guide below so you can clear through the Care Center Basement in Resident Evil 9: Requiem.
This walkthrough continues from our Full Grace Care Center guide.
On this page:
- Entering the Care Center Basement, Joint Plug 1
- Joint Plug 2, Square Socket Wrench
- Joint Plug 3, Collection Pool, Processing, Inspection
- Care Center Courtyard, Helicopter Key
- Courtyard Lab Escape
- Open the hatch on The Girl, boss fight
Entering the Care Center Basement, Joint Plug 1 – RE9 Requiem
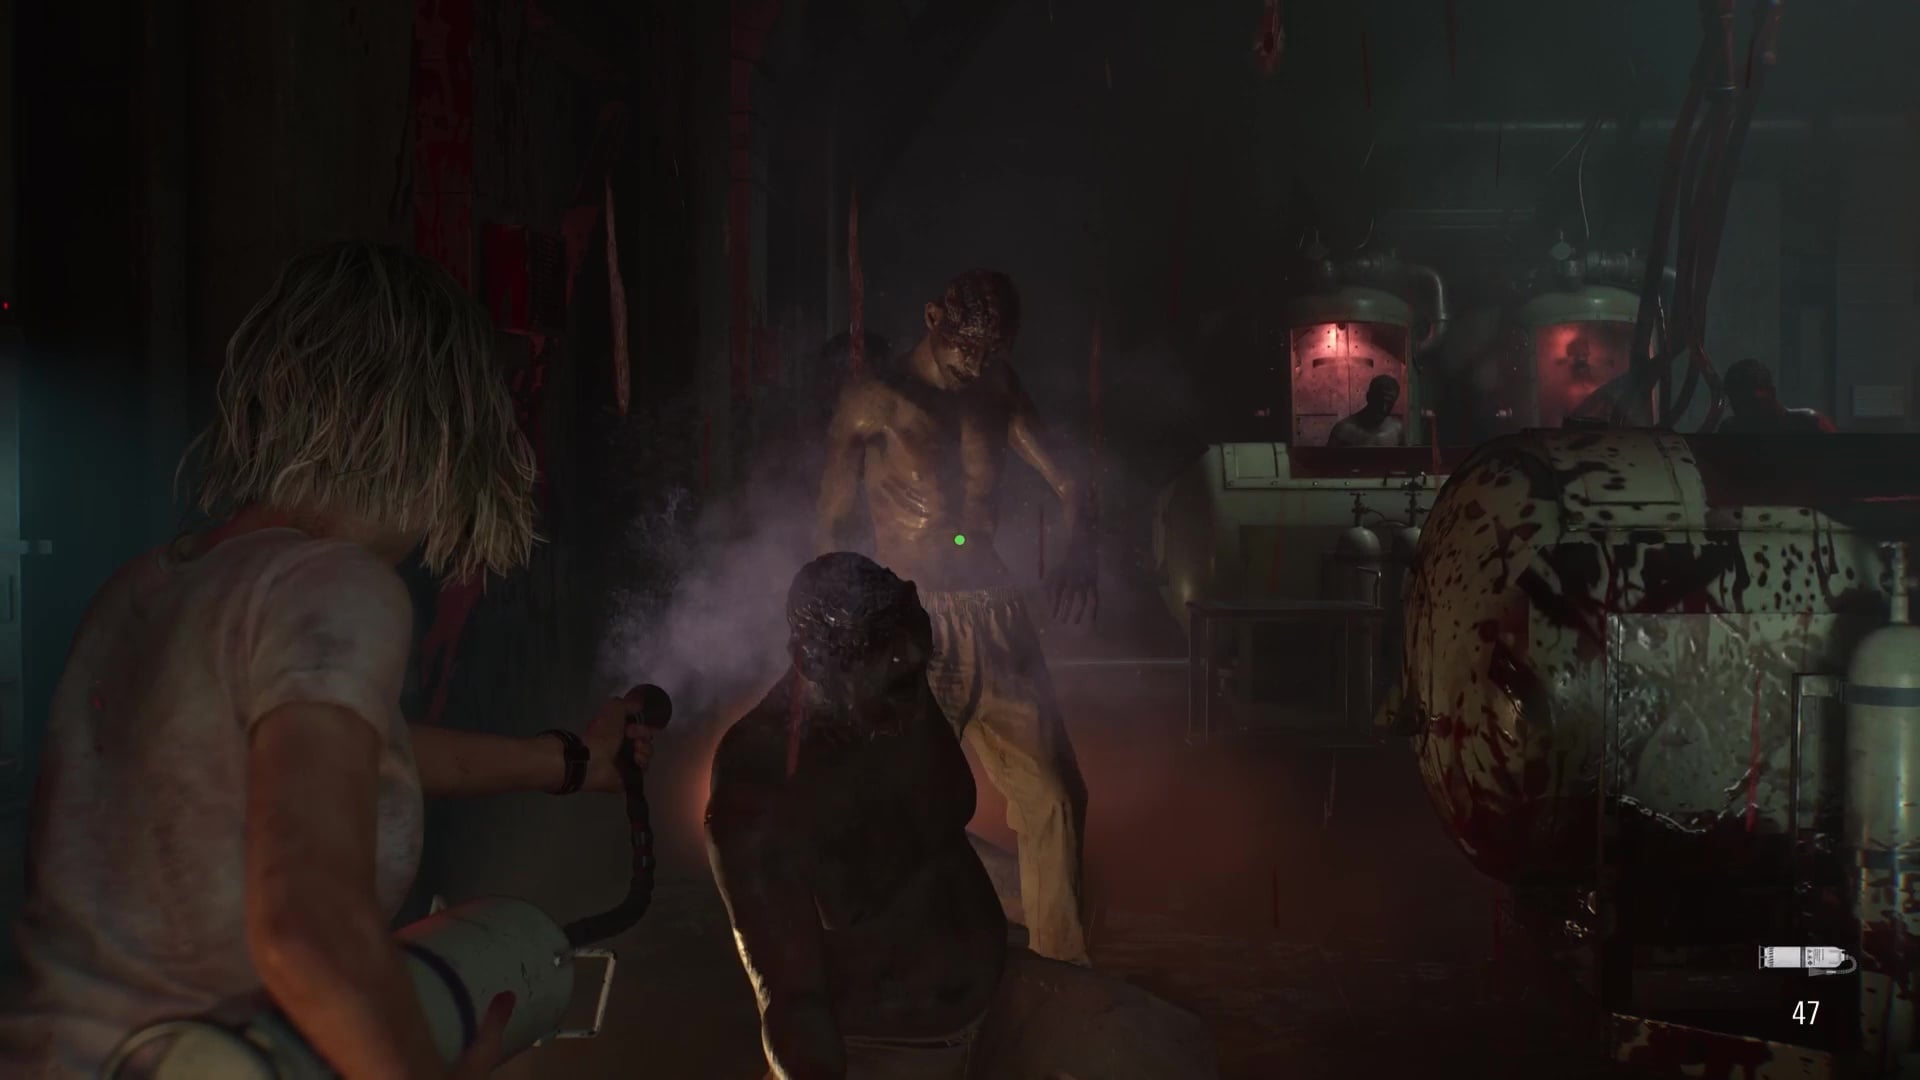
You’ll find yourself in the basement after Leon’s romp around what you left in the Care Center’s main building. Down here in the Basement, you should first find your bearings. There aren’t many paths to take at first, and you’ll pass through several doors that require power to open, along with slots for a Joint Plug. Keep walking down the path, and you’ll encounter an open door to a lit safe room, the Security Room. This will be your base of operations for the Basement section of the game.
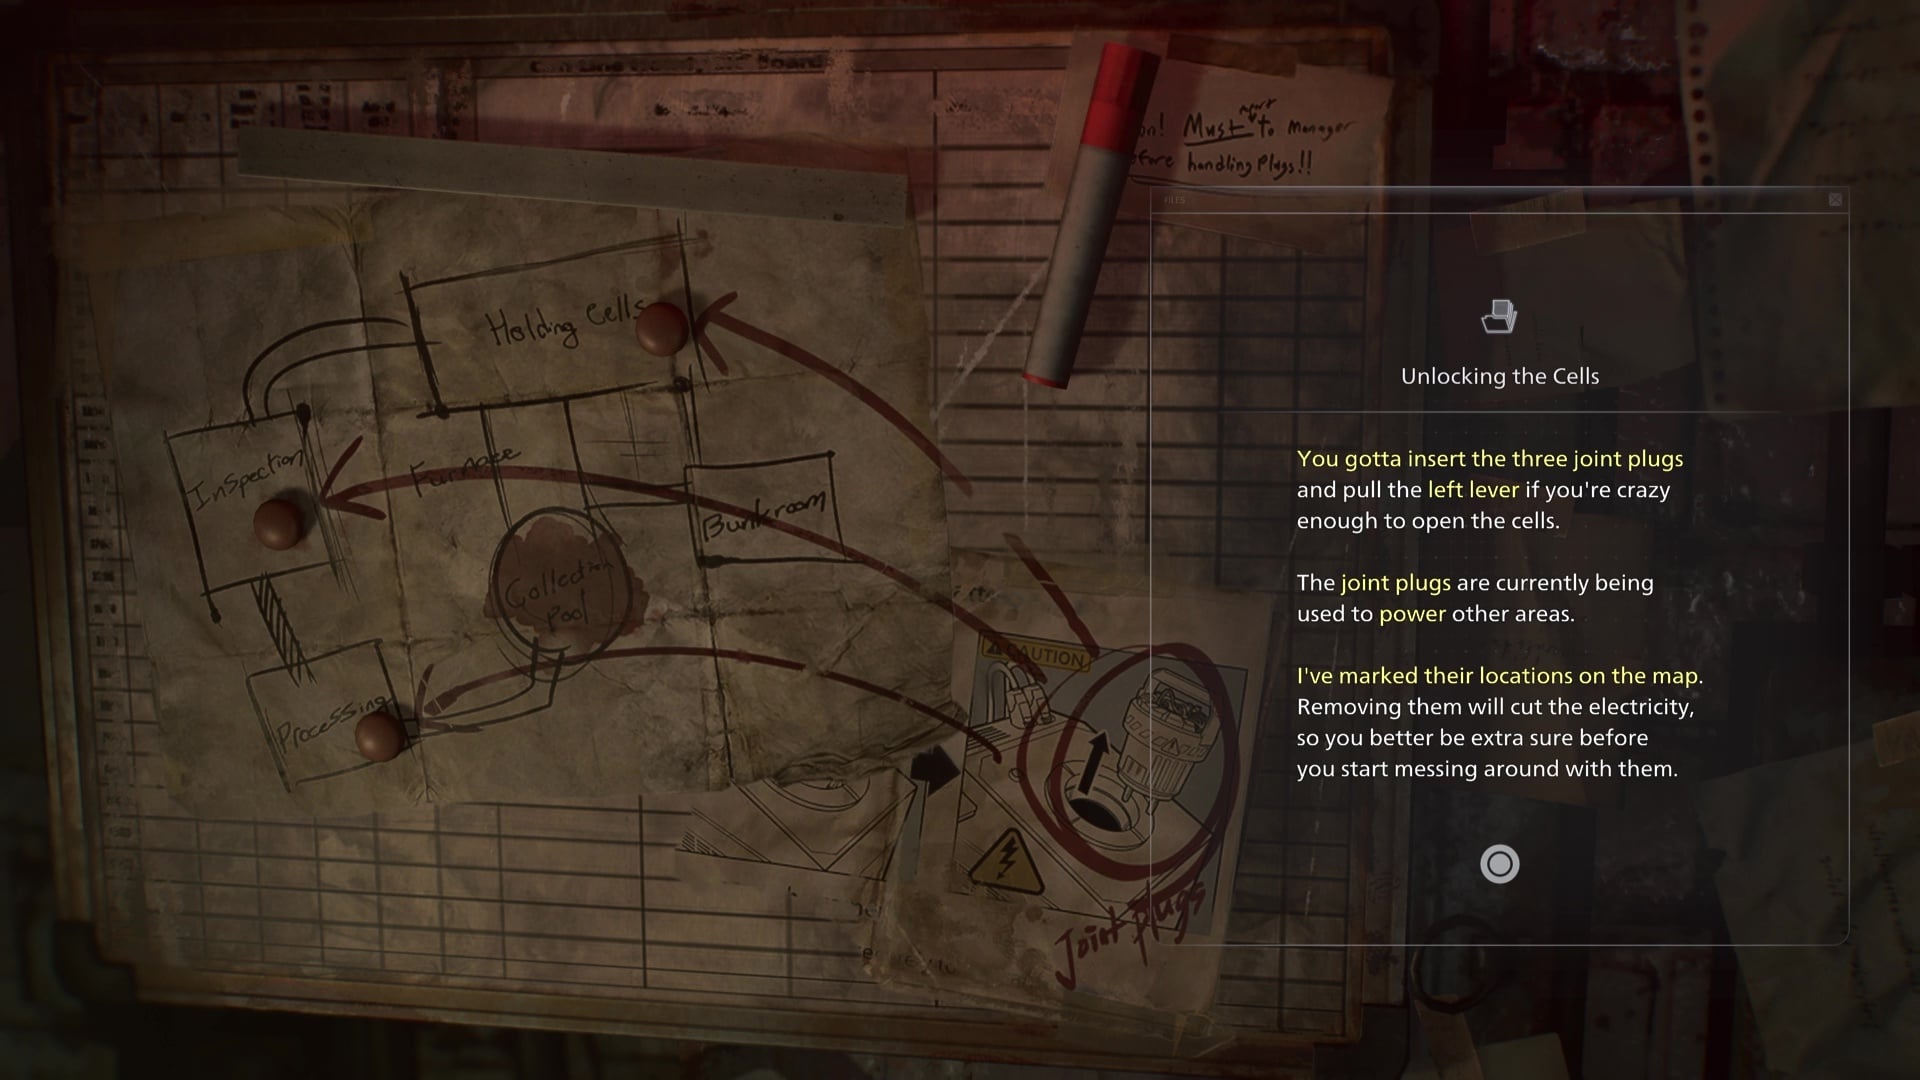
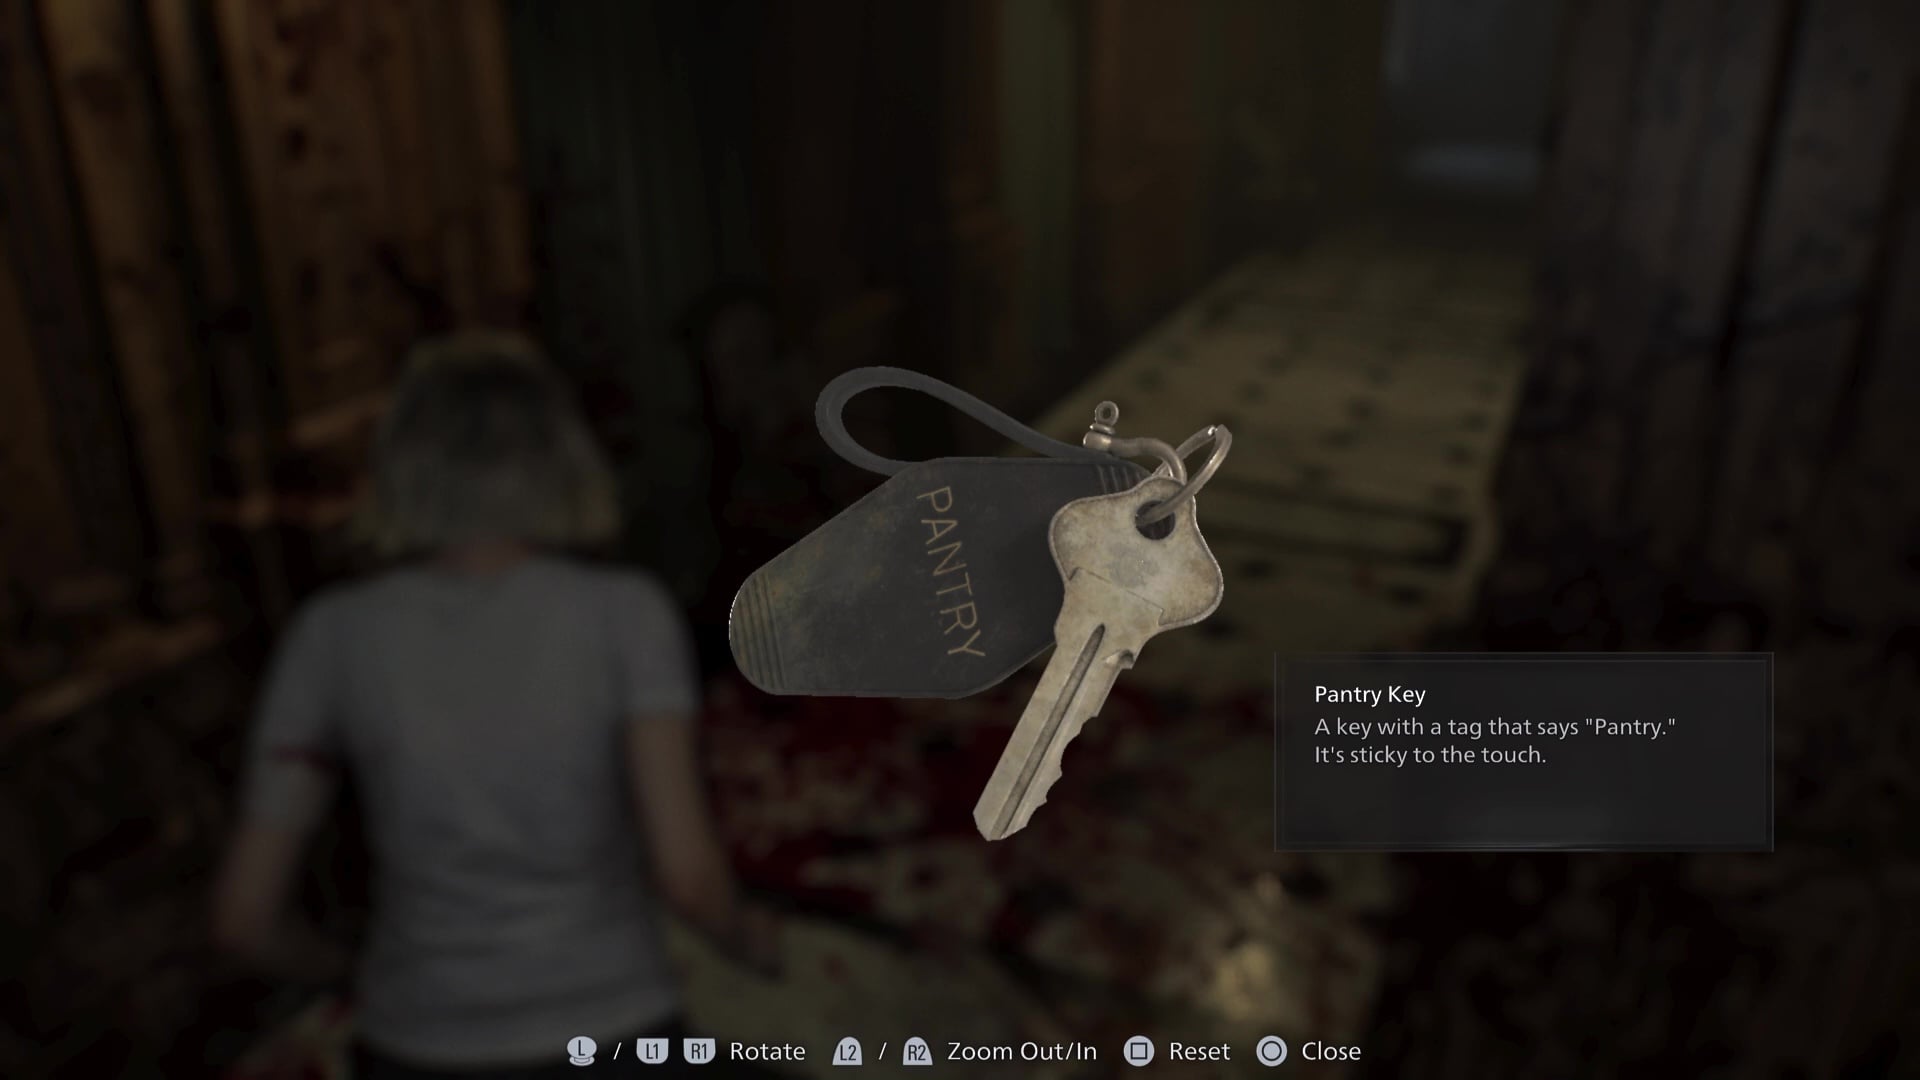
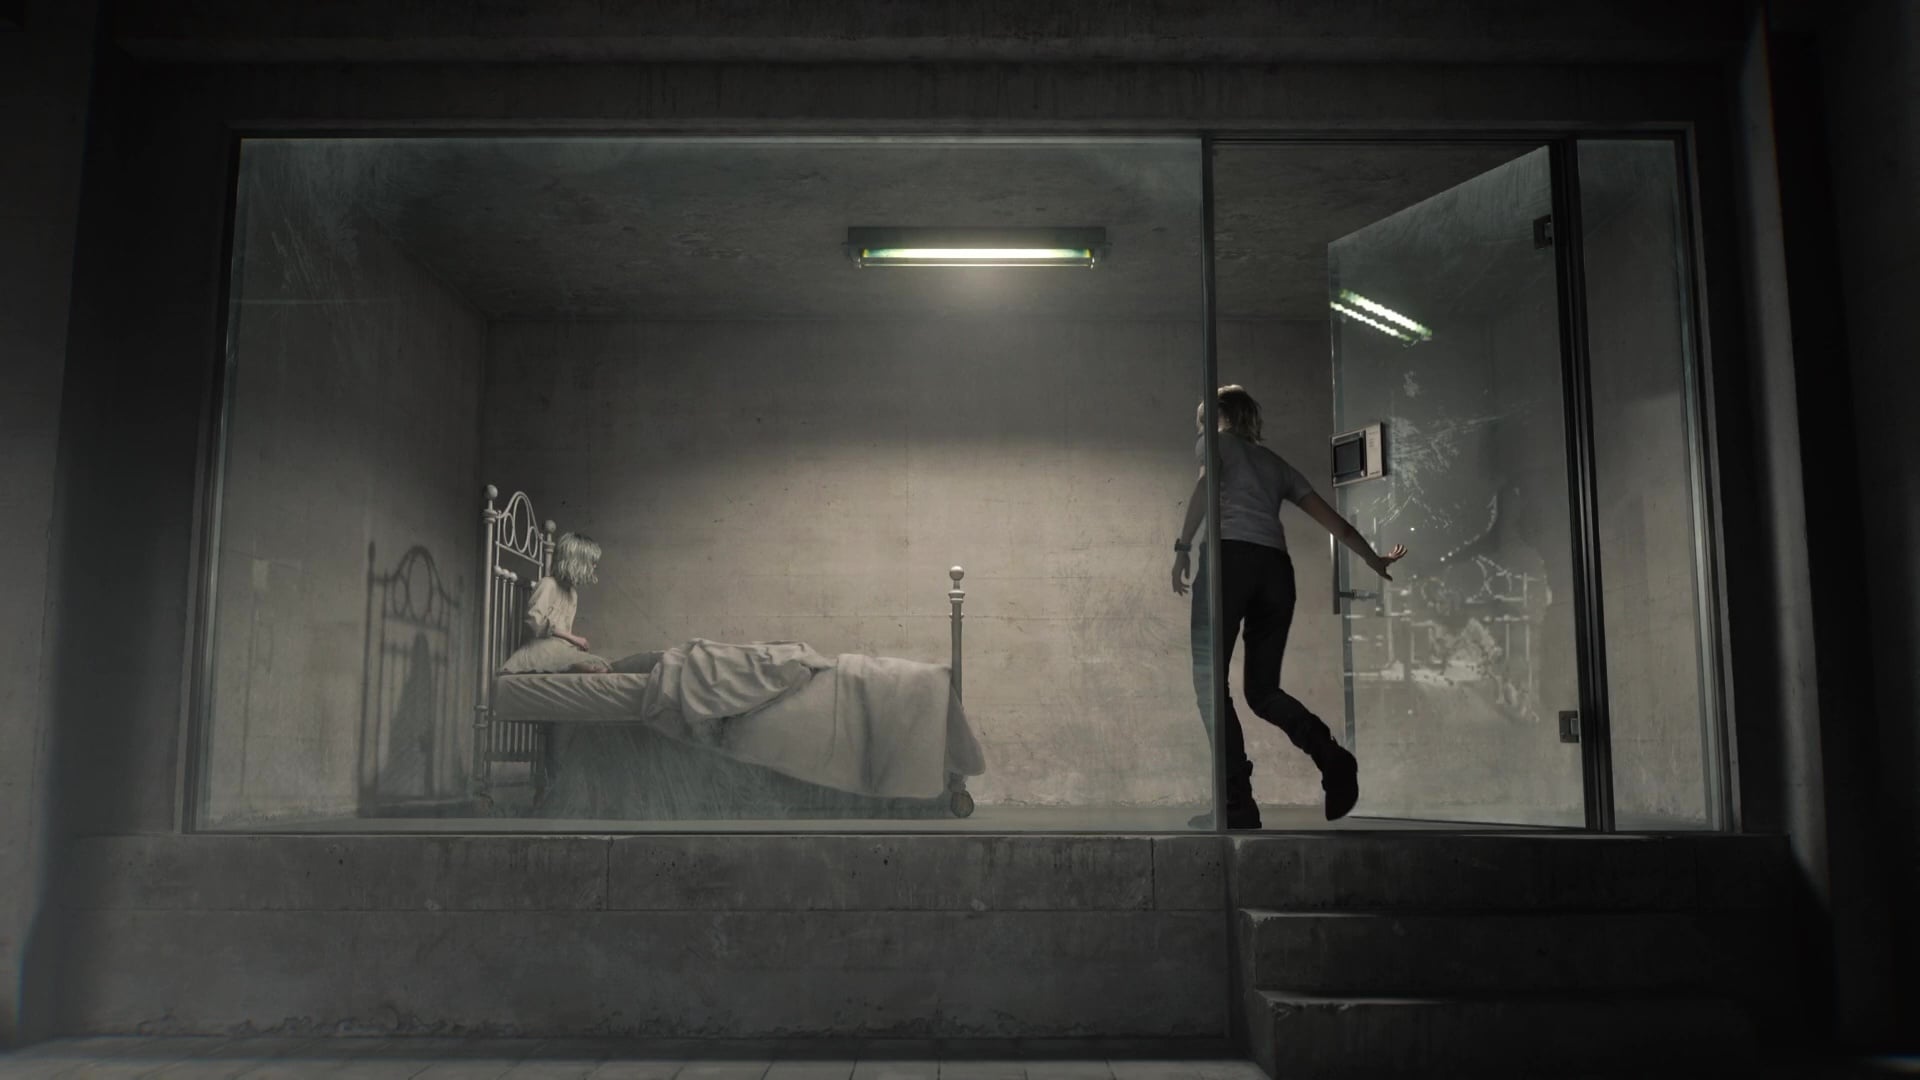
Continue exploring the Basement, and you’ll encounter the Holding Cells, which are the only place you’ll have access to right now. Inside the Holding Cells, you’ll find the first Joint Plug after a short cutscene. If you want to open the cells and free Emily, you’ll need to find all three Joint Plugs and bring them back to the Holding Cells.
Joint Plug 2, Square Socket Wrench – RE9 Requiem
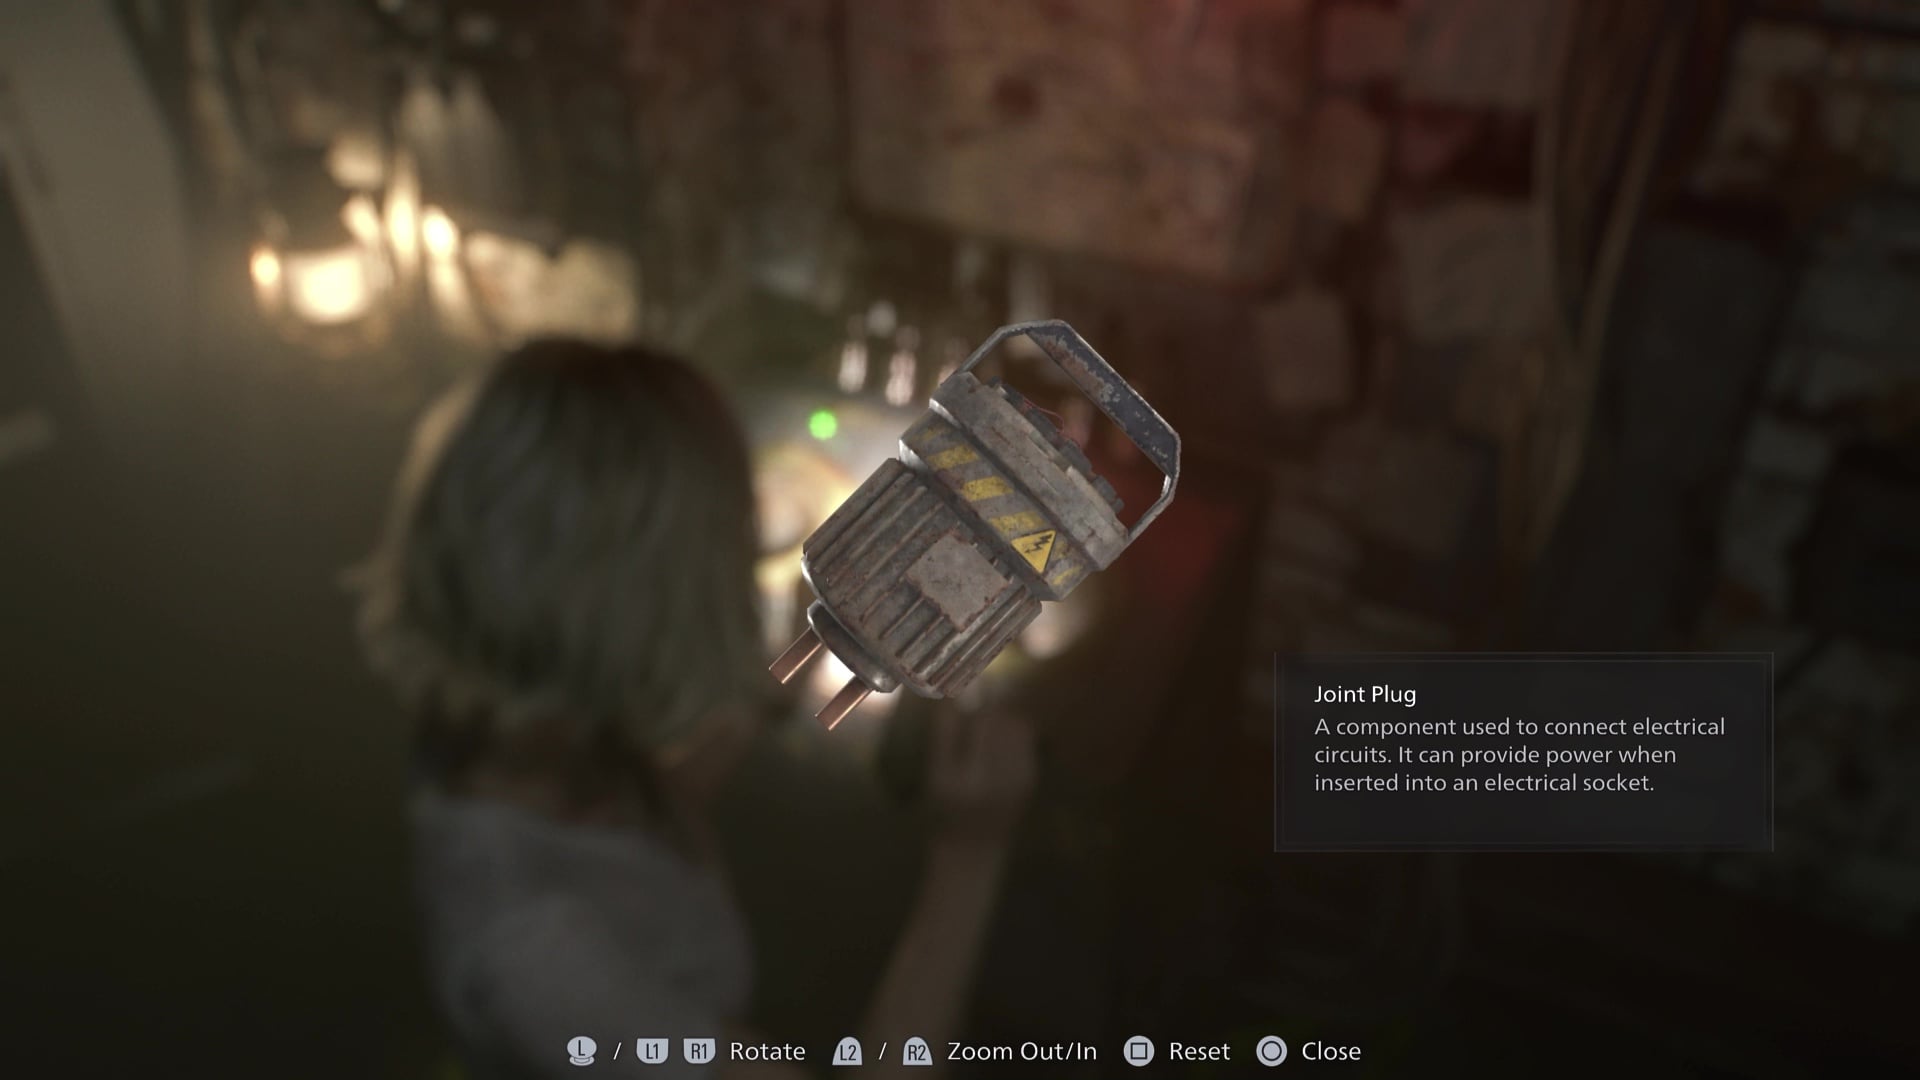
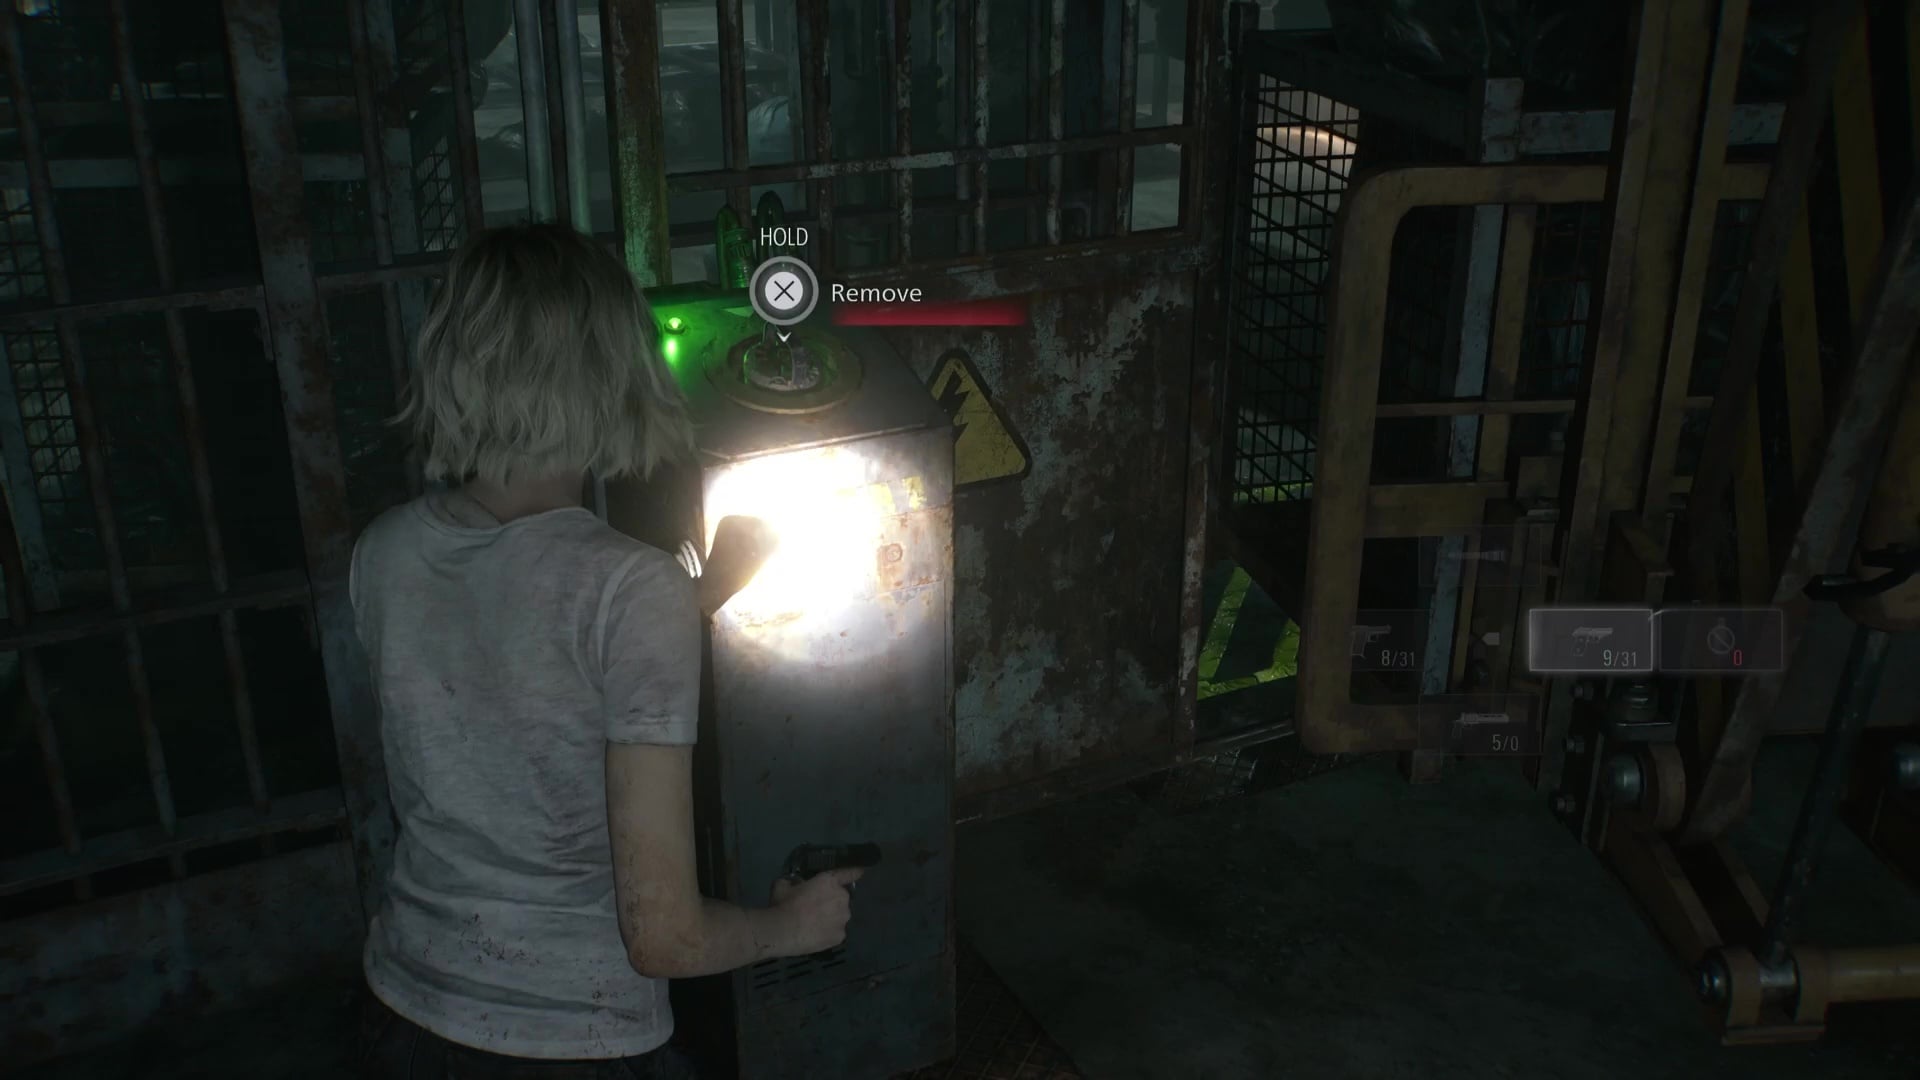
You can take the Joint Plug from the Holding Cells, and this will force you to run back to your safe room. Take the Joint Plug from the Holding Cells and take it all the way back to where you entered the Basement, to the first Joint Plug slot you found. This will grant you access to the Boiler Room.
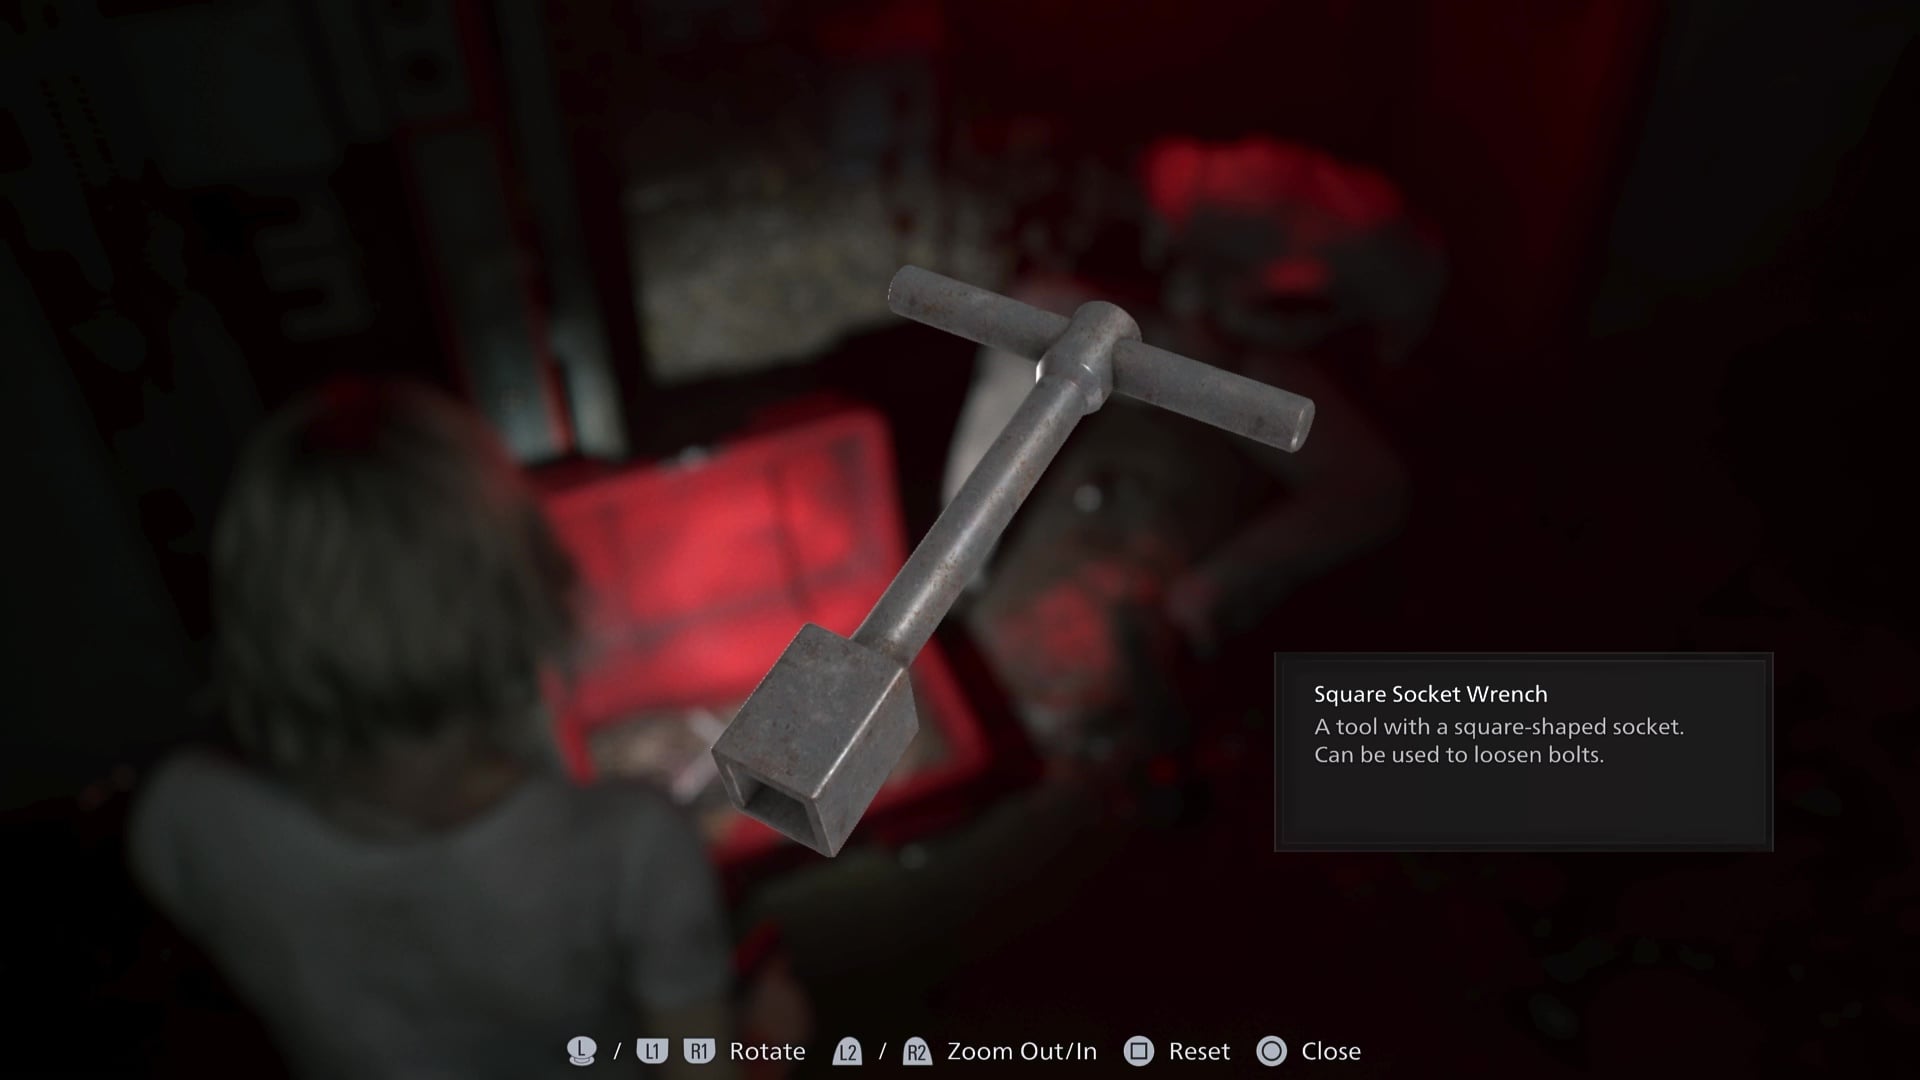
Move the wooden crate out of the way and squeeze through the fence to enter the room. Inside the Boiler Room, you’ll find the Square Socket Wrench, in addition to a few other goodies. Once you’re satisfied with your exploring, exit the Boiler Room the same way you came in and make sure to pick up the Joint Plug on your way out.
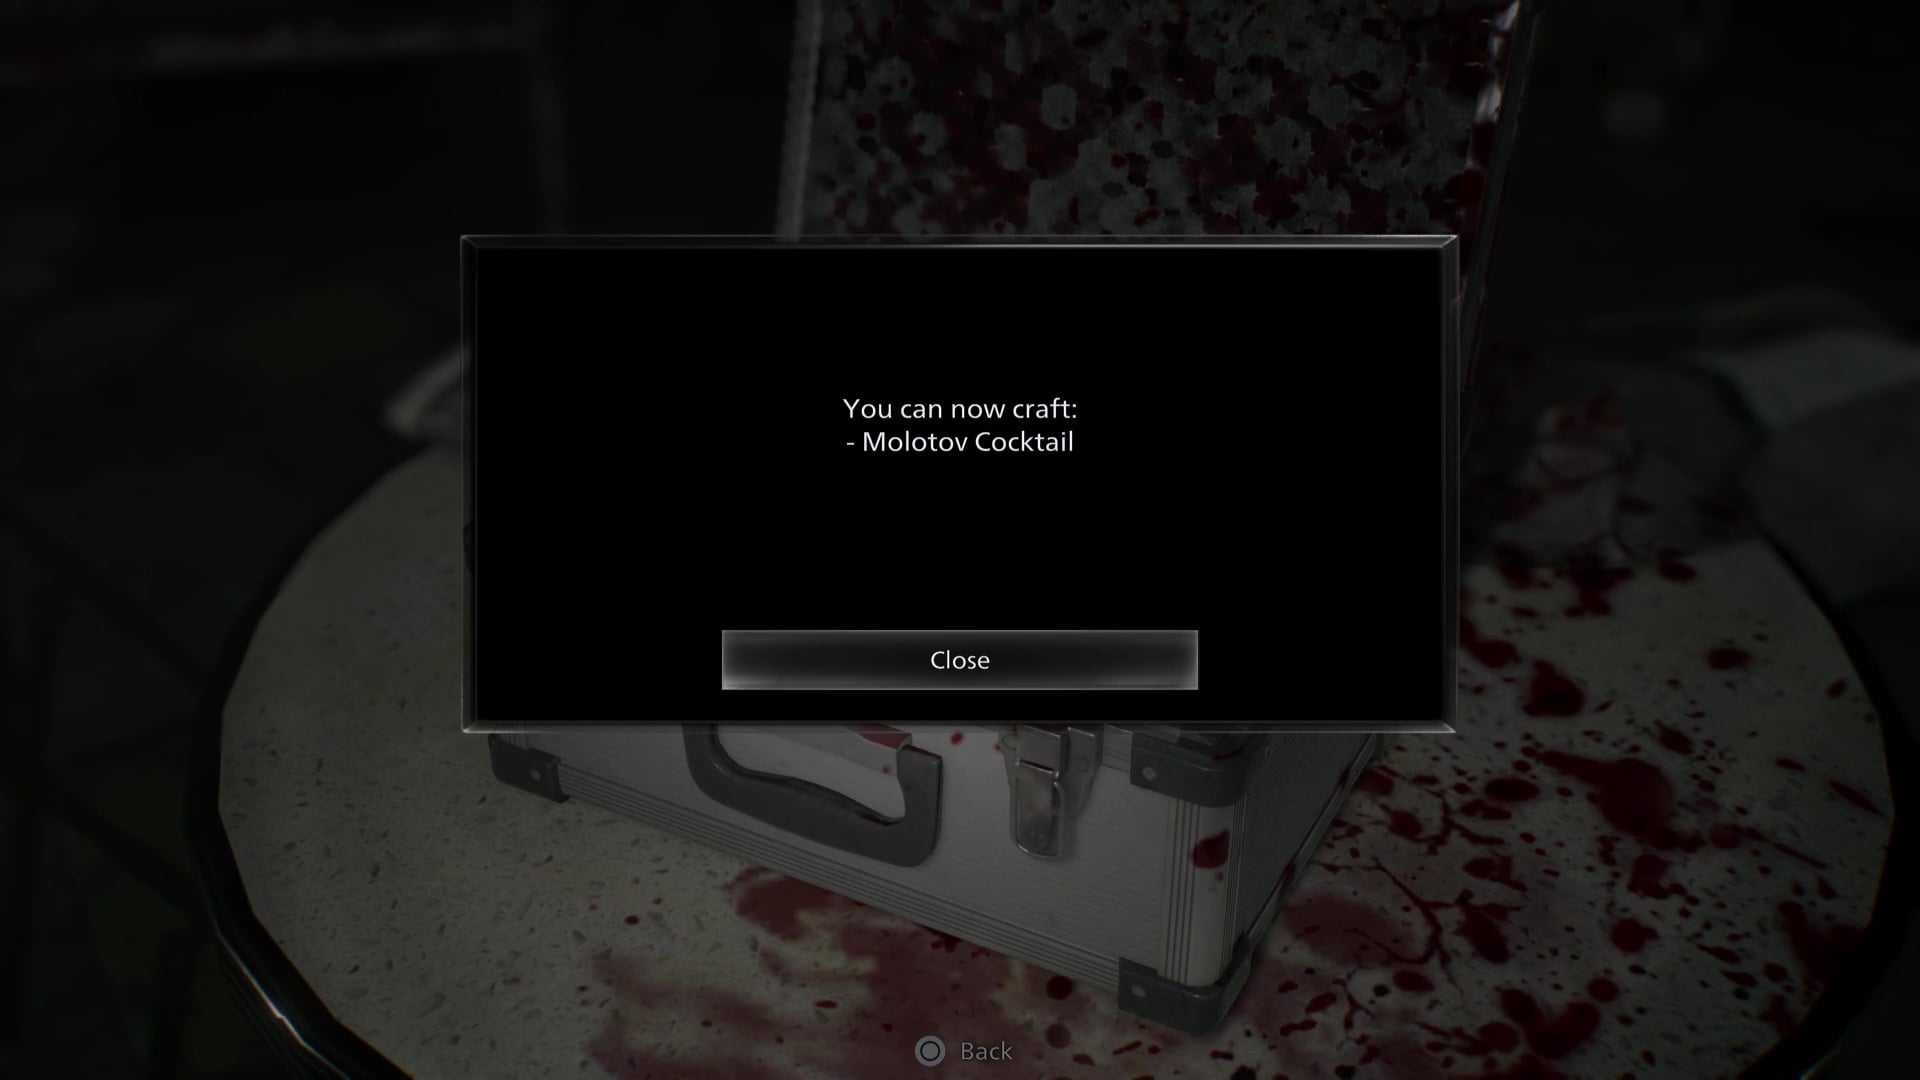
You can also dip into the Bunkroom on the way back to the safe room, which holds a Molotov Cocktail recipe and a lock to pick.
Your main goal is to go through the Furnace room using your Joint Plug, left before the Holding Cells. Inside, you’ll find a safe (hopefully you found the safe code while playing as Leon) and a vent leading to the Workshop, but most importantly, you’ll find a second Joint Plug. Take it, and the one from the Furnace door, and head to the Collection Pool.
Joint Plug 3, Collection Pool, Processing, Inspection – RE9 Requiem
The Collection Pool is down from the Holding Cells, and you’ll need the Square Socket Wrench to open a panel in here. This area wants two Joint Plugs, and luckily, you now have one from the Holding Cells and another from the Furnace near the Forklift.
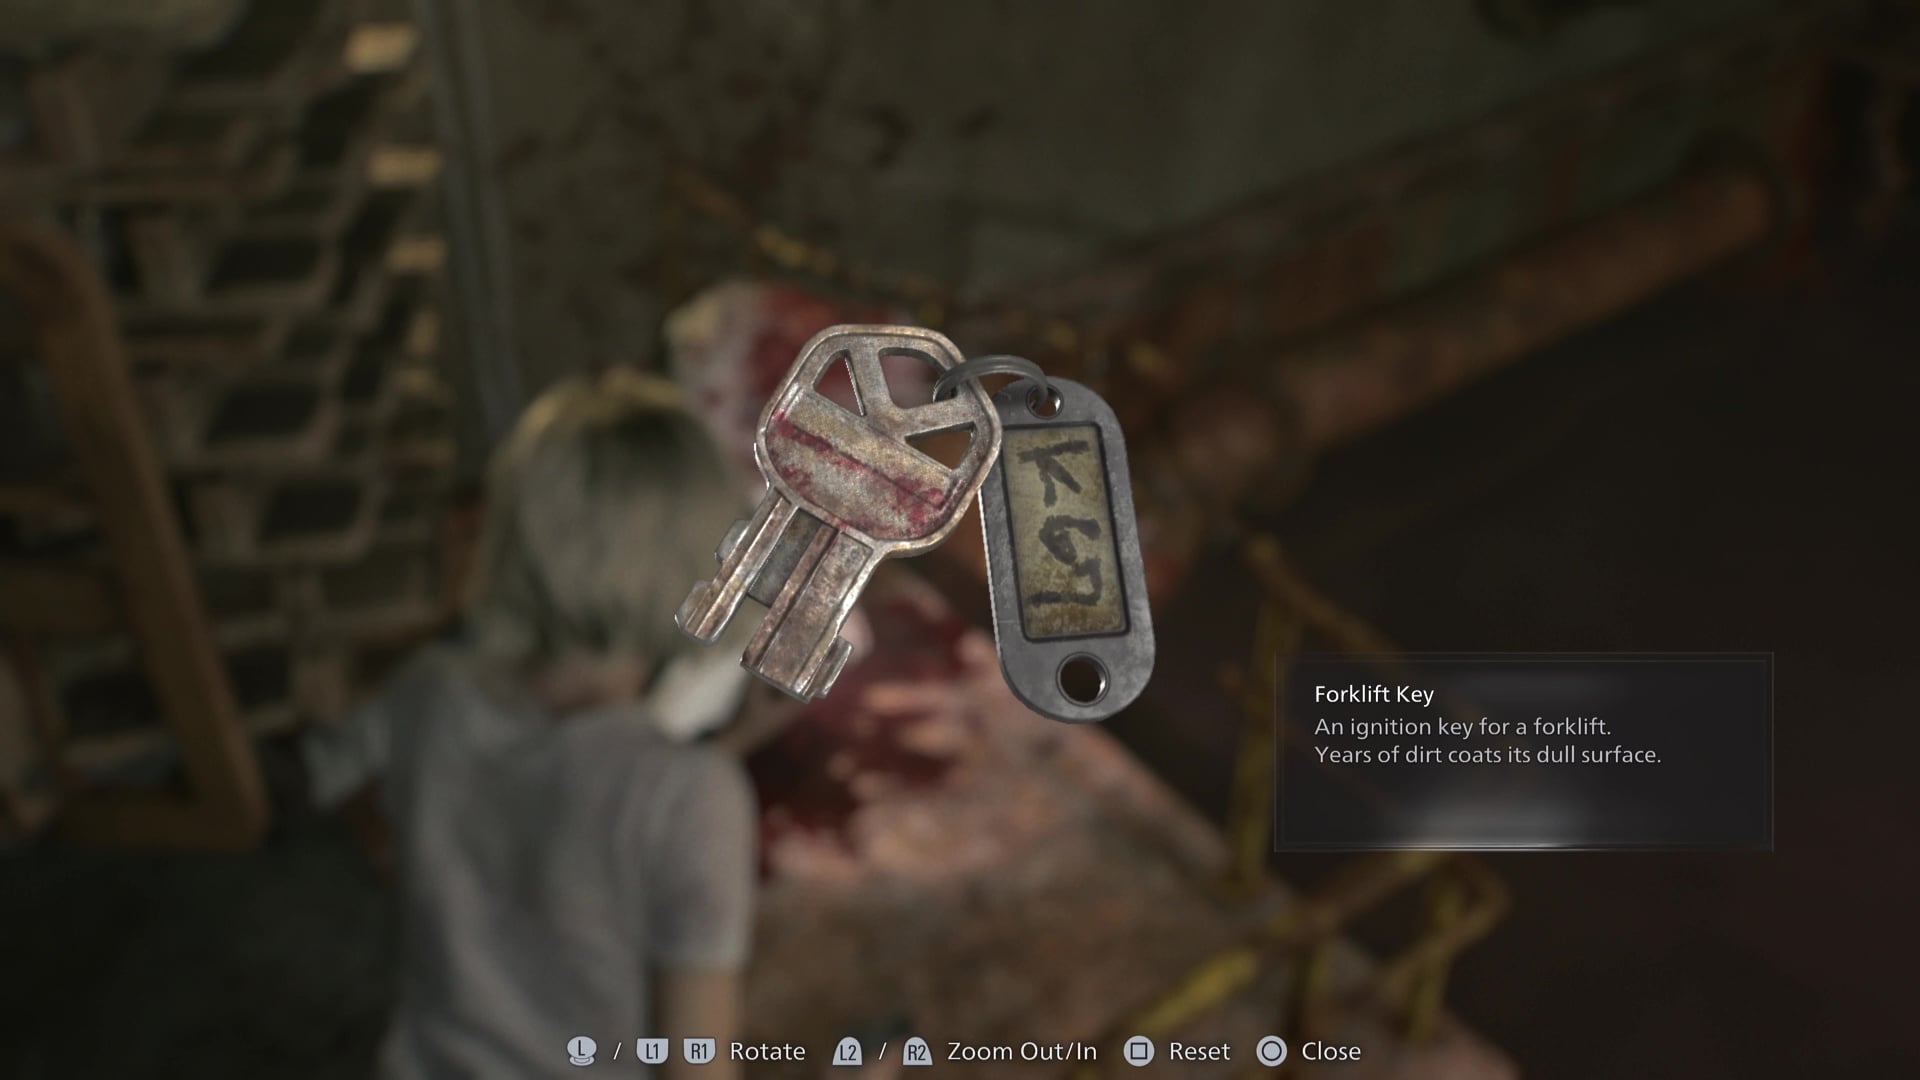
Place both Joint Plugs in the Collection Pool socket, and this will activate the lights and open a door at the end of the room. You’ll have to crawl through some vents to make your way through to Processing, and you’ll find the Forklift Key in this room on the floor. Use it on the nearby Forklift to open the main room, where you can find a map and some instructions.
Taking the Joint Plug from Processing will close the door behind us, meaning we can’t take it from here. But with the Forklift Key, we can now make our way back through the Furnace and through Inspection to make our way to the other side of the Processing room. You’ll need to take both Joint Plugs from the Collection Pool sockets and the Forklift Key in order to open the gate from the Furnace and then open the path beyond the Forklift blocking your way. Watch out, you’ll need to sneak past The Girl to get it done.
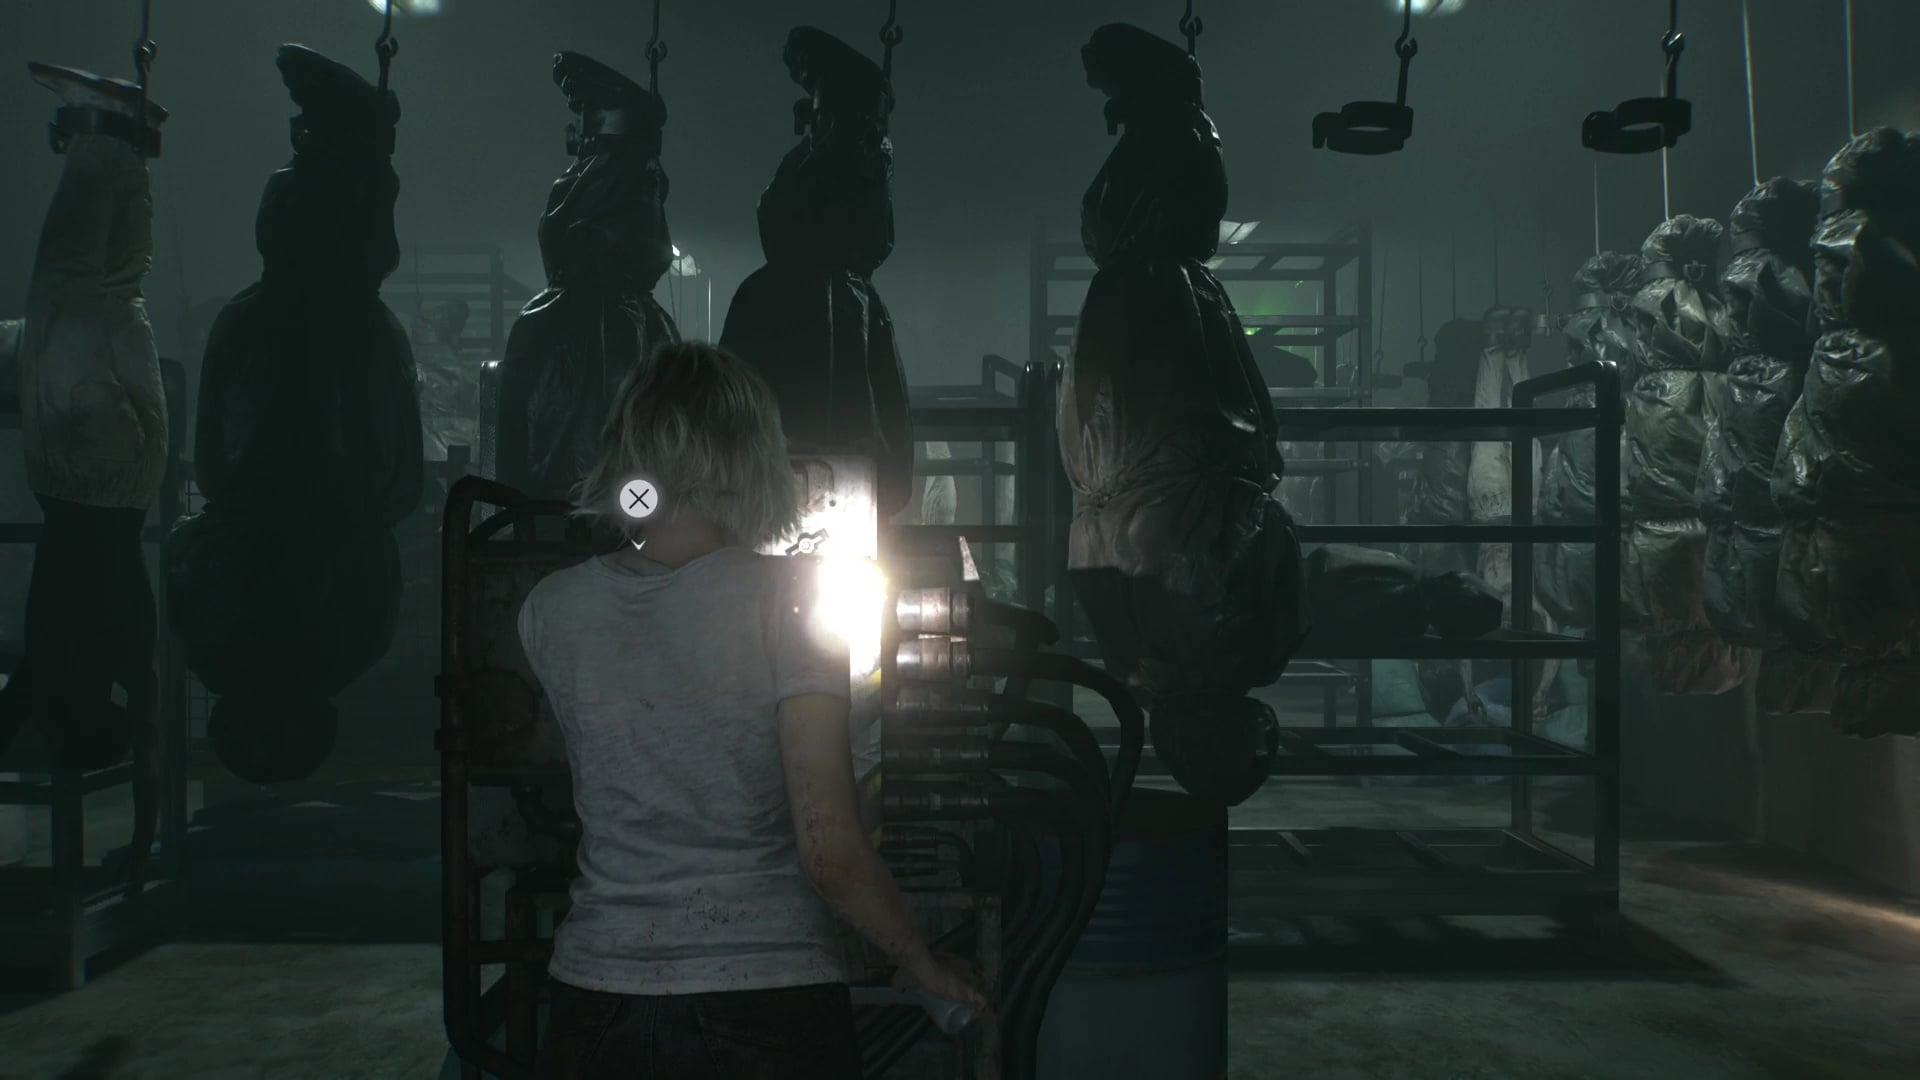
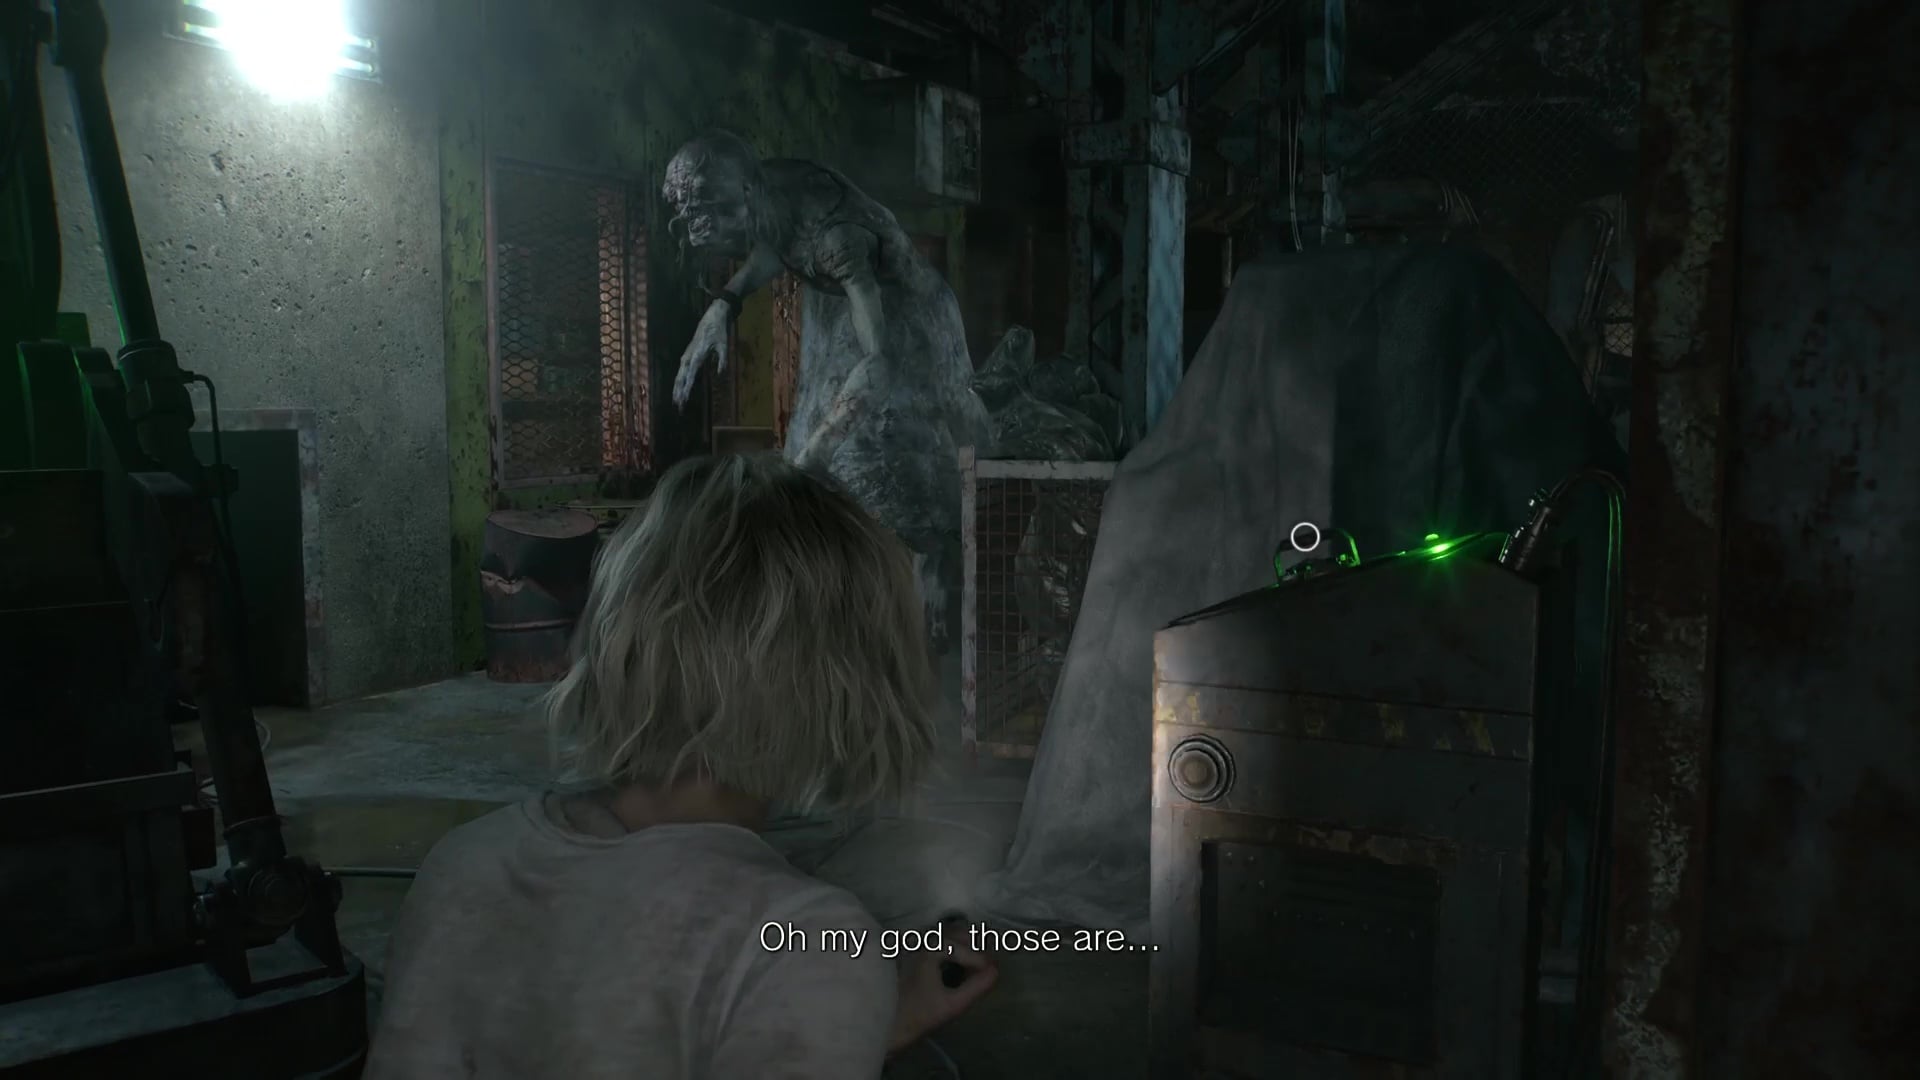
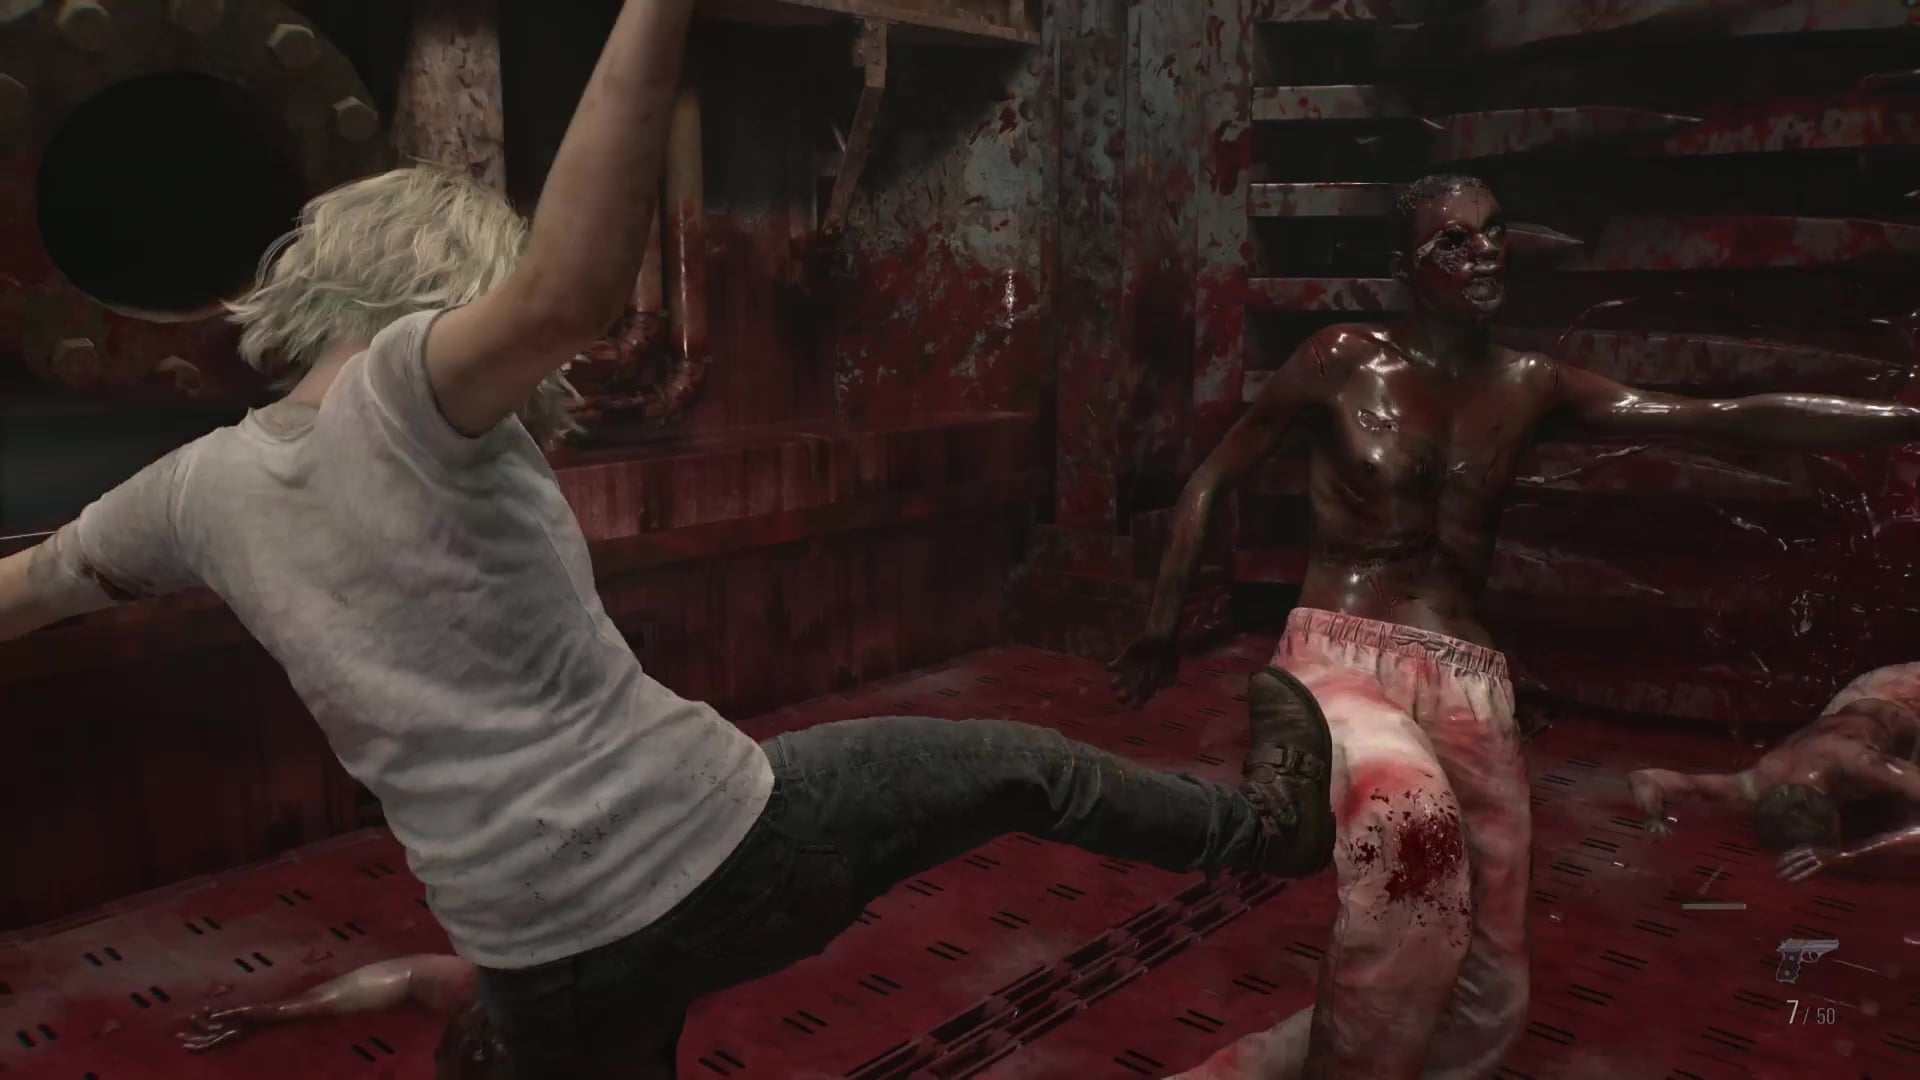
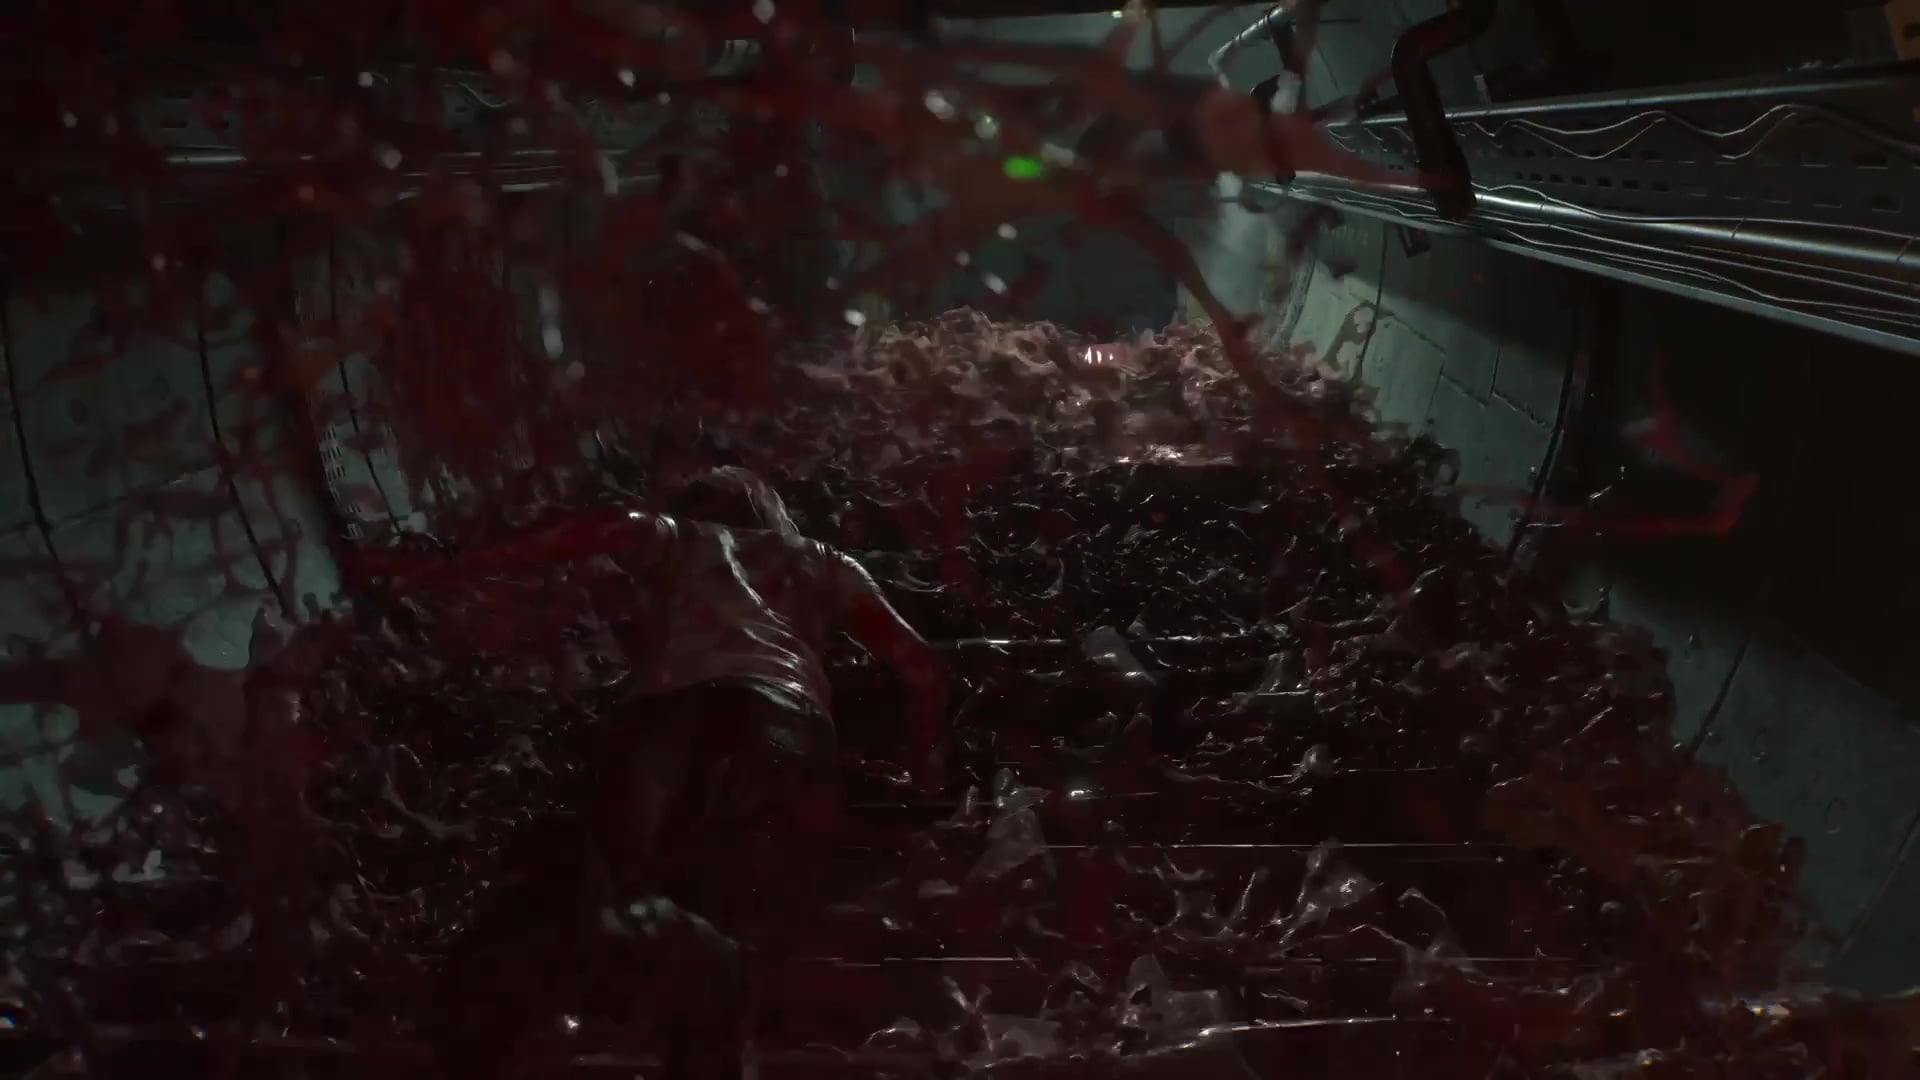
Once the lights are on and you’re in the Inspection room, you’ll have to move around the room along with a bunch of body bags, occasionally reversing their direction to get to new places. Just wait for large gaps to appear in the rows of body bags, or some of the hanging zombies may grab you. You’ll eventually make your way through to the other side of the Processing room. Turn the wheel to drain the pool, get ready for combat, and climb down into the empty pool. We recommend shooting them in the knees and kicking them toward the rotating blades.
Once you complete the Processing room challenge alive, you’ll be able to climb to the other side of the pool and take the third Joint Plug. You’ll need to escape via the vent, forcing you to return to pick up the two Joint Plugs you left behind. Make sure to flip the Collection & Testing switch at the bottom of the Collection Pool room before you leave to find some bonus Infected Blood.
Now all you need to do is return to the Forklift room to grab your Joint Plug and then the one in the Furnace room, and that will leave you with three total Joint Plugs, finally. You will not be able to return to the Basement after placing the three Joint Plugs in the Holding Cell sockets, so make sure you’ve got everything you want from this area first. You’ll need to rush back to the Elevator near the Basement entrance while holding Emily. While in the Elevator, shoot The Girl and immediately attempt to open the door in order to escape alive.
Care Center Courtyard, Helicopter Key – RE9 Requiem
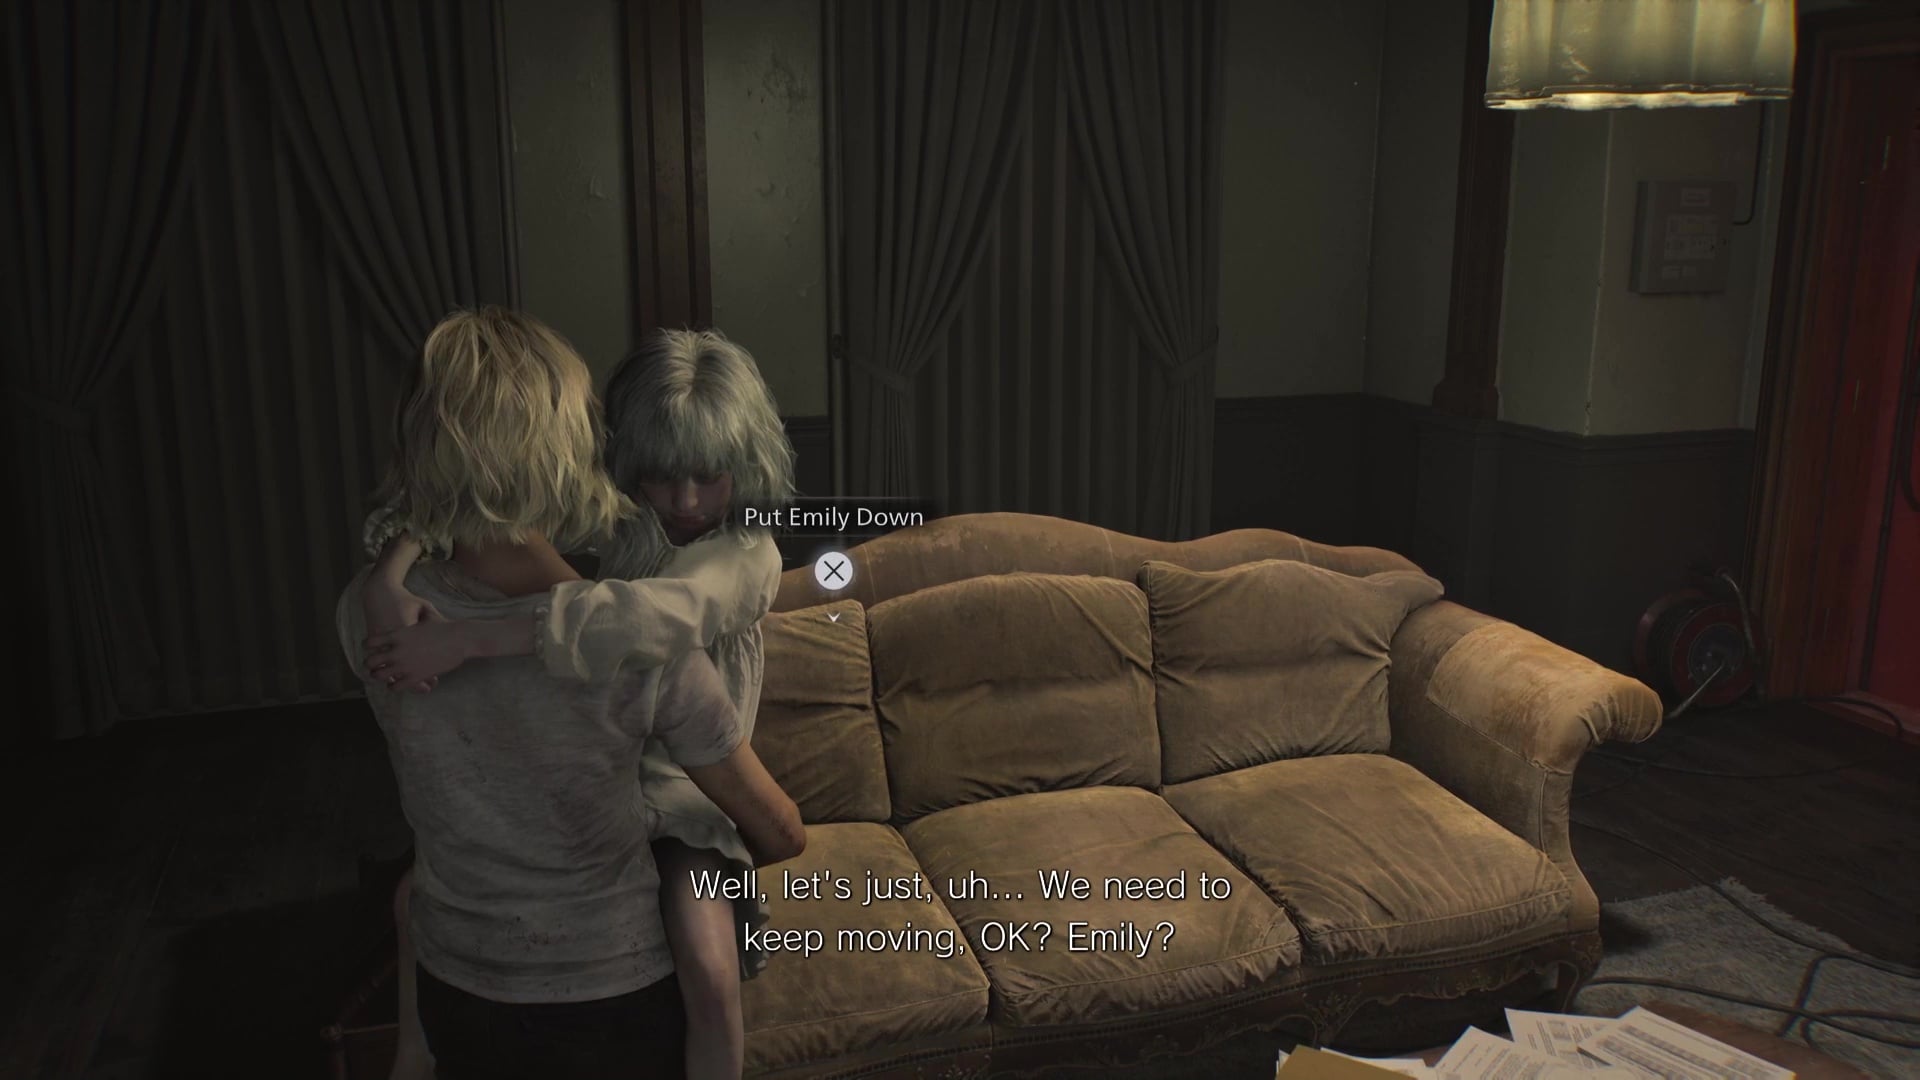
Once you’re back in the Care Center, this is, again, the last time you can explore this area, so make sure to do anything you need to while leaving Emily on the Guard Office sofa.
Once you’re done, head to the Courtyard via the door that requires three Quartz stones. Outside, you’ll meet Harry near a helicopter. You can leave Emily with him, but he’ll prompt you to enter the Care Center Courtyard Visitor Building, and things only get more complicated from there.
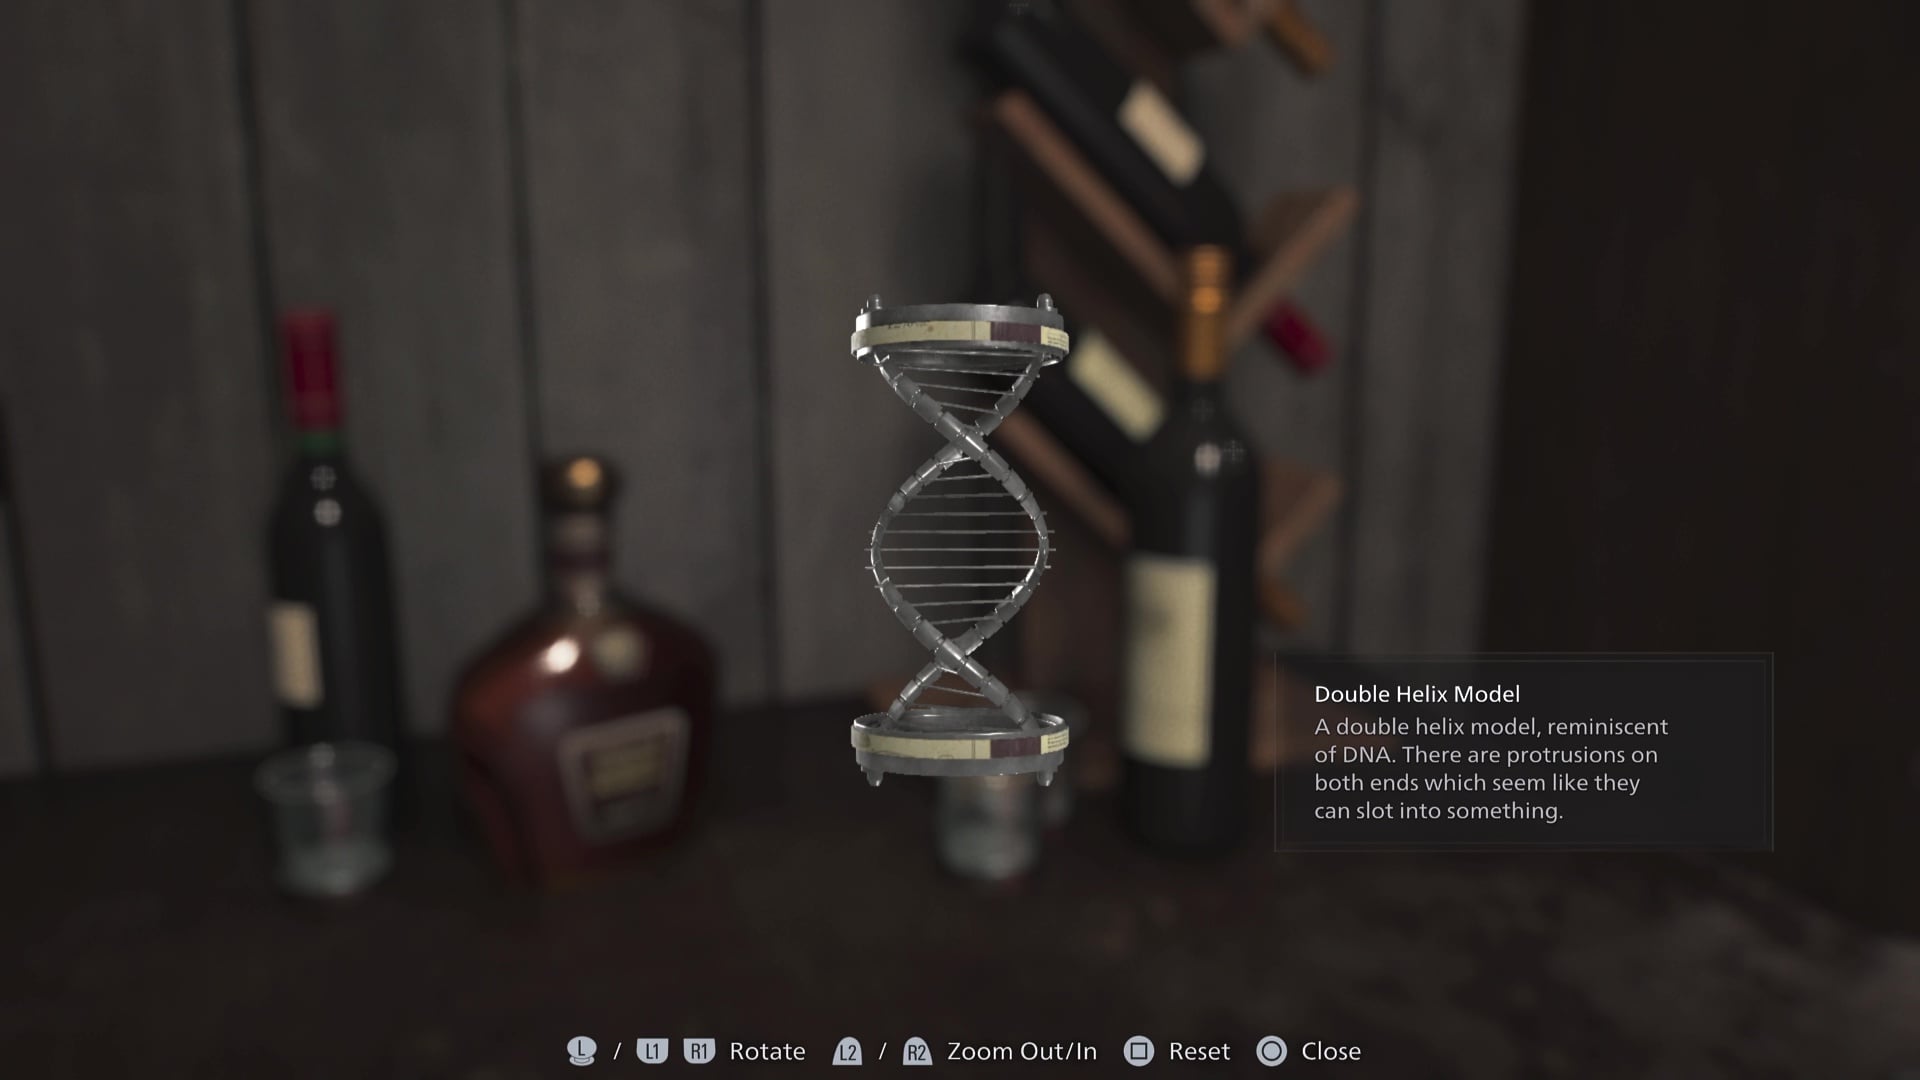
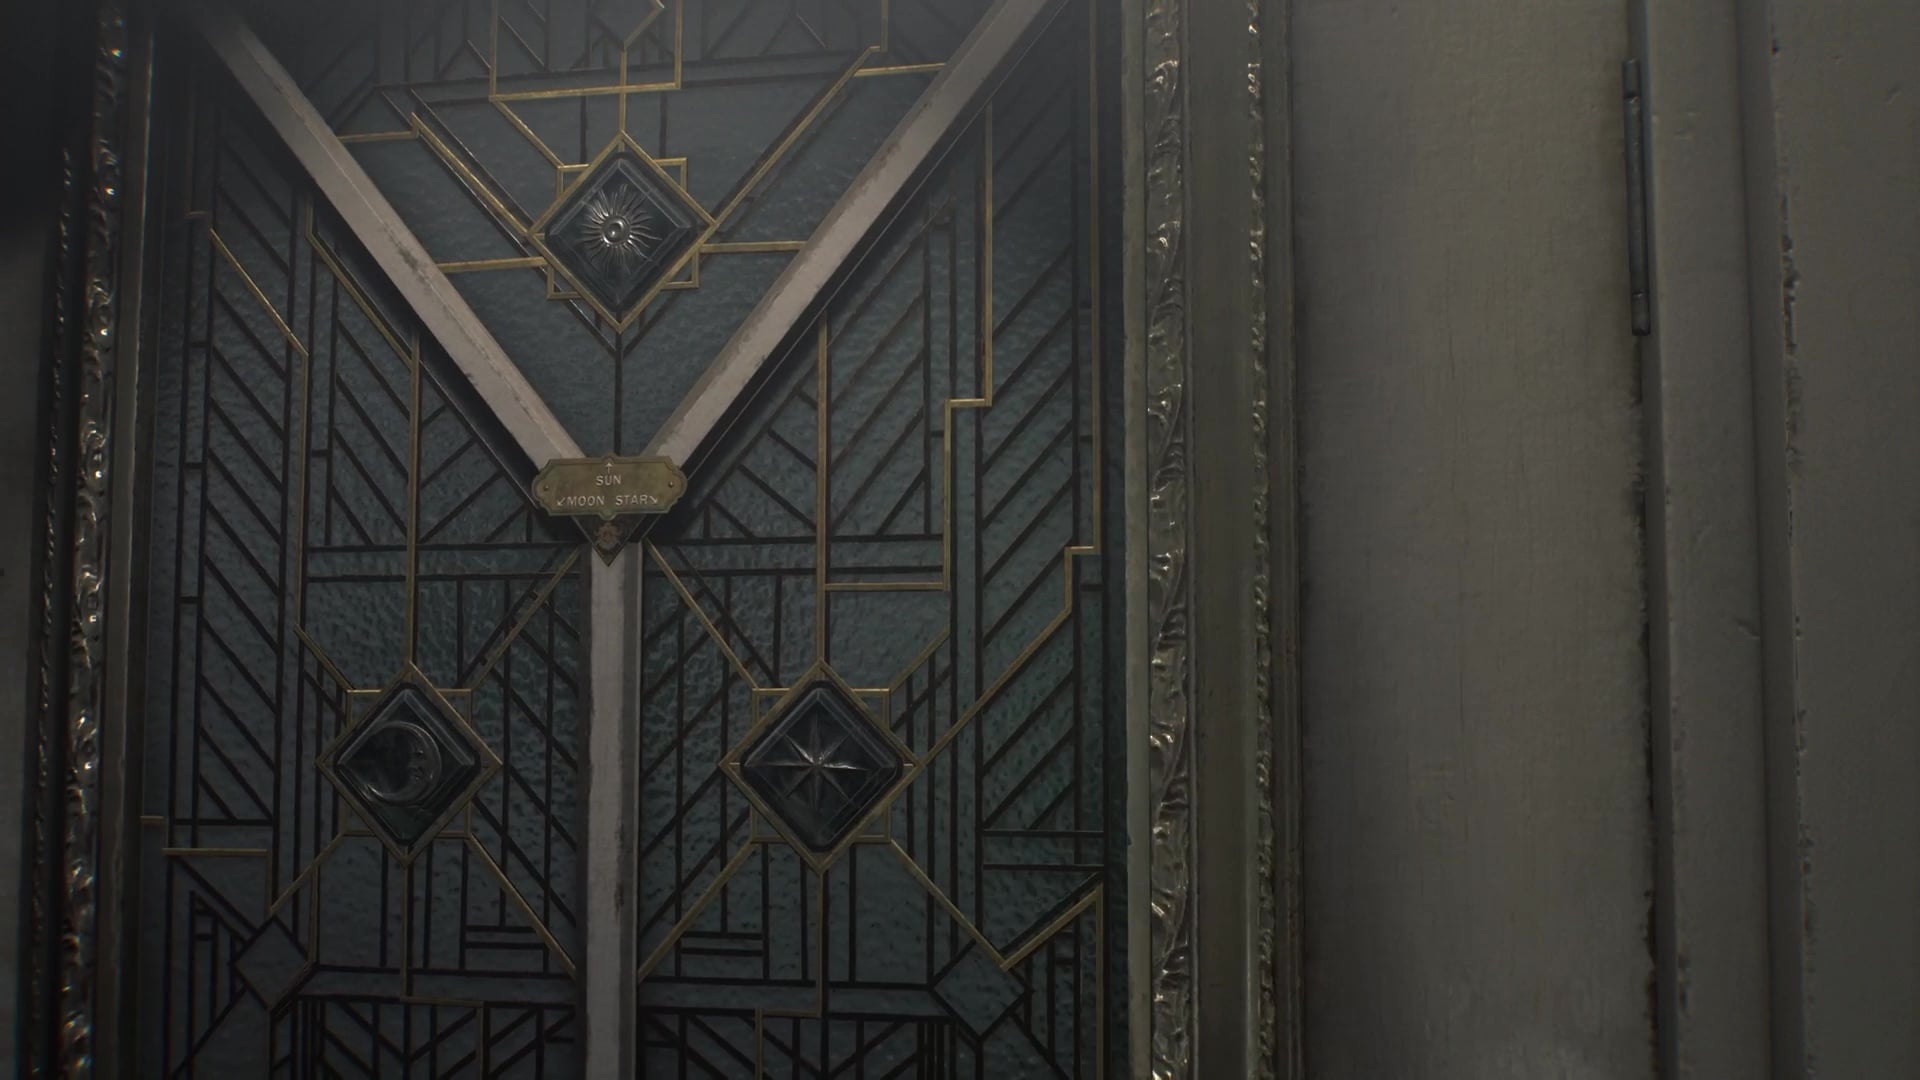
Inside the Visitor Building, things get weird. Inside the large office room at the back, there are several objects you can interact with and examine, but the main one we want is the wine bottle on the left side of the room as you enter. As you examine this wine bottle, you will be able to rotate it, finally unveiling a Double Helix Model.
Examine the plinth in the centre of the room, and it will reveal a Double Helix Model with a gap in the middle, which you can fill with the model you just found. This will turn the room into an elevator, descending to the secret lab underneath the Care Center Courtyard. The Reception even comes with a typewriter and an item box to act as your safe room.
Make your way through the Collection & Testing room, toward the Private Lab. Inside, you’ll find the Helicopter Key on a desk, and you can use the computer to unlock the adjacent room.
Courtyard Lab Escape – RE9 Requiem
You’ll now need to evacuate the lab ASAP. The good news is that a door unlocks to give you a shortcut back to your Reception safe room. The bad news is that the Elevator is broken, meaning you need to find a way out through the Collection & Testing room, which is now filled with zombies. You can use the fire extinguisher-like Disposal Tanks in the room to take care of zombies when the crowds become too intense.
Once you finally make your way across the Collection & Testing room and up some very bloody stairs, you’ll emerge outside in the Courtyard again, just in time to see Harry fighting off zombies.
This is where Grace’s adventure through the Care Center Courtyard concludes, just in time for Leon to fight off waves of zombies before defeating a big boss. This Leon section is a linear combat challenge, so you’ll handle it just fine.
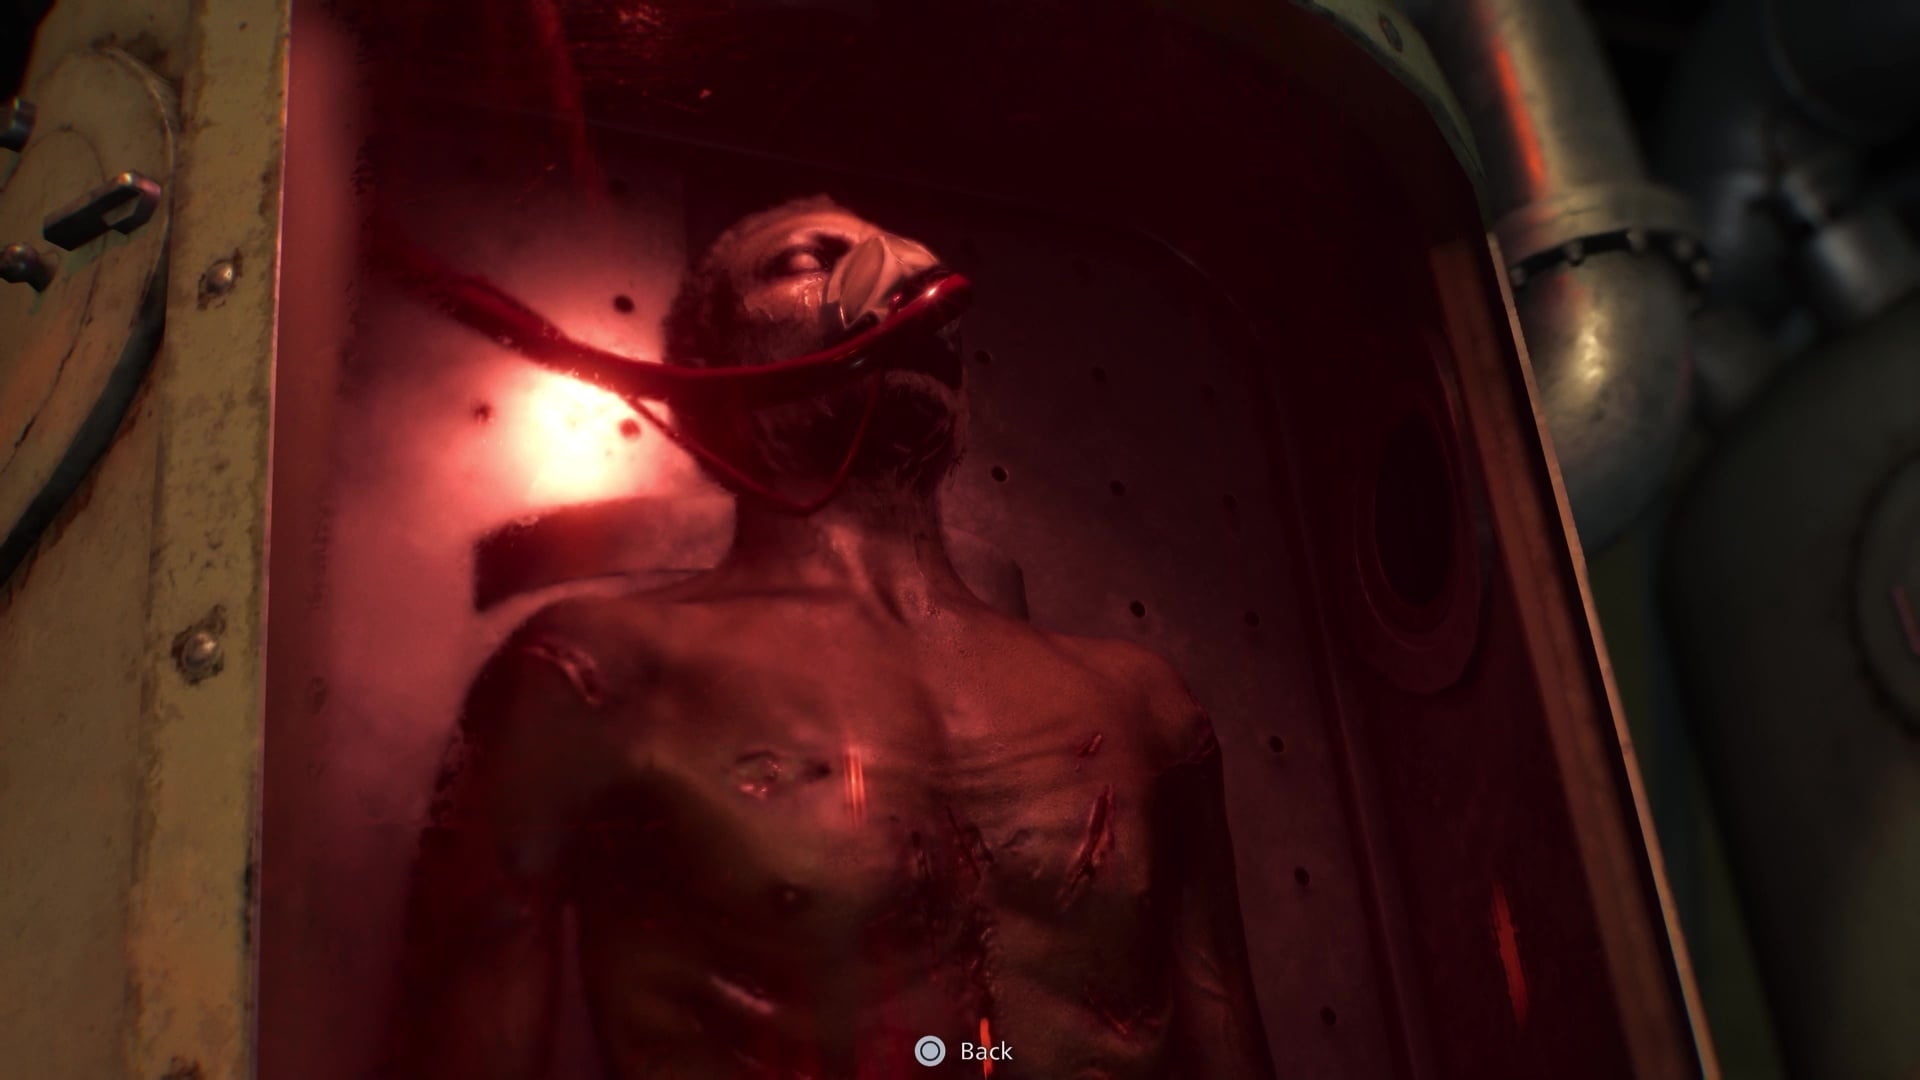
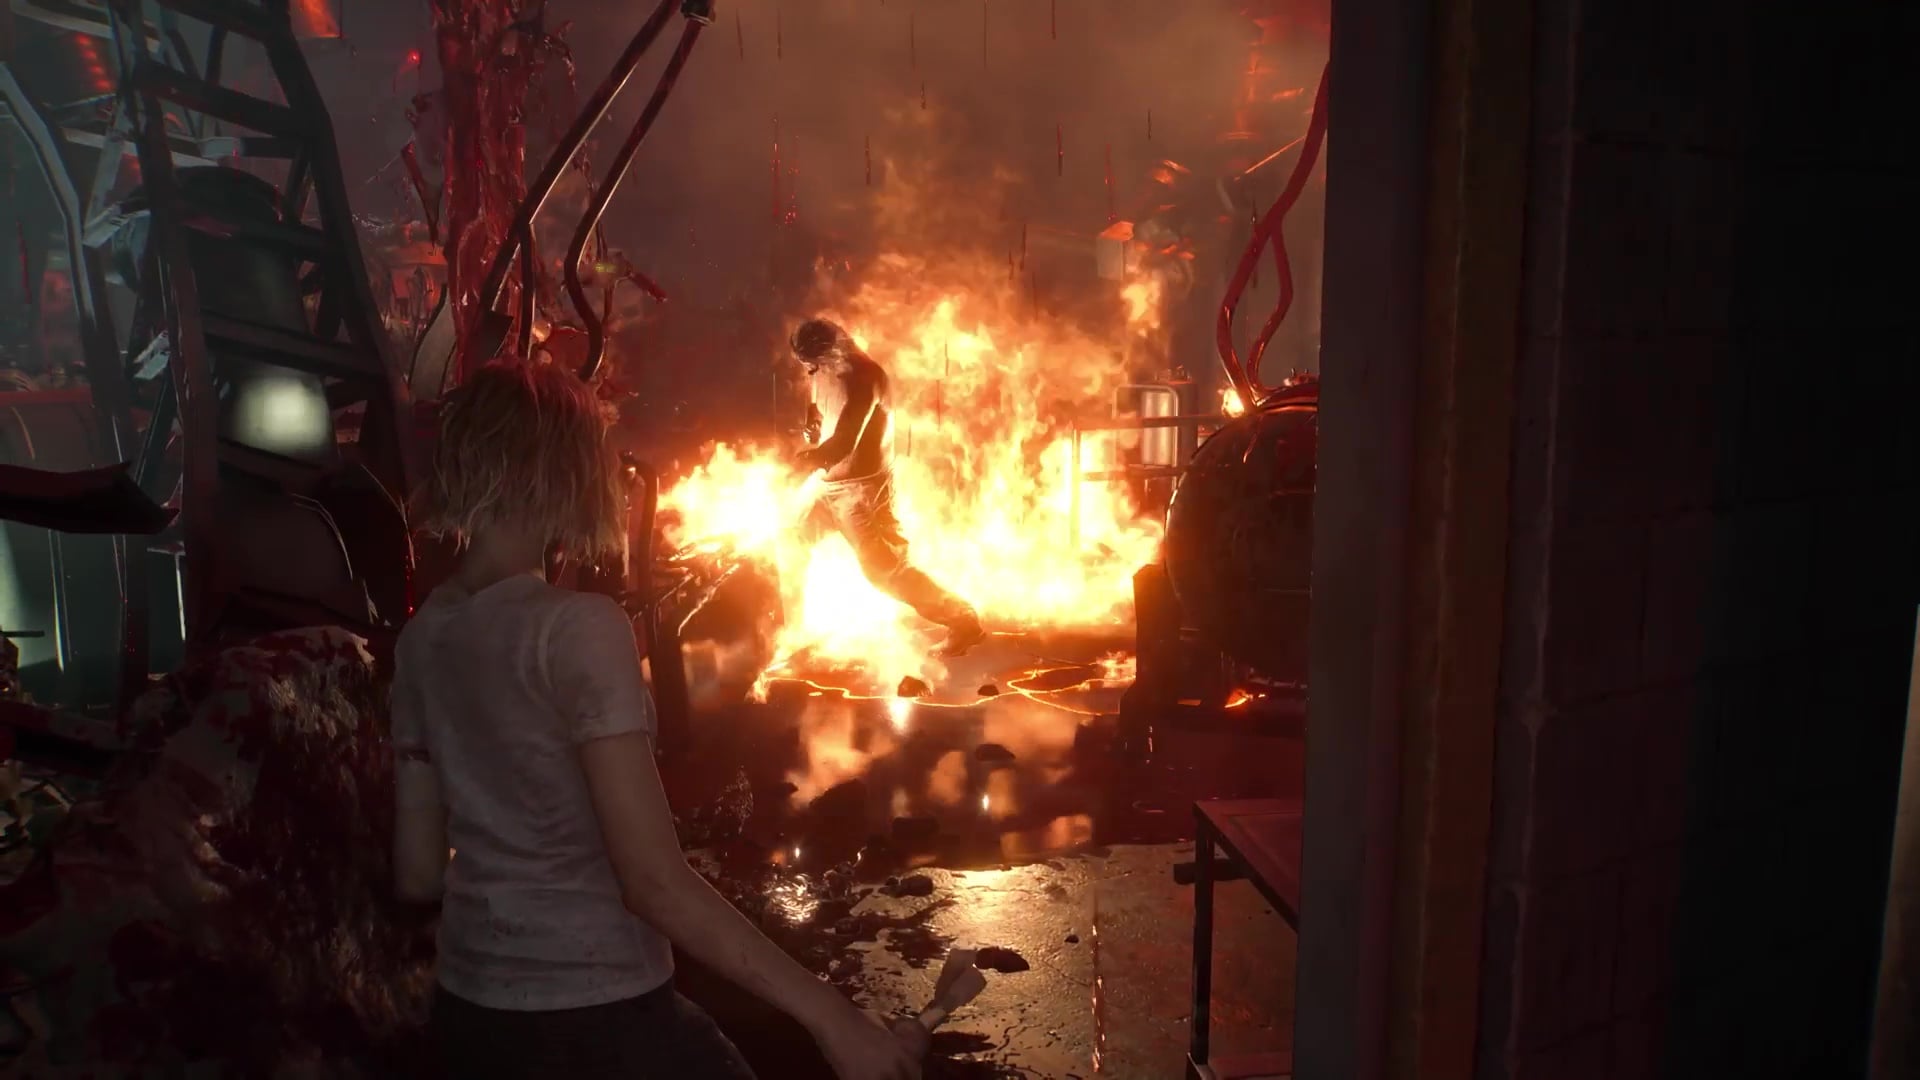
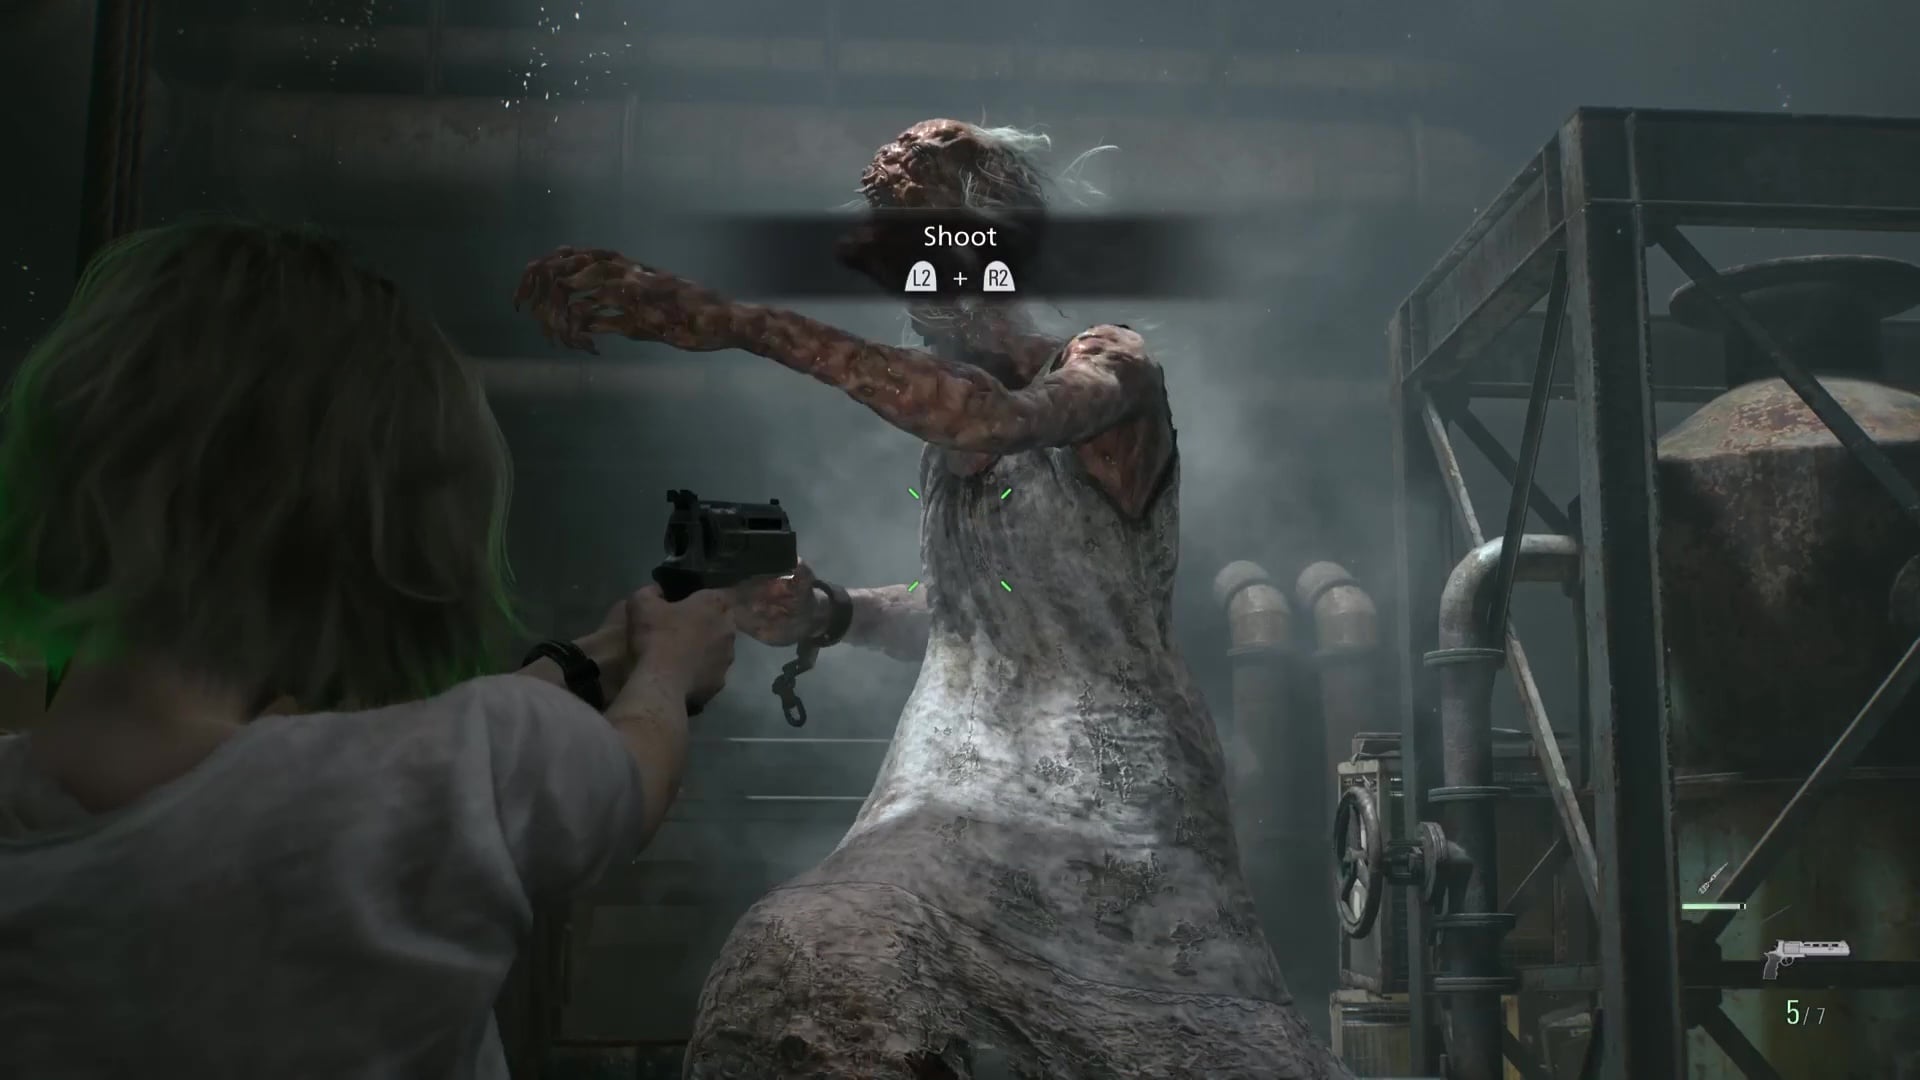
Open the hatch on The Girl, boss fight – RE9 Requiem
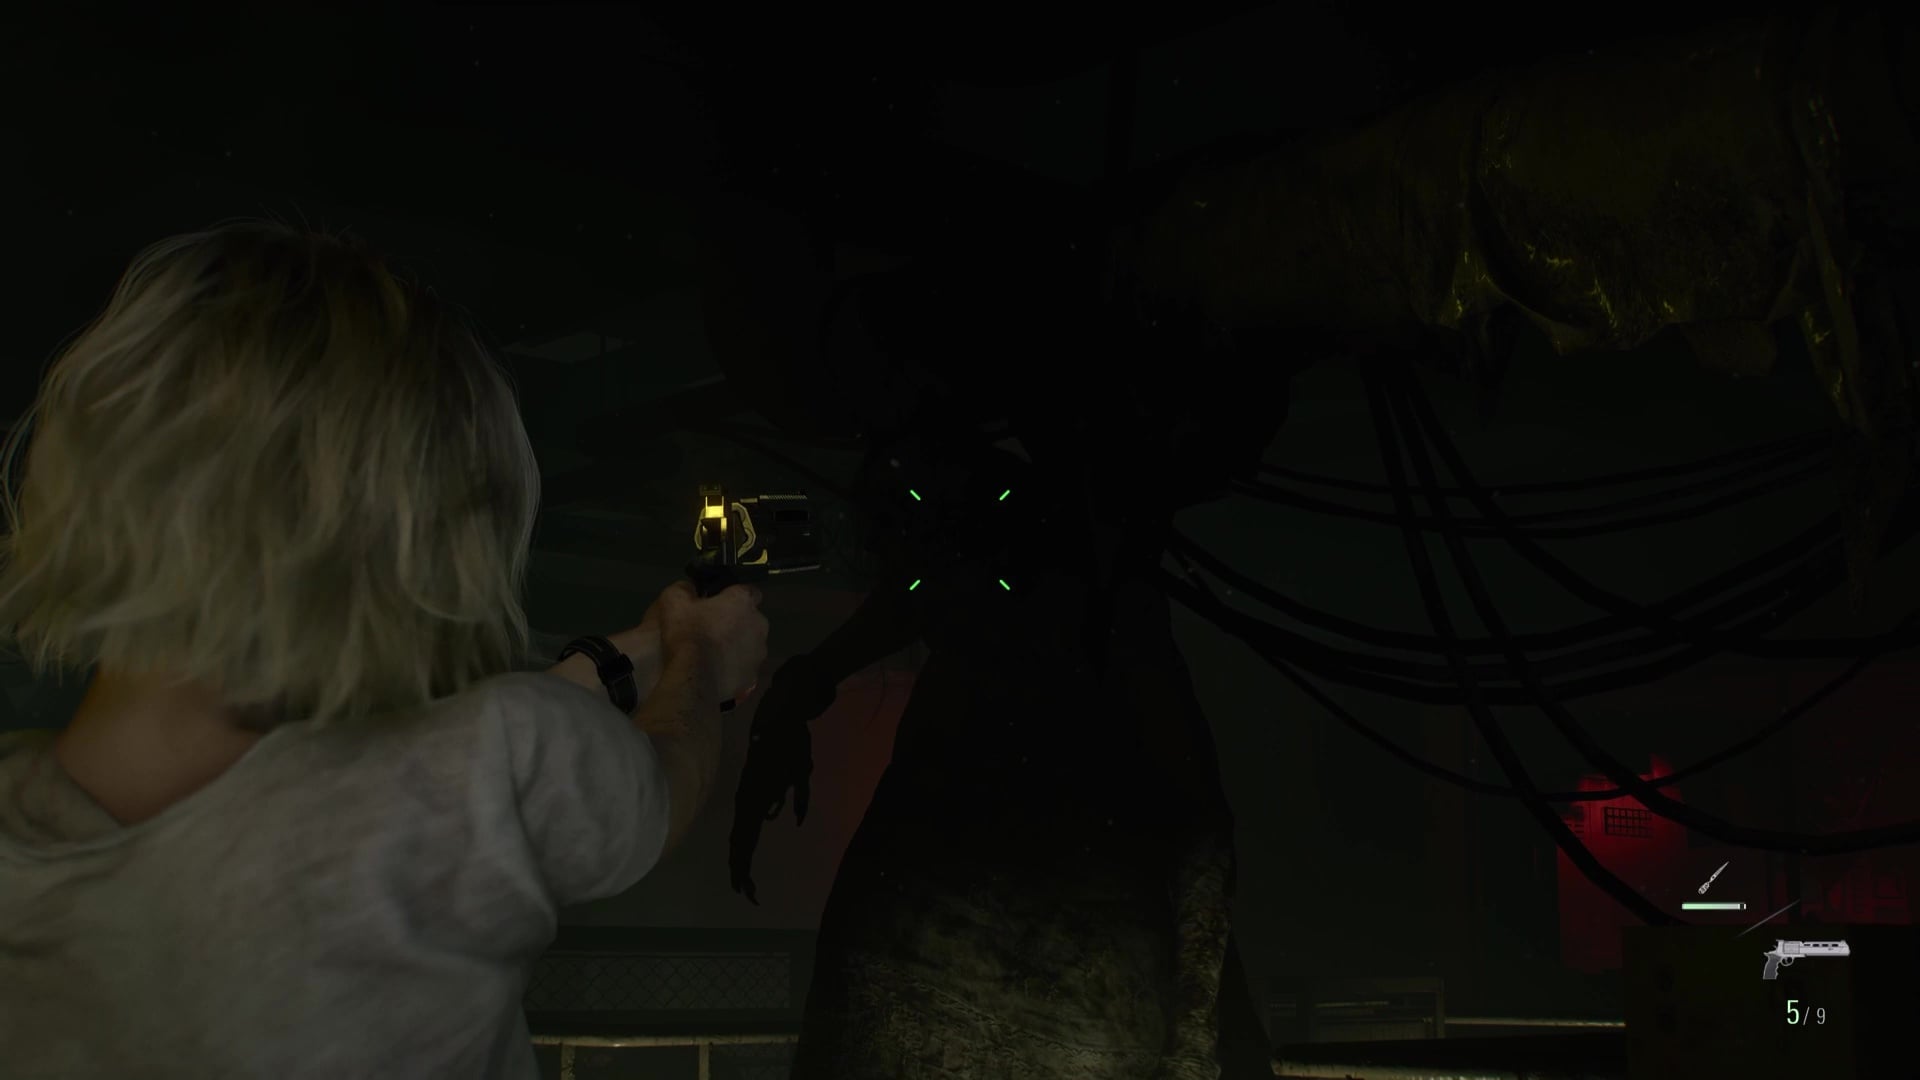
Now it’s time for Grace to end her fight with The Girl once and for all — she’s been stalking you all this time, and it’s your opportunity to finish things.
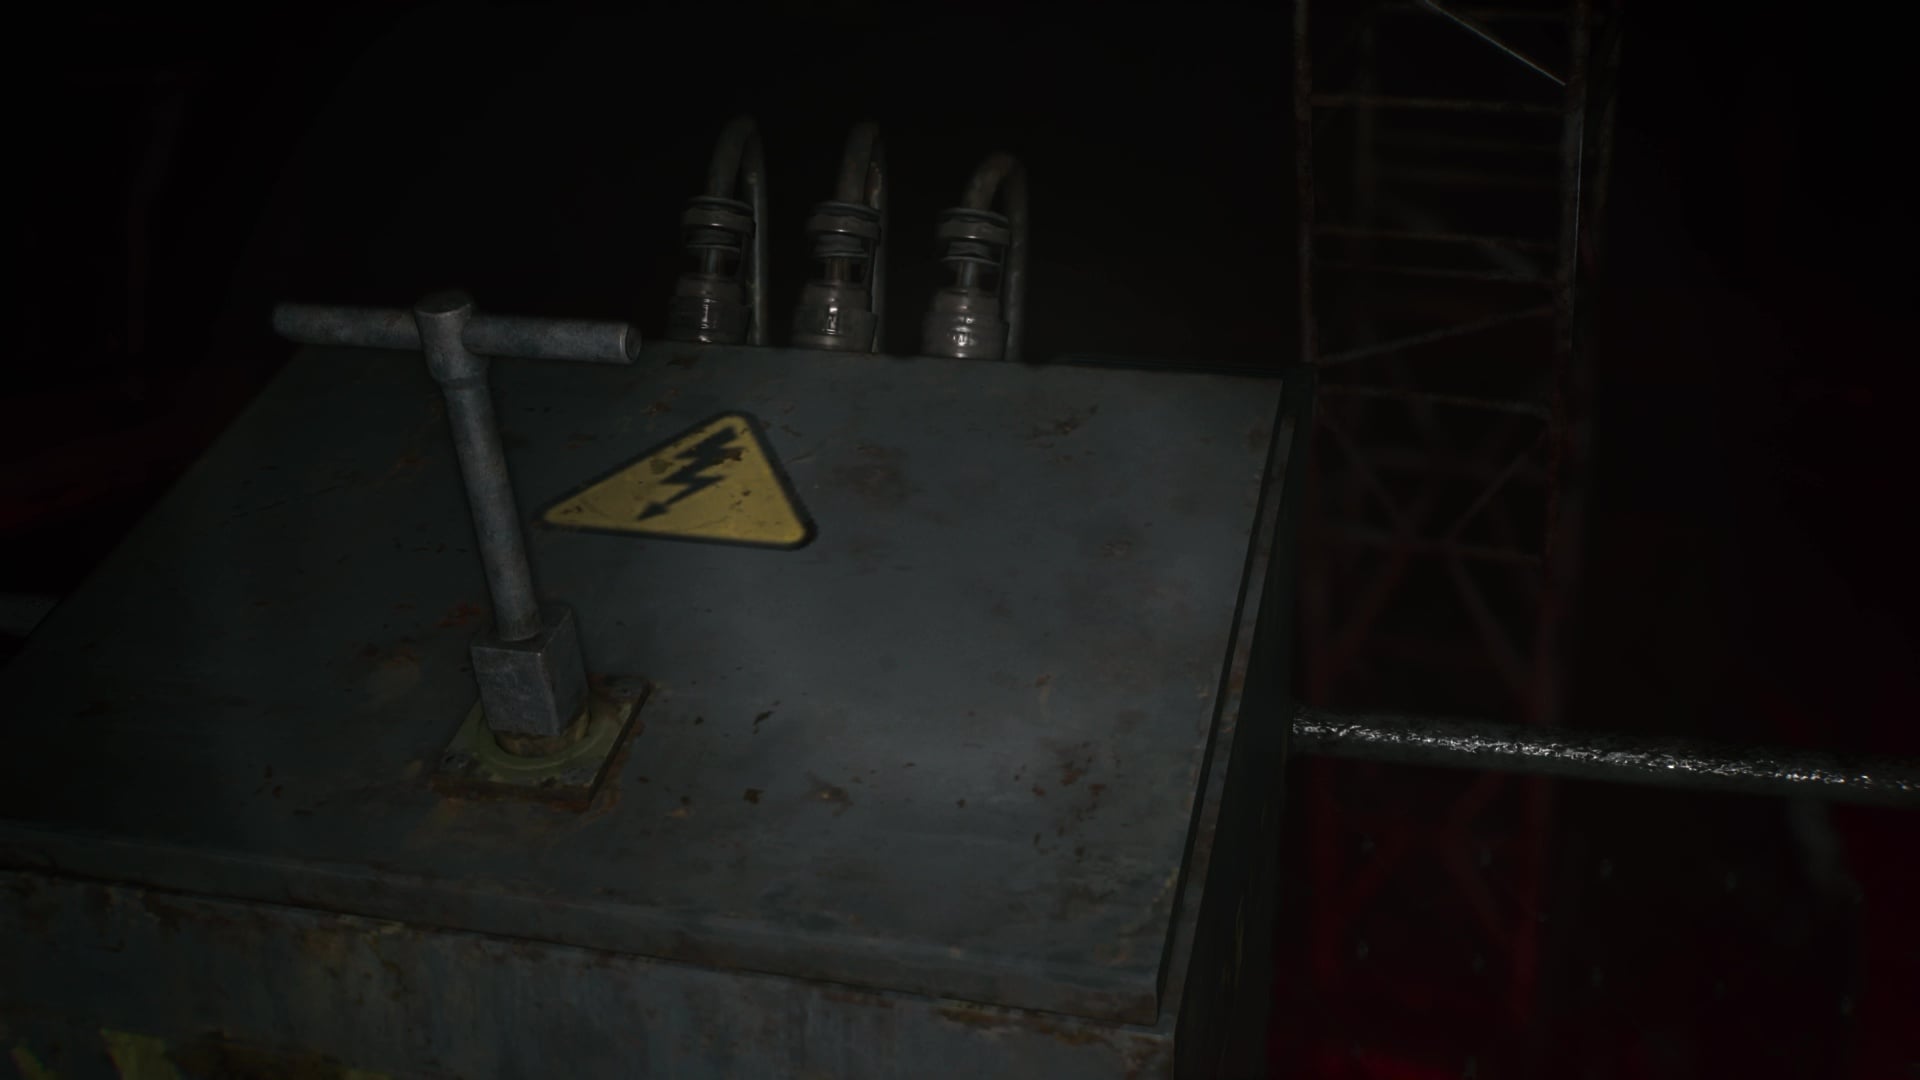
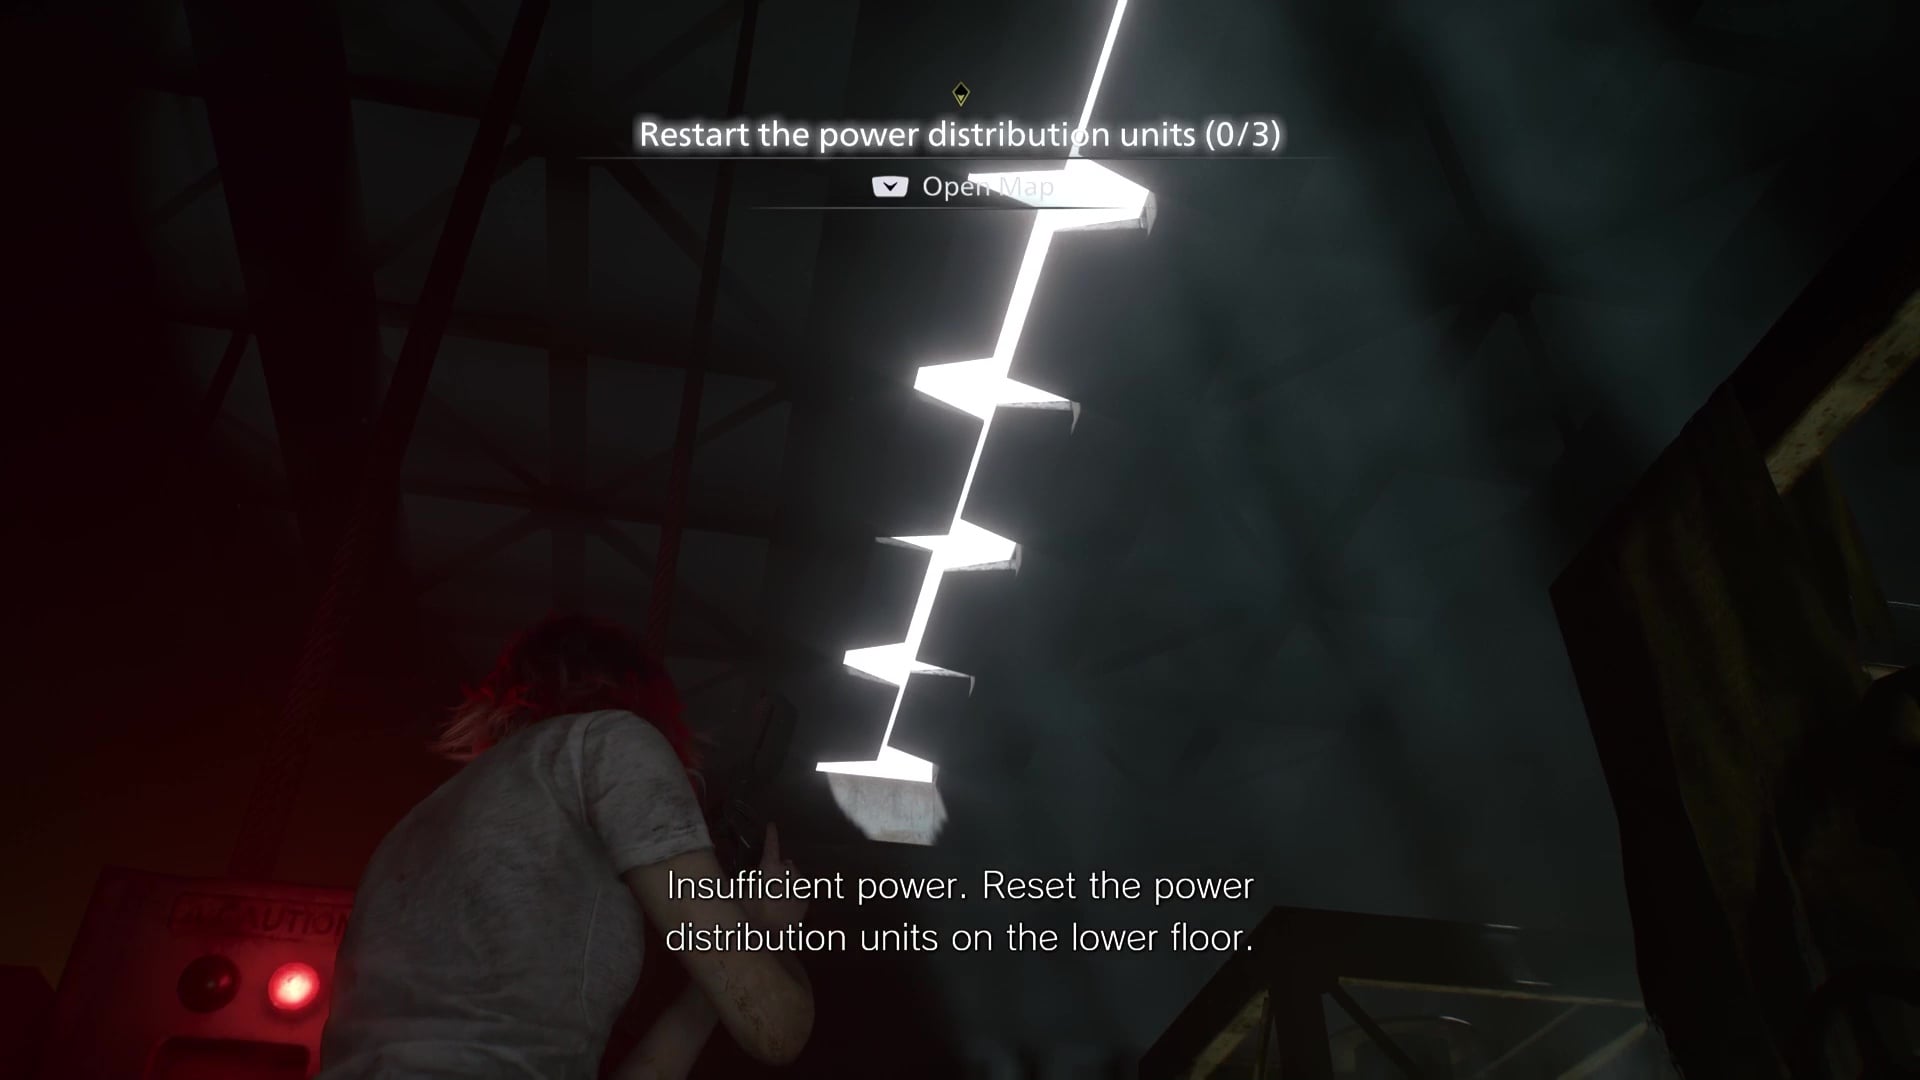
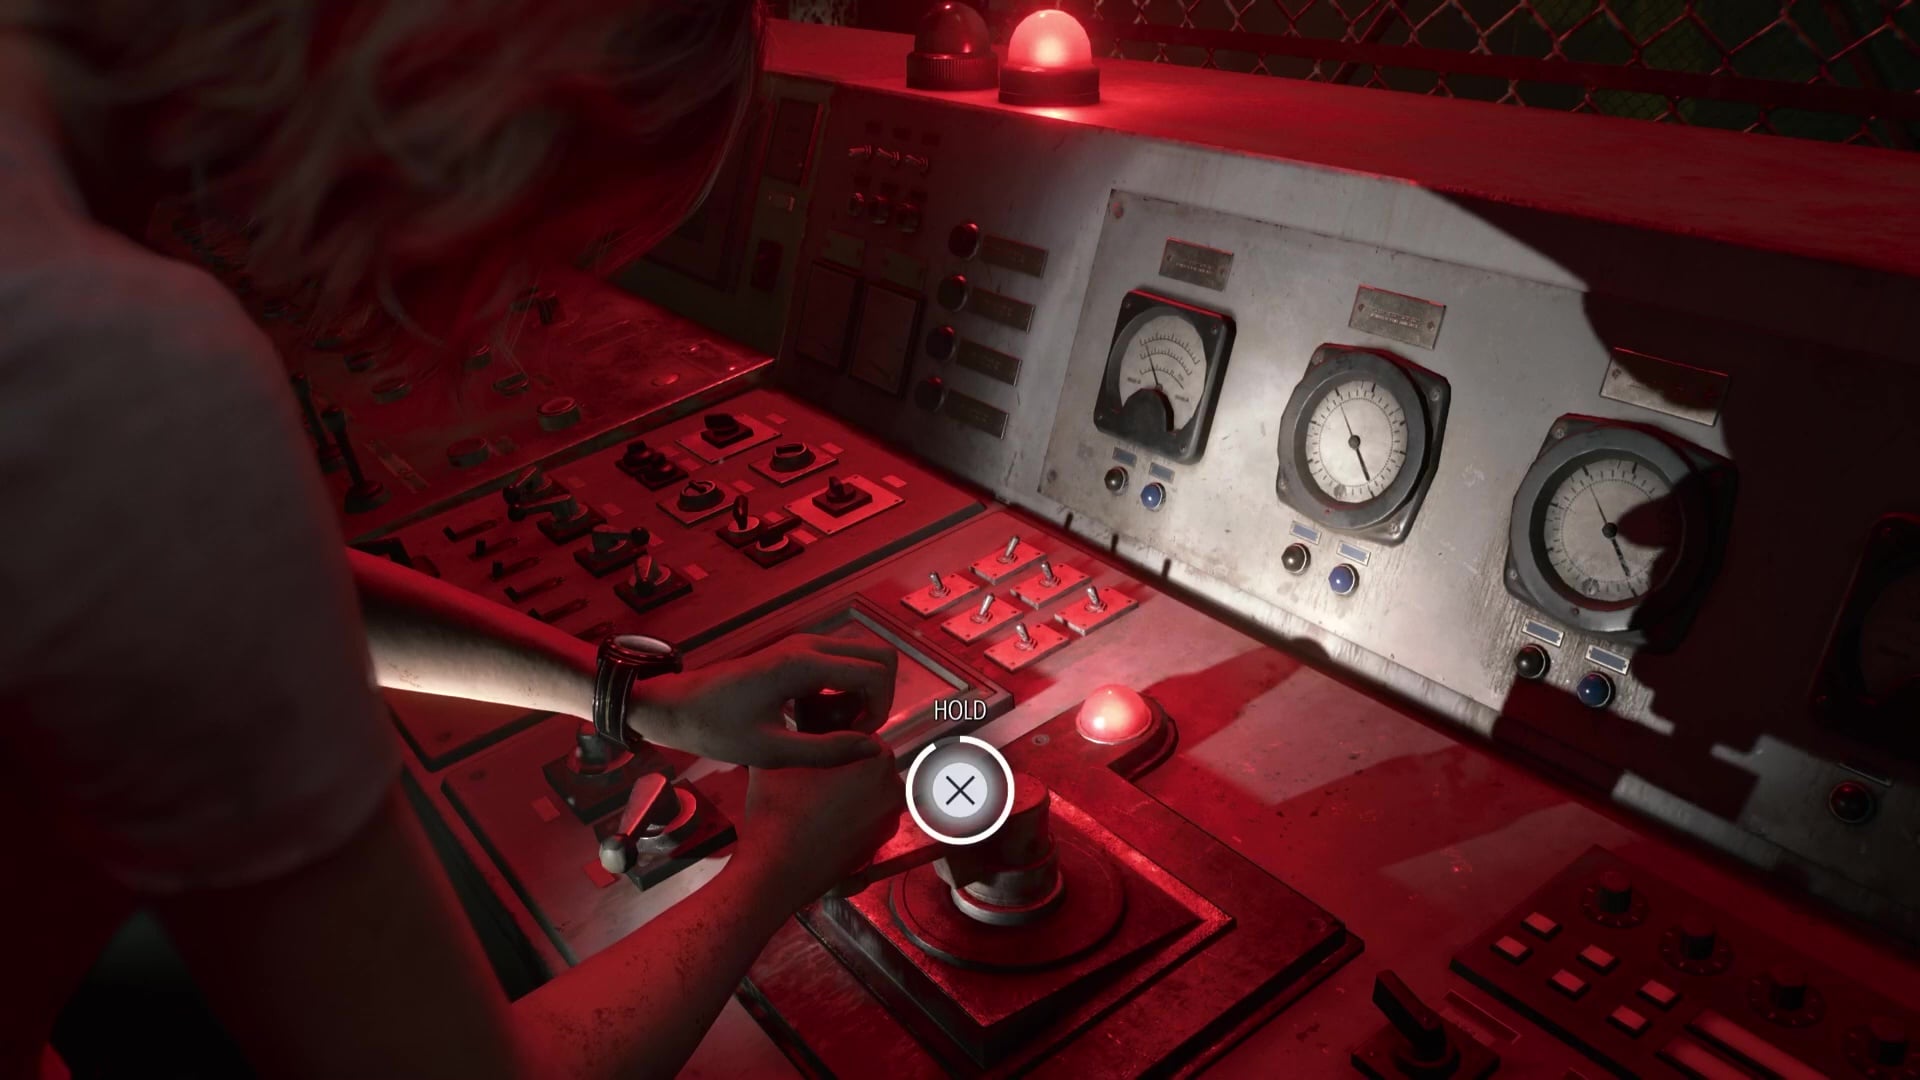
You need to open the roof hatch on The Girl, letting in natural light to finish her. To do this, you must descend to the lowest part of this lab area and restart three power distribution units. You’ll find the three power distribution units in the Chemical Treatment, Control Room, and Storage Area rooms, and each has a slightly different method of activation.
Regardless of which you choose to go for first, you must keep The Girl distracted or keep a distance from her, to ensure she doesn’t stop you from restarting any of the power distribution units. A shot from the Requiem will work wonders to stop her from chasing you, if you’ve saved enough ammo. There are also standalone lamps and lights in the area, which you can use to stop her in her tracks.
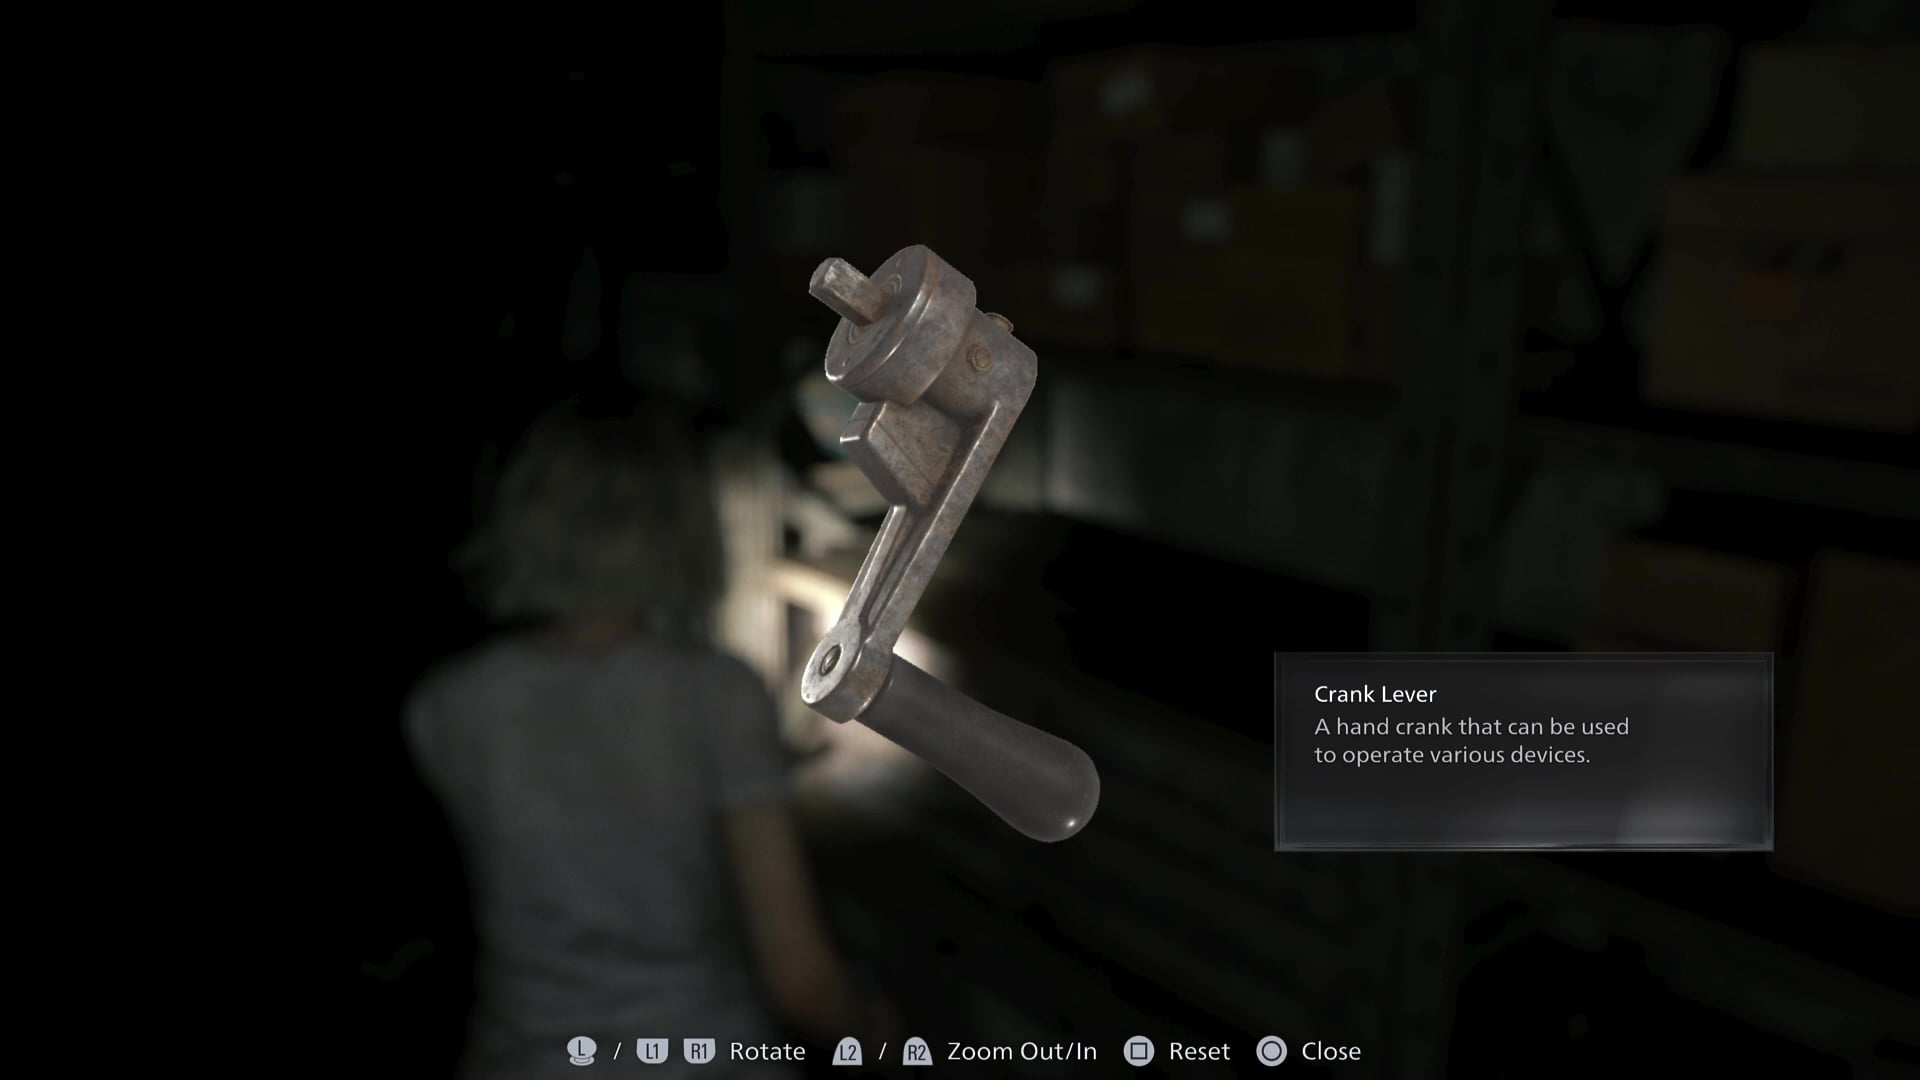
The Control Room power distribution unit requires a Crank Lever, which can be found in the connecting Filing Room. You might need to loop around the area to distract The Girl before restarting the unit.
The Chemical Treatment power distribution unit requires you to hold the lever, which gives The Girl a chance to catch up and interrupt you. Make sure you’ve made space from her before activating this unit.
The final unit is in the Storage Area, and this one can be flipped on with one press.

Once all three power distribution units have been activated, make your way back up the Elevator and activate the roof hatch. As it opens, unload your remaining ammo into The Girl to finish the fight. You can now return to Emily, concluding most of Grace’s sections in Resident Evil: Requiem’s campaign.
The next section of the game is covered in our Full Leon Raccoon City walkthrough.
Guides: Read our Resident Evil 9 Requiem complete walkthrough for a step-by-step guide to finishing the game 100%, including all Mr. Raccoon Memoriam statue locations, all safe codes, locations, and rewards, all Quartz puzzle box solutions, and more.