Resident Evil 9 Requiem walkthrough: Full ARK guide for Leon and Grace
A step-by-step walkthrough to clear the entire ARK lab section of Resident Evil: Requiem and finish the game.
There’s just one area left to explore in Resident Evil: Requiem, and that’s the ARK lab beneath Raccoon City.
This is a relatively short section where you’ll be playing as both Leon and Grace while uncovering the final secrets held inside the ARK lab, and in this guide, we’ll be breaking down everything you need to do to clear the ARK step-by-step.
This walkthrough continues from our Full Leon RPD and Orphanage guide.
On this page:
- Leon: ARK intro
- Leon: The Commander boss fight
- Grace: Override Key and Magnetic Key locations
- Grace: Animus Orb and Noblesse Orb locations
- Leon: Override Key (Bioweapon Repository 11), calling the Elevator
- Grace: Save Leon, Destroy or Release Elpis
- Leon: Victor Gideon boss fight – RE9 Requiem
- Leon: Nemesis final boss fight
Leon: ARK intro – RE9 Requiem
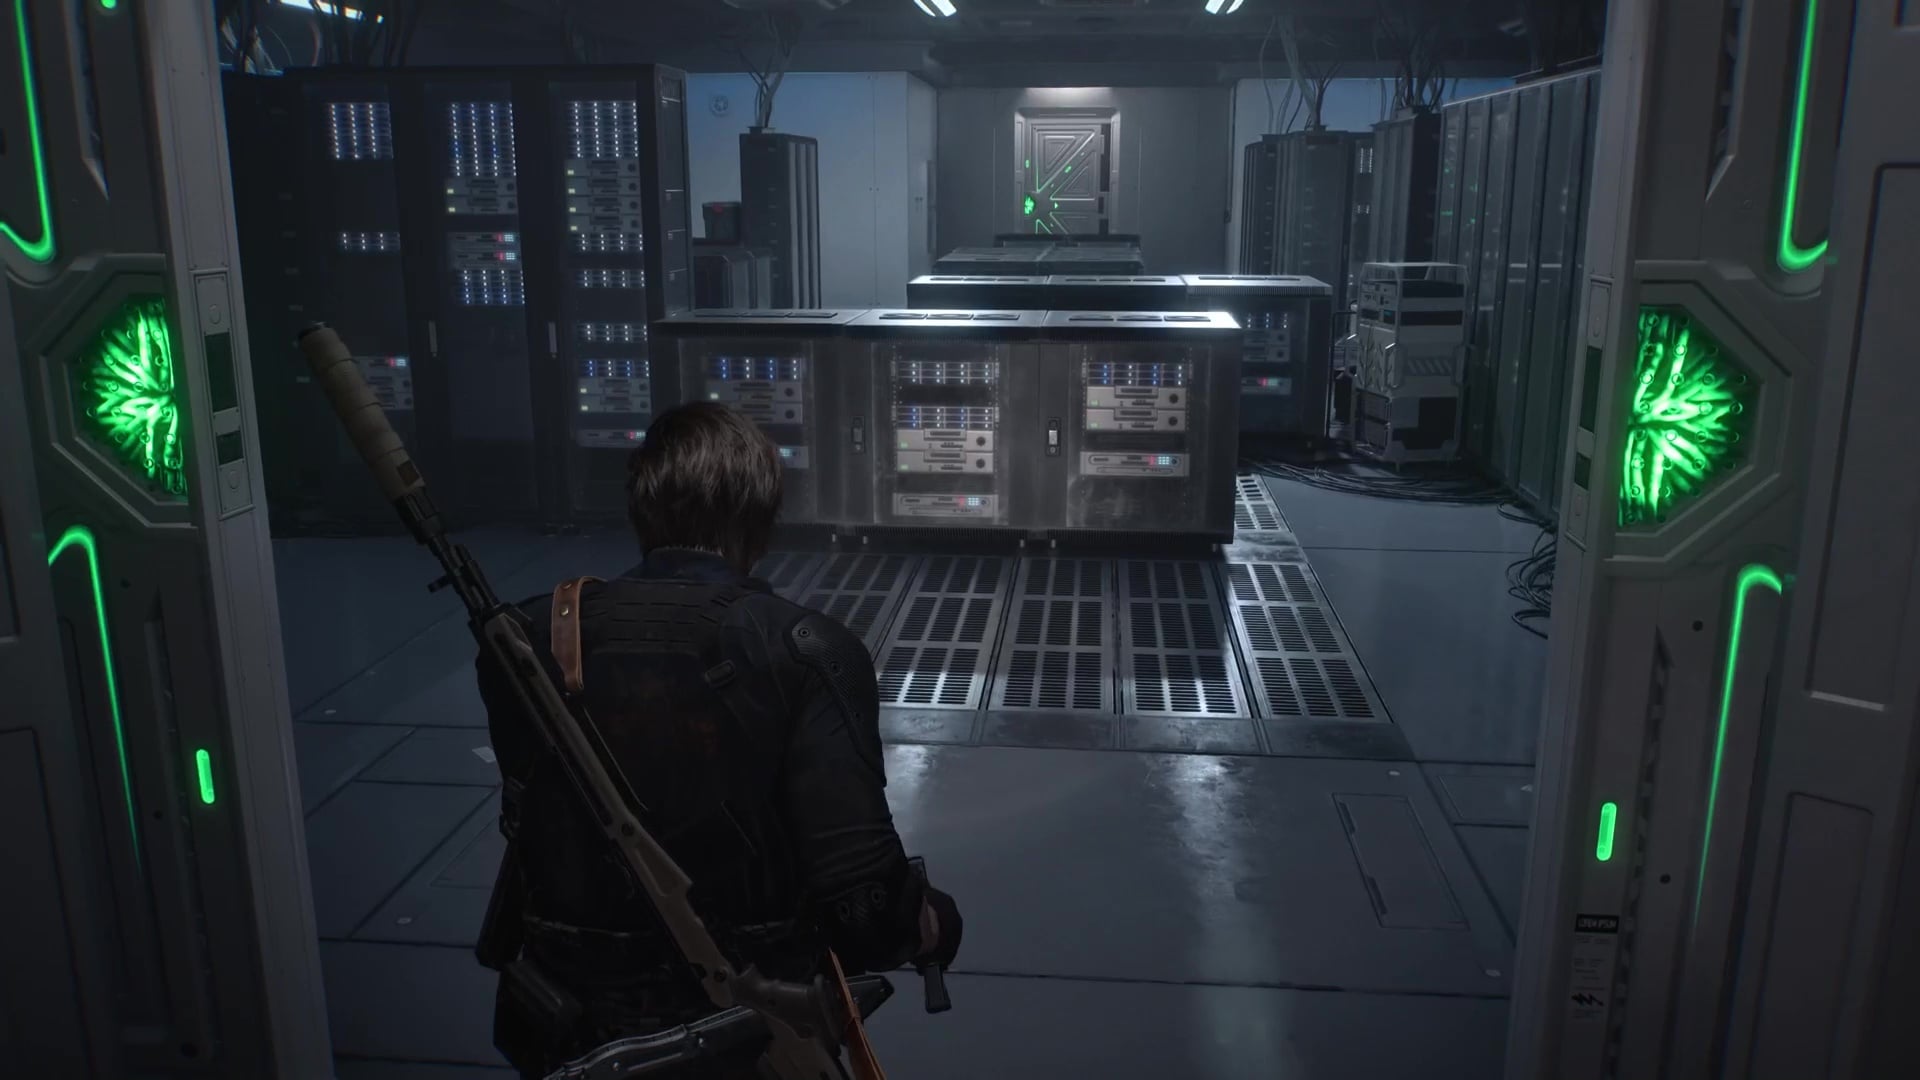
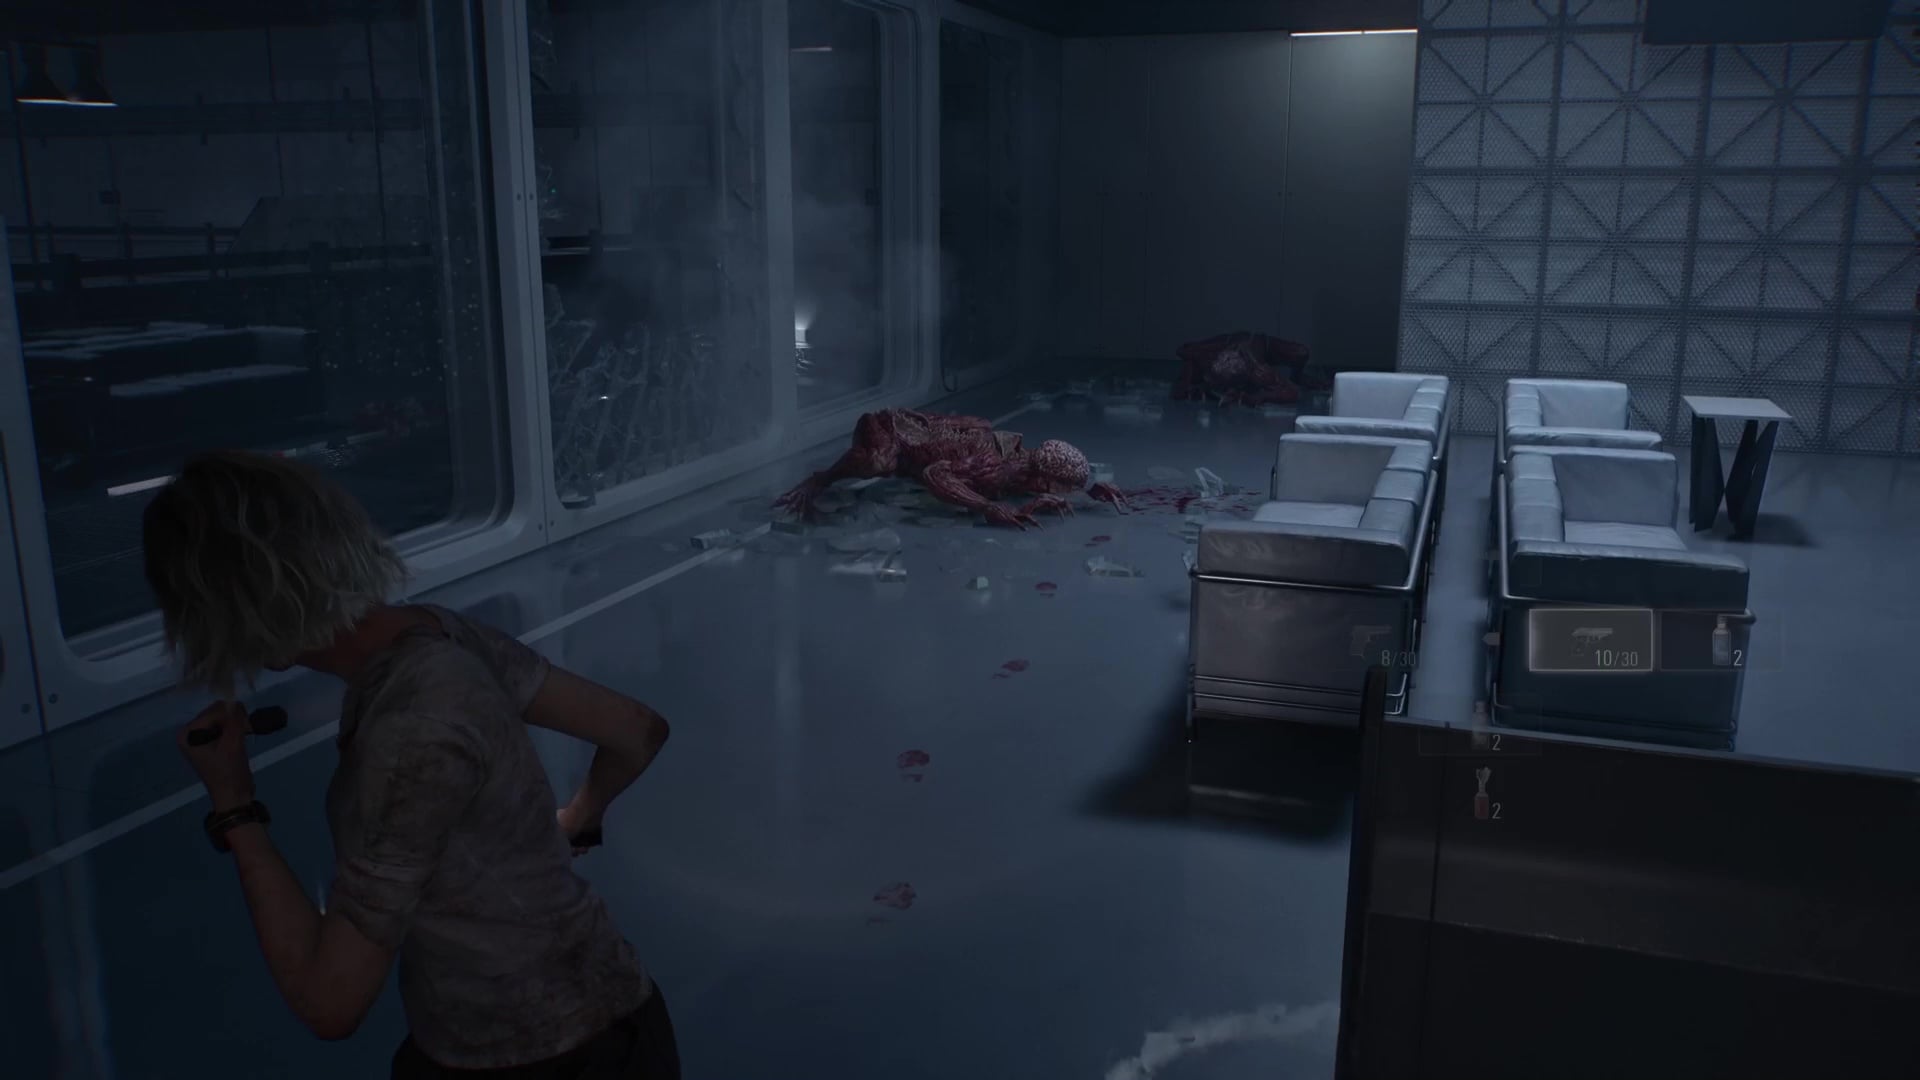
ARK’s first few areas are pretty simple and linear; just head straight down the corridor, and you’ll find a Staff Room to use as a safe room on your left, with the main progression on your right. At the bottom of the stairs, you’ll find a server room, and on the opposite side, you’ll find a new room with a terminal for you to access.

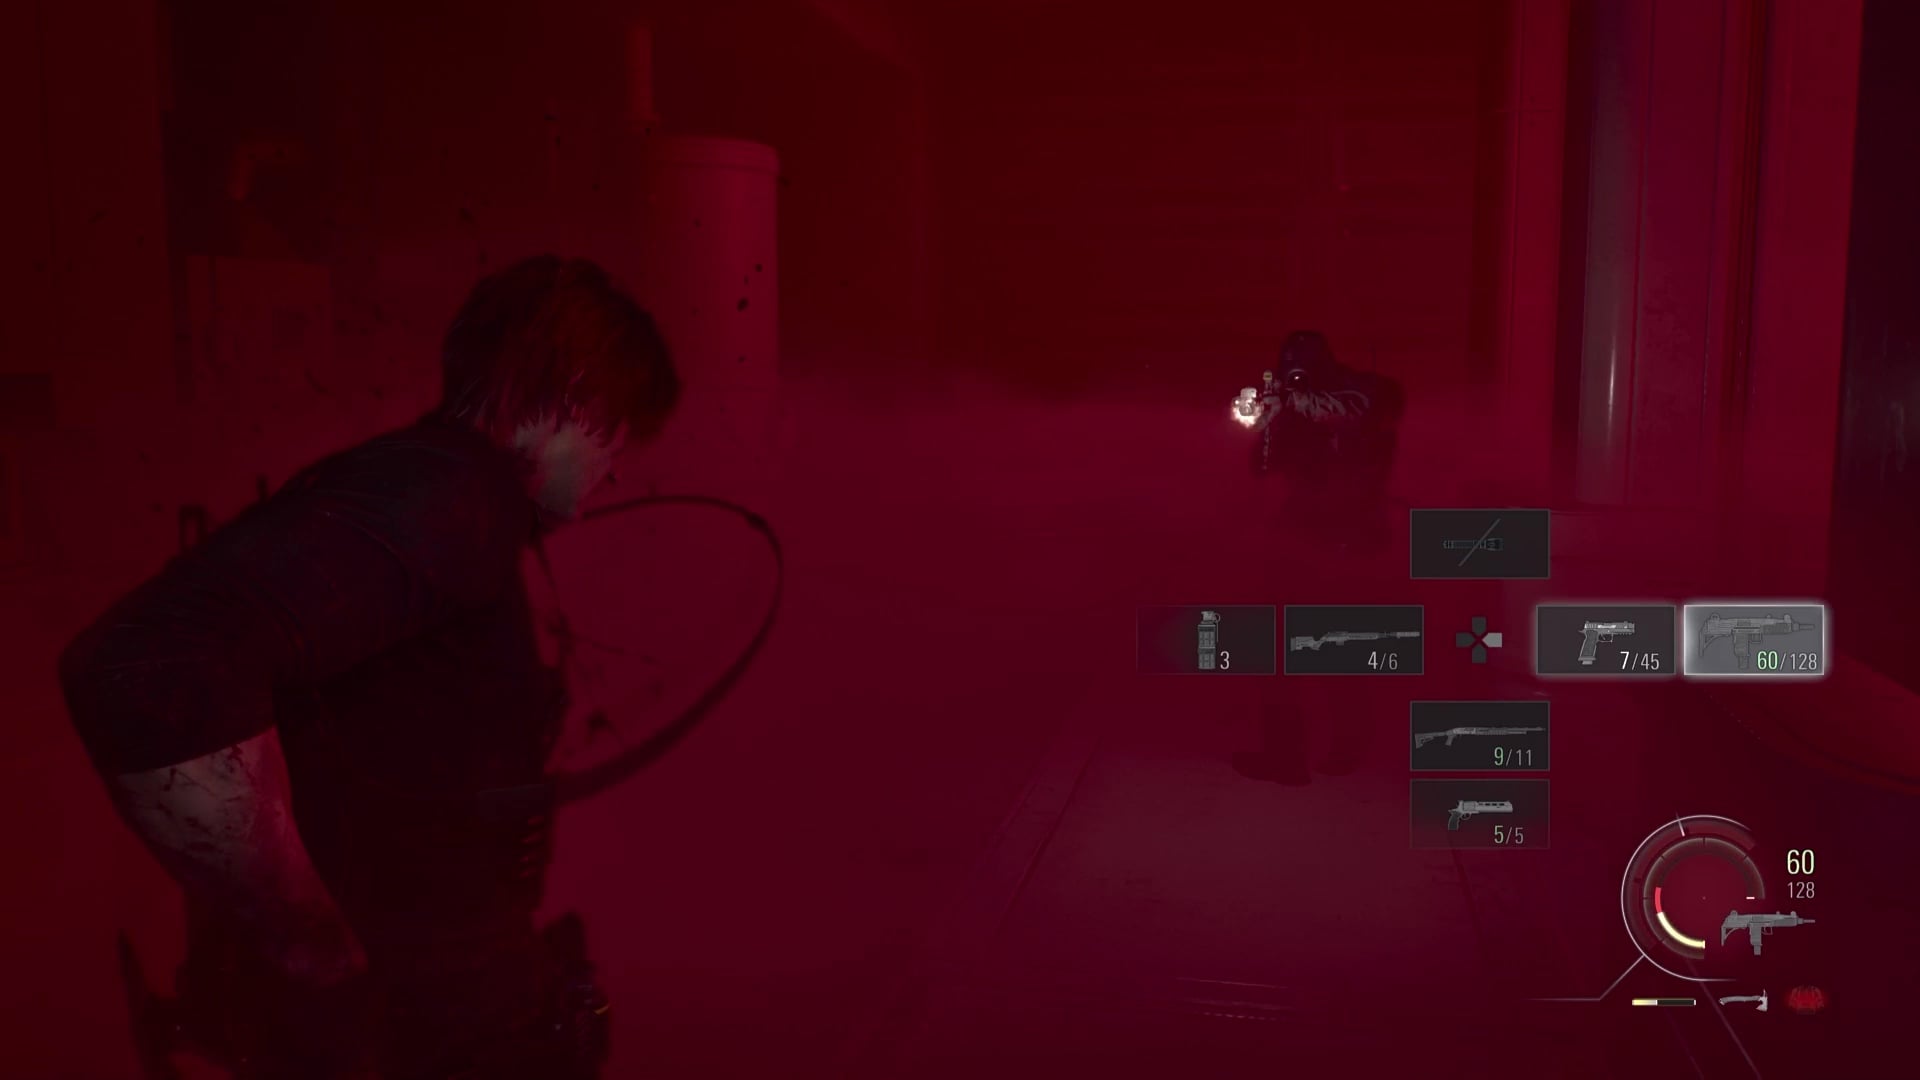
This will let Leon see where Grace is, but it will also send reinforcements to hunt down Leon, and they’ll corner you in the server room. You’ll need to take them out to progress. Shoot the gas canisters to create a smoke screen that conceals your movements.
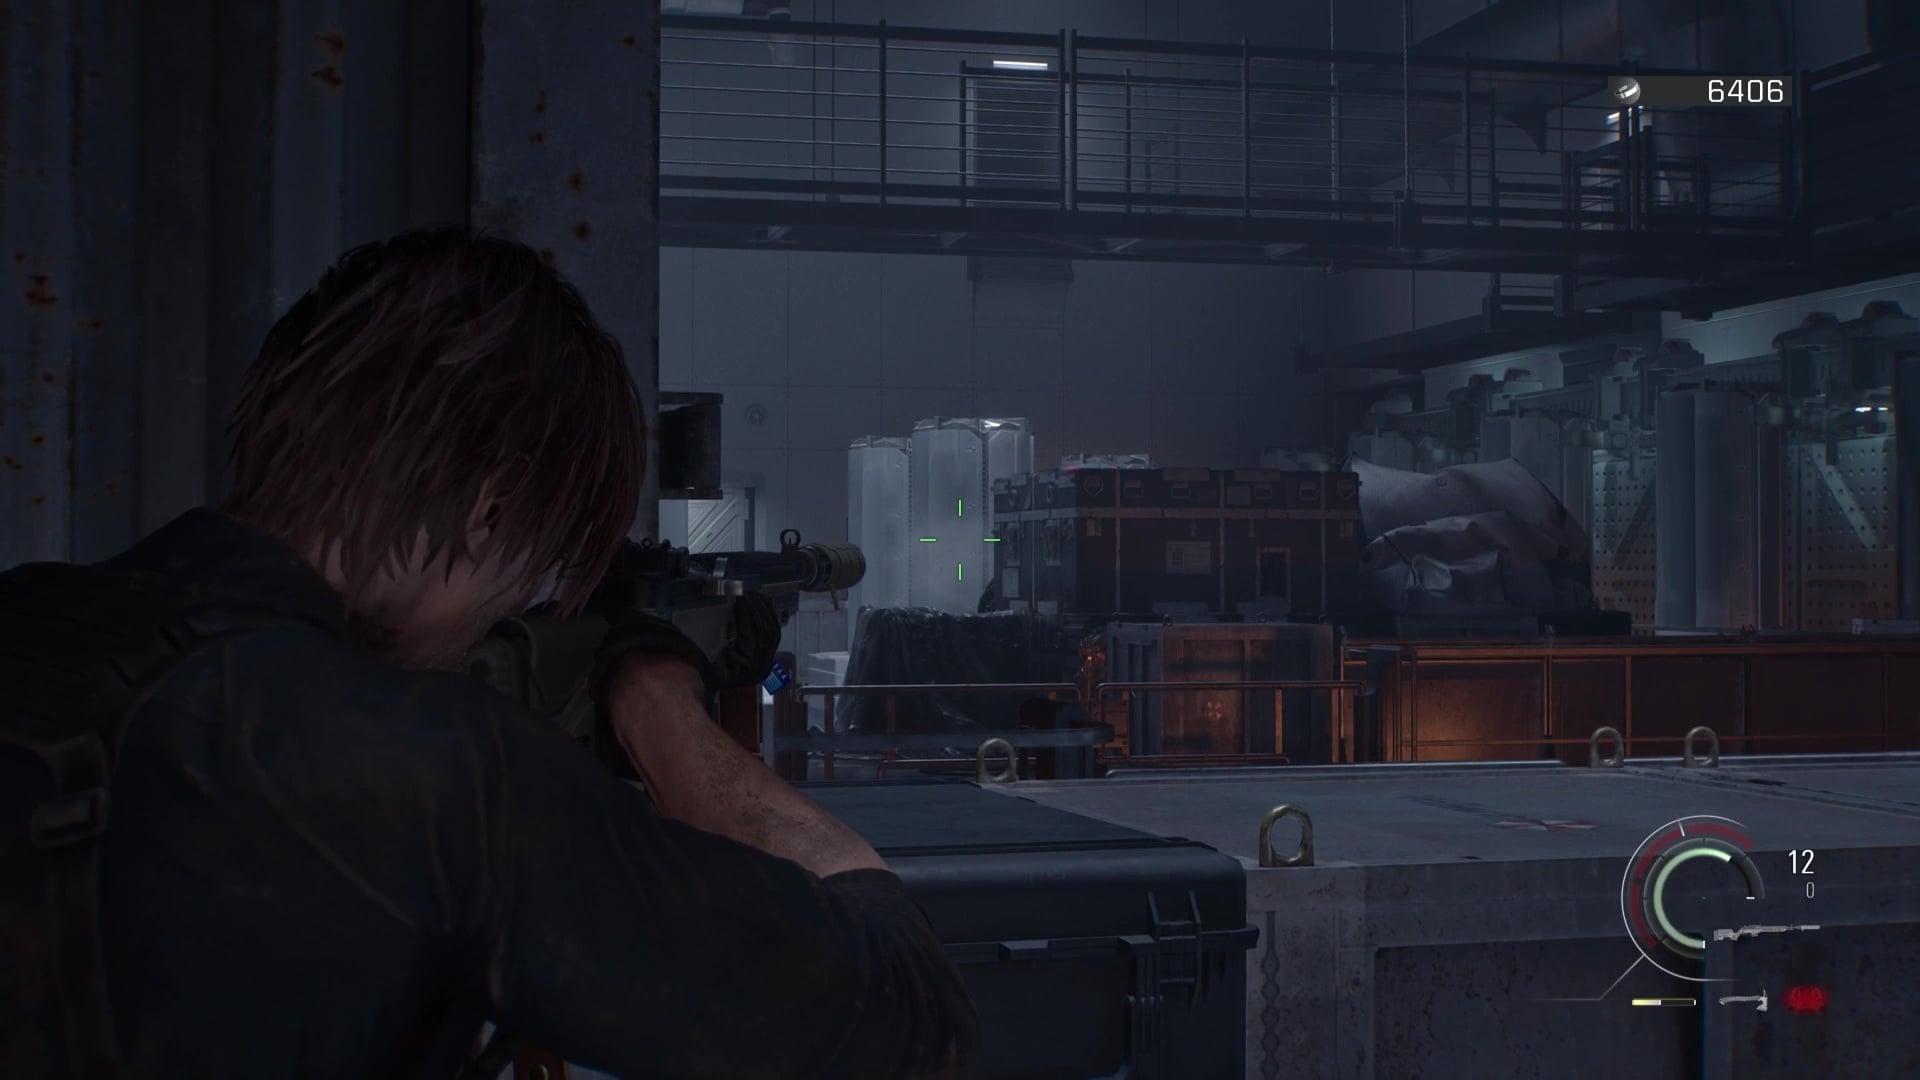
After you exit the server room, you can make your way through the Stockroom on the right, but there are more forces in here to deal with, including a shield soldier.
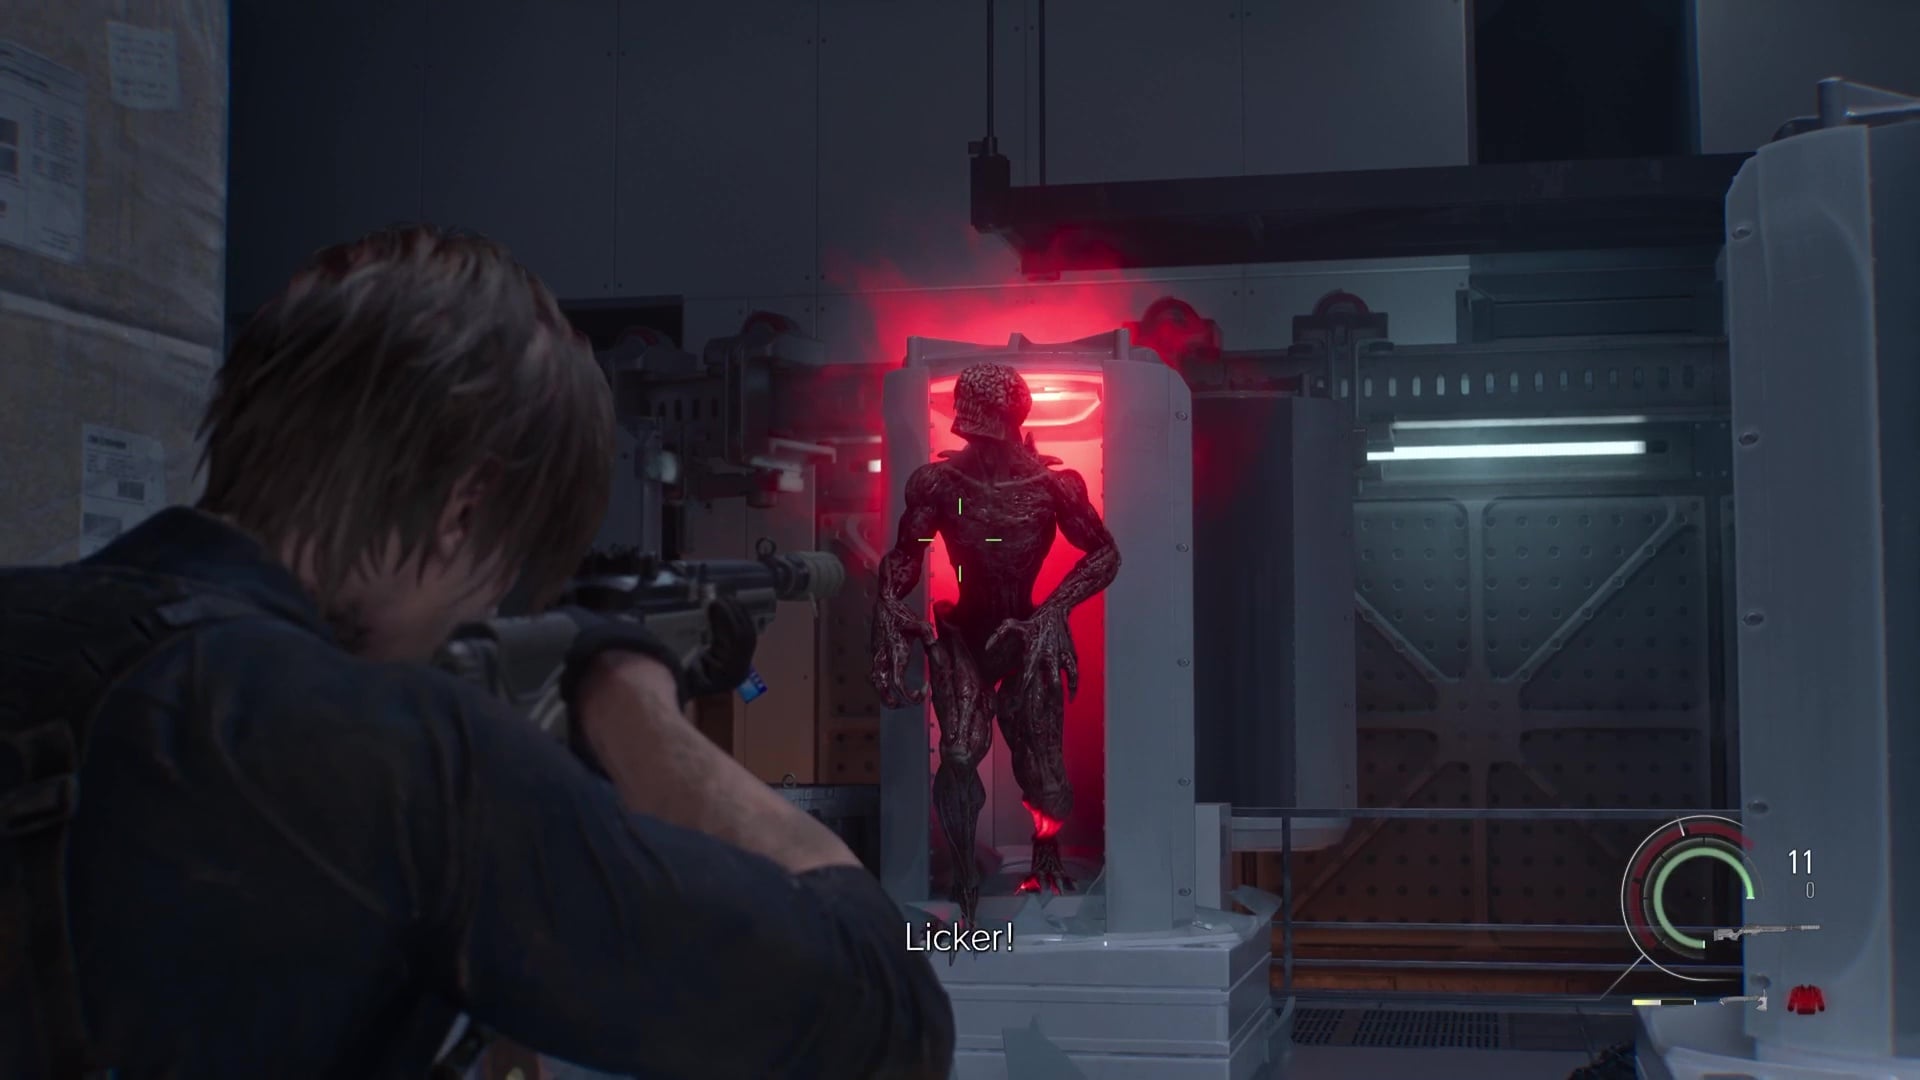
You can release a Licker in a glass pod to confuse the enemy, but it can be more of a hindrance. On the other side of the Stockroom, you’ll find a shortcut to the Guest Room on your left, and the main progression on your right. There’s a Staff Room you can use to pick up some items, but as you progress through the large doors in the hall with the human models, you’ll encounter The Commander.
Leon: The Commander boss fight – RE9 Requiem
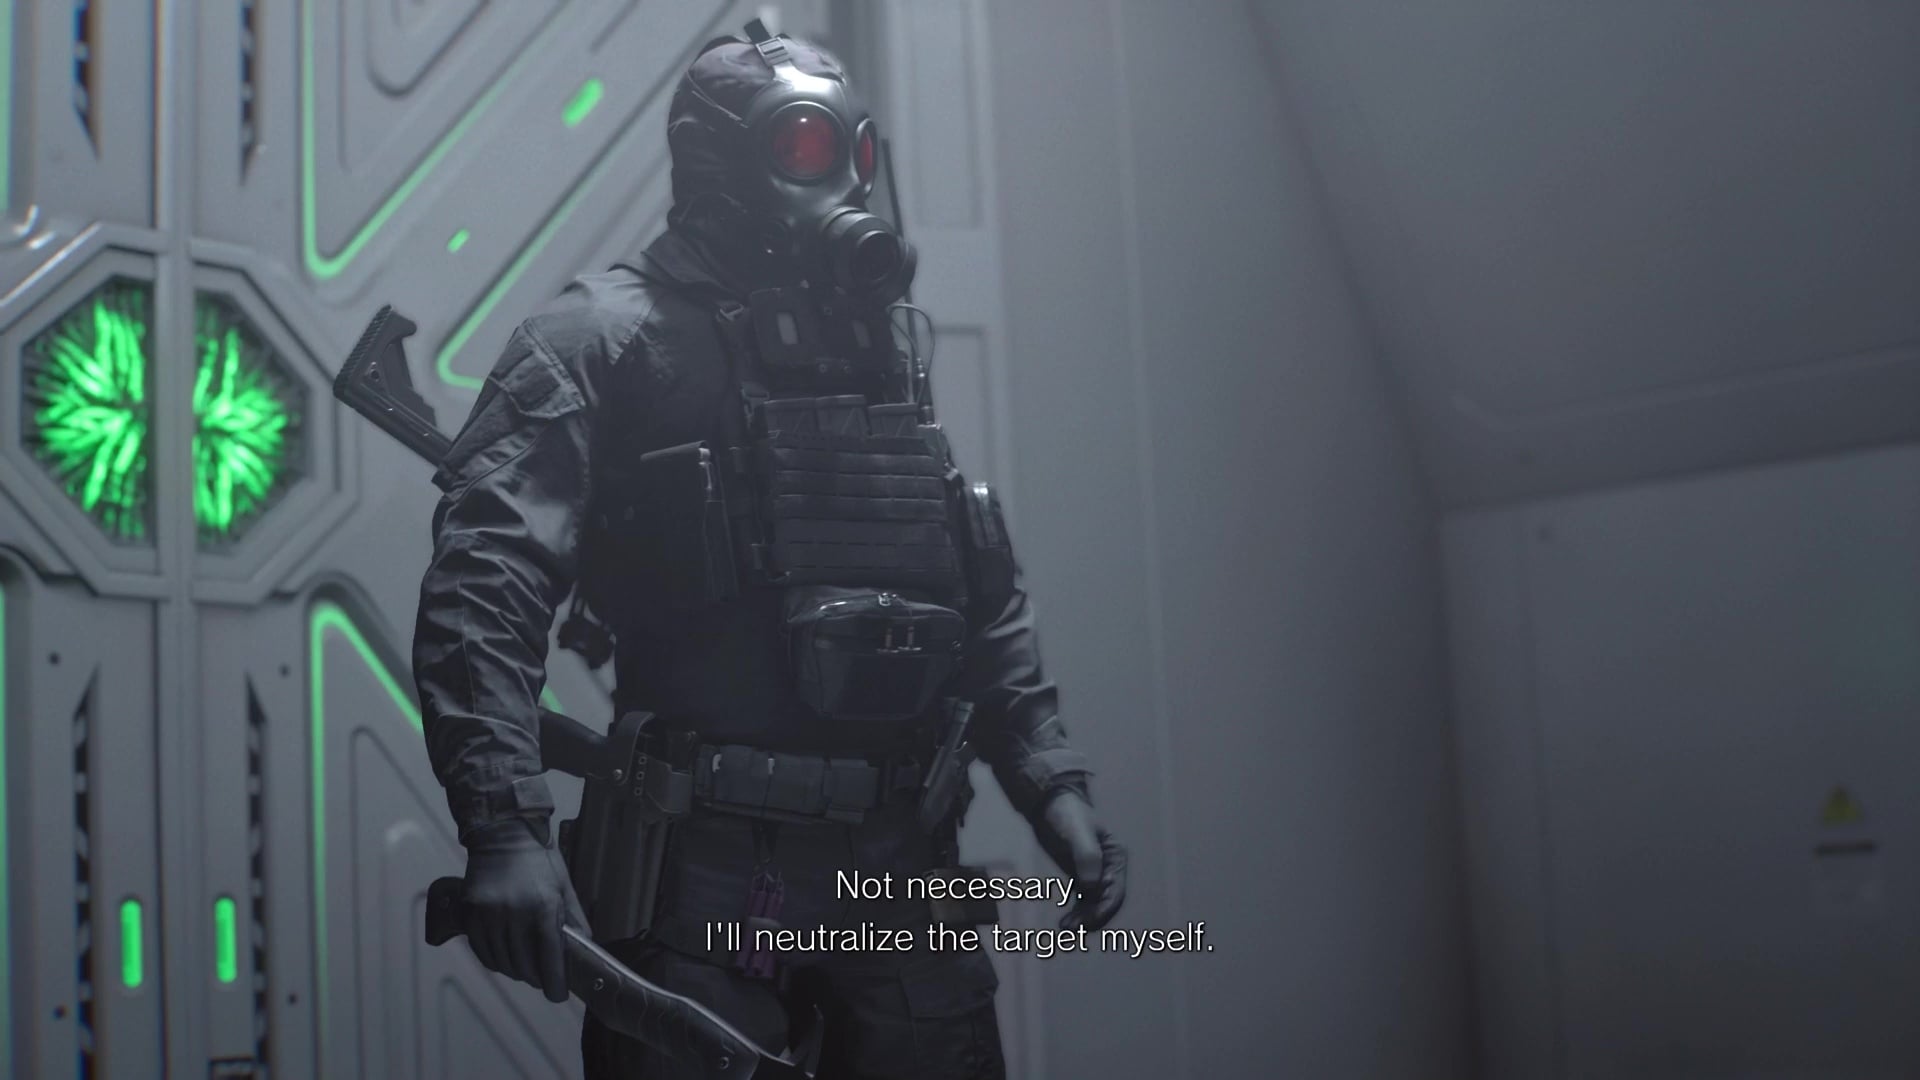
Doesn’t The Commander look an awful lot like HUNK, Umbrella’s legendary soldier? He’s a talented melee fighter, but he can also shoot with the best of them. This fight has the vibes of the close-quarters gun combat that you see in the Resident Evil movies, but you can finish the fight very similarly to Resident Evil 4 Remake’s Krauser battle.

That means the idea is to parry the Commander’s attacks with Leon’s hatchet and use your own hatchet to swing at him. You should be able to get two solid hatchet swings in after a parry, and if he runs away, you’re best off catching up to him, as it’s much harder to defend against his bullets than his melee strikes. There are a few QTEs you should watch for, but as long as you steadily parry and melee attack, the Commander will fall to you.
As Leon finally makes his way into the next area, you’ll get a new cutscene, followed by a Grace section.
Grace: Override Key and Magnetic Key locations – RE9 Requiem
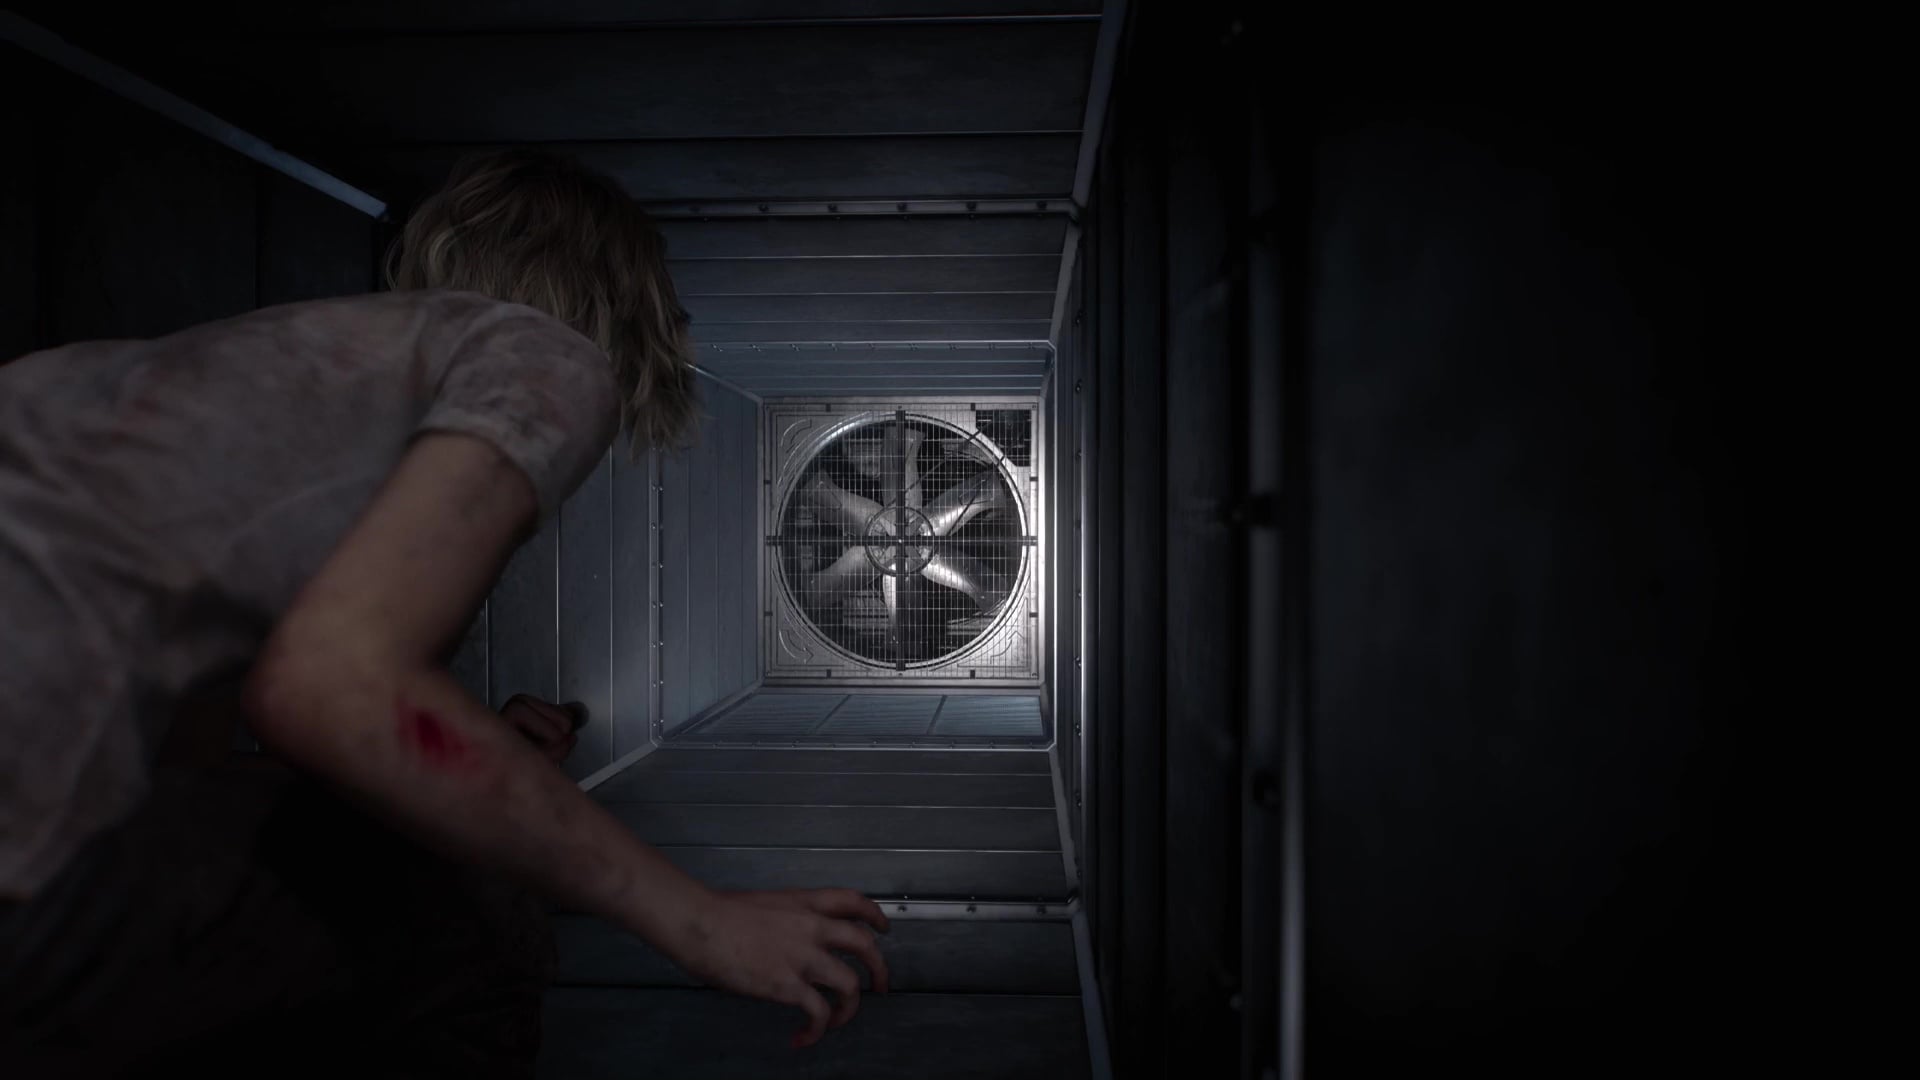
We’re playing as Grace now and escaping the Dump. Leon will be able to help you up a nearby ledge, and then Grace can crawl through a vent to get inside the lab again. There’s machinery blocking Leon’s path, and we’ll need an Override Key (Dump Control Room) to move it.
Move up the stairs, and you’ll find an item box and typewriter in the Lab Entrance – just be aware that this shouldn’t be considered a safe room – along with a large pair of locked doors. There’s only one path for Grace to take, and it’ll lead to the Sterilization Chamber with Lickers inside. Lickers are blind, so you can sneak past. Bottles of Acid are also available in this area, which take Lickers out with a single hit, as do Hemolytic Injectors. Watch for the glass on the floor as you sneak past them.
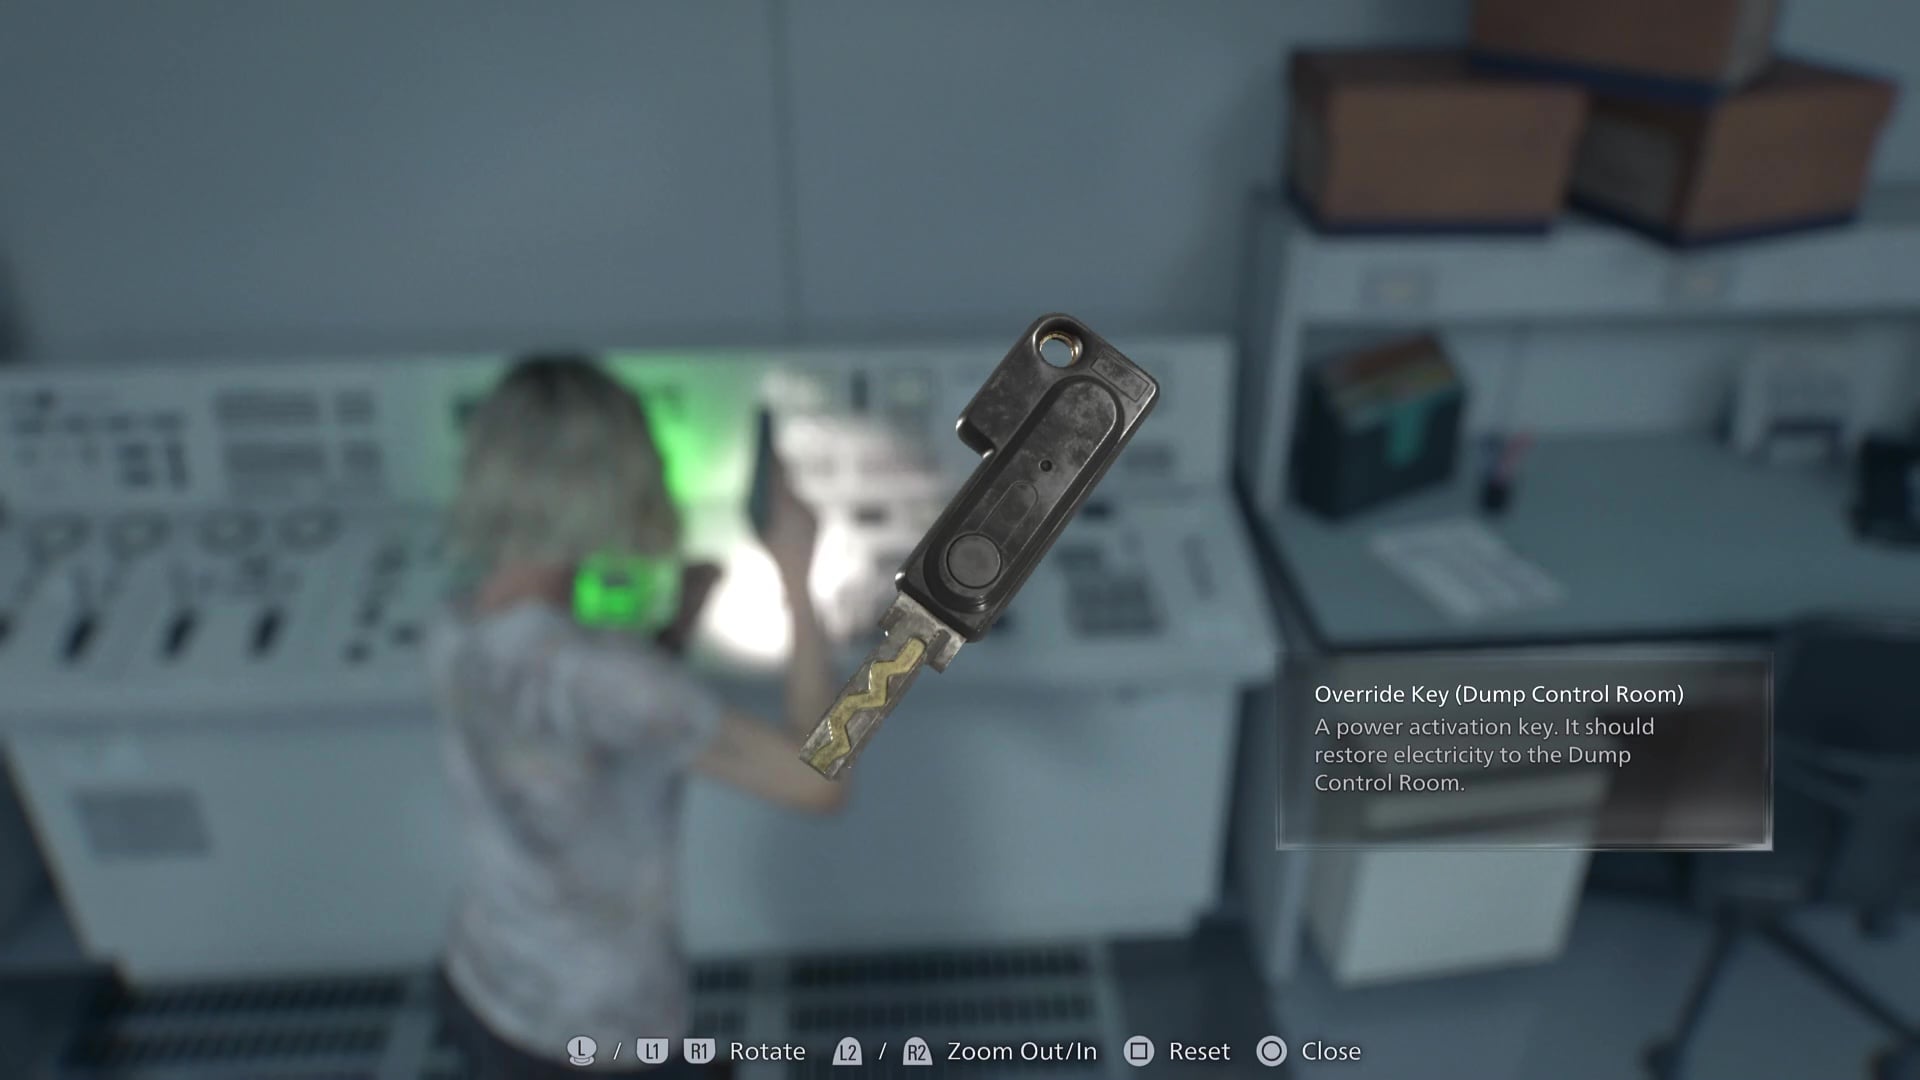
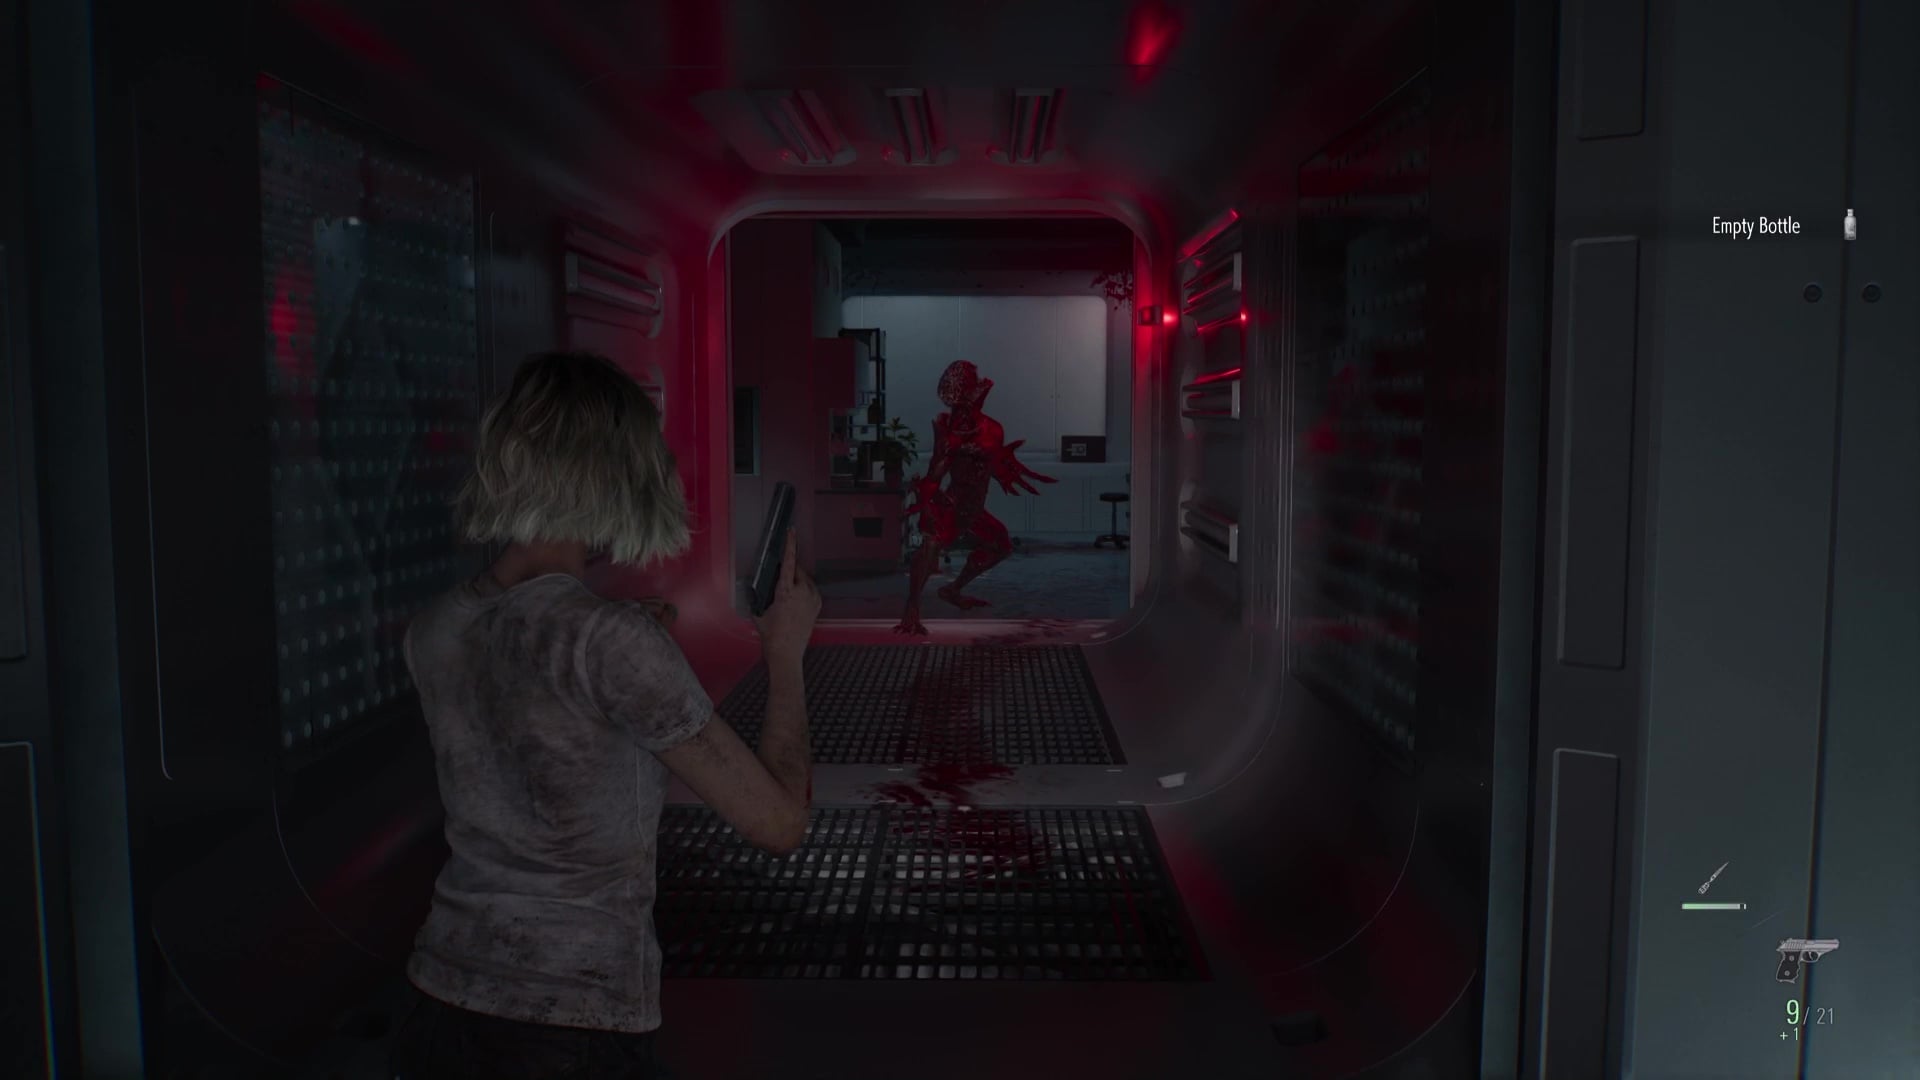
Make your way through to Bioweapon Repository 02, and you’ll see another long hallway – look for Lickers on the ceiling too – with a zombie at the end. That’s the Chemical Storage room, and it’s where you’ll get the Override Key. Everything will go dark once you grab it, and you’ll have to make your way back to the Dump Control Room to use it and free Leon — watch for newly spawned enemies.
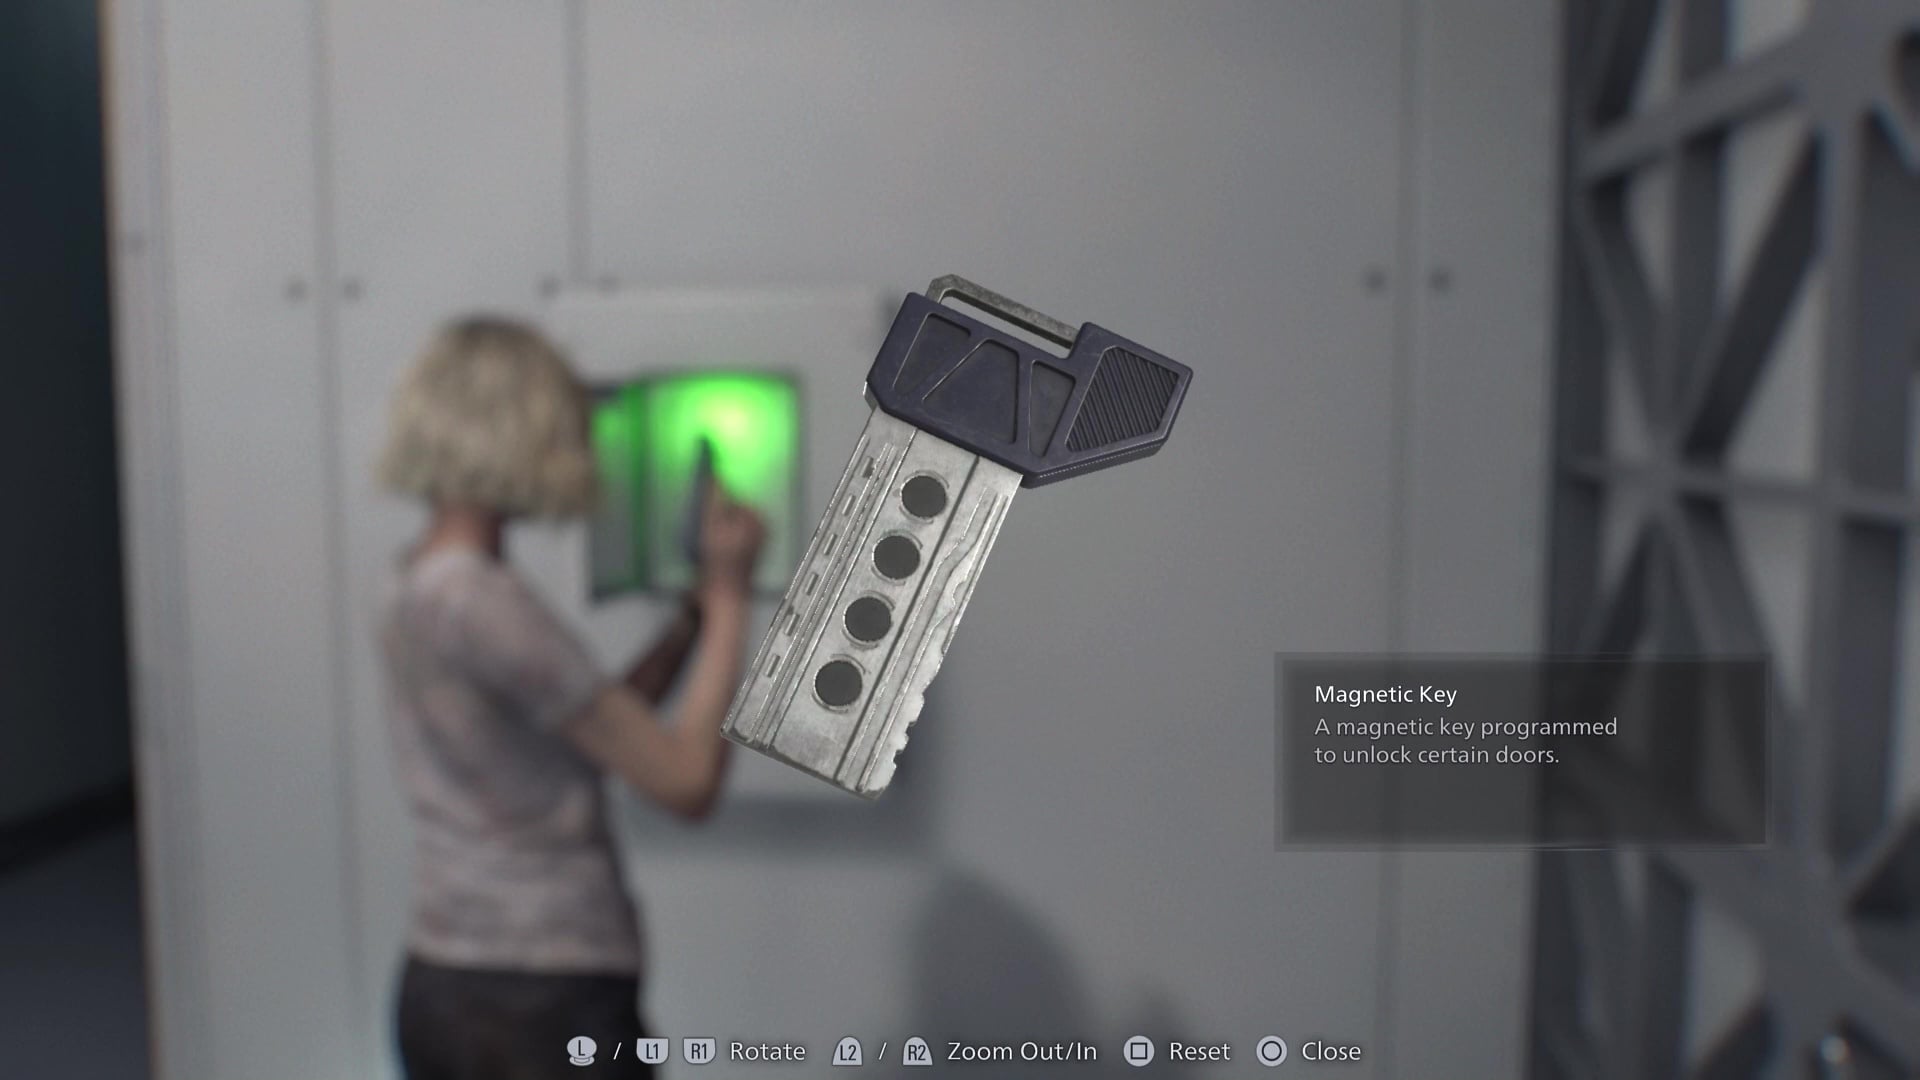
After using the Override Key, it’ll unlock the Magnetic Key on the wall behind you, which will allow you to open the two large sets of double doors you saw previously, one near the typewriter, and the other in Bioweapon Repository 02.
Grace: Animus Orb and Noblesse Orb locations – RE9 Requiem
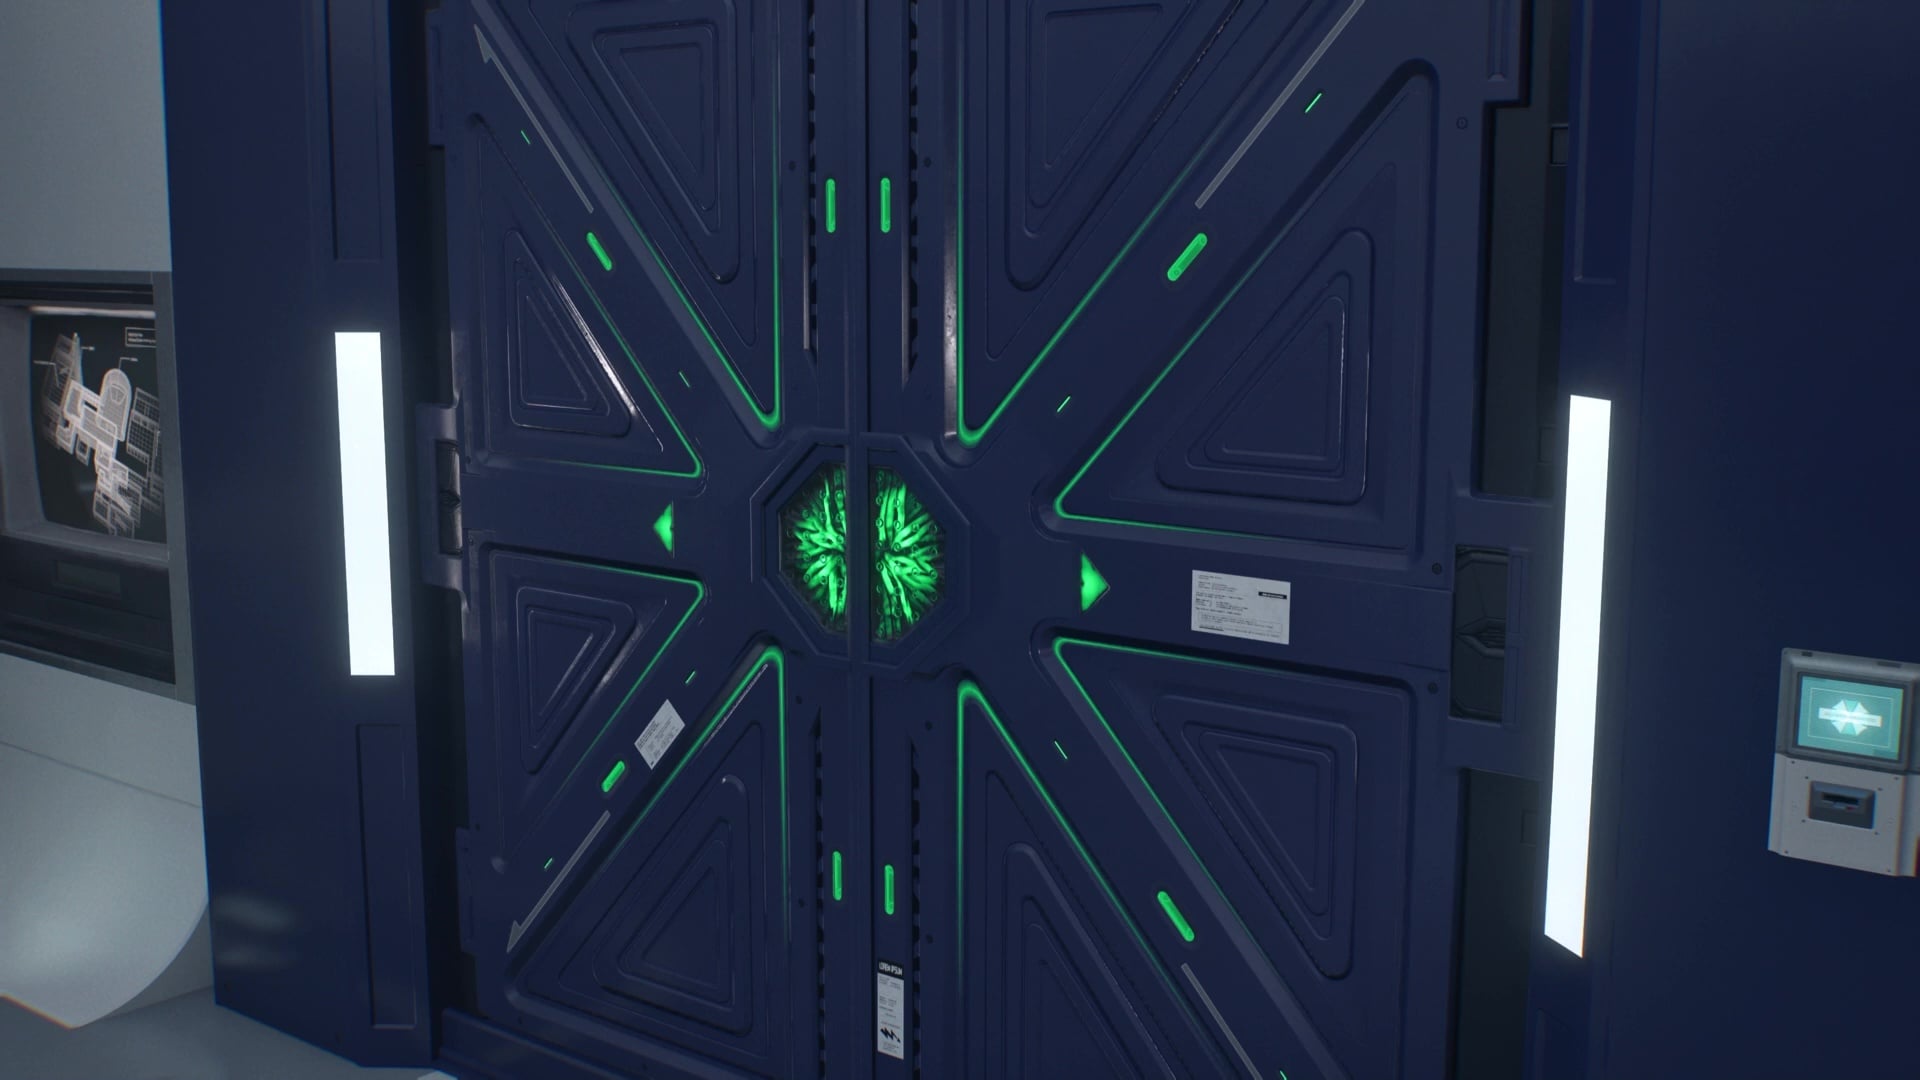
After opening the large door in the Lab Entrance, you’ll find yet another locked door, and this one requires two Orbs to open. Inside is the administrative room and the central refining system.
First, let’s backtrack to Bioweapon Repository 02 — yes, the chances of new enemies appearing are high, and Lickers will chase you almost anywhere in the ARK facility.
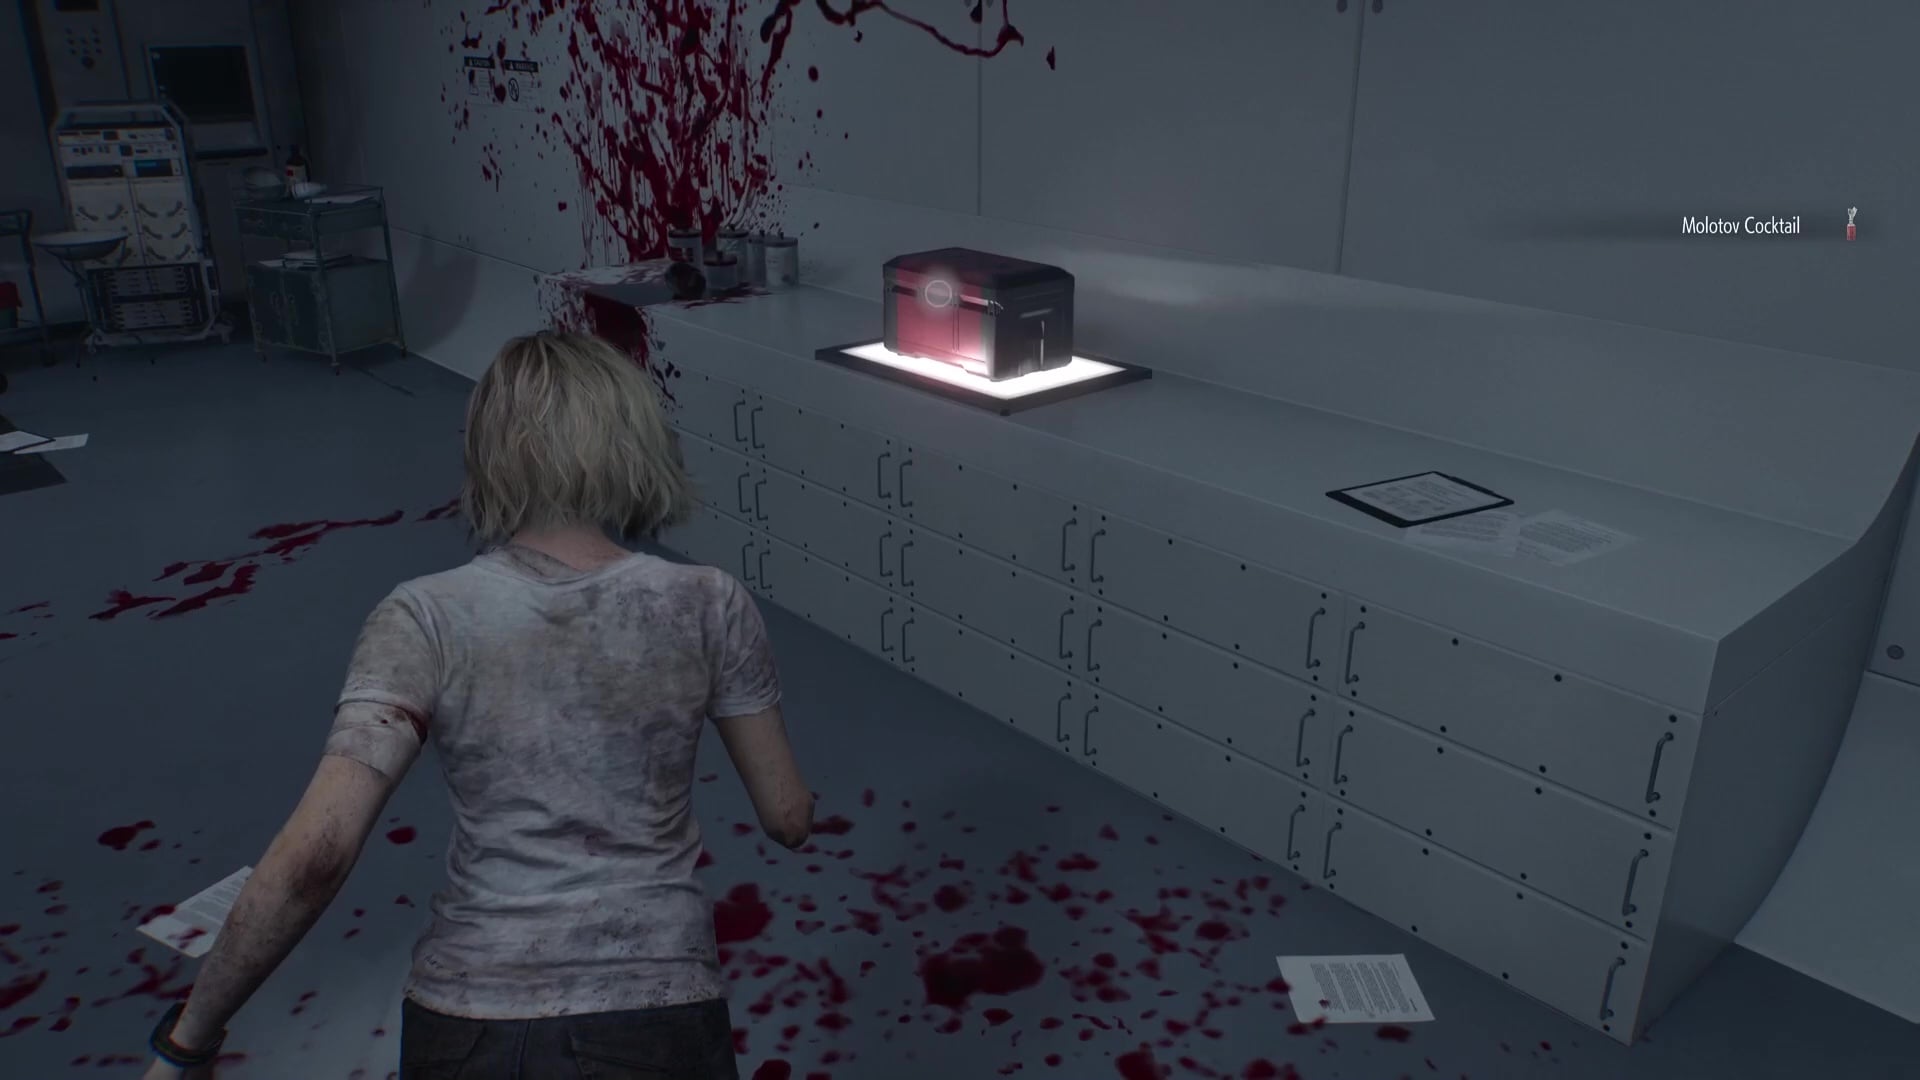
Inside the Cleanroom, you’ll find the red Animus Orb in a chest at the back, and a Molotov Cocktail on a bed nearby. You might need it, as the room will get busy very quickly.
Return to the door to place the red Animus Orb, and now you’ll need a white one. Go down the stairs at the end of this Lobby room, and you’ll have to make your way through Bioweapon Repository 05, which is filled with Lickers and zombies to deal with. You can sneak your way through the room, especially if you have Hemolytic Injectors or Bottles of Acid to spare, but combat is very likely to happen, so prepare yourself.
Once you get across the room and go up the stairs, you’ll find the white Noblesse Orb in a chest at the back of the Operations Room. There’s a typewriter in here, and that’s because things are about to get hairy.
You’ll need to climb a desk and out of a window to get out of this room, and then cross the metal walkway – which has Lickers patrolling it – before dropping back down into the lower level of the Bioweapon Repository 05, before moving back up to the Antechamber and opening up the final locked door. If you still have Bottles of Acid, now is a good time to use them, as there might be more Lickers than you initially expect.
When you finally use both the Animus Orb and Noblesse Orb to open the door, you’ll be able to interact with the desk at the rear of the room to get some lore drops and continue.
Leon: Override Key (Bioweapon Repository 11), calling the Elevator – RE9 Requiem
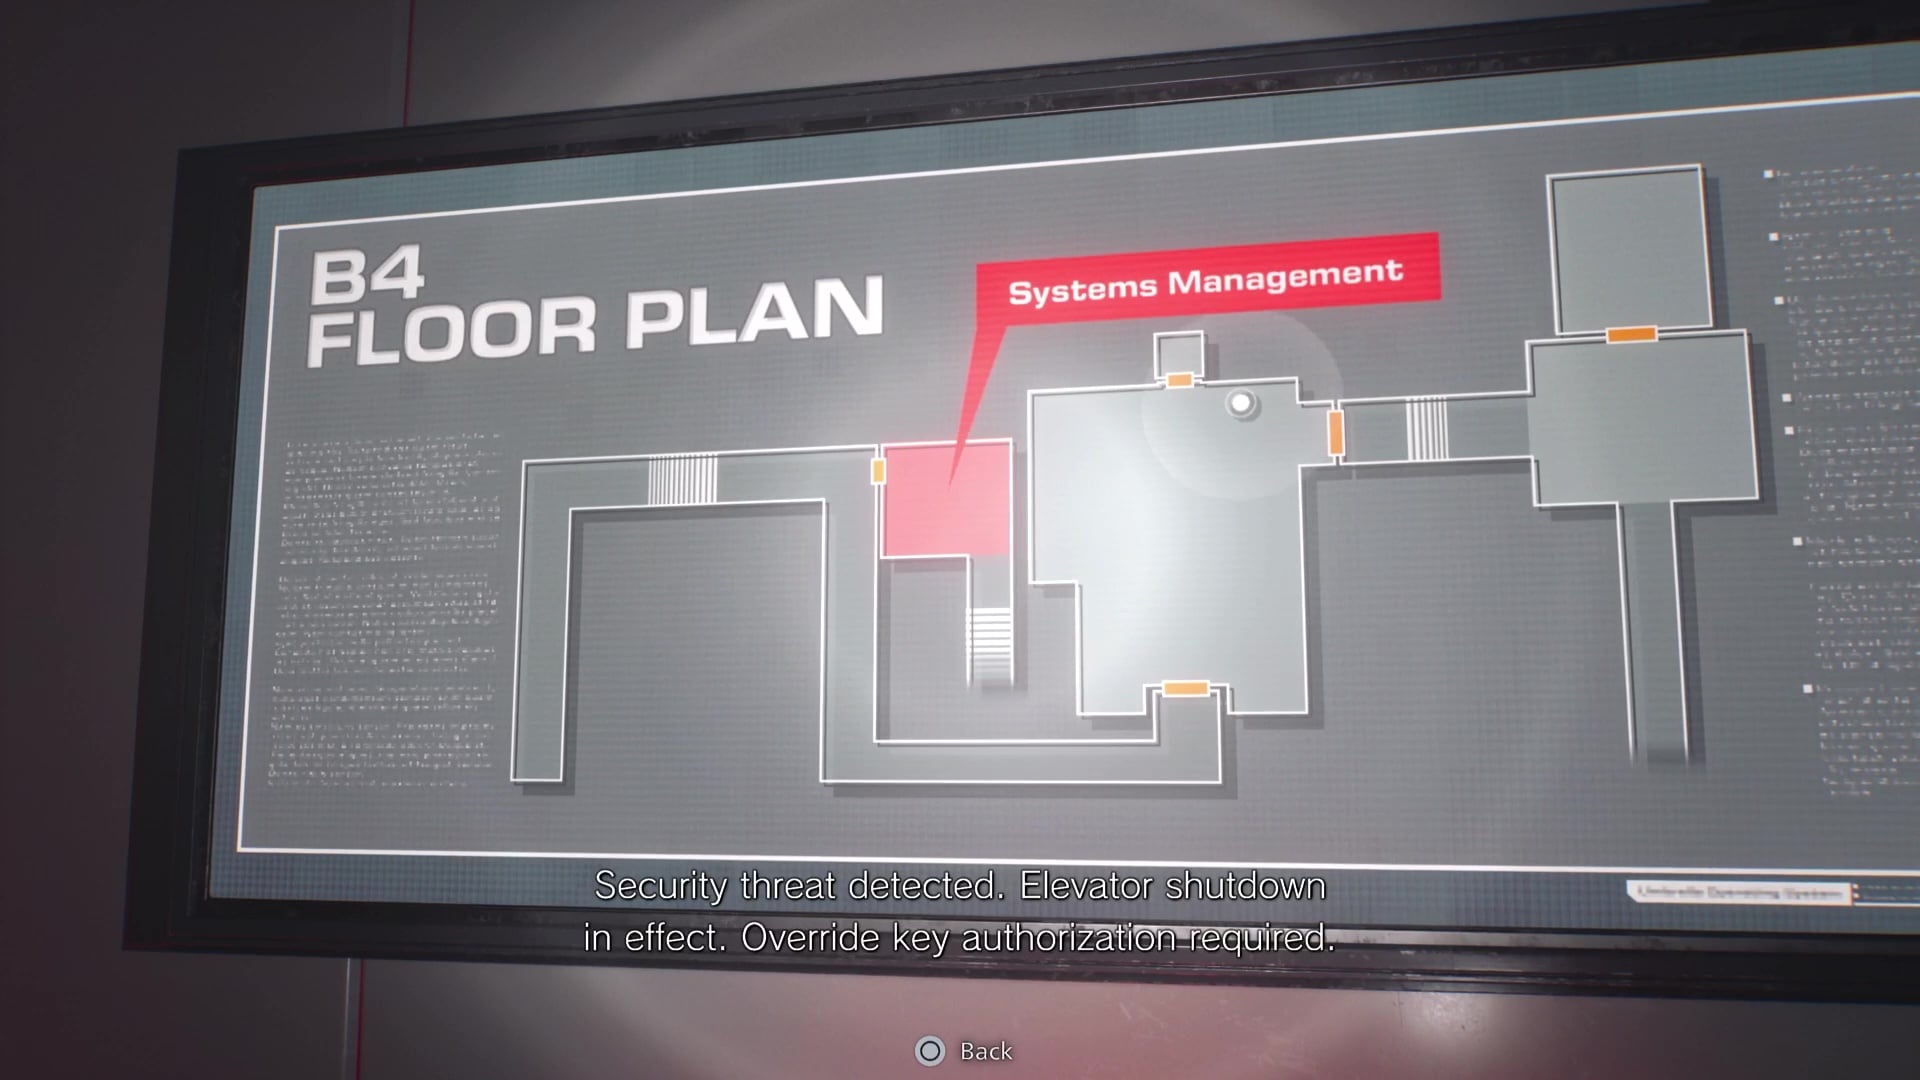
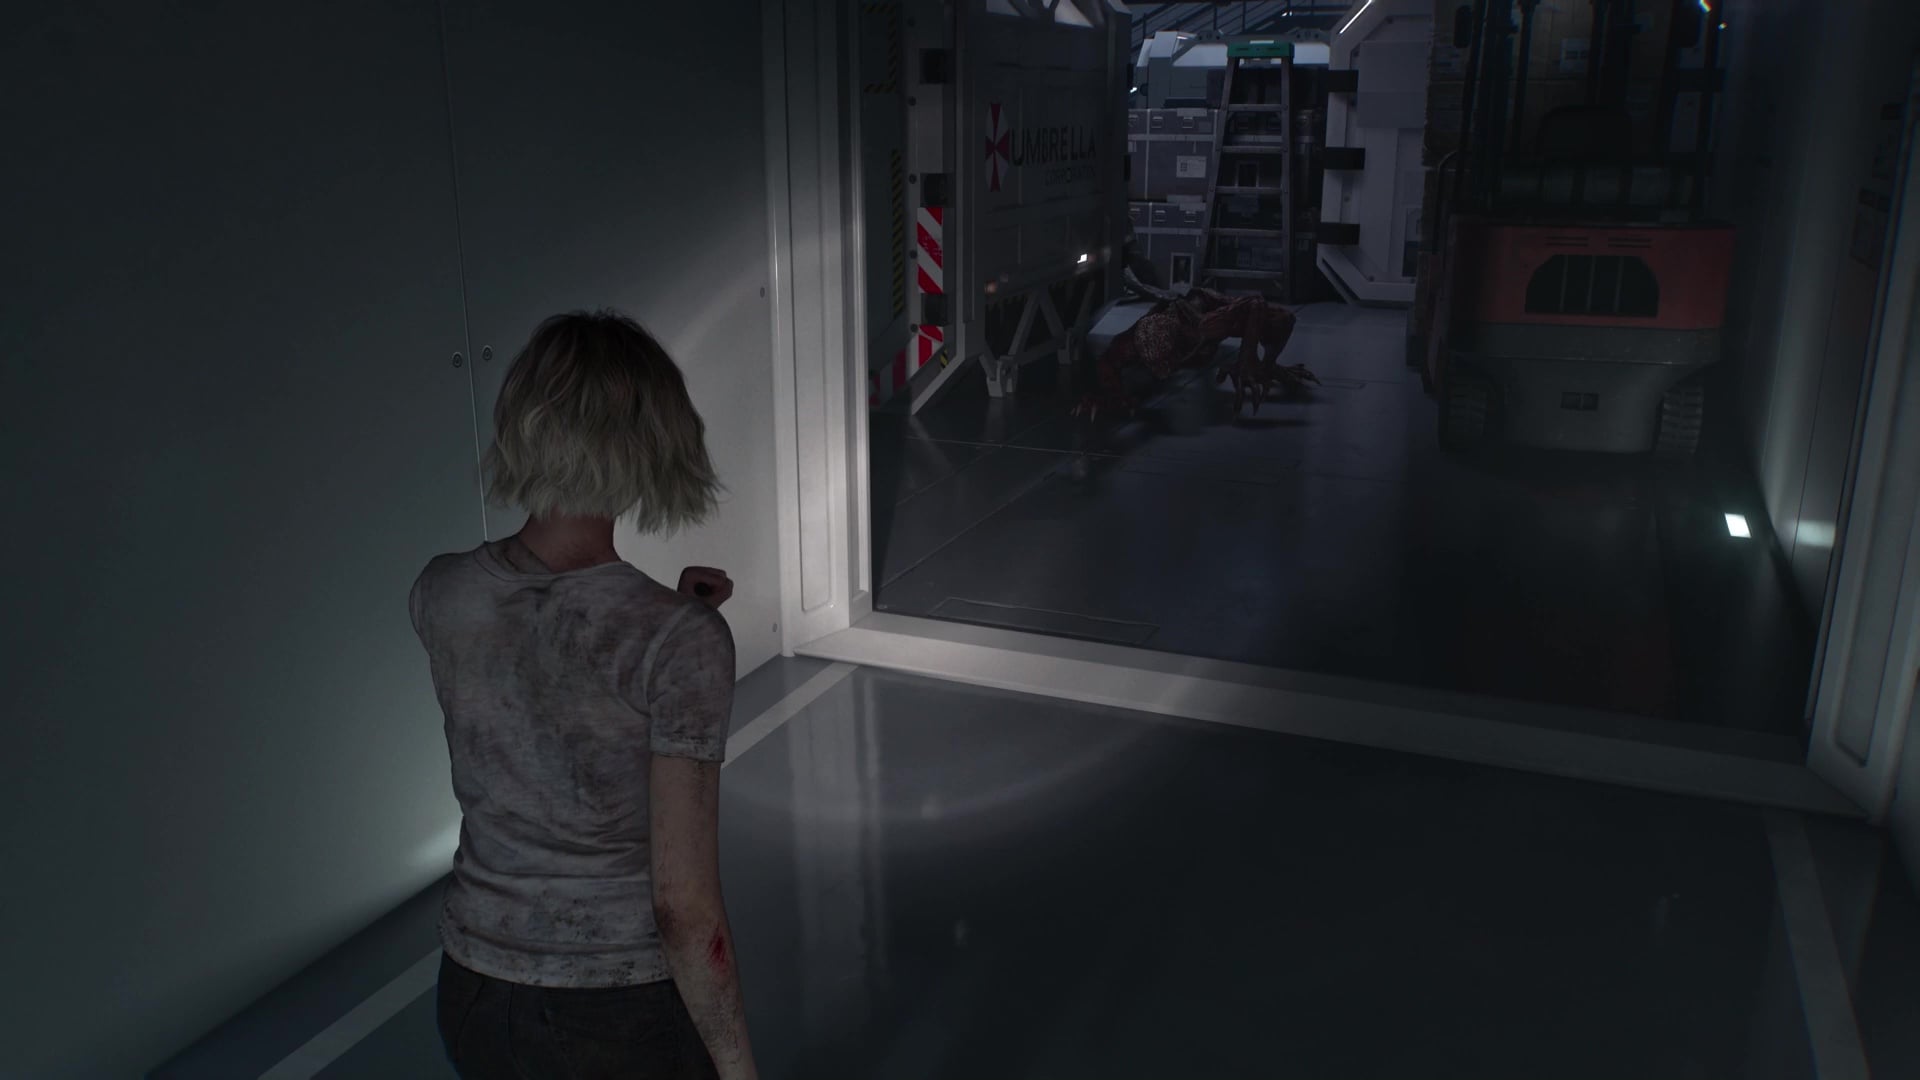
Now it’s Leon’s turn to get back inside ARK and finish the job. He’ll start in the Dump, just as Grace uses the Override Key to remove the machinery blocking his way. Once you climb a ladder to leave, it’s a pretty linear route to find Bioweapon Repository 11. There’s an Elevator in here, but you’ll need an Override Key to activate it, which just happens to be found in the adjacent Bioweapon Repository 12. Lots of imaginative names for rooms in this lab.
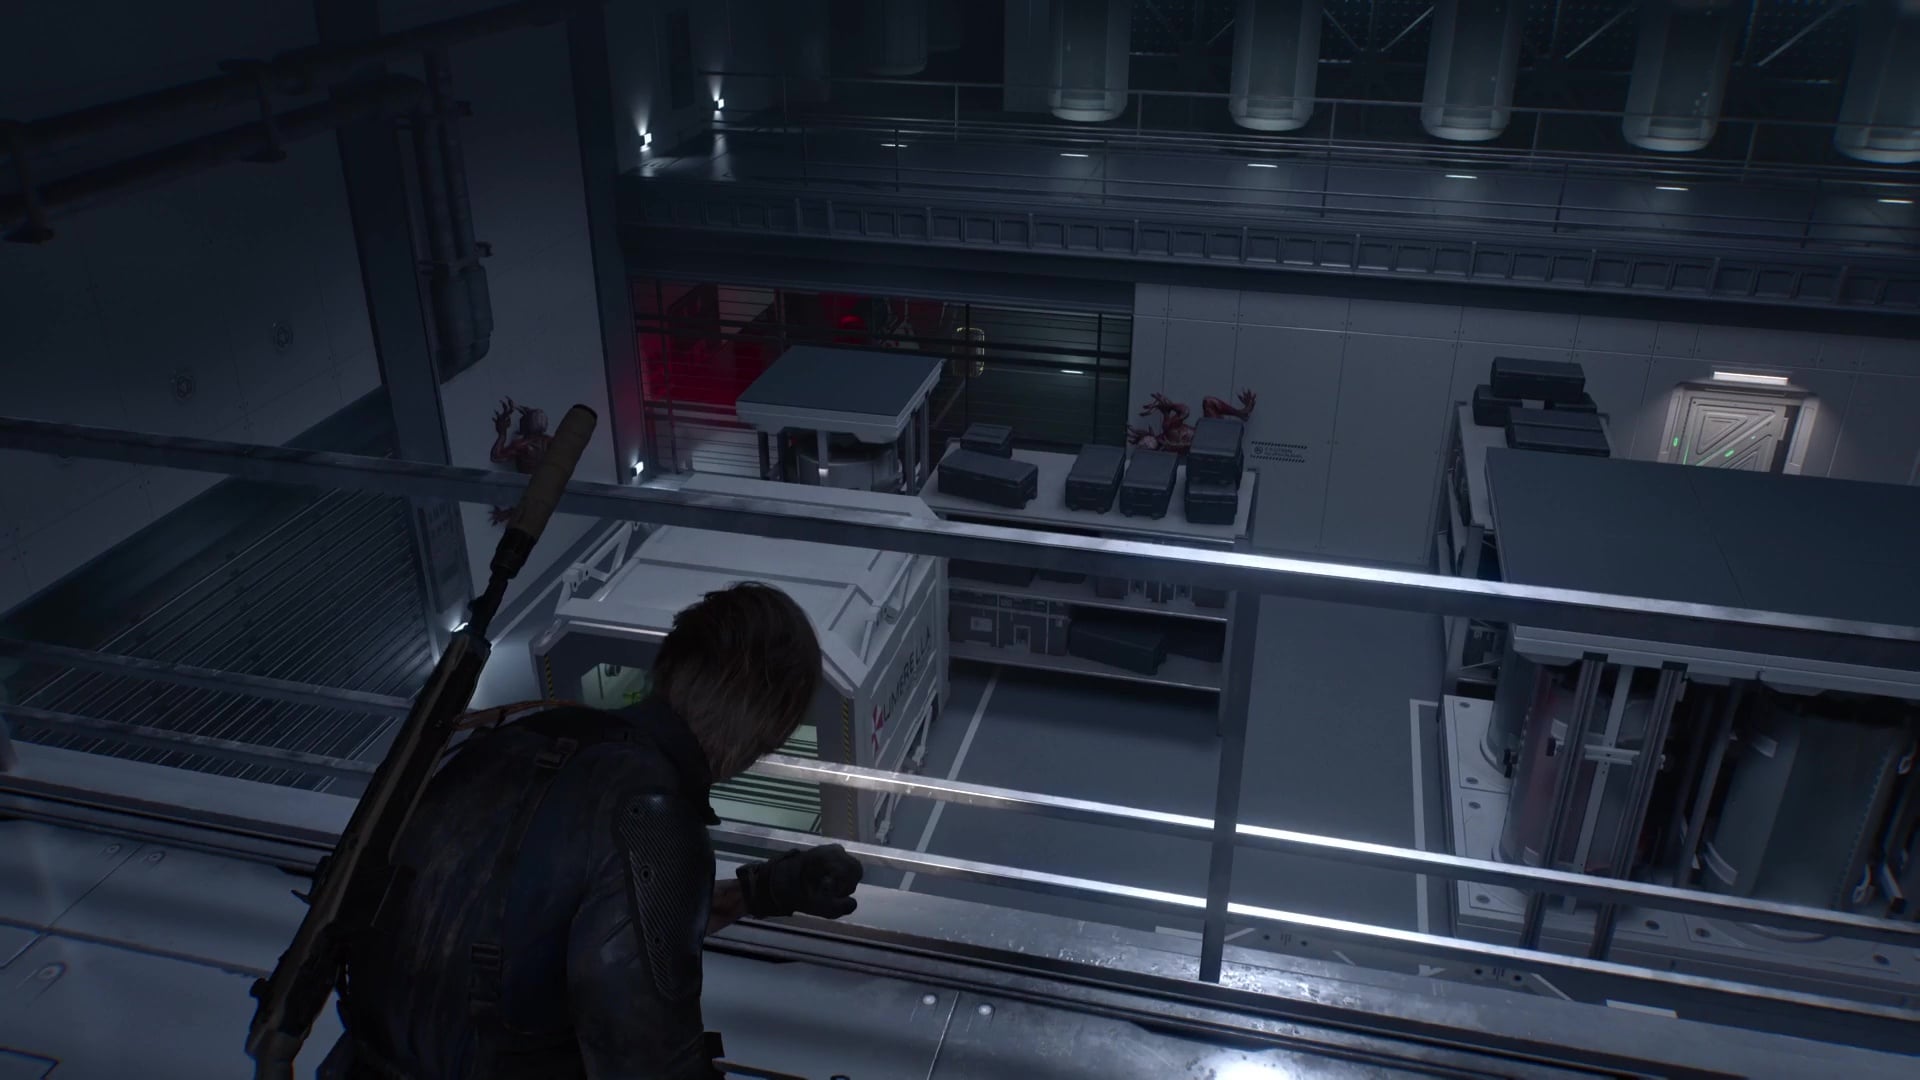
You’ll start on the upper balcony of the BR12, and must make your way around the room and drop down. There are two switches in this room you must hit, but there are a lot of Lickers. The first switch drops down some pods, opening a path directly in front of you to the next room, where there’s another switch, which opens a path to some stairs leading upward.
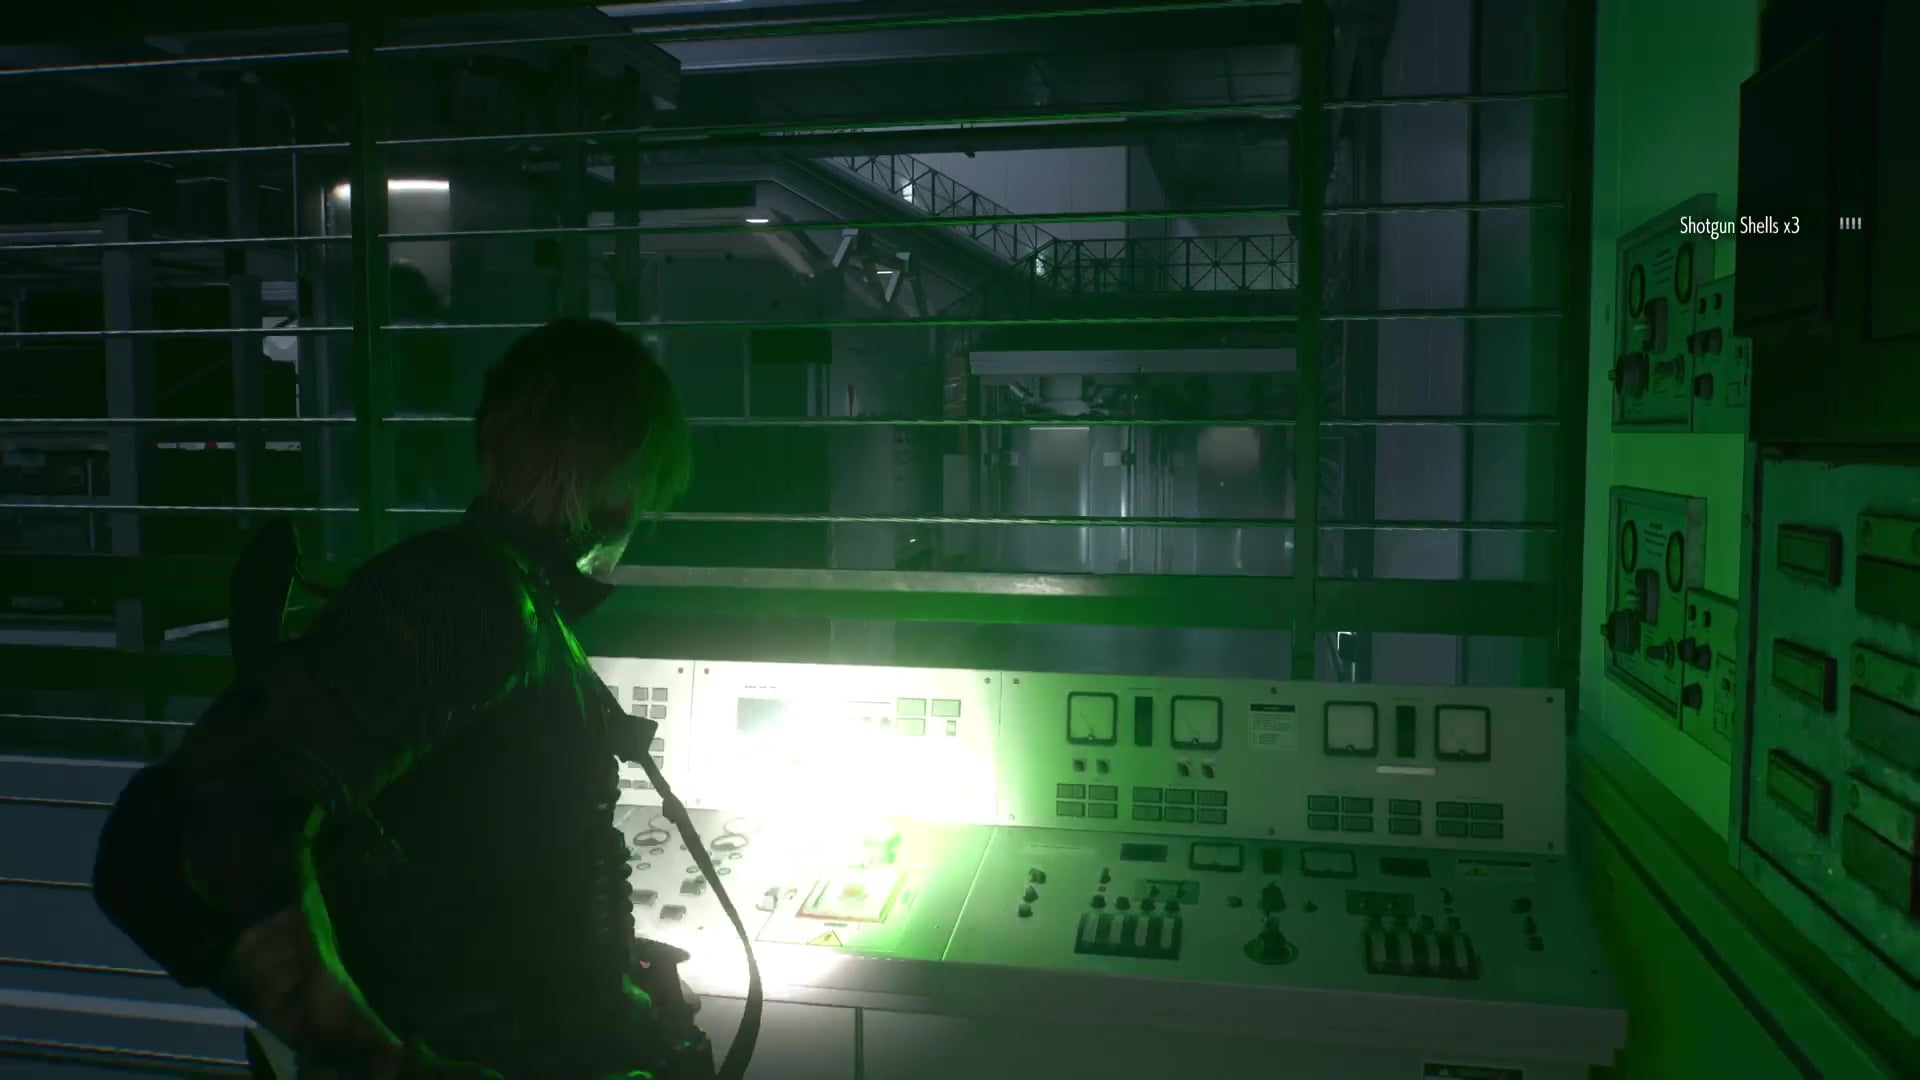
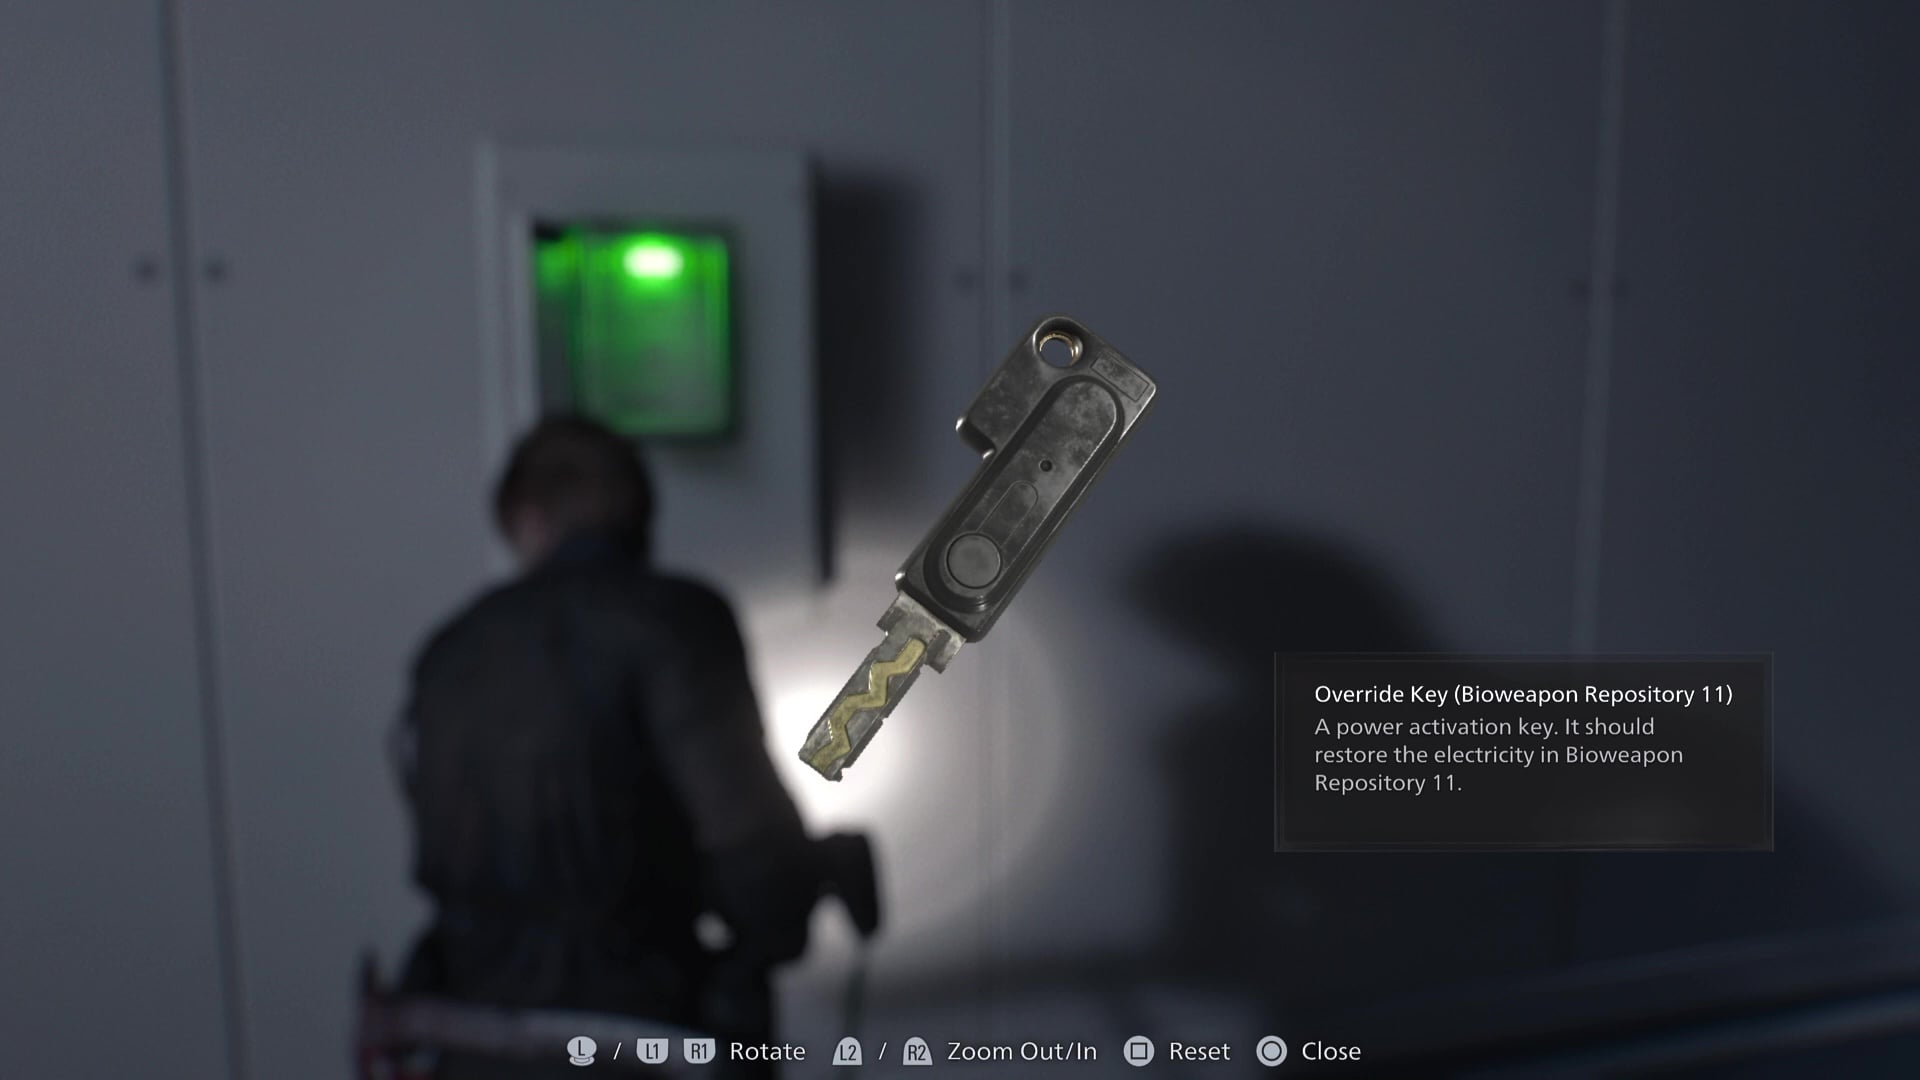
When up the stairs, you’ll find yourself in the locked room near where you started on the balcony. Grab the Override Key (Bioweapon Repository 11) – yes, that really is what it’s called – open the door, and head back to Bioweapon Repository 11.
Back in BR11, you’ll find Lickers on the ceiling. Take them out, use the Override Key, and more zombies will emerge. Defeat all monsters in the room, and the Elevator will finally appear for Leon to escape. Make your way down one final linear corridor, and it’s back to Grace.
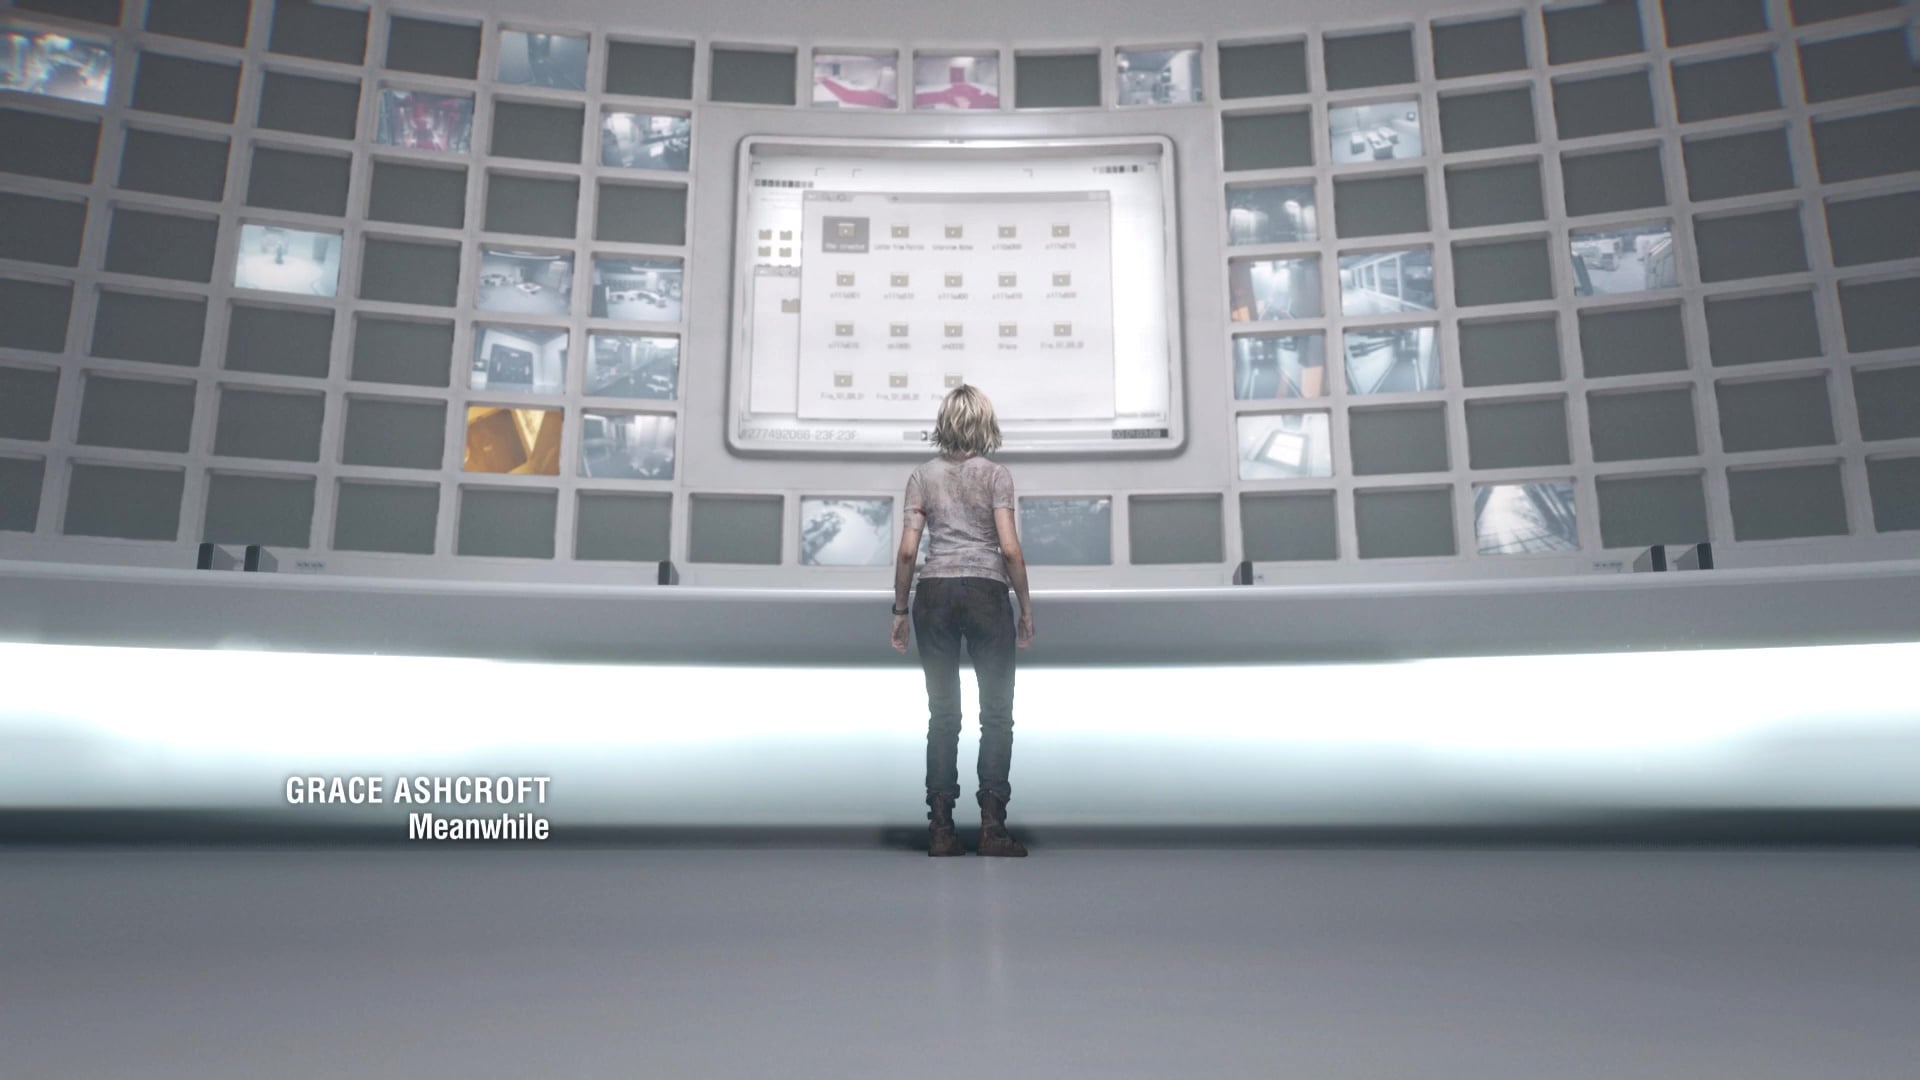
Grace: Save Leon, Destroy or Release Elpis – RE9 Requiem
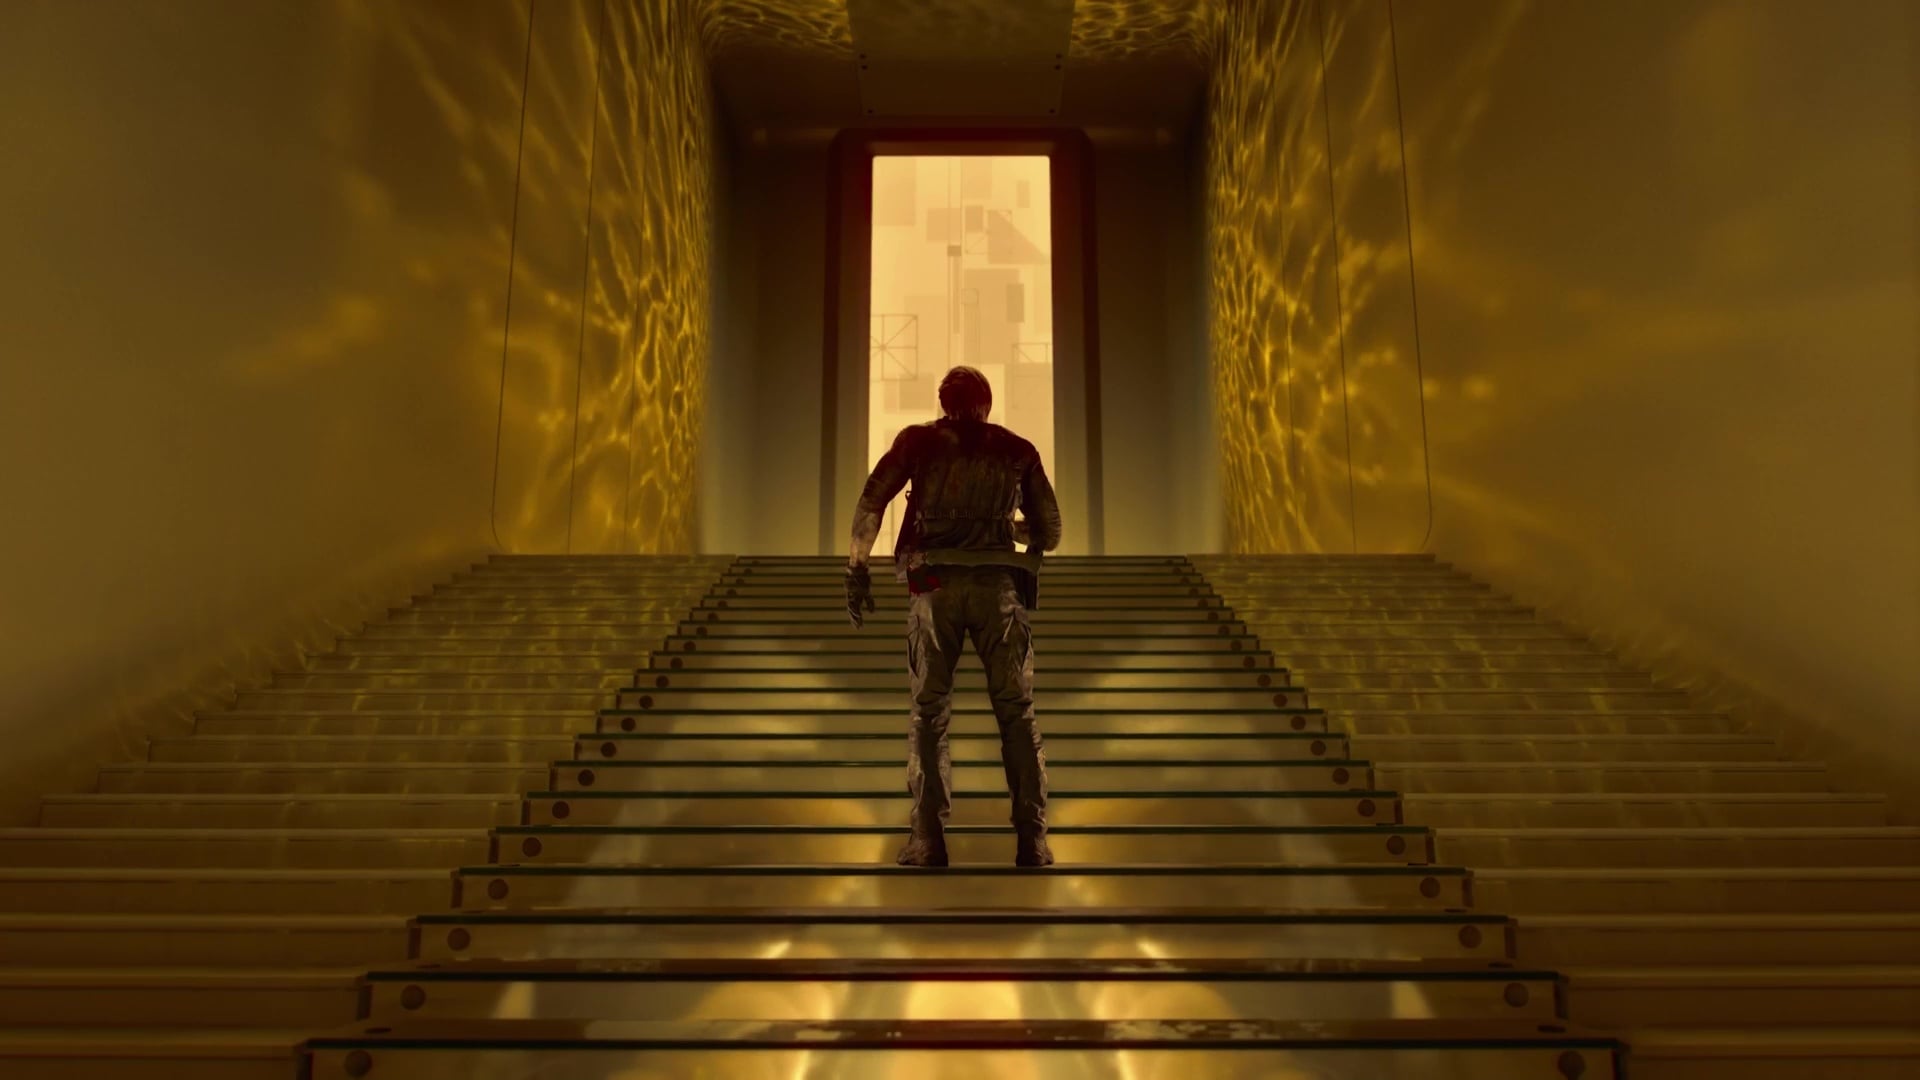
Grace moves on from her lore revelations and finds a mansion-like room to investigate before moving toward Leon via an elevator.
Now comes the game’s big choice: Destroy or Release Elpis. You should do whatever you think is right. There is a “good” and “bad” ending, but you can luckily continue your save game from the main menu and make the opposite choice after finishing, if you want to see how the other option resolves the game.
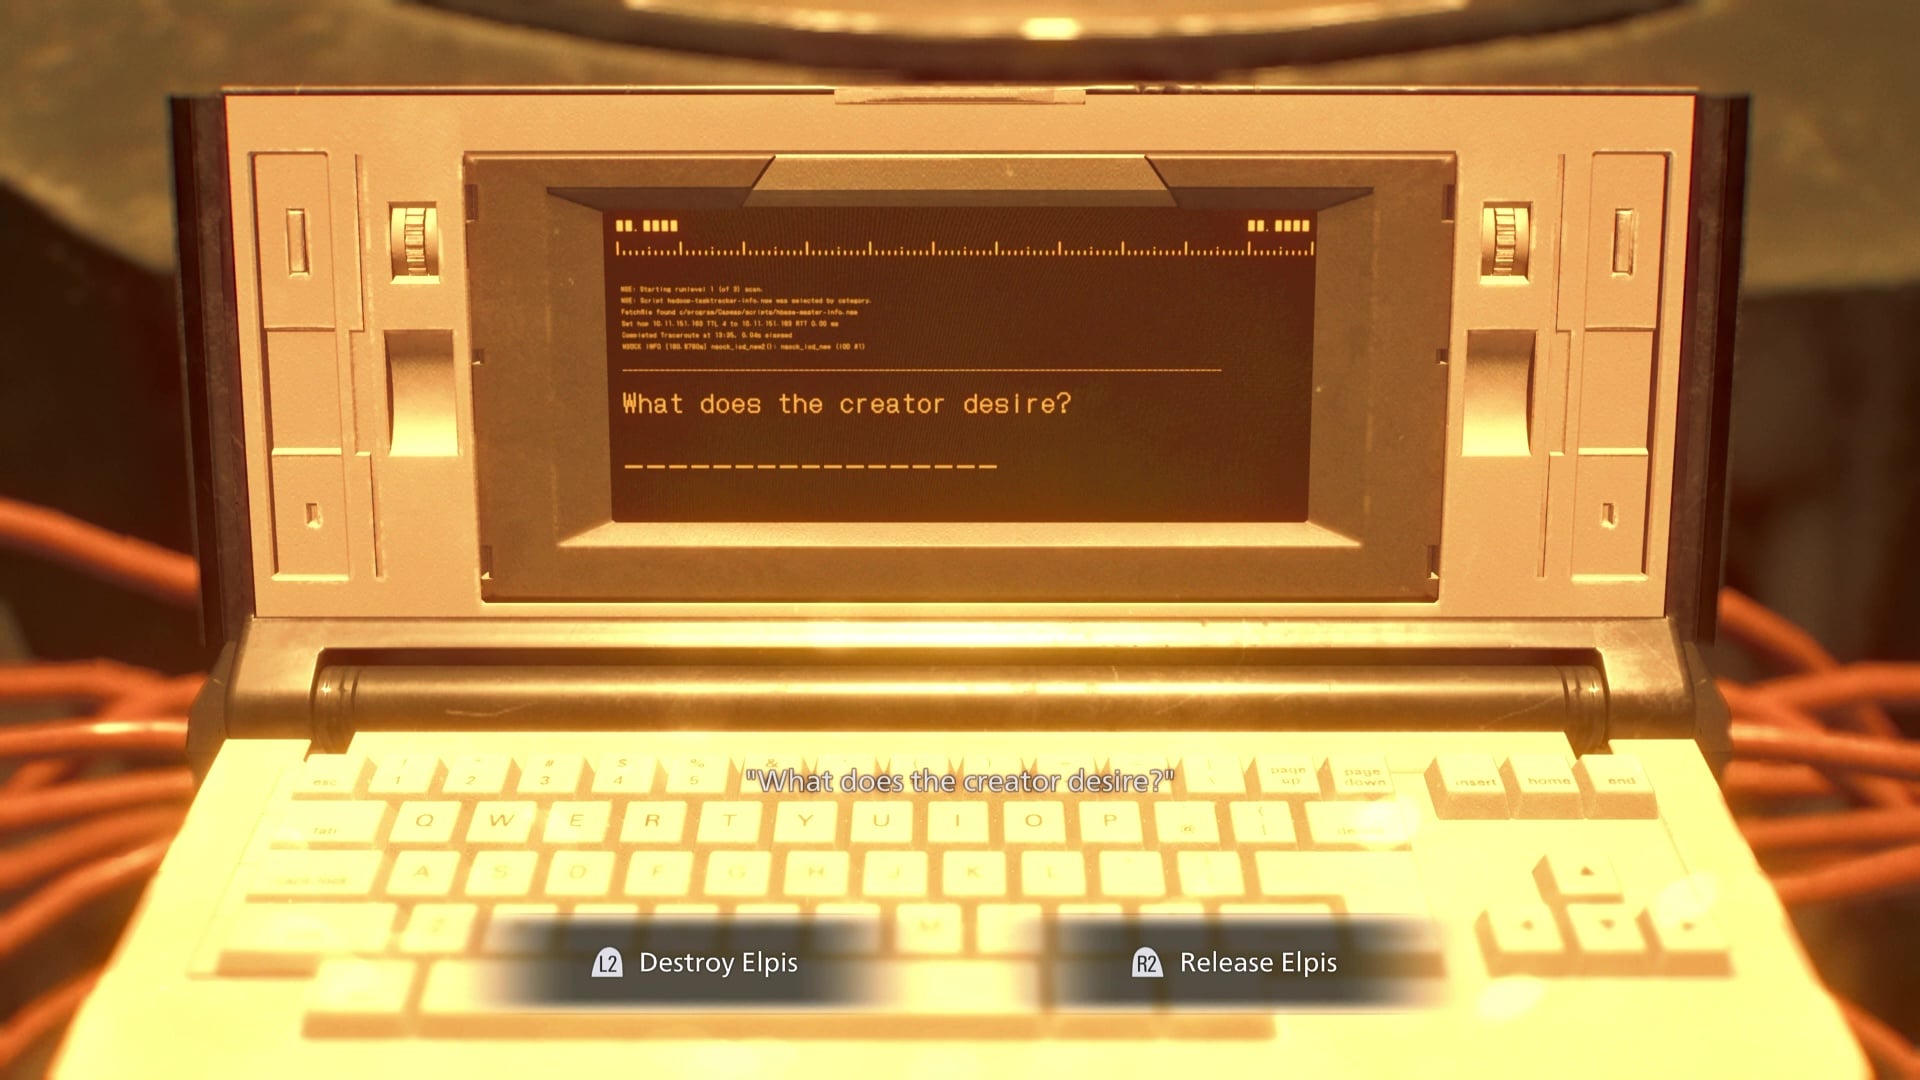
Once you choose the “good” ending, it’s time to fight the final boss.
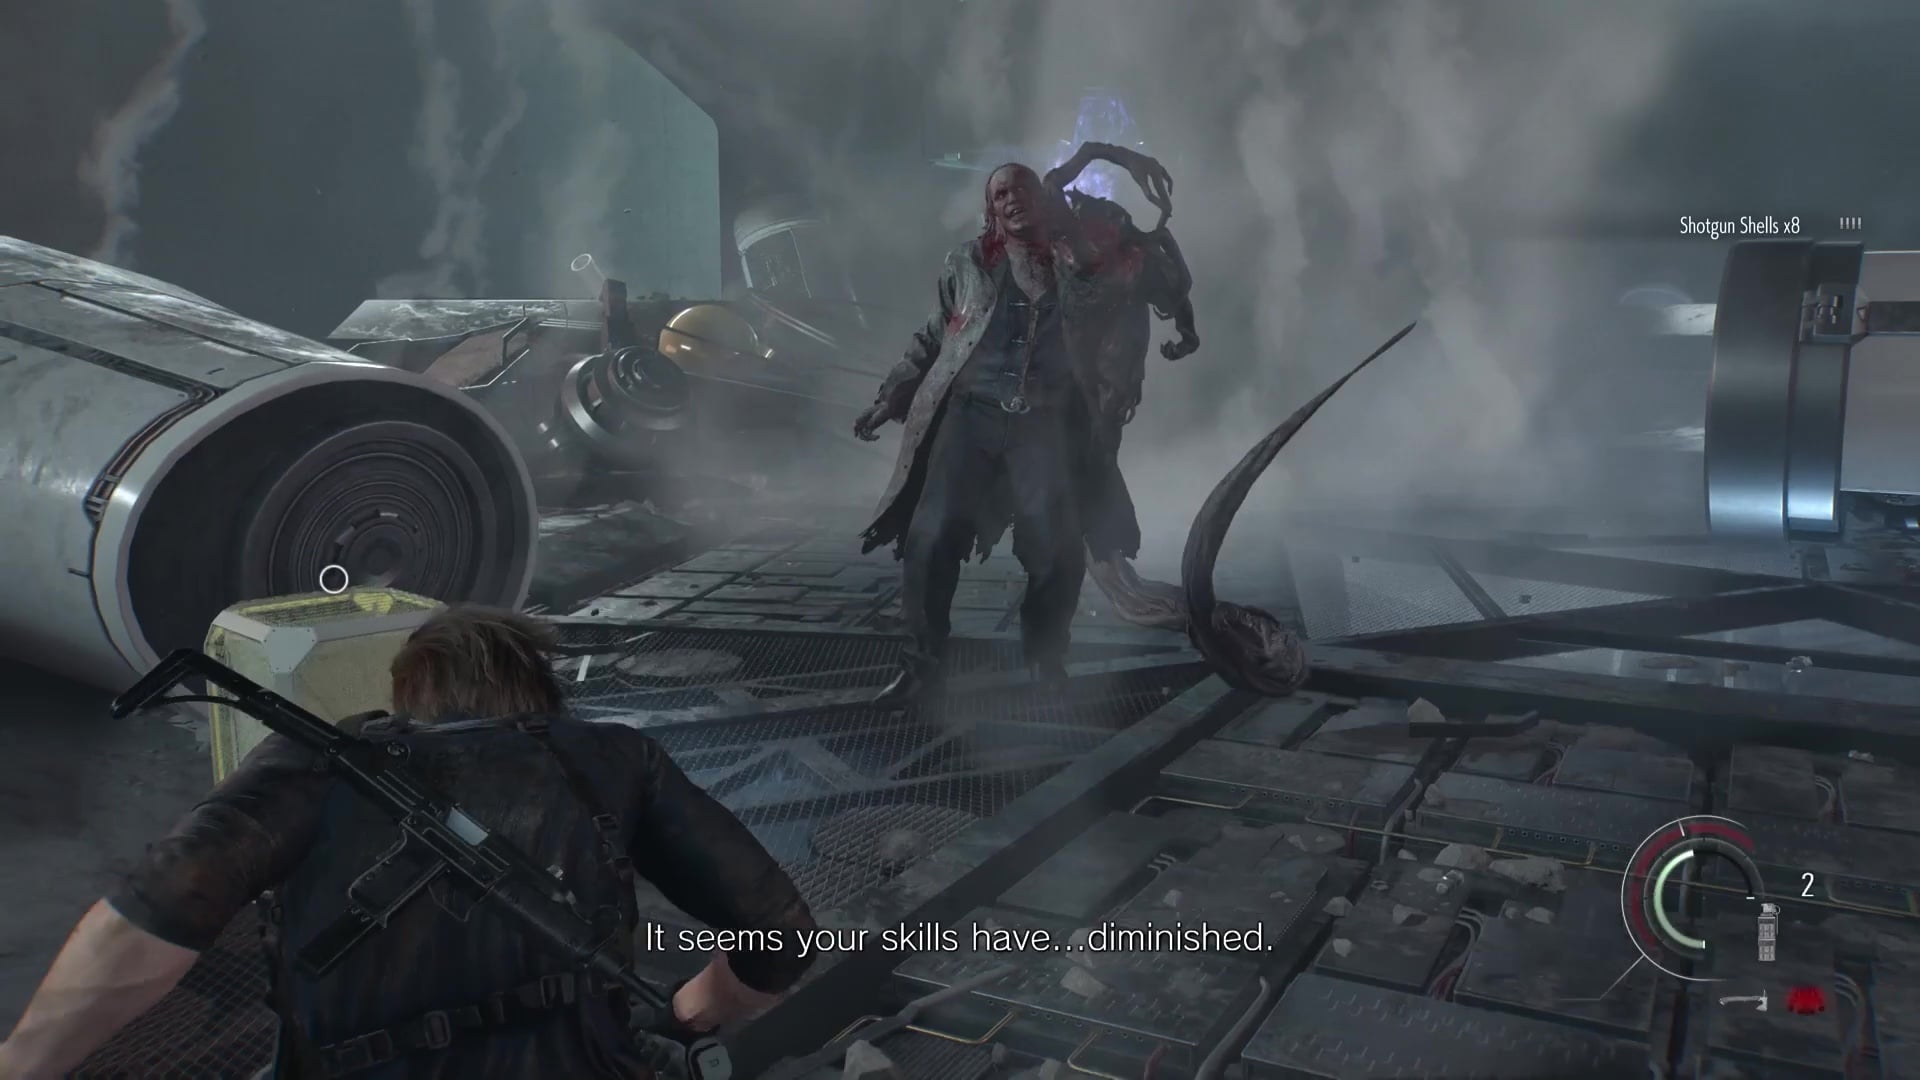
Leon: Victor Gideon boss fight – RE9 Requiem

It’s time to take on the final boss and defeat Dr. Victory Gideon, the man who started all of this chaos back in Wrenwood. This boss battle is broadly similar to Leon’s earlier encounter with the Tyrant. For the most part, you can just focus on shooting him, but he will eventually jump on a platform to charge electricity.

While he’s doing this, you can shoot him, but we will launch an electrical barrage at you after a time, and then perform an electrical dive bomb immediately after. You can’t parry these attacks – only his melee strikes – so you have no choice but to run and avoid them. His trickiest attack is when he jumps in the air and dive bombs you with his tentacle, followed by his body. This attack requires two quick parries to deflect, though you probably won’t have to worry about it much until you hit Insanity mode.
As long as you keep up the intensity, you’ll take him down.
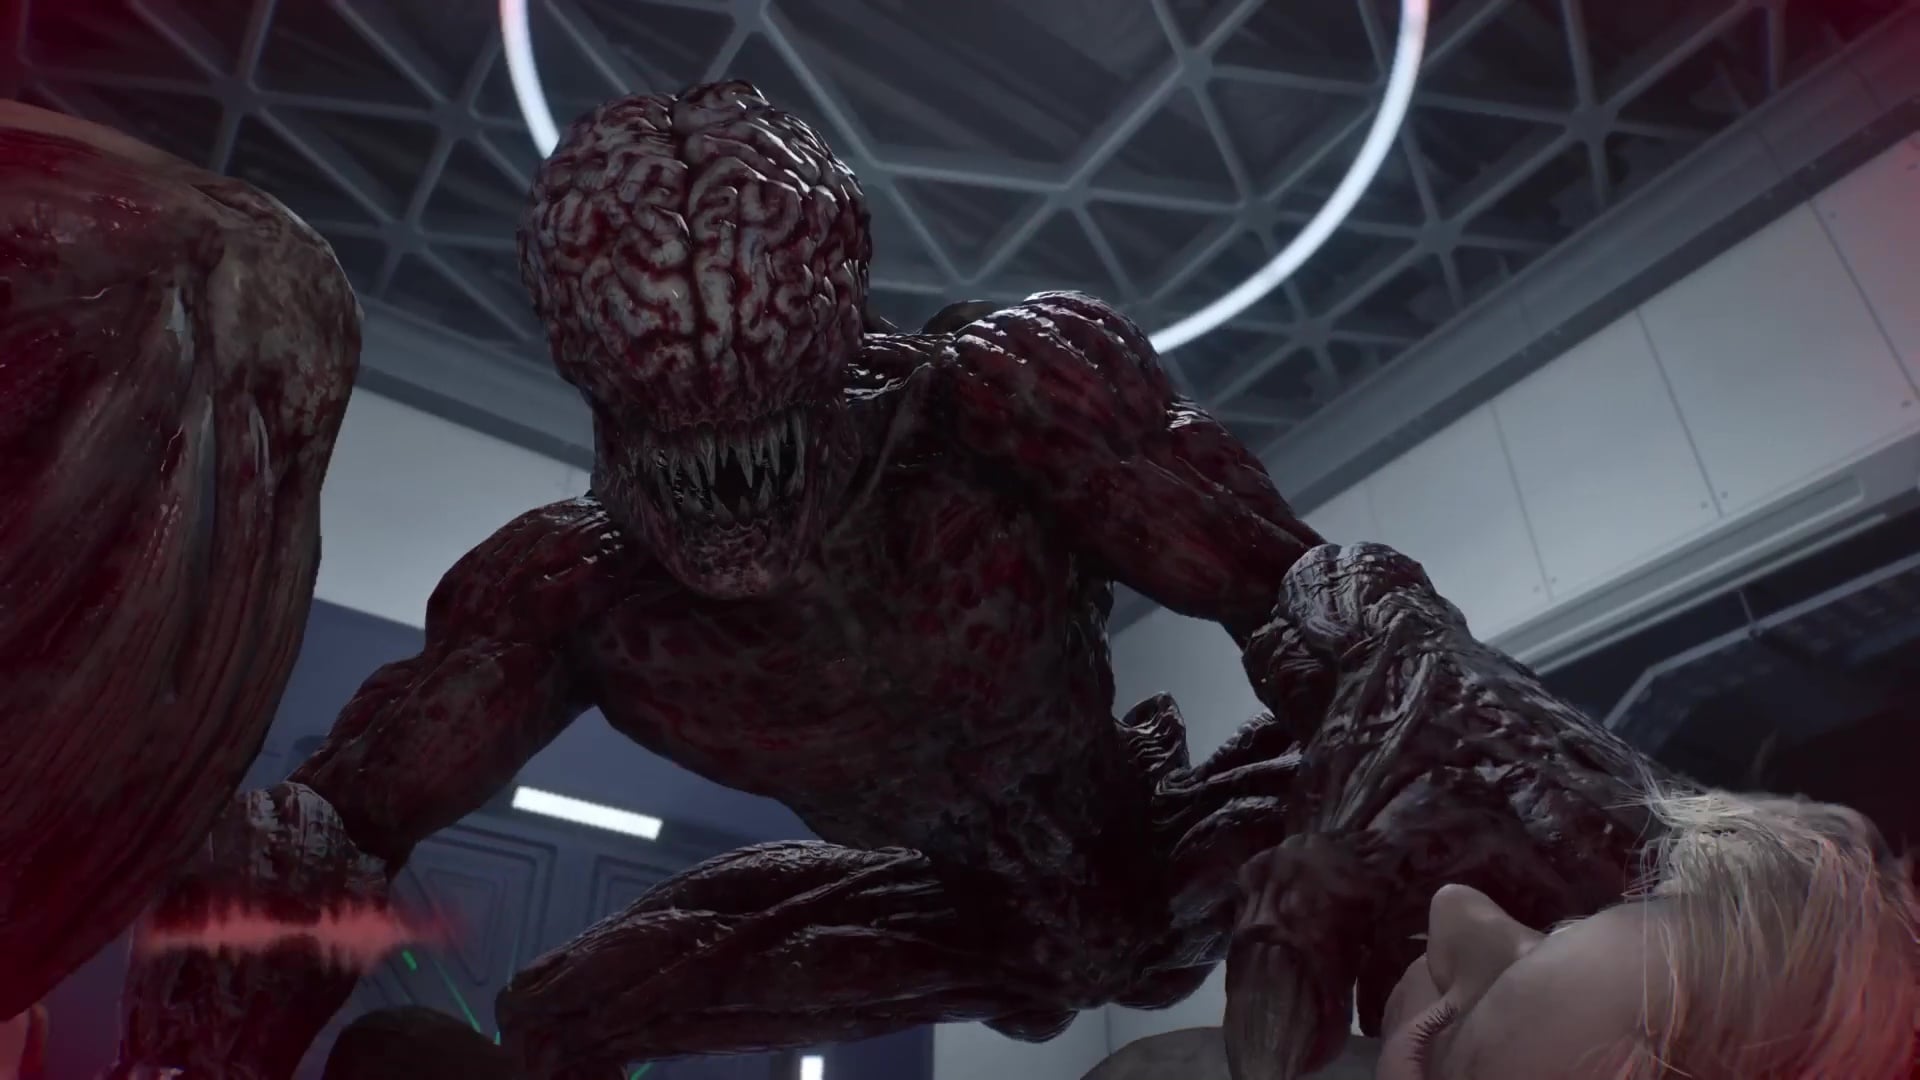
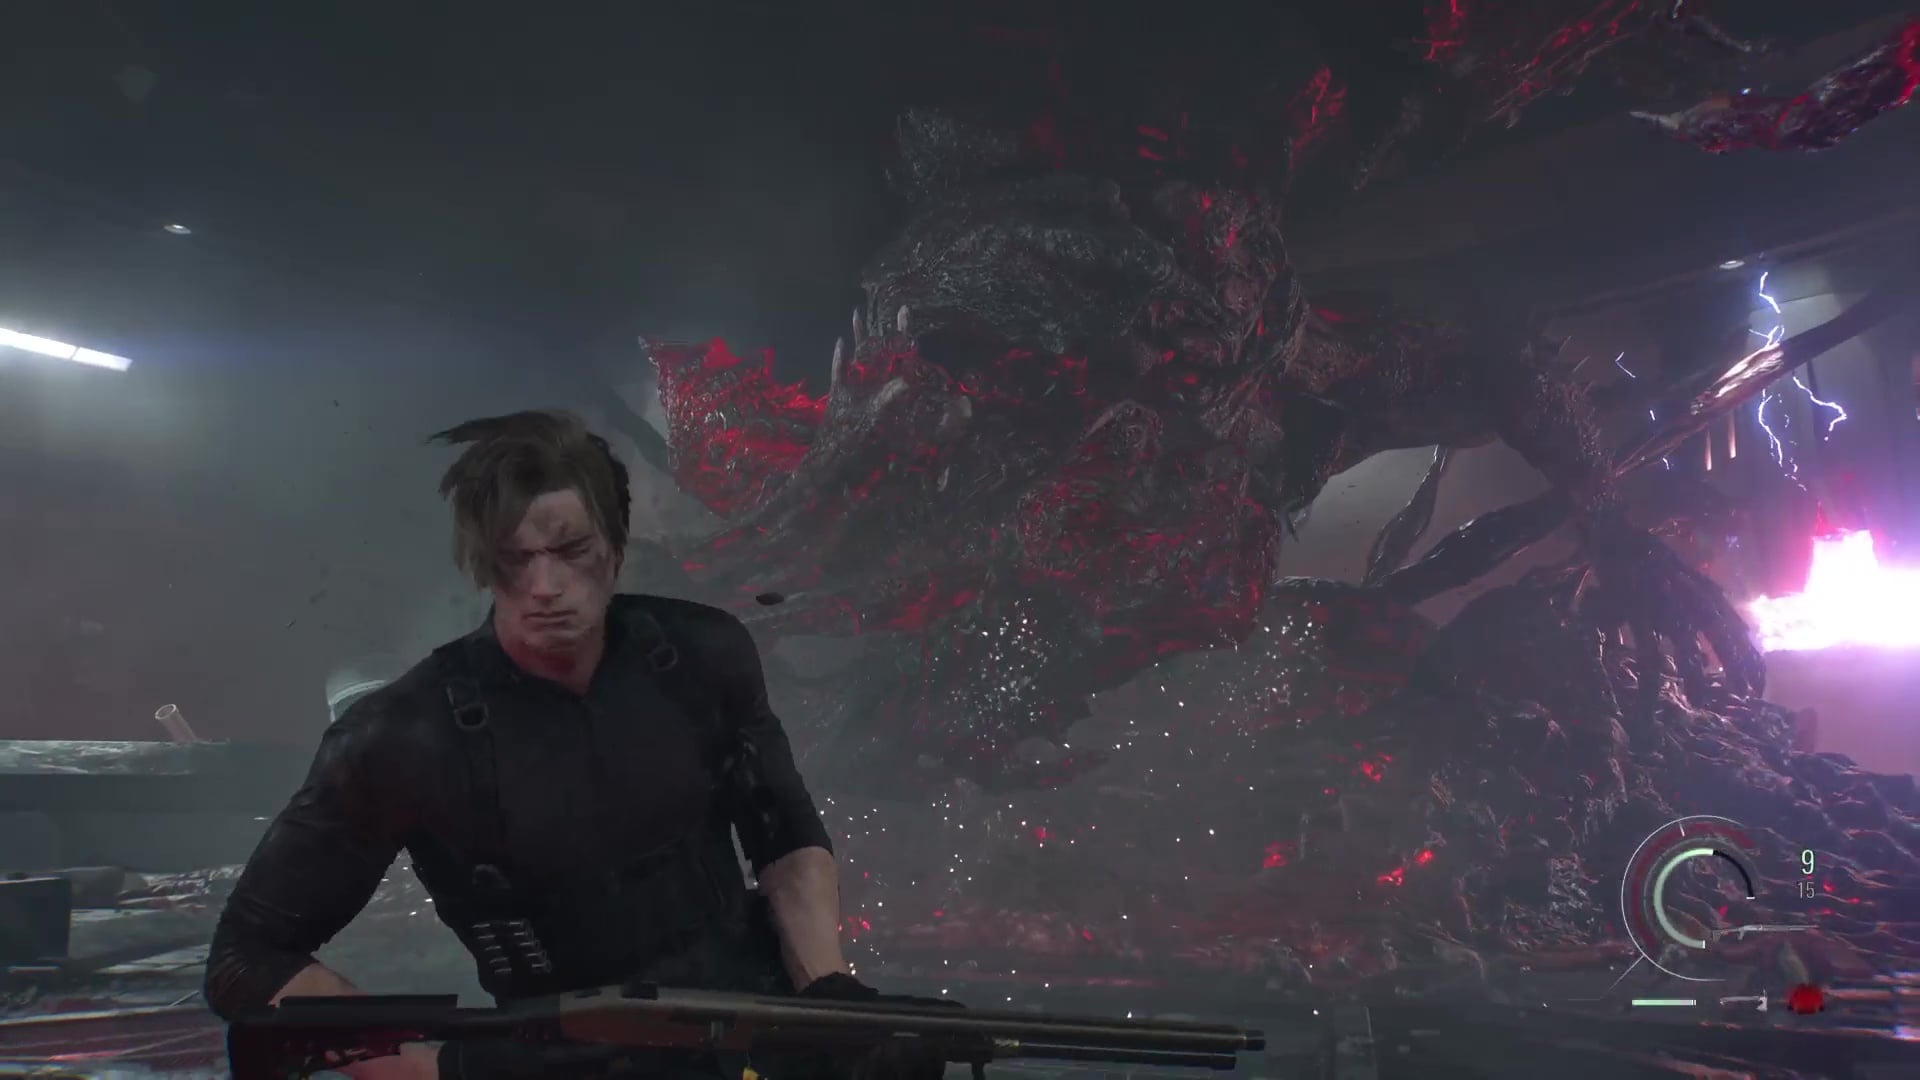
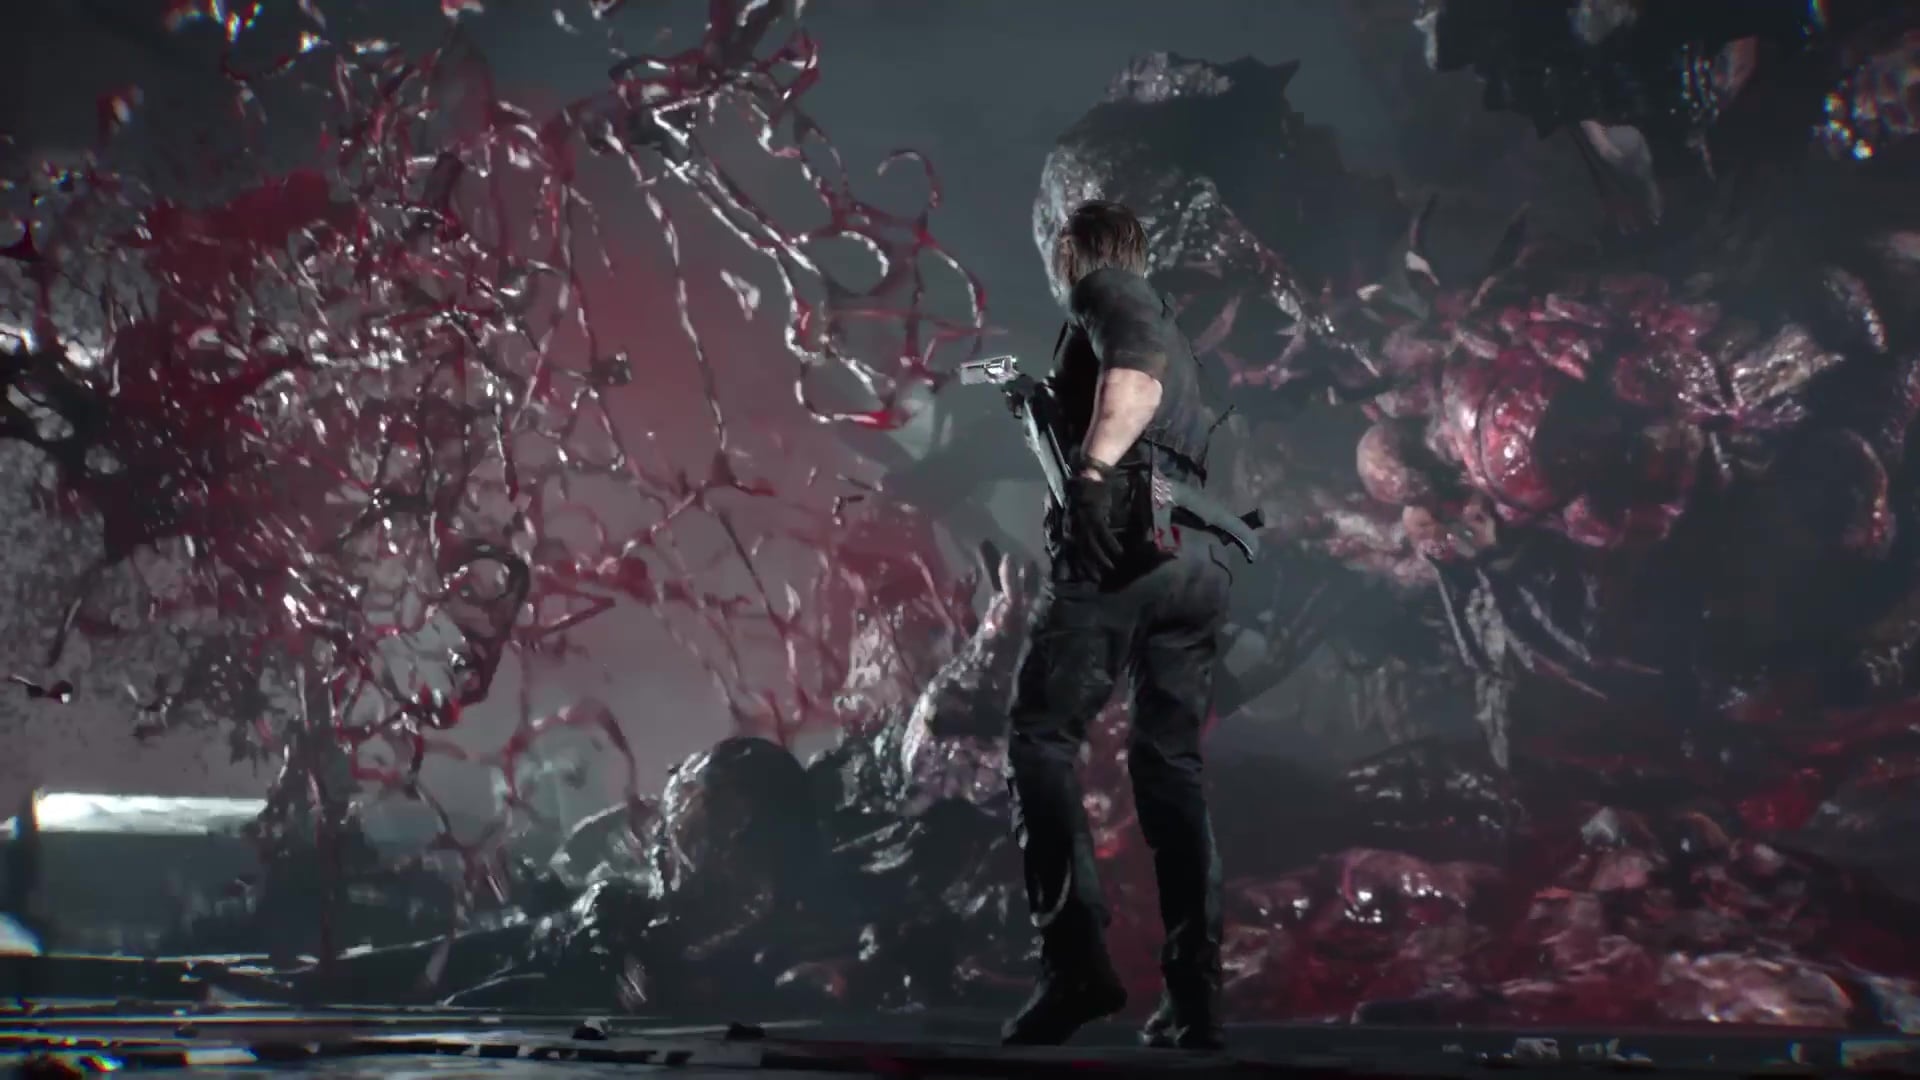
Leon: Nemesis final boss fight – RE9 Requiem
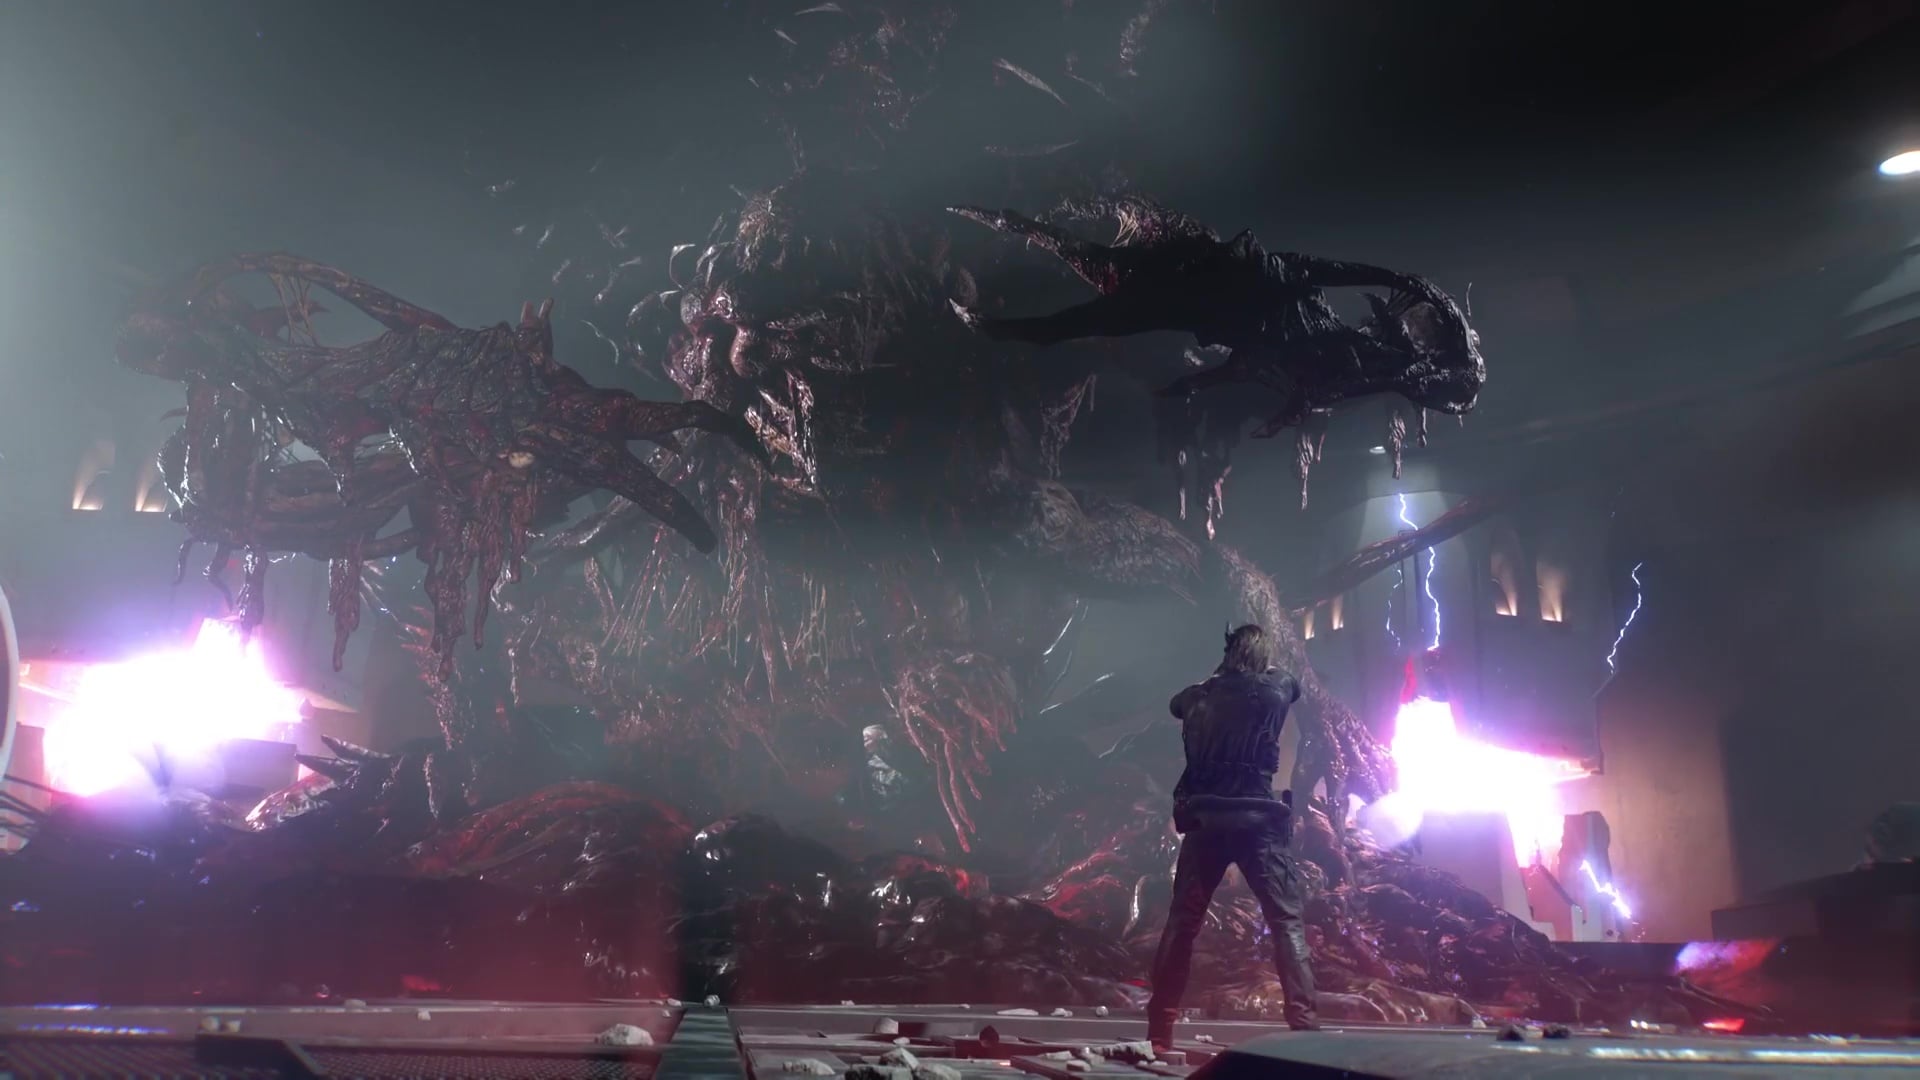
Once you defeat Victory Gideon, he’ll reveal his final monstrous form: he was a Nemesis all along, one implanted with memories and the will to continue Oswell Spencer’s legacy. Now that he’s going monster mode, it’s the true final battle, and you know what that means: shooting the pulsating blobs.
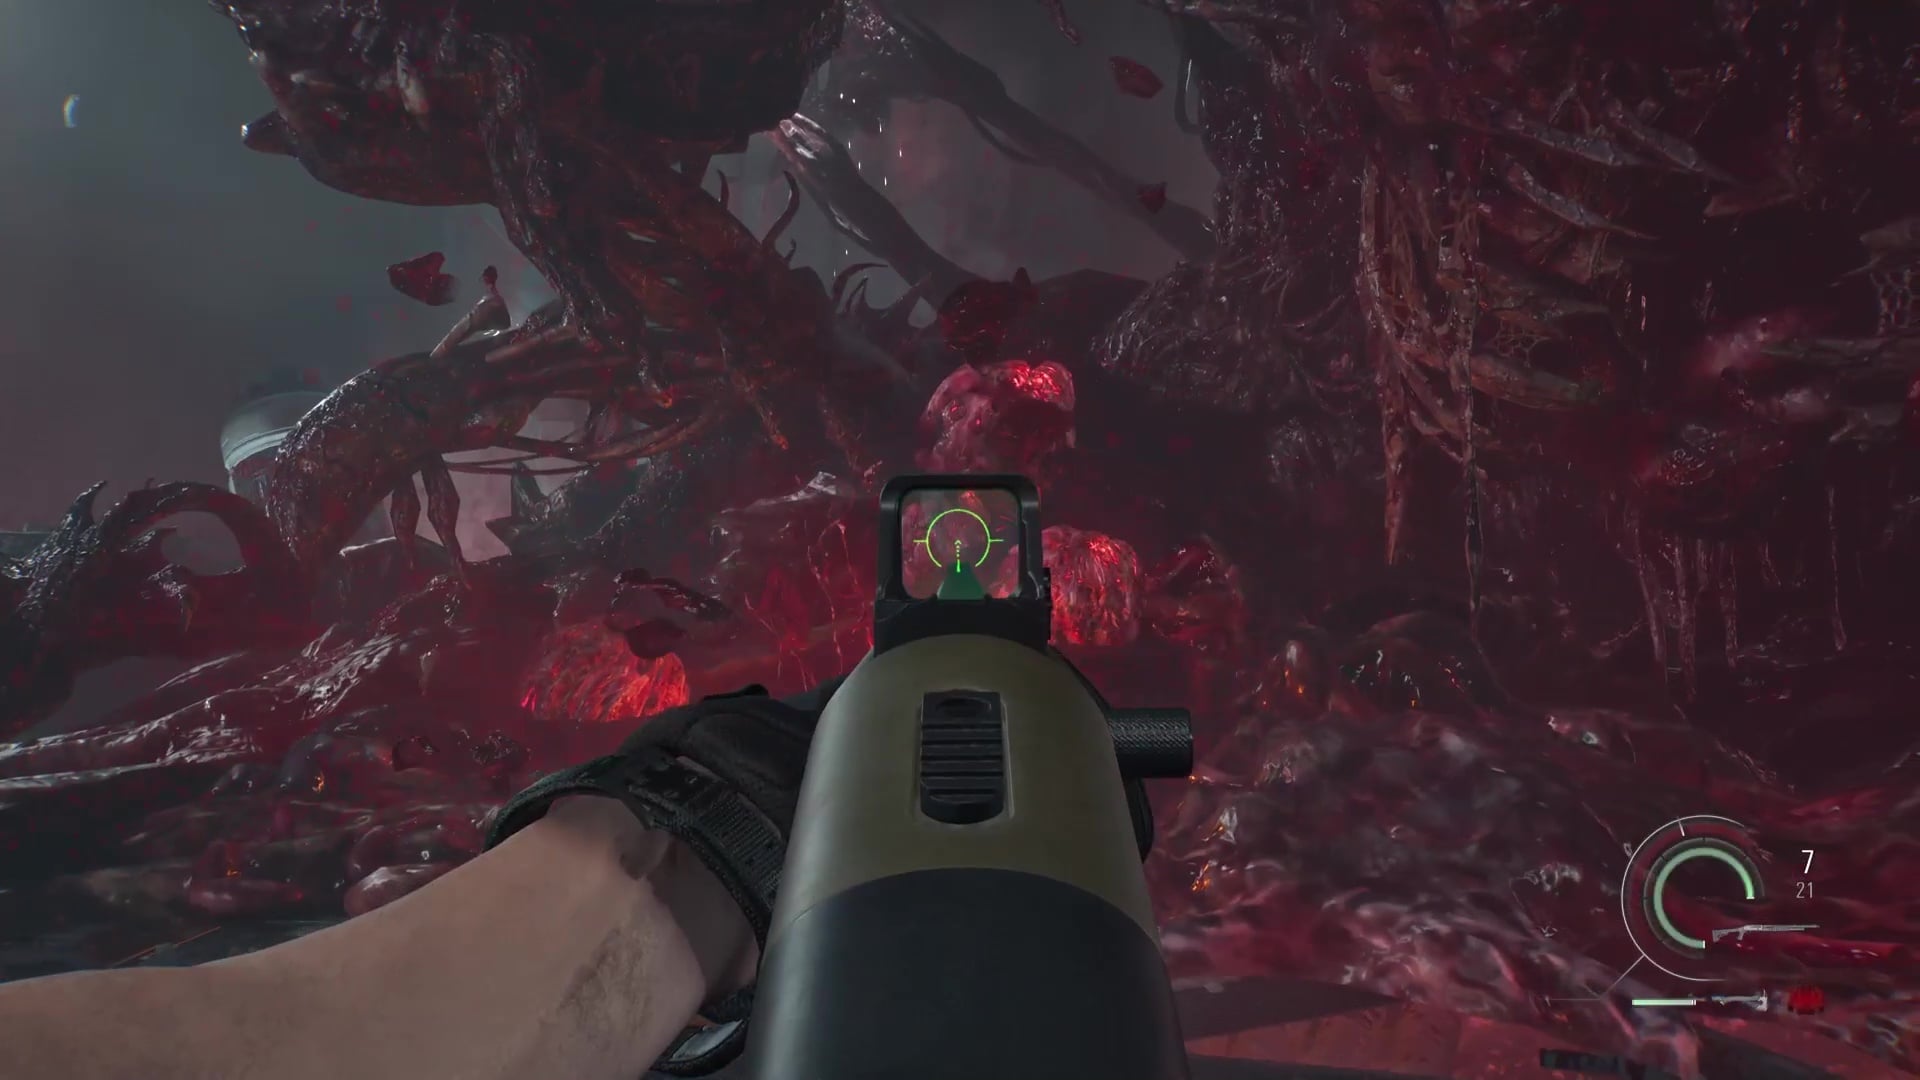
There will be multiple weak points to shoot at his head and arms as he attacks you with his large strikes, which can be parried, actually. Once you take down all of the visible weak points, he will collapse, and a large number of pulsating blobs will appear, which can easily be taken down with a grenade or a fast-shooting weapon. He’ll perform multiple swings after this, which can again be parried and deflected.
Repeat this process, and eventually the creature will grab Leon. There will be a QTE to escape, and a final QTE to finish the fight.
Congratulations, you beat Resident Evil: Requiem, and now you can do it all over again with the Special Content from the Bonuses menu.
Guides: Read our Resident Evil 9 Requiem complete walkthrough for a step-by-step guide to finishing the game 100%, including all Mr. Raccoon Memoriam statue locations, all safe codes, locations, and rewards, all Quartz puzzle box solutions, and more.