Mewgenics: All areas and in each act and how to unlock them
All areas and how to unlock the secret areas in each chapter in Mewgenics

The main goal of Mewgenics is to send your legion of furry felines far from home to find food, and they can go pretty far.
As your cats clear through each new area in Mewgenics, they’ll return home and essentially share the lessons of the routes they took with the other cats, at which point you’ll unlock a new route beyond where you’ve been before. If you haven’t cleared Act 1 yet, it might surprise you, but there are three acts in total, and each has secret areas and enemies for you to take down.
In this guide, we’re listing every area in each of Mewgenics’ three Acts, and how to unlock each Act’s secret areas.
All Act 1 areas – Mewgenics
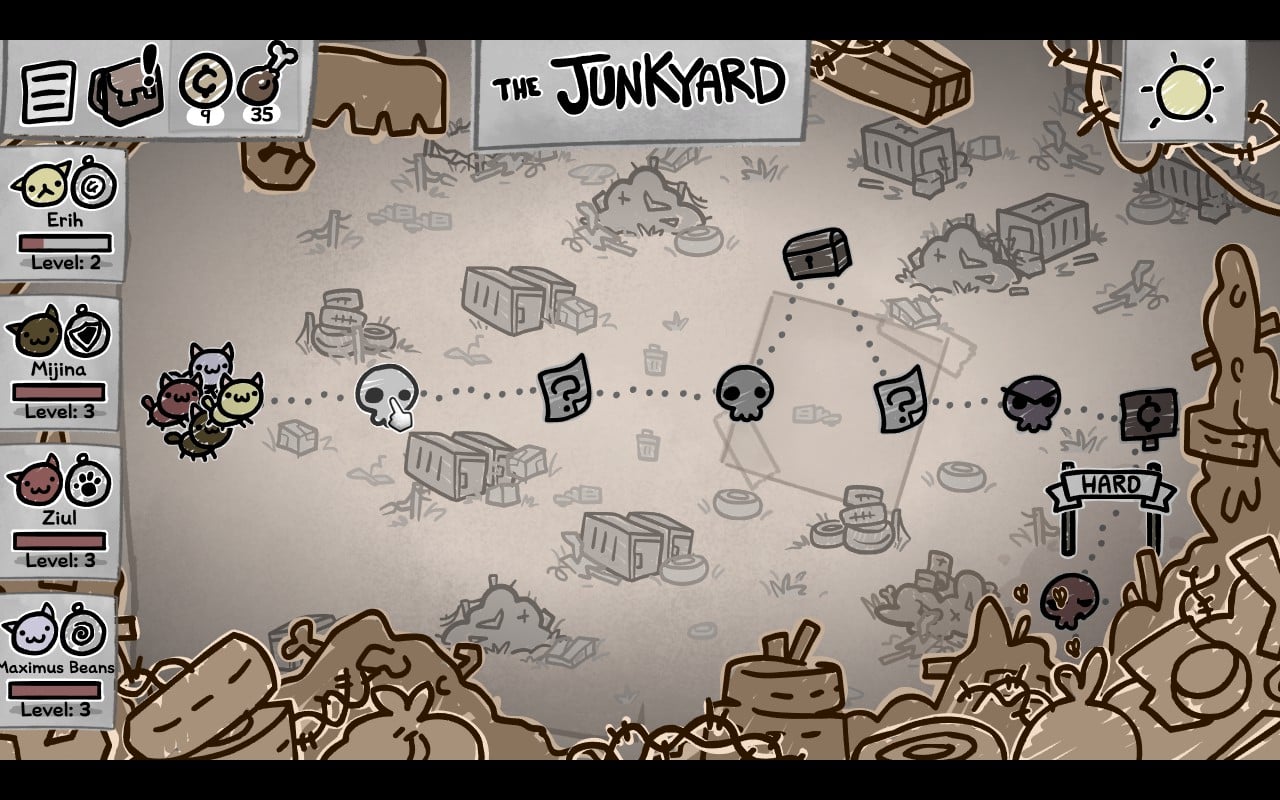
A run through each Act will take you through three areas, with a fourth secret area available to unlock. Each Act also has two distinct routes you can choose between. All Act 1 routes lead to The Throbbing Domain as the fourth and final secret area, but you can head to Act 2 without unlocking it. Remember to take the Hard routes through areas once they become available to unlock more areas.
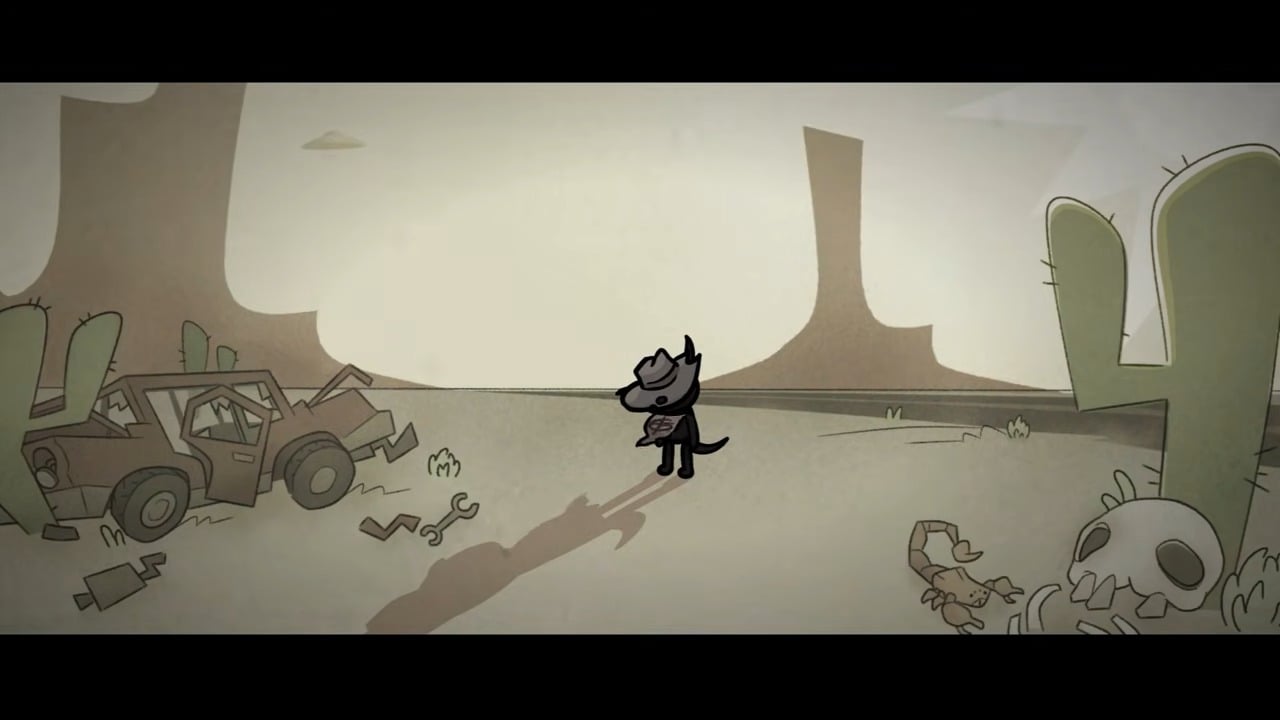
- Area 1: The Alley
- Area 2: The Junkyard OR The Sewers
- Area 3: The Boneyard OR The Caves
- Secret Area: The Throbbing Domain
These are the two routes you can choose to take to the end:
- The Alley > The Sewers > The Caves > The Throbbing Domain
- The Alley > The Junkyard > The Boneyard > The Throbbing Domain
How to unlock Act 1’s The Throbbing Domain secret area in Mewgenics
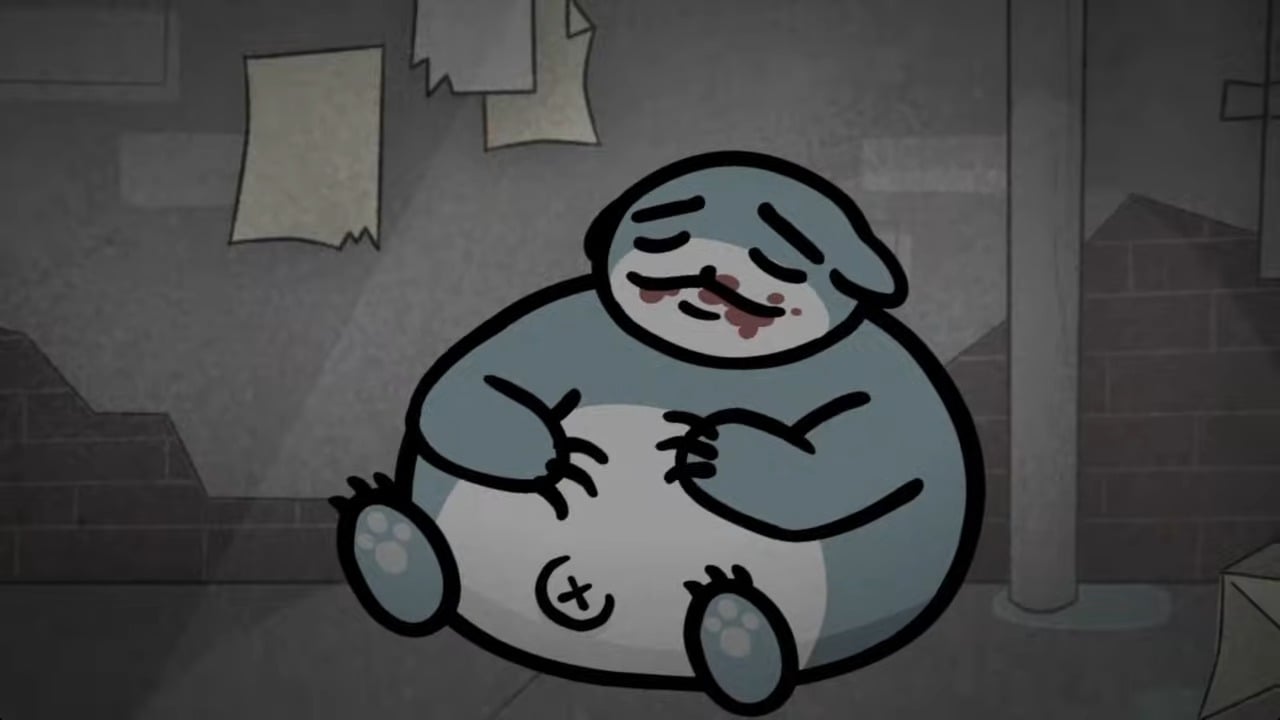
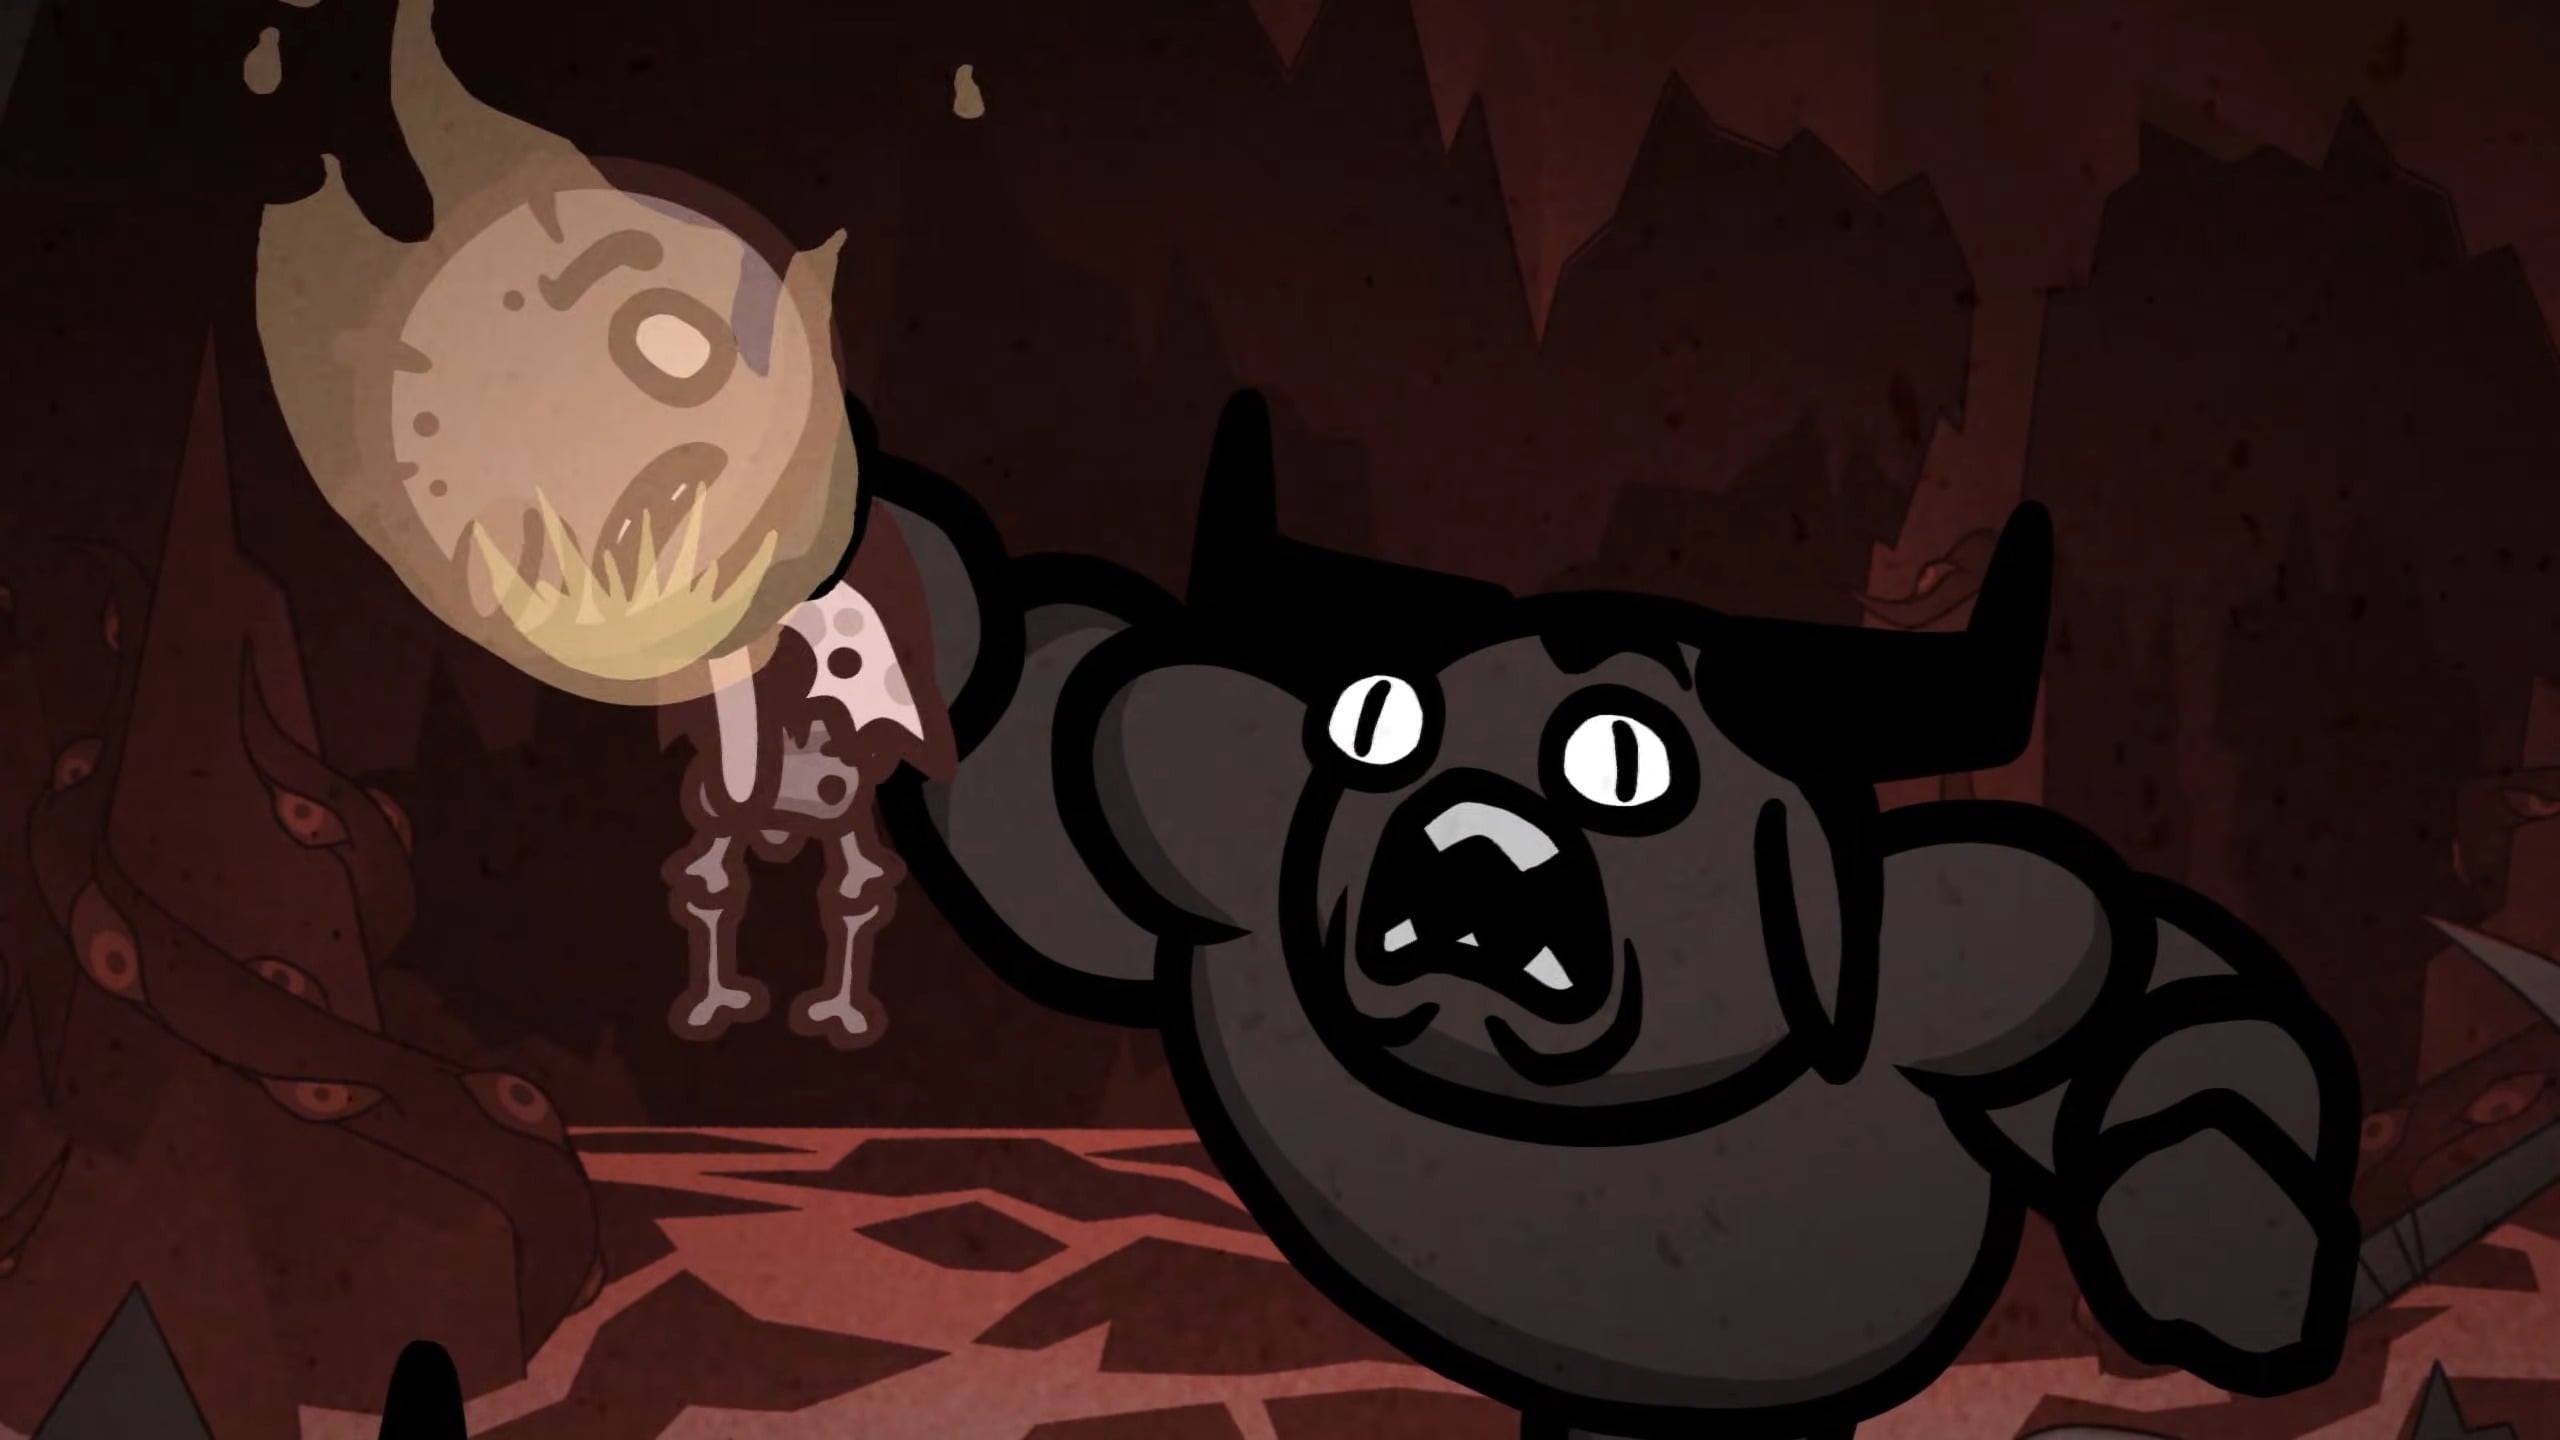
To unlock The Throbbing Domain, Act 1’s secret area, you must defeat at least two versions of Guillotina, a House Boss that only appears once you’ve cleared either version of Area 3 for the first time. Guillotina resembles a Snorlax, but is much meaner.
Each successive fight with Guillotina will see her become more monstrous. The first fight will reward you with the Throbbing Gristle, which you need to take to the end of The Caves. This will unlock the second fight, which will give you the Putrid Leech, which must be taken to the end of The Boneyard.
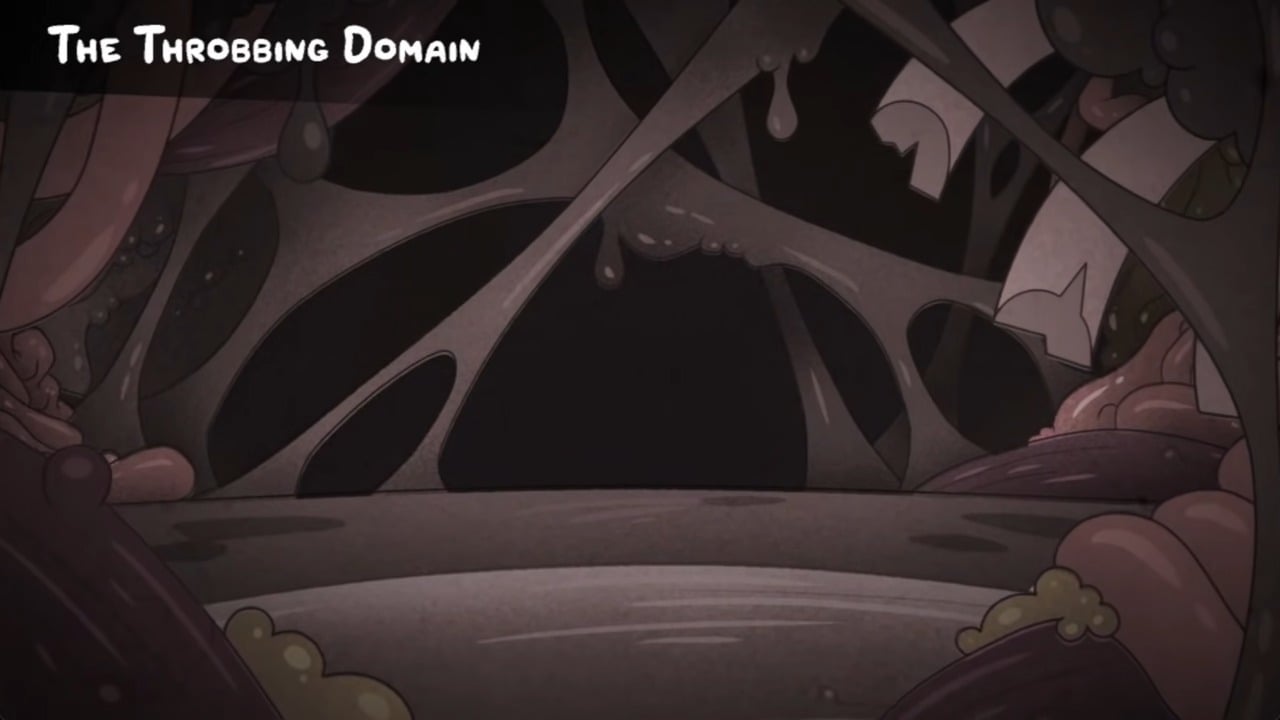
After the Throbbing Gristle and Putrid Leech have been taken to the correct areas, you’ll unlock The Throbbing Domain, but you can’t explore it yet. Equip a cat with Guillotina’s Head from the third and final Guillotina fight and venture to The Throbbing Domain. You’ll have to make a tough choice at The Throbbing Domain’s entrance to unlock access to the rest of the area.
Unlocking The Throbbing Domain isn’t necessary to access Act 2, but we recommend that you do it as soon as you’re able. You’ll need to return to The Throbbing Domain once you unlock the Cryogenic Time Chamber, as you’ll need to retrieve The Throbbing King’s heart to repair the Time Machine for Act 3.
All Act 2 areas – Mewgenics
Act 2’s areas are laid out similarly to Act 1’s, with two distinct routes to take to get to a fourth and final secret area, The Rift.
- Area 1: The Desert
- Area 2: The Crater OR The Bunker
- Area 3: The Moon OR The Core
- Secret Area: The Rift
The two routes you can take through Act 2 are listed below.
- The Desert > The Bunker > The Core > The Rift
- The Desert > The Crater > The Moon > The Rift
How to unlock Act 2’s The Rift secret area in Mewgenics
Act 2’s secret area is The Rift, and unlocking it is similar to The Throbbing Domain from Act 1, just with a lot more steps. Once you’ve cleared The Core, you’ll unlock Pyrophina as a House Boss. Pyrophina is basically a Godzilla-like feline that can breathe fire. Unlike Guillotina, you only need to beat Pyrophina once, and you’ll earn the Scalding Orb.
Take the Scalding Orb through a run of The Moon, and have the area boss, the Man in the Moon, devour the kitty holding the Scalding Orb. This will raise a black obelisk on the moon before returning home.
Completing The Moon will unlock Zaratana as a House Boss, another kaiju-like kitty that resembles an asteroid. Defeating Zaratana will reward you with the Black Shard, a unique item that increases in power with each kill it earns. Once you’ve killed 20 enemies with it, it transforms into the Glowing Black Shard.
Use the Glowing Black Shard on The Coven boss at the end of The Core, and it’ll kill it instantly, unlocking a second obelisk.

Yes, there is a third House Boss encounter for Act 2, and this time Pyrophina and Zaratana team up to take you on together. You only need to defeat one of them, and you’ll get either Pyrophina’s Collar or Zaratana’s Collar as a reward, depending on which boss survives the encounter.
This is the final step: You need to equip the collar you received as a reward, and this will bring the respective boss with you on your adventure as an ally. Pyrophina must be taken to The Moon, while Zaratana should be taken to The Core. As long as your boss ally survives all the way to the end of their respective area, you’ll be able to take them to the obelisk, unlocking a portal to The Rift.
You’ll need to be able to access The Rift before unlocking Act 3’s secret area, so you should do it as soon as you’re able.
All Act 3 areas – Mewgenics
Act 3 is once again laid out similarly to the previous two acts, with three main areas, two routes, and a fourth and final secret area to unlock. You’ll need to return to The Throbbing Domain in Act 1 with the Cyrogenic Time Chamber you receive after your first run through The Lab to retrieve The Throbbing King’s heart. This will repair the Time Machine and give you access to Act 3’s areas past The Lab, so make sure that you’ve unlocked Act 1’s secret area already before trying to push through Act 3.
- Area 1: The Lab
- Area 2: The Jurassic OR The Ice Age
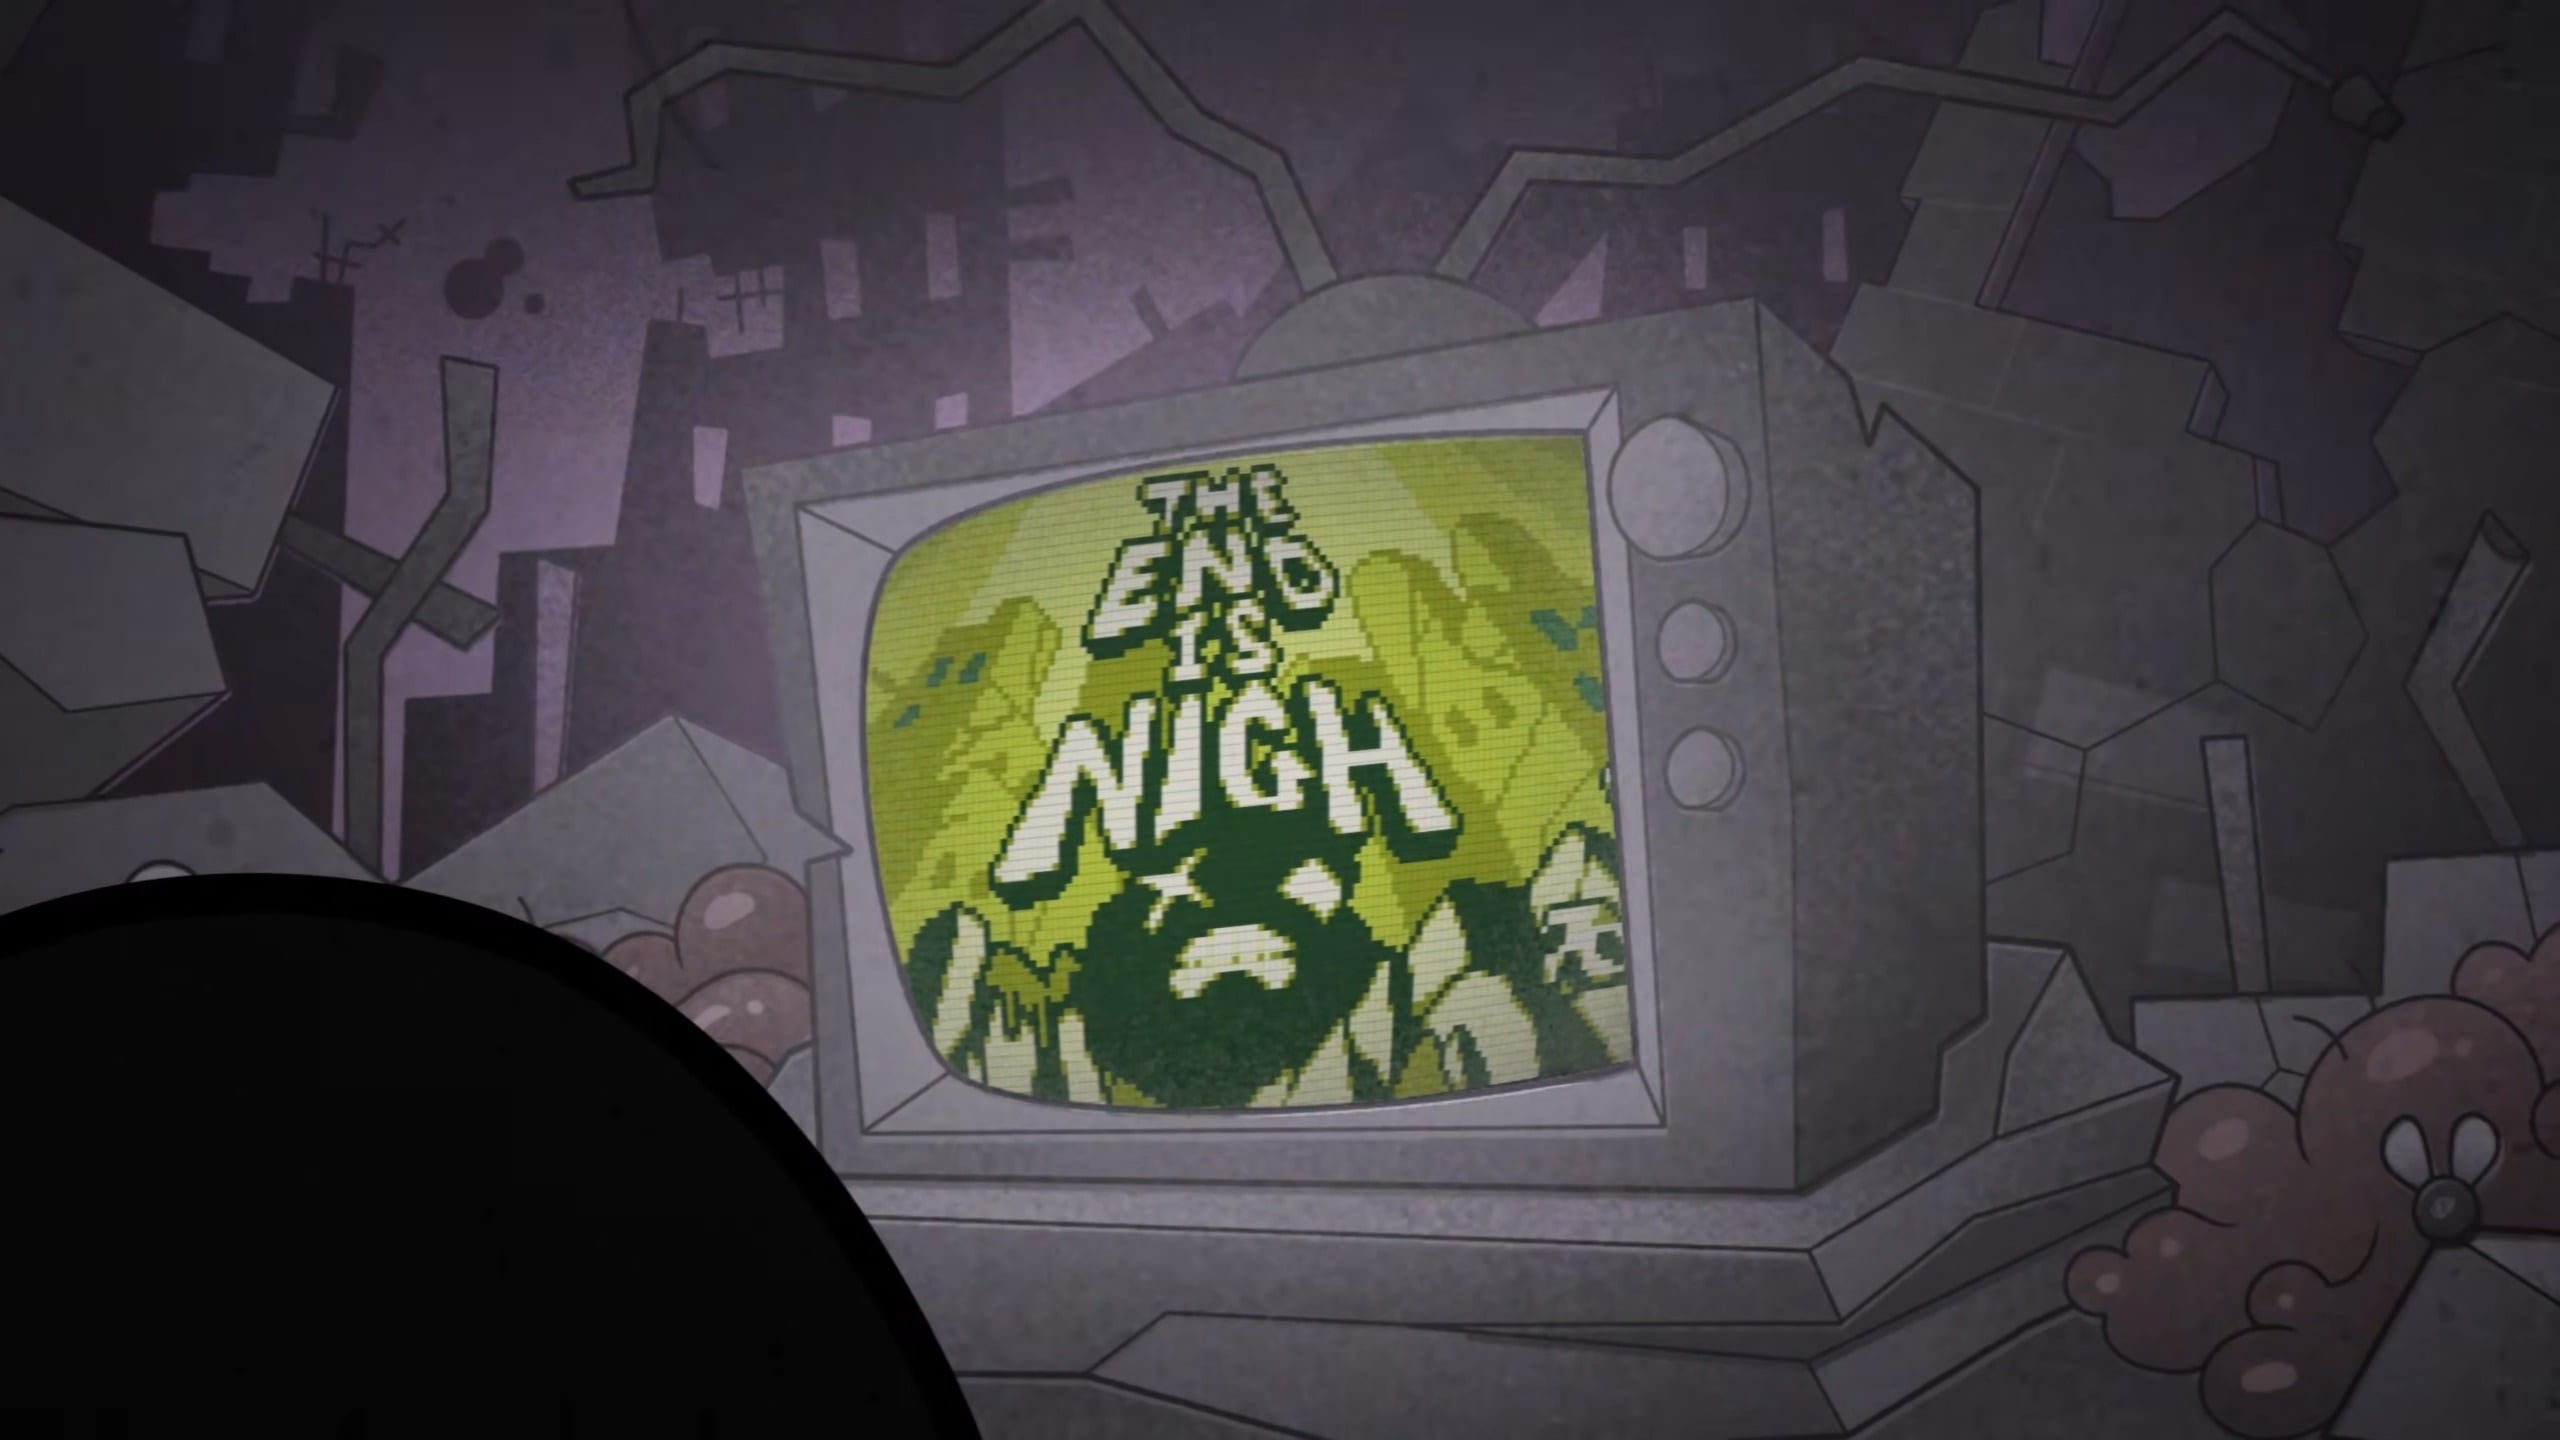
- Area 3: The End OR The Future
- Secret Area: The Infinite
As usual, there are two distinct routes you can take through Act 3 once all areas are unlocked:
- The Lab > The Ice Age > The Future > The Infinite
- The Lab > The Jurassic > The End > The Infinite
How to unlock Act 3’s The Infinite secret area in Mewgenics
Once you’re able to clear Act 3’s The Future and The End areas – essentially “finishing” the game save for the secret areas – there will be new House Bosses to face, and more incredibly obscure routes to follow.
The first House Boss you come up against will be the C-800, a big cat that resembles the Terminator, and you’ll get the Receiver Antenna after defeating it. Dr. Beanies will outright tell you what to do with this item: take it to The Jurassic area and place it on the active volcano.
The second House Boss is C-1000, a boss that can melt into its environment, like the antagonist from Terminator 2 — there’s no telling if there is some kind of theme at play here. Defeating the C-1000 will reward you with the Transmitter Antenna, which you must take to The End and place at the tiny sun consuming the world.
This will prompt a third House Boss to appear, and it’s, um, the Führer. This one doesn’t seem to be related to the Terminator franchise. Defeating him will reward you with the Signal Amplifier after a credits scene. Hopefully, you’ve already unlocked Act 2’s secret area, The Rift, because that’s where we need to go next. Once you reach the Chaos God head at the end of the area, insert the Signal Amplifier. This will, somehow, join together both the past and the future, bringing about The Infinite, Act 3’s secret area.