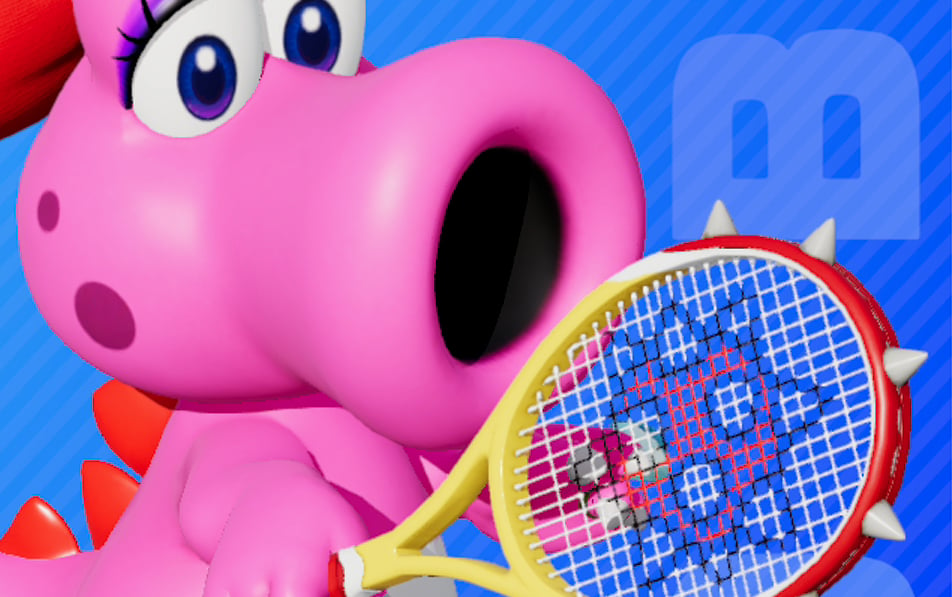
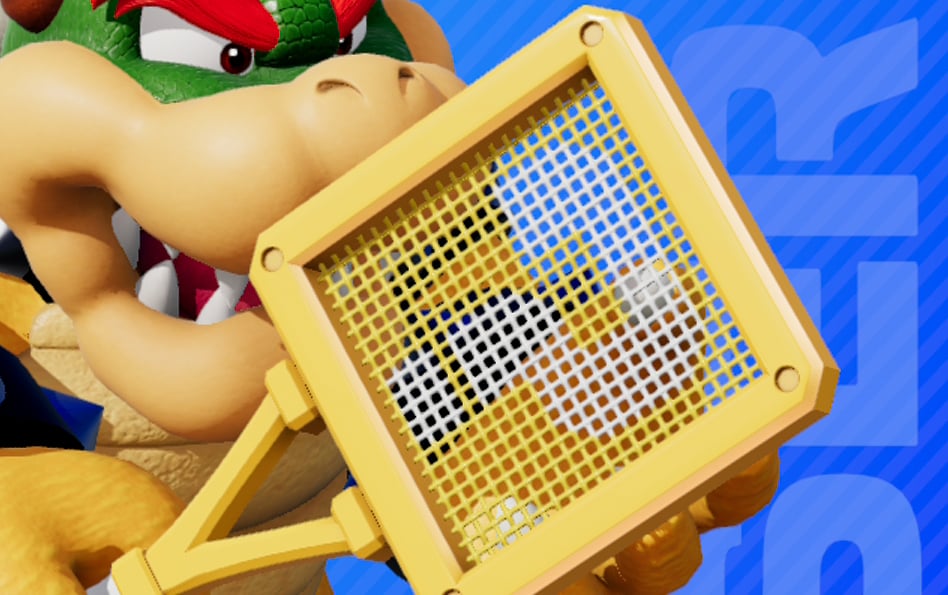
Mario Tennis Fever: The best and worst Fever Rackets
Which Fever Racket should you use in Mario Tennis Fever? Here are the rackets to pick, and to avoid
If you’re looking for the edge in Mario Tennis Fever, the new Fever Rackets can make all the difference between winning and losing.
There are 30 different Fever Rackets to find in the game, each with their own unique powers.
Not every Fever Racket is equal, however – while some can be really useful and could mean the difference between winning and losing, others are less effective.
With 30 to choose from, it can take a while to experiment with each Fever Racket to figure out which one is the best. Luckily for you, I’ve already spent a lot of time doing this experimenting, so here’s my top picks.
Here’s a list explaining which seven Fever Rackets are the best of the bunch, and which seven are best avoiding.
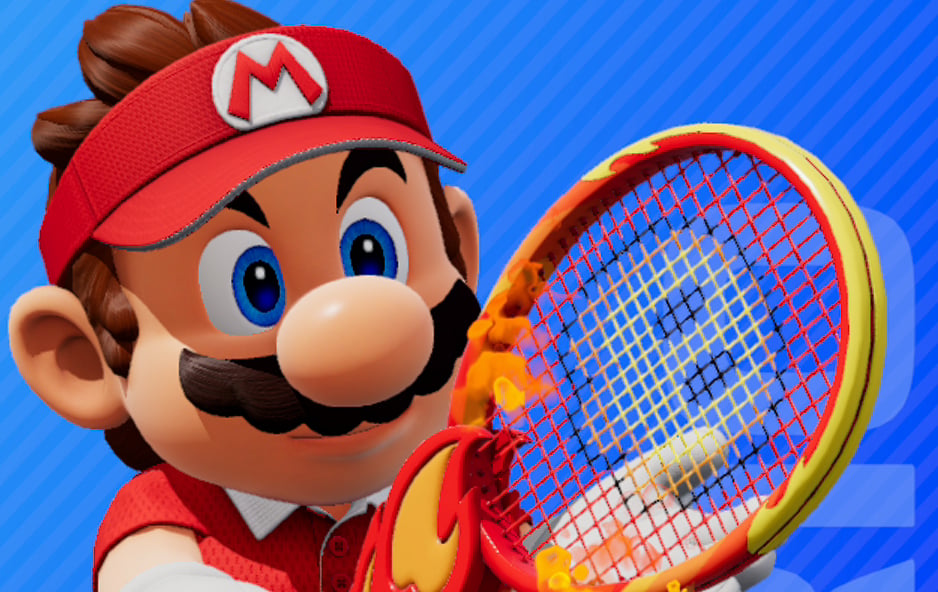
Even though it’s one of the standard Fever Rackets you start with, the Flame Racket can be great.
When the Flame Racket hits the opponent’s court it’ll make a bunch of smaller flames appear. If the opponent runs into a flame they’ll be stunned and take damage.
Once the effect is triggered, keep returning balls towards the middle of the flames and you’ll give your opponent a very hard time to reach the ball without being hurt.
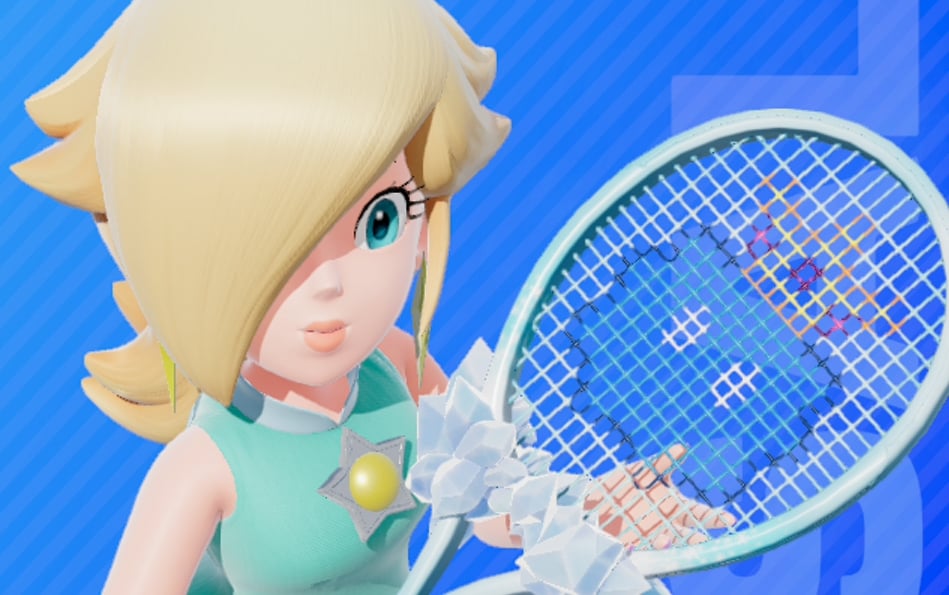
Ice Racket
(Available from the start)
The other best Fever Racket from those initially available, the Ice Racket makes a large sheet of ice appear on the court when it lands.
As long as you keep hitting shots away from your opponent and forcing them to keep moving around, the extra slipperiness means it’ll eventually become too tricky for them to reach your shots.
What’s more, if they move too much they can fall over, leaving them wide open for a well-aimed shot past them.
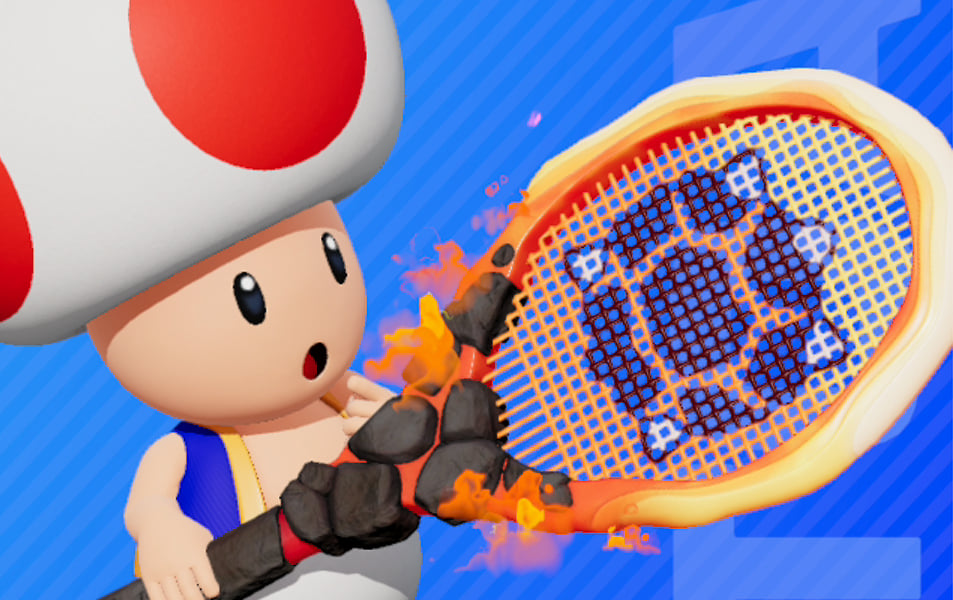
Fire Bar Racket
(Play 4 matches to unlock)
The Fire Bar Racket is similar to the Flame Racket but it provides a larger obstacle in a smaller area.
When it hits the ground it makes a spinning Fire Bar appear on the court (like the ones in the castle stages in the Super Mario Bros games).
The size of the Fire Bar means if you simply keep returning the ball to that area and making your opponent head in that direction, it’ll be really difficult for them to avoid being hit by it.
Then, if they start hogging that area because they know you’re going to keep hitting the ball there, fool them by returning it to the now-empty opposite side of the court.
Freezing Racket
(Play 6 matches to unlock)
The Freezing Racket is basically a colder version of the Flame Racket, providing many of the same benefits.
As with its warmer sibling, if it hits the ground it’ll scatter a bunch of icicles around the court, creating obstacles that freeze the opponent in place if they hit them.
Naturally, then, return shots in the general direction of the icicles and the chances of them freezing and briefly losing control are high.
Volcano Racket
(Play 18 matches to unlock)
At first glance the Volcano Racket doesn’t seem as good as the Flame Racket, because instead of scattering flames around the court it makes a single volcano appear there instead.
The volcano itself does still do damage, meaning you should hit shots towards it and force your opponent in its direction, to make it harder for them to avoid it.
However, the volcano also spits out giant fireballs which land on random spots on the opponent’s court, meaning they’re still at risk even if they stay away from the volcano.
Spiny Racket
(Play 28 matches to unlock)
As you’ve already seen, there are plenty of Fever Rackets which make hazards appear on the court, doing damage to opponents.
What makes the Spiny Racket unique is that it doesn’t just spawn a bunch of Spinies on the court, they actually start walking towards the opponent too.
This means that while the opponent can find a ‘safe space’ to stand with the other rackets previously mentioned, they have to keep moving with this one.
Shova Racket
(Play 38 matches to unlock)
The Shova Racket gives opponents a huge shove when they return your shot, pushing them further back.
On its own that doesn’t sound like a massive deal, but the benefit of the Shova is that it essentially lets you position your opponent.
Hit them with a couple of shots in a row and they’ll be pushed to the backline, meaning you can then hit some drop shots at the front of the net, which they’ll struggle to hit.
Mario Tennis Fever – The worst Fever Rackets
Personal Racket
(Available from the start)
The Personal Racket is easily the most pointless racket in the game, because it doesn’t give you any special abilities at all.
When you activate a Fever Shot it does the same powerful smash most other Fever Rackets do, but without triggering an effect when it hits the ground.
The only real benefit of it is that each character’s Personal Racket has a custom design, so they at least look cool.
Mini Mushroom Racket
(Clear JV Class in Adventure to unlock)
As the name suggests, the Mini Mushroom Racket scatters a few Mini Mushrooms on the opponent’s court when it hits the ground.
It’s no guarantee that the opponent will hit one, then, especially because they’re so small. What’s more, even if they do hit one, being small isn’t really a massive disadvantage because they can still return shots.
This makes the Mini Mushroom Racket less effective than any of the other rackets which scatter hazards on the court, because those at least do damage and stun the opponent.
Star Racket
(Clear Rank C in Adventure to unlock)
When you trigger the Star Racket you become invincible to opponents’ Fever Racket effects for a limited time, making it one of the most defensive rackets in the game.
If you trigger it first, it’s completely pointless, because all the opponent needs to do is wait until it runs out and then use their Fever Shot.
If you want until they hit their Fever Shot and then trigger it, because it doesn’t really affect the opponent then at best all you’re doing is keeping the rally going.
Swerve Racket
(Play 12 matches to unlock)
The Swerve Racket adds extra bend to your shots, including your lob and topspin shots.
In theory, it’s supposed to confuse players more by making it harder for them to read your shots, but there are characters who already do this well enough without the Swerve Racket.
If this is an ability that’s important to you for whatever reason, play as Roslina (who already has wild curve on her shots) and get the extra benefit from a different racket instead.
Golden Dash Racket
(Play 24 matches to unlock)
The simplest of the rackets (except for the Personal Racket, of course), the Golden Dash Racket simply lets you perform a little dash move to hit a shot you otherwise wouldn’t reach.
On paper it sounds like a good thing but in practice – in the heat of the moment as a shot is zipping past you – it happens so fast that you often fail to remember to hit X in time.
Ultimately, at the risk of sounding too ‘git gud’, the best players shouldn’t have to use this one anyway, and if you rely on it you’re denying yourself another special ability.
Magic Racket
(Play 32 matches to unlock)
When a Magic Racket shot hits the opponent’s court, it makes Kamek’s magic wand appear and start firing beams of magic at the opponent.
If they’re hit by one, their racket will be temporarily replaced by something else, such as a frying pan.
While it’s all very humorous, it doesn’t put the opponent at an enormous disadvantage, and that’s even if the magic hits them in the first place.
? Block Racket
(Unlock all other rackets to unlock)
As the final racket you’ll unlock in the game, the ? Block Racket is a sort of ‘greatest hits’ option.
Every time you perform a Fever Shot, the effect it creates is a random one taken from any of the other Fever Rackets in the game.
This is good for keeping things wacky, so if you’re playing with family or friends it could be a fun option.
If you’re playing online or otherwise taking it seriously, though, it’s impossible to play a strategic Fever Shot if you don’t know what the effect is going to be, so it’s best to avoid it.