Halo Campaign Evolved: All The Maw Skull and Terminal locations
Every Skull and Terminal you can find in Halo: Campaign Evolved’s The Maw mission
This is the final mission in Halo: Campaign Evolved’s main campaign, ignoring the Bonus Missions. We’re nearly done now.
Yes, we’re once again listing all locations of the Skulls and Terminals in The Maw and how to get them.
You already know how these guides works. Just scroll down below for a full explanation of how to earn the Skulls and Terminals you need in the campaign’s final mission.
Make sure to redeem Halo Waypoint codes for exclusive unlockables in Campaign Evolved. We list every Skull and Terminal location in Halo: Campaign Evolved in our Skulls and Terminals guide hub.
All Halo: Campaign Evolved Skull and Terminal locations, by mission
Main campaign missions:
- The Pillar of Autumn – Skull and Terminal locations
- Halo – Skull and Terminal locations
- The Truth and Reconciliation – Skull and Terminal locations
- The Silent Cartographer – Skull and Terminal locations
- Assault on the Control Room – Skull and Terminal locations
- 343 Guilty Spark – Skull and Terminal locations
- The Library – Skull and Terminal locations
- Two Betrayals – Skull and Terminal locations
- Keyes – Skull and Terminal locations
- The Maw – Skull and Terminal locations
Bonus Missions:
The Maw Skull and Terminal locations – Halo CE
You’ll earn the No Rush trophy and achievement for finding these optional items in The Maw mission.
Rally Point Alpha
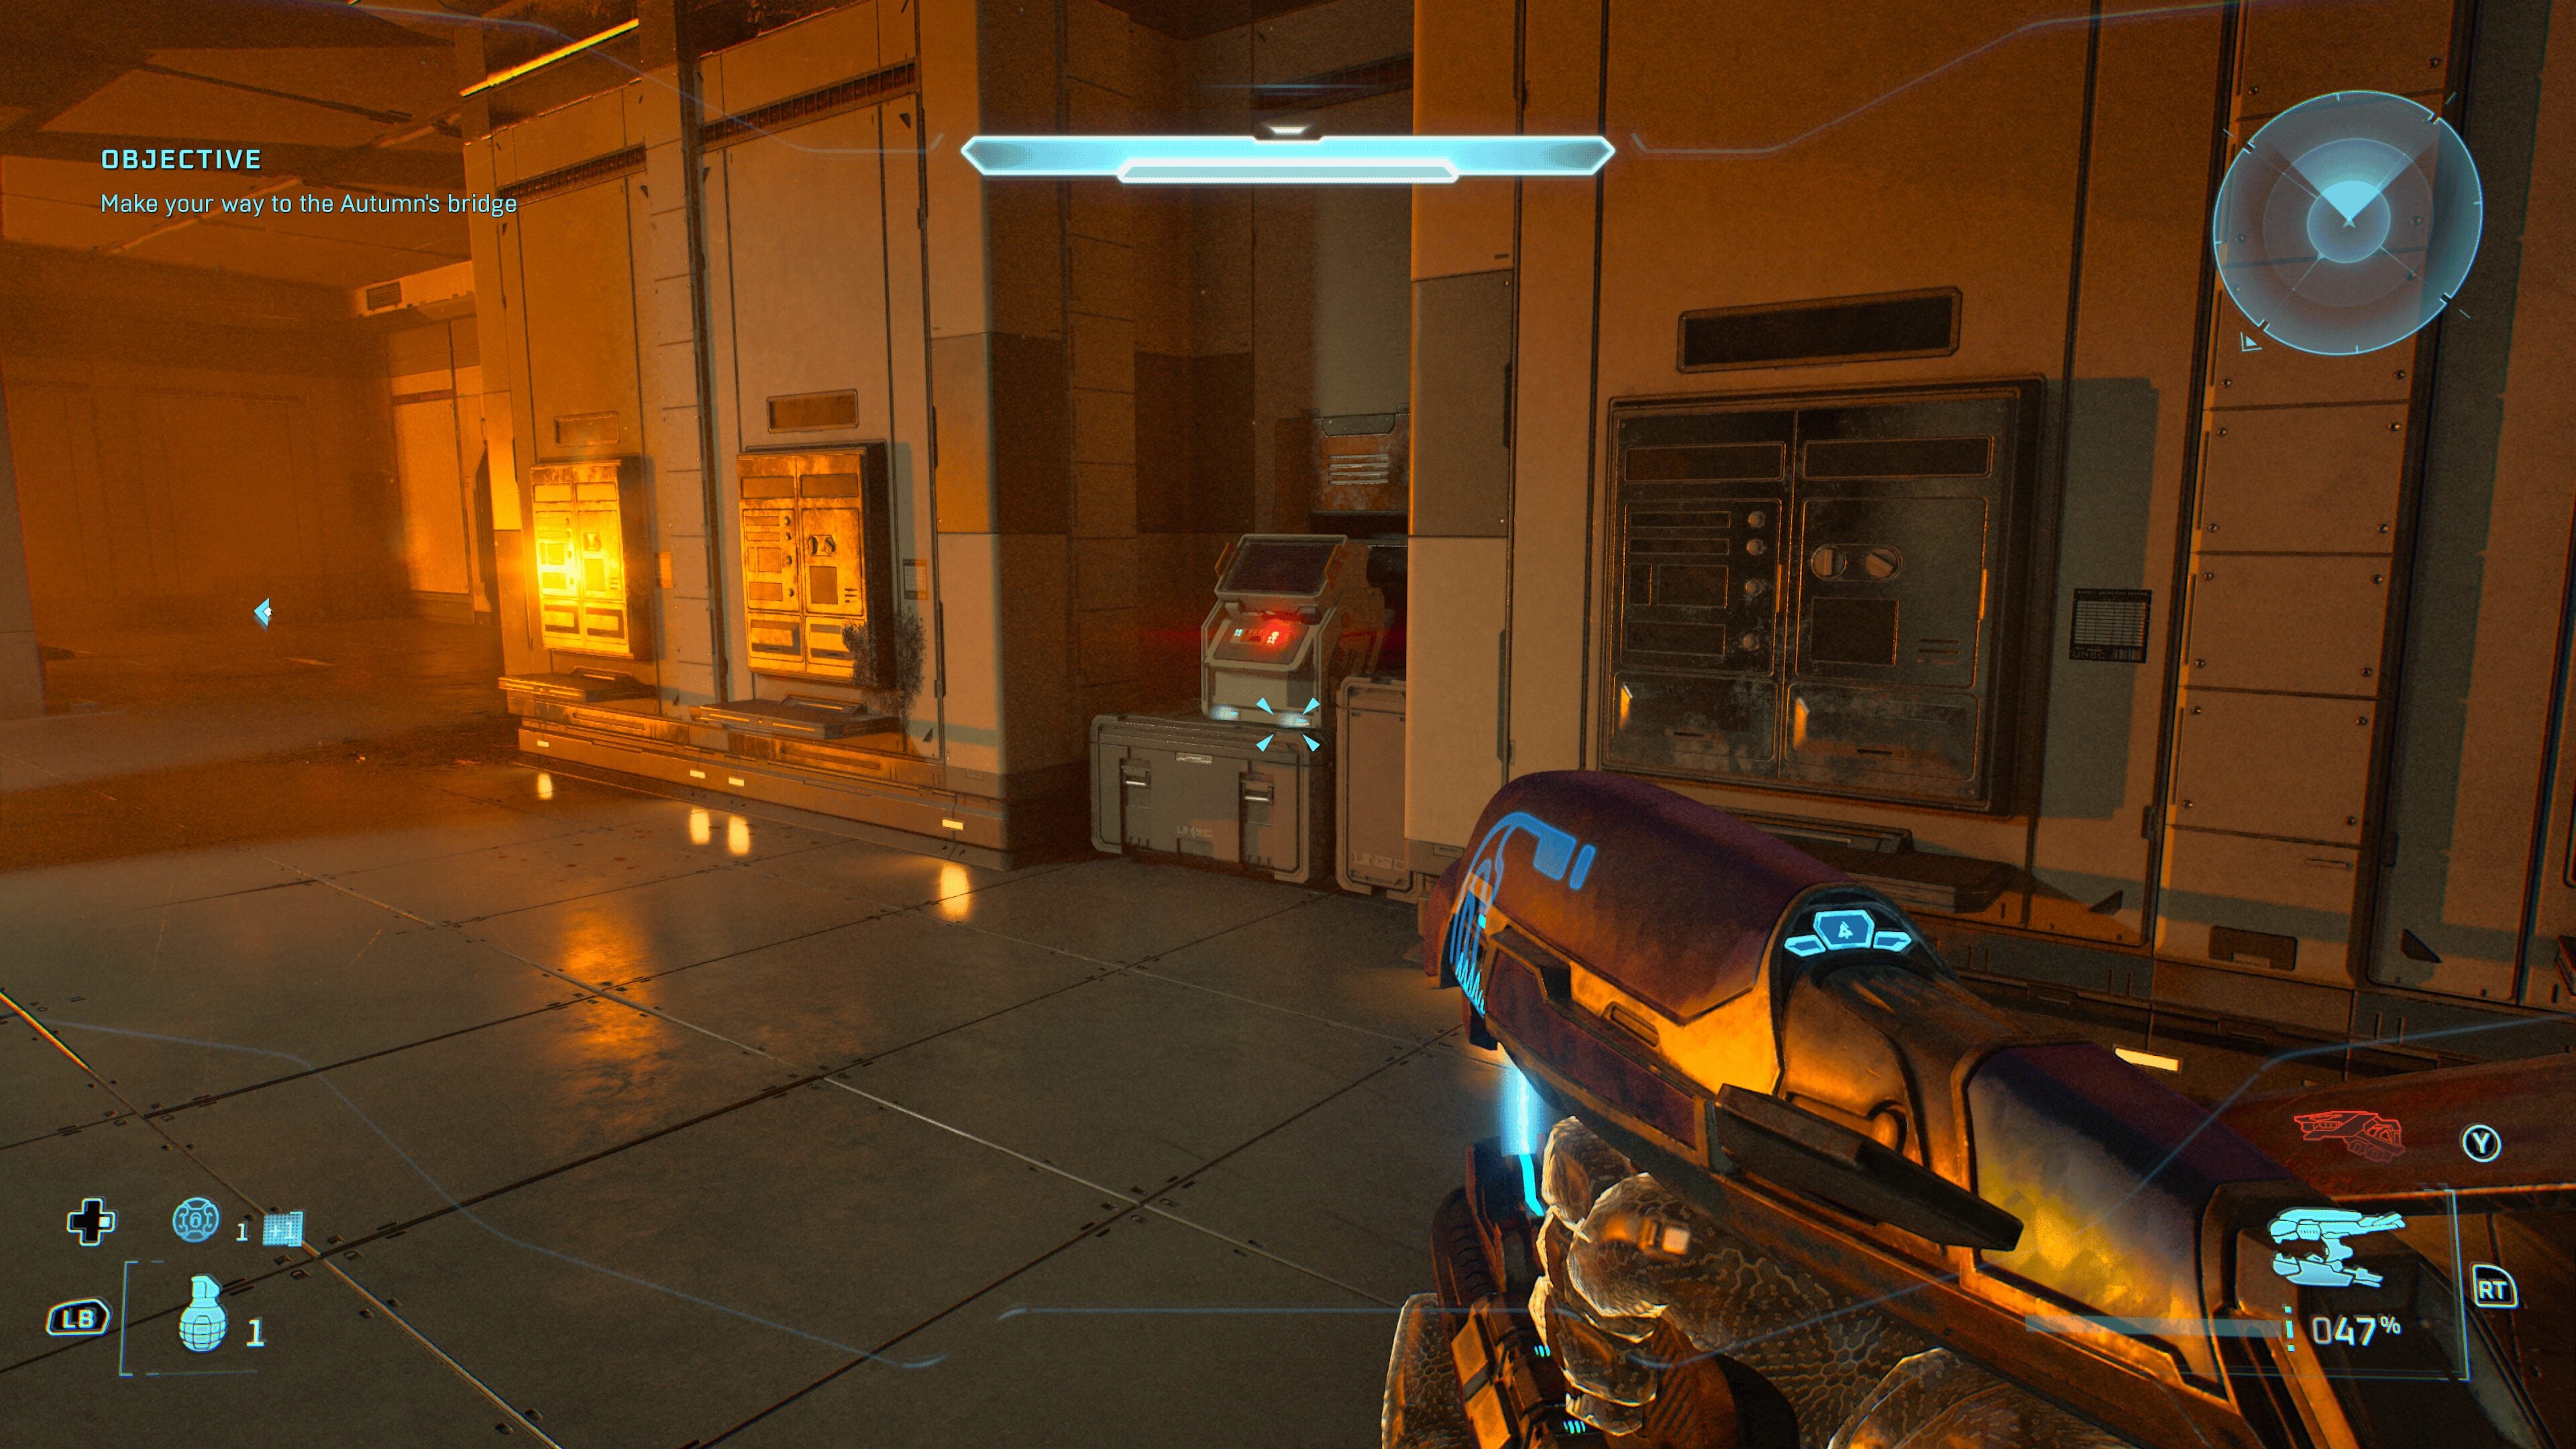
Terminal 10 – Arrival
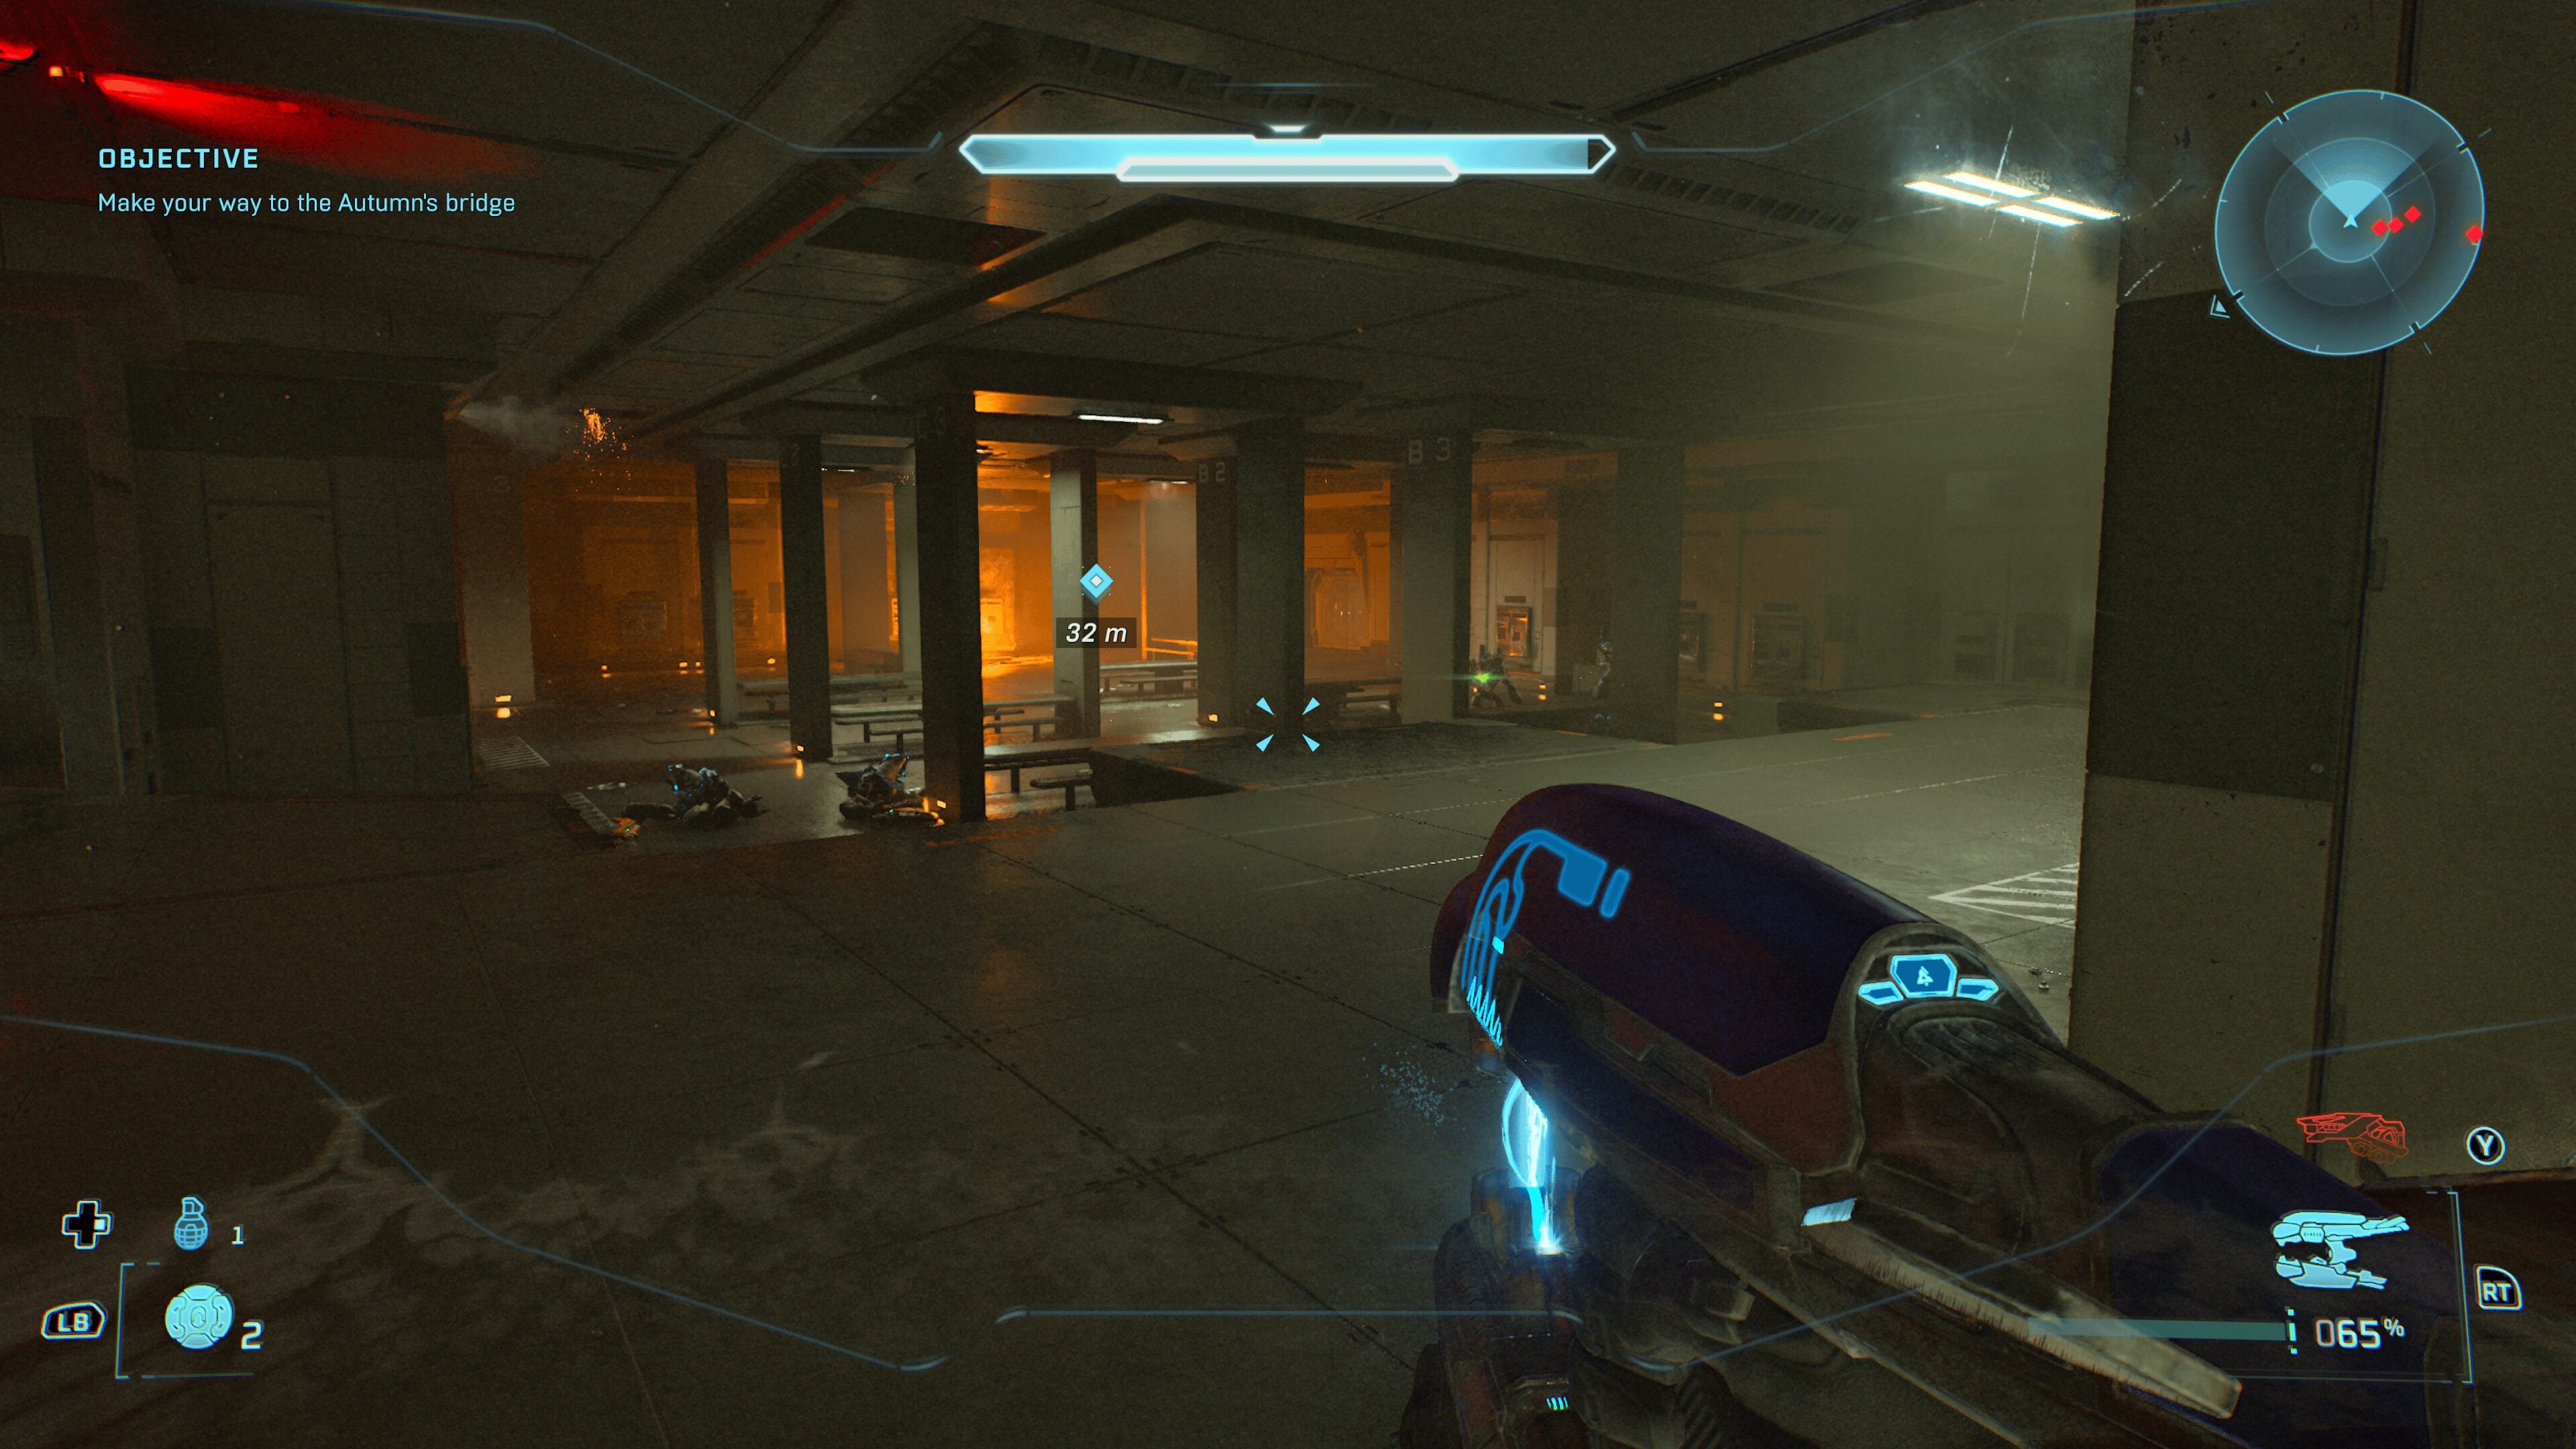
Fight through the ruins of the Pillar of Autumn until you reach the Mess Hall. You can find the Arrival Terminal on the right-side wall.
Rally Point Bravo
Skull 28 – Stowed Reload
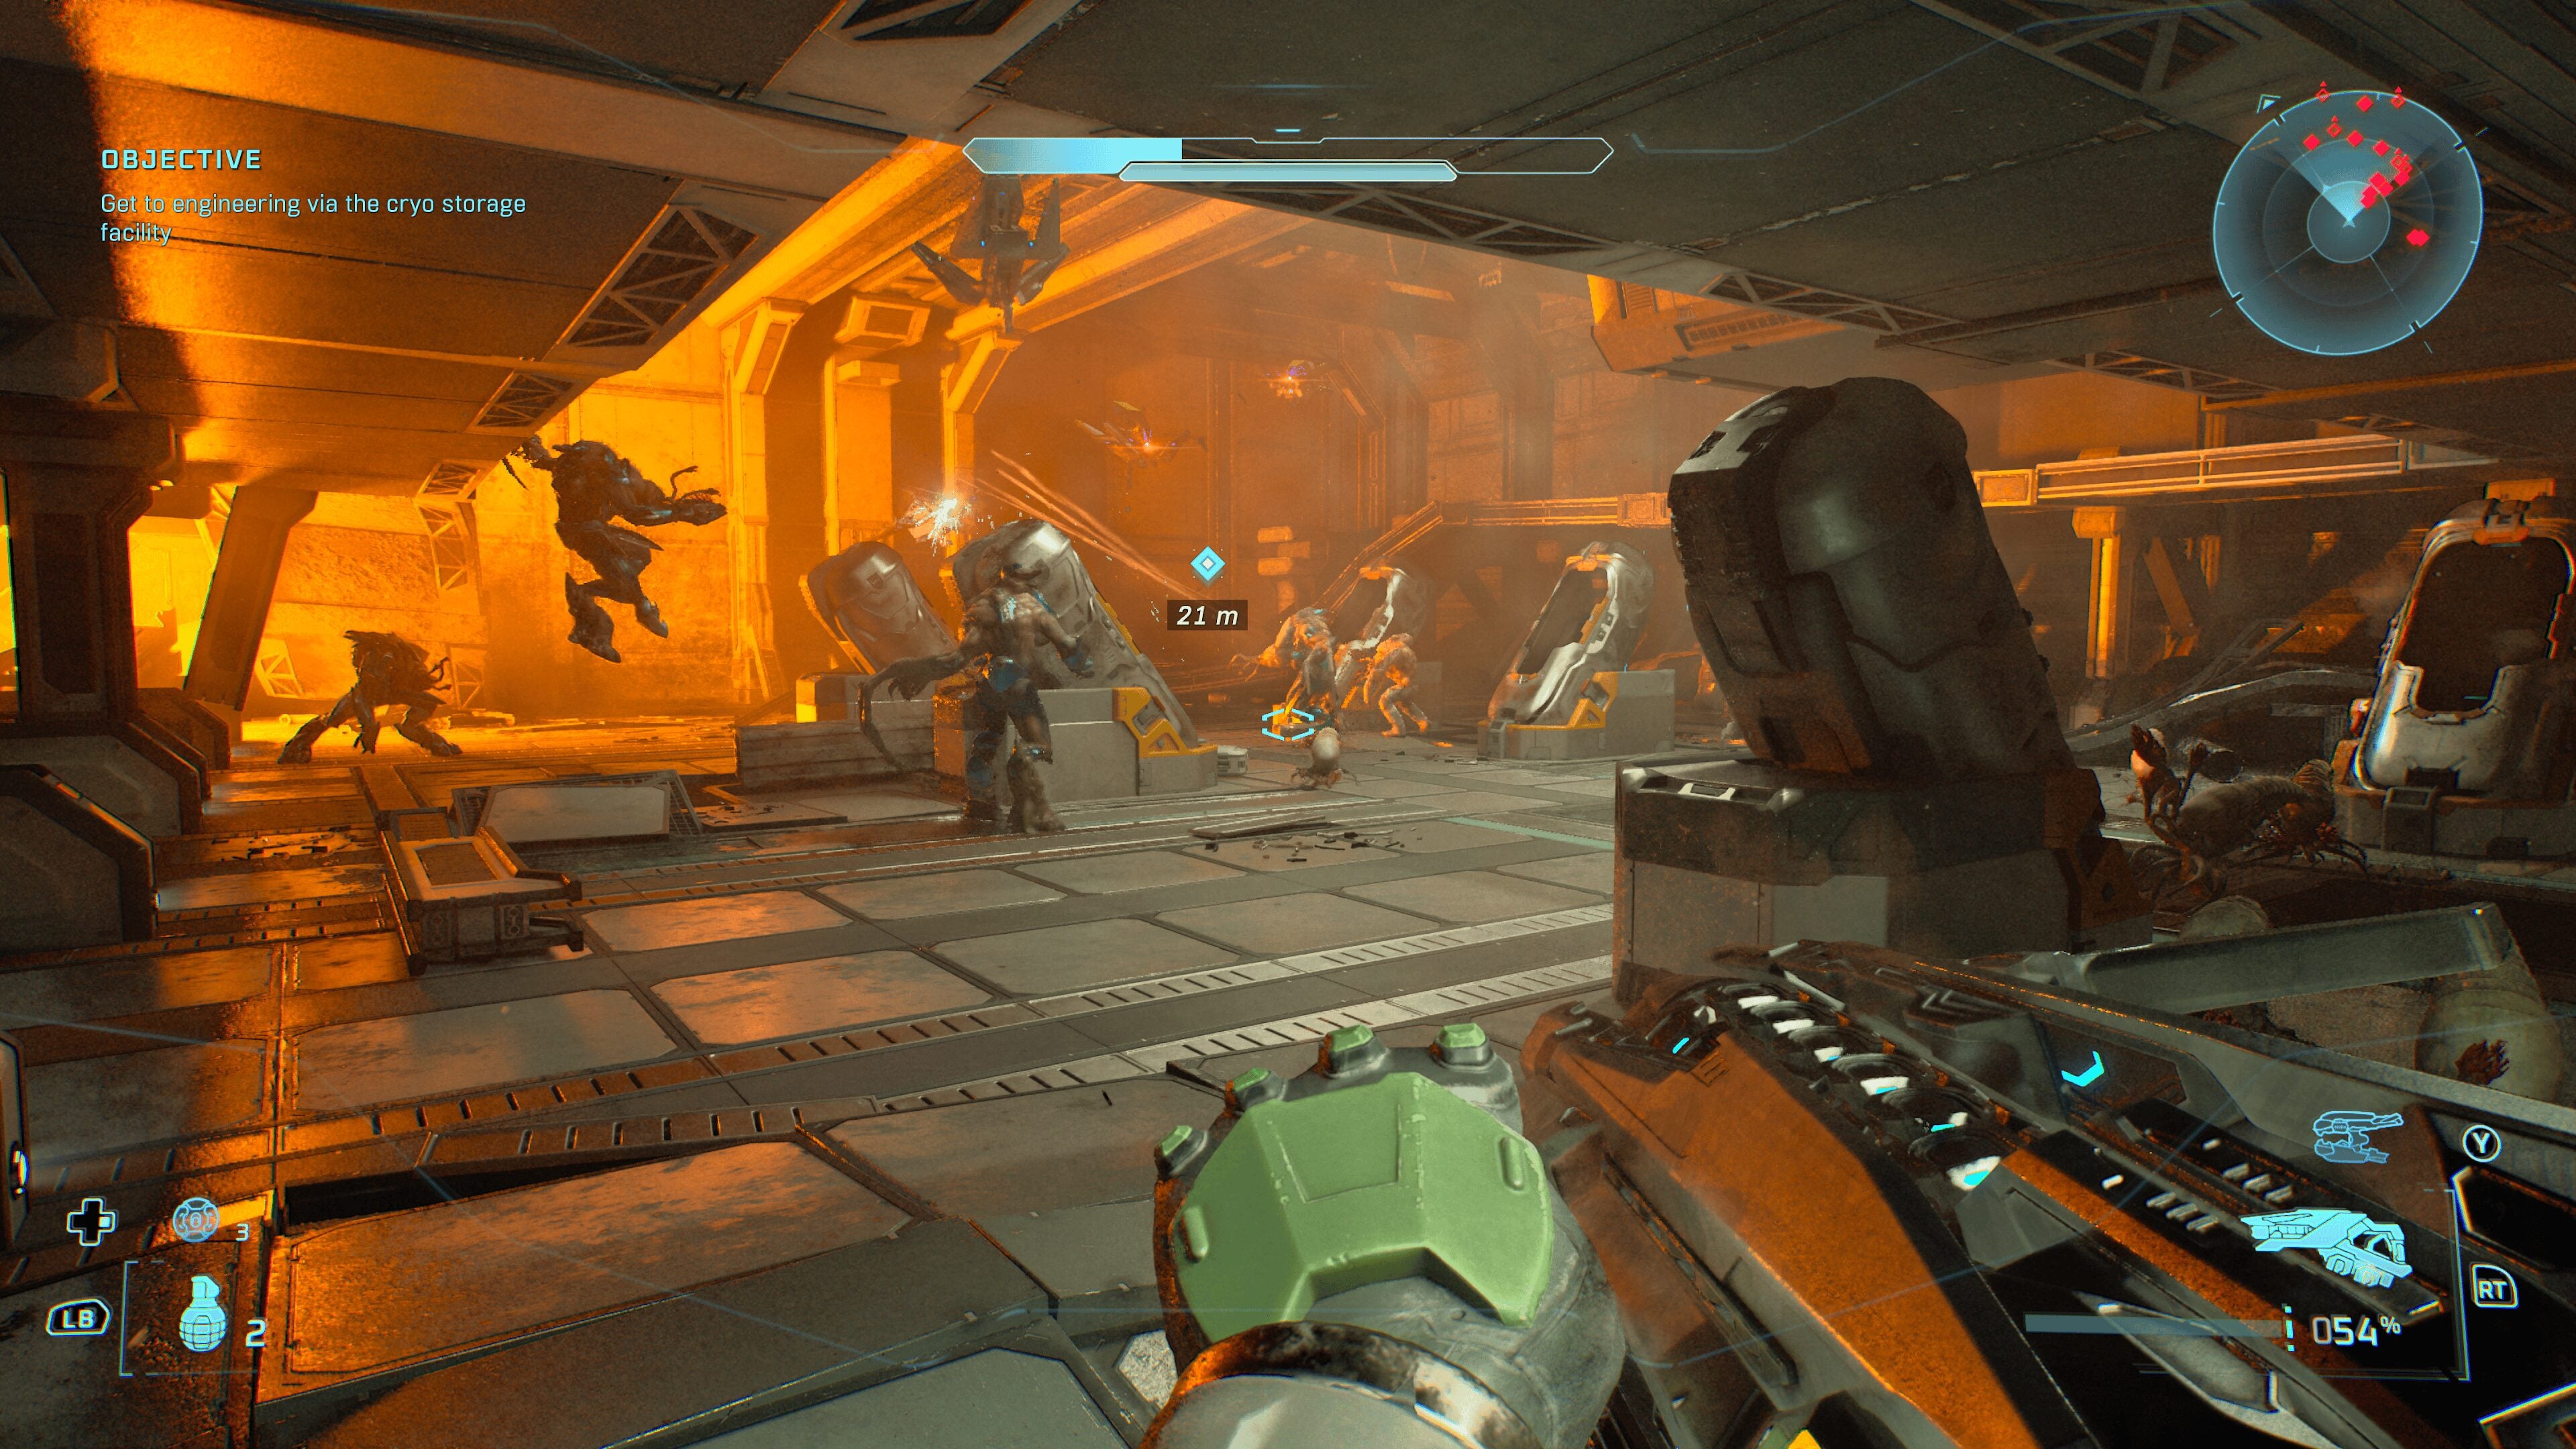
This one is pretty easy to find. From Rally Point Bravo, continue through the mission until you reach a cryo room very similar to the one you started the game in. Inside, several Sentinel drones will be battling against the Flood.
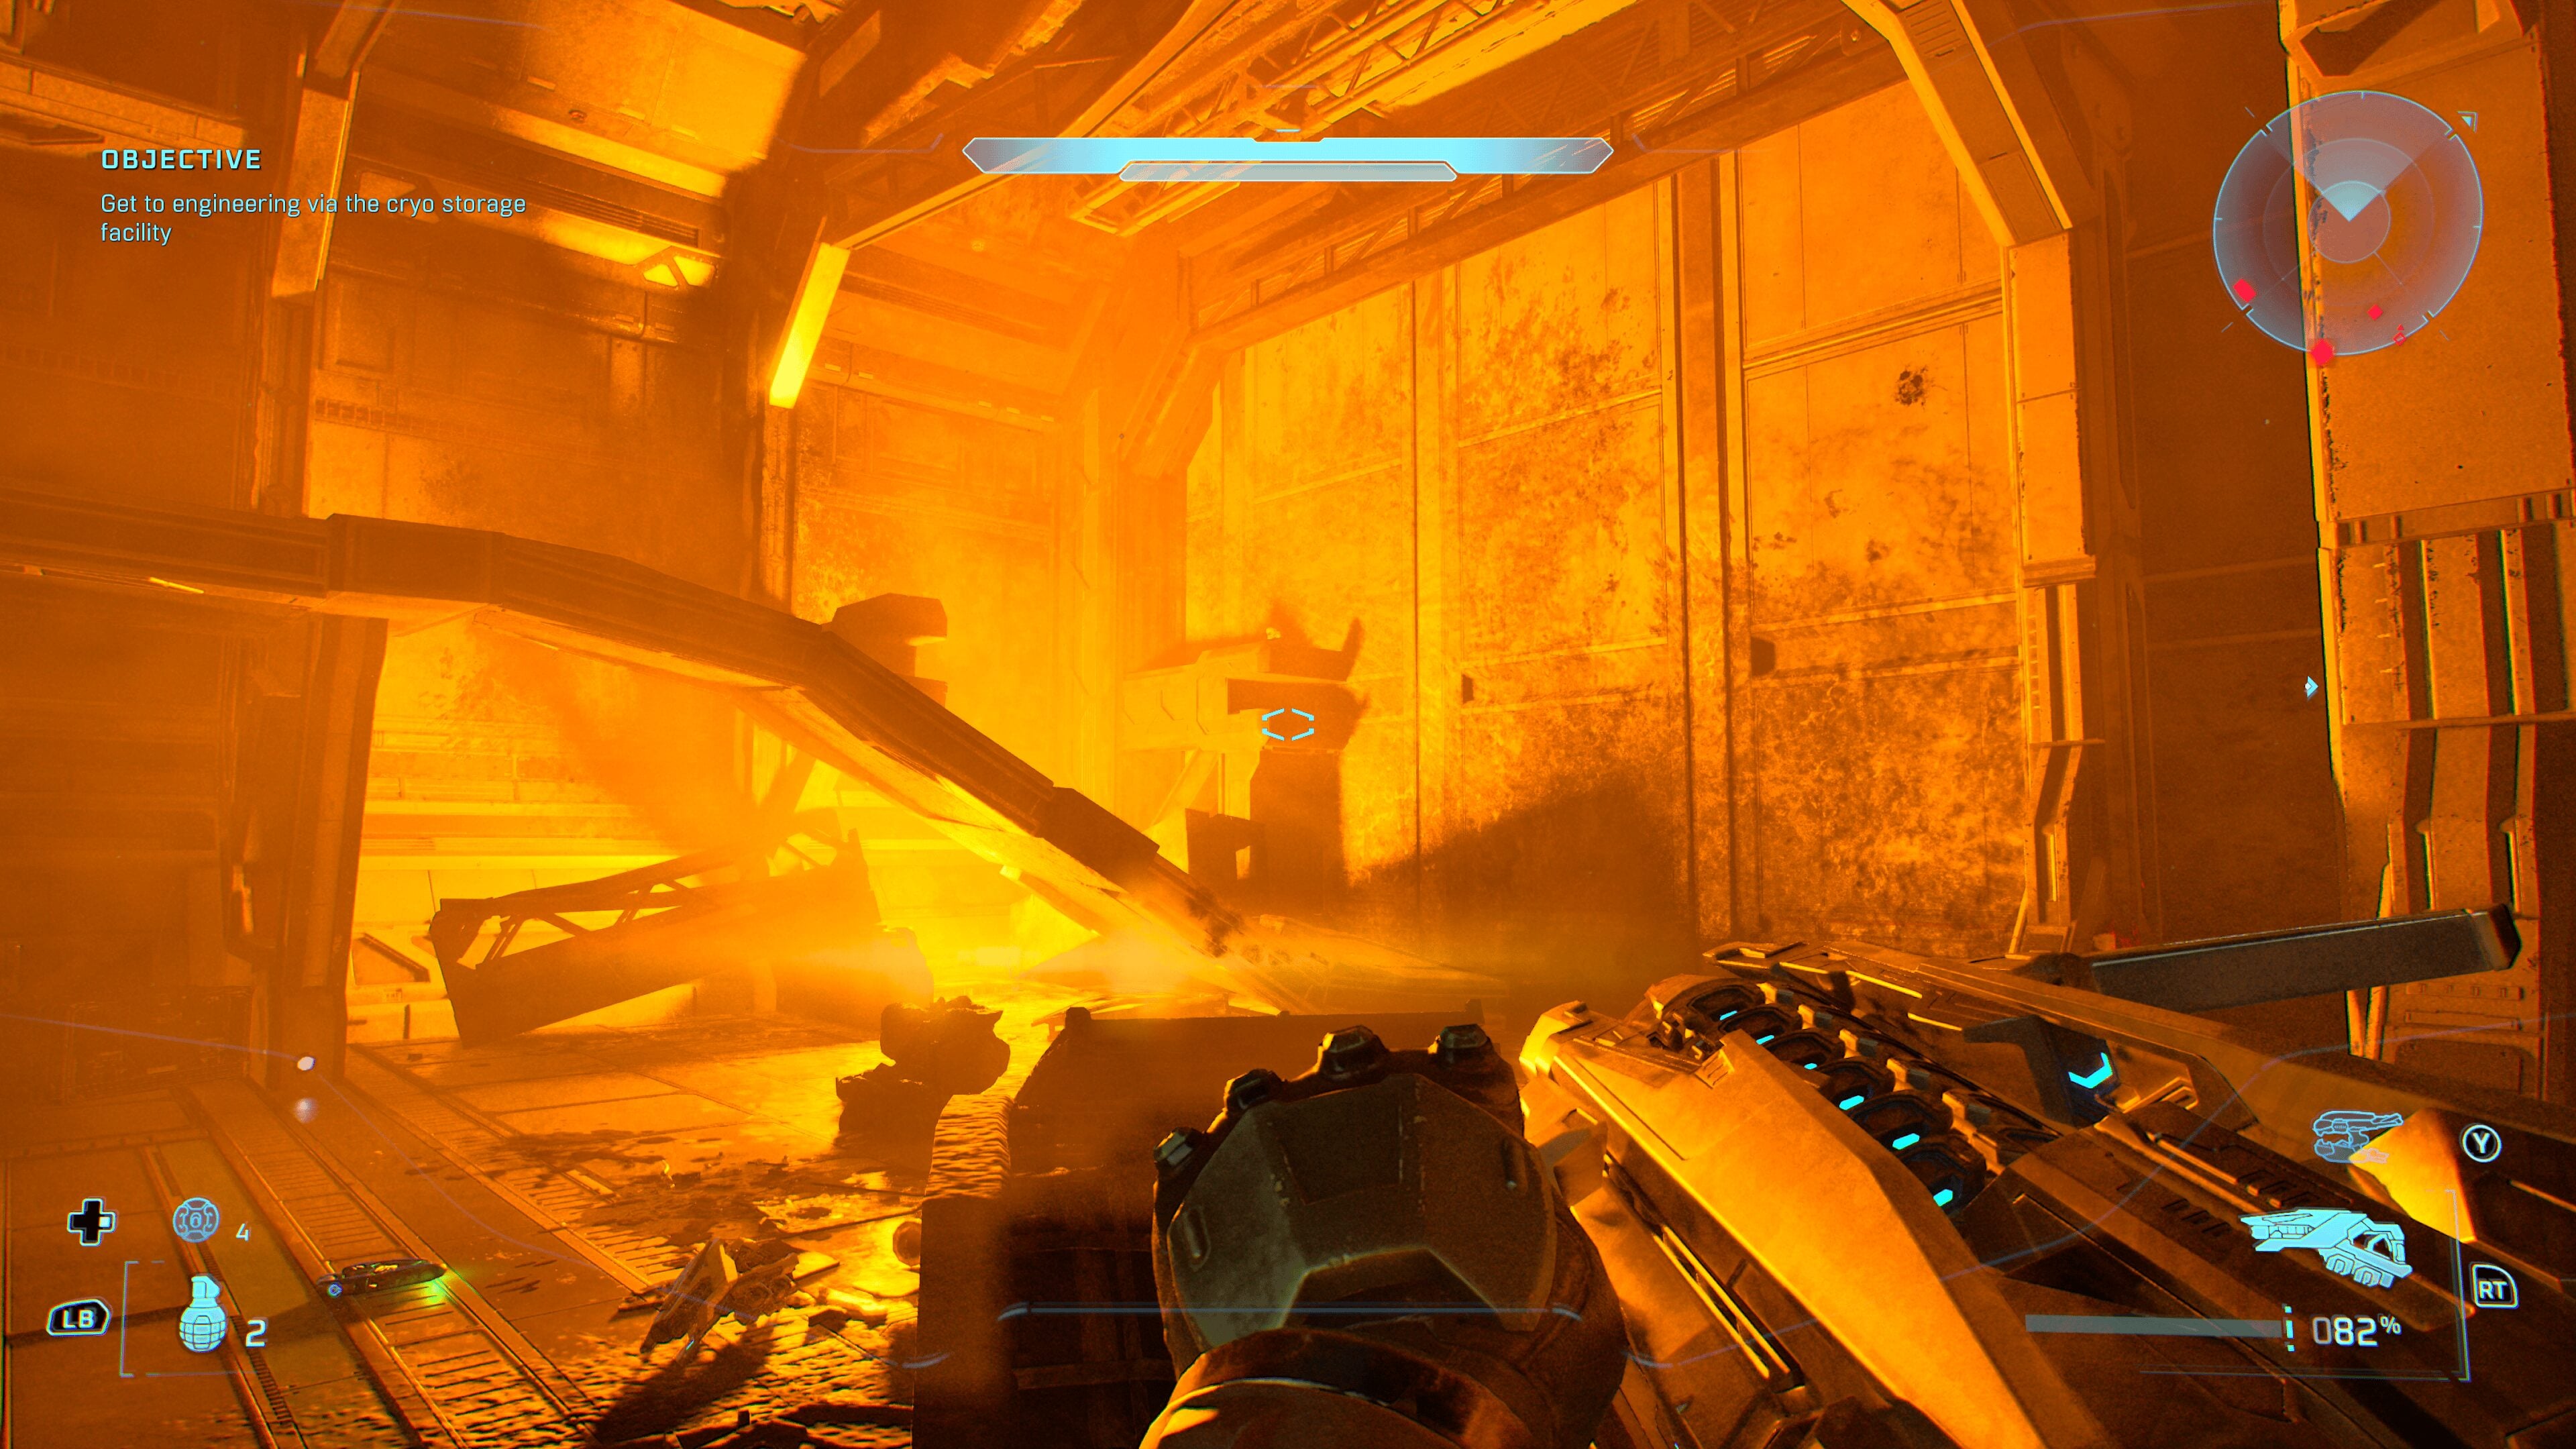
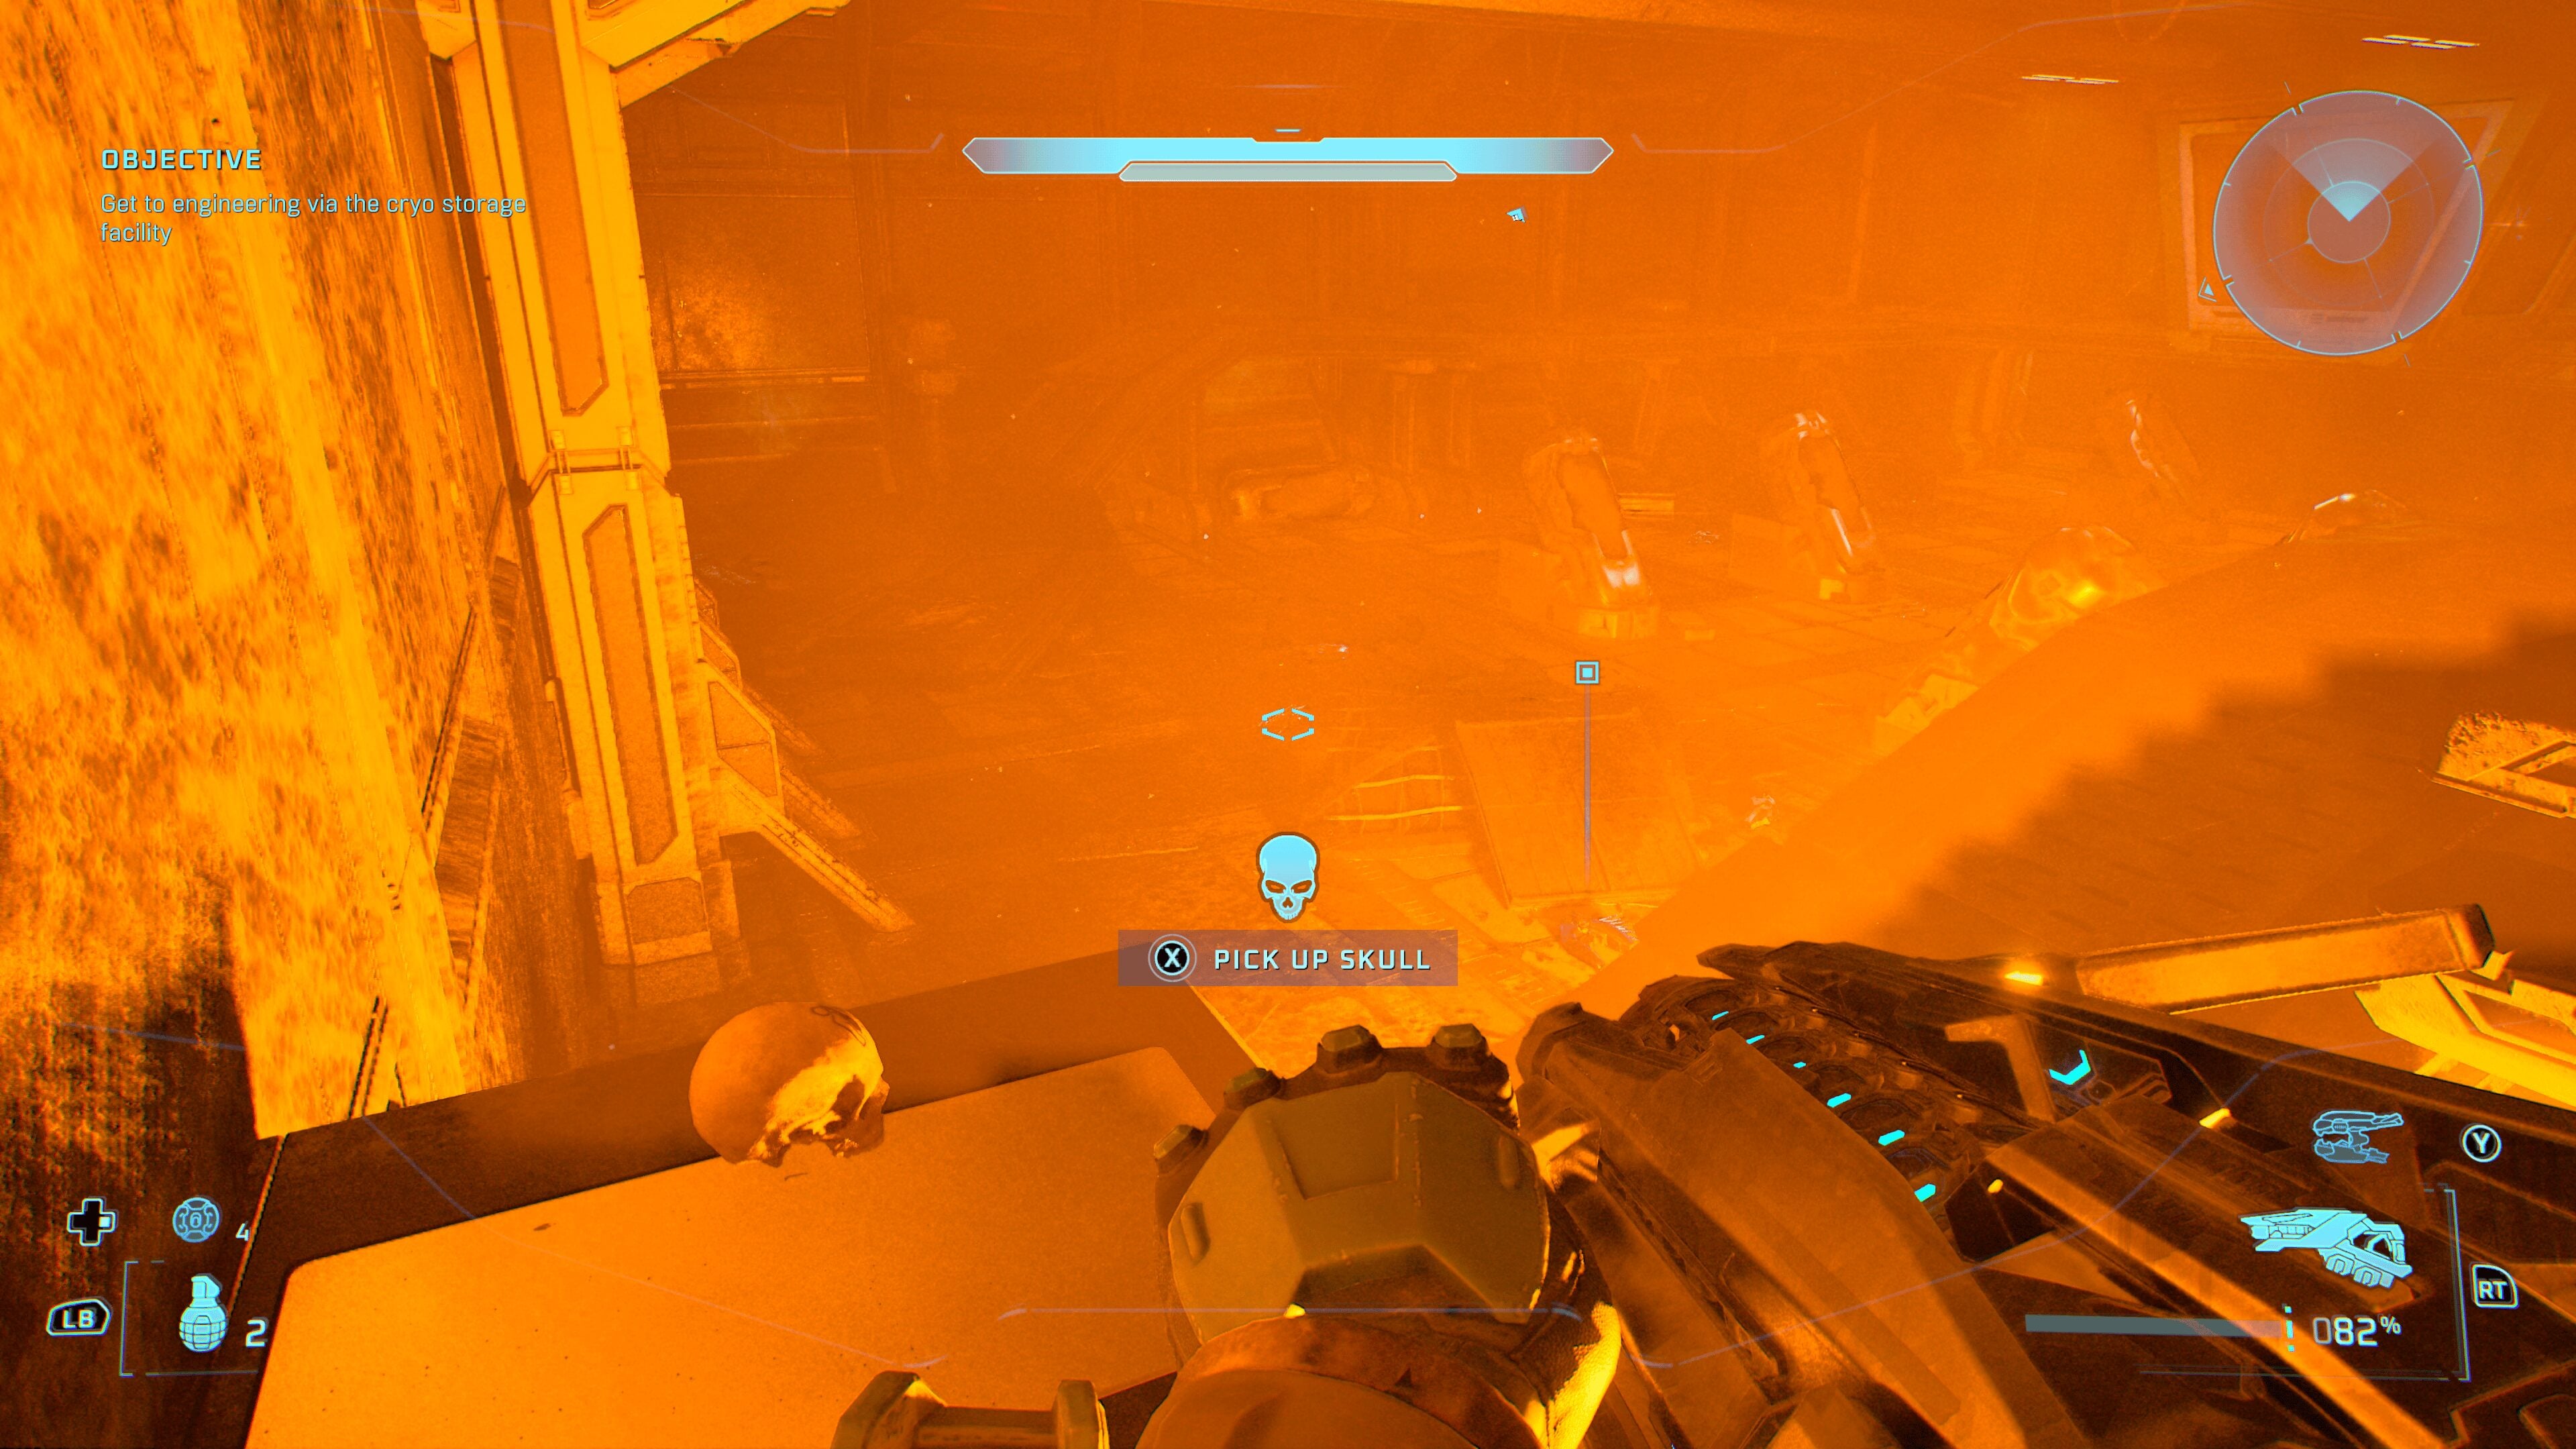
Wipe them out and look to the top left corner of the room; a Skull is sitting on a support beam. Some very simple jumps will allow you to collect the Stowed Reload Skull.
Skull 29 – Boom
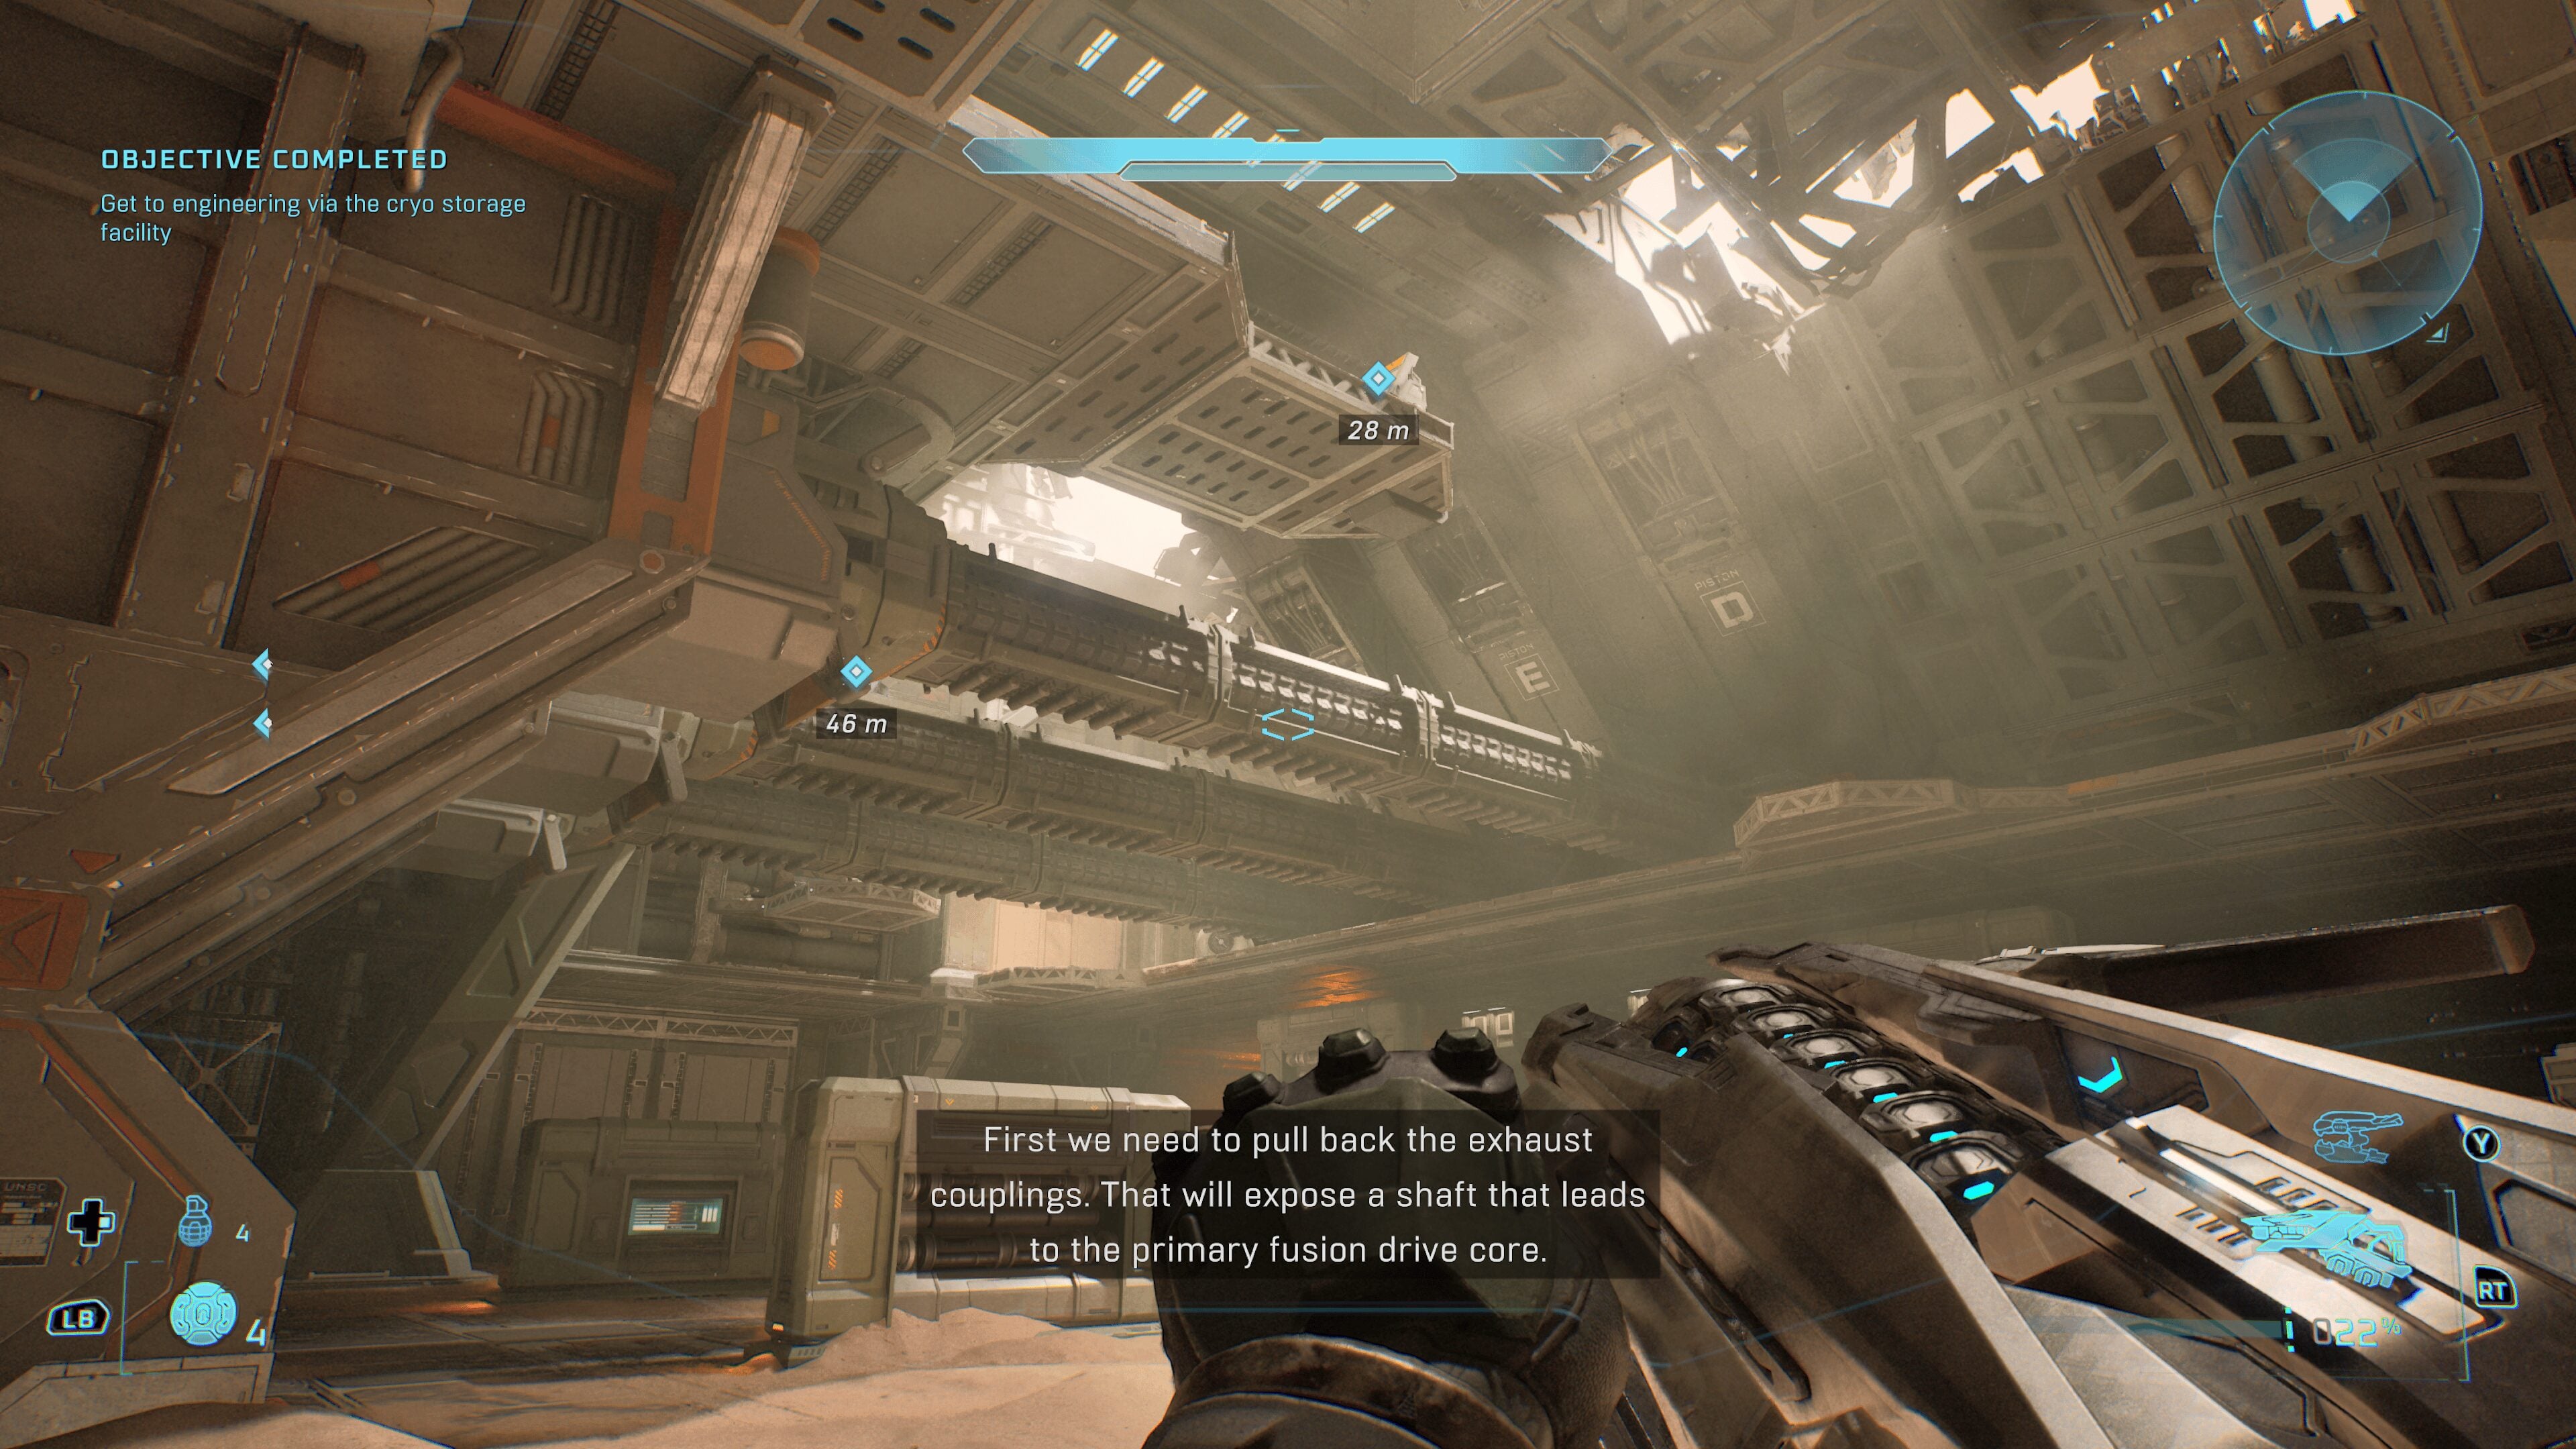
Once you finally reach the engine room, you can find the Boom Skull. The Objective will read ‘Expose cores and destroy them with a grenade or rocket 0/4‘. You’ll need to head upstairs and interact with four terminals in order to expose the cores.
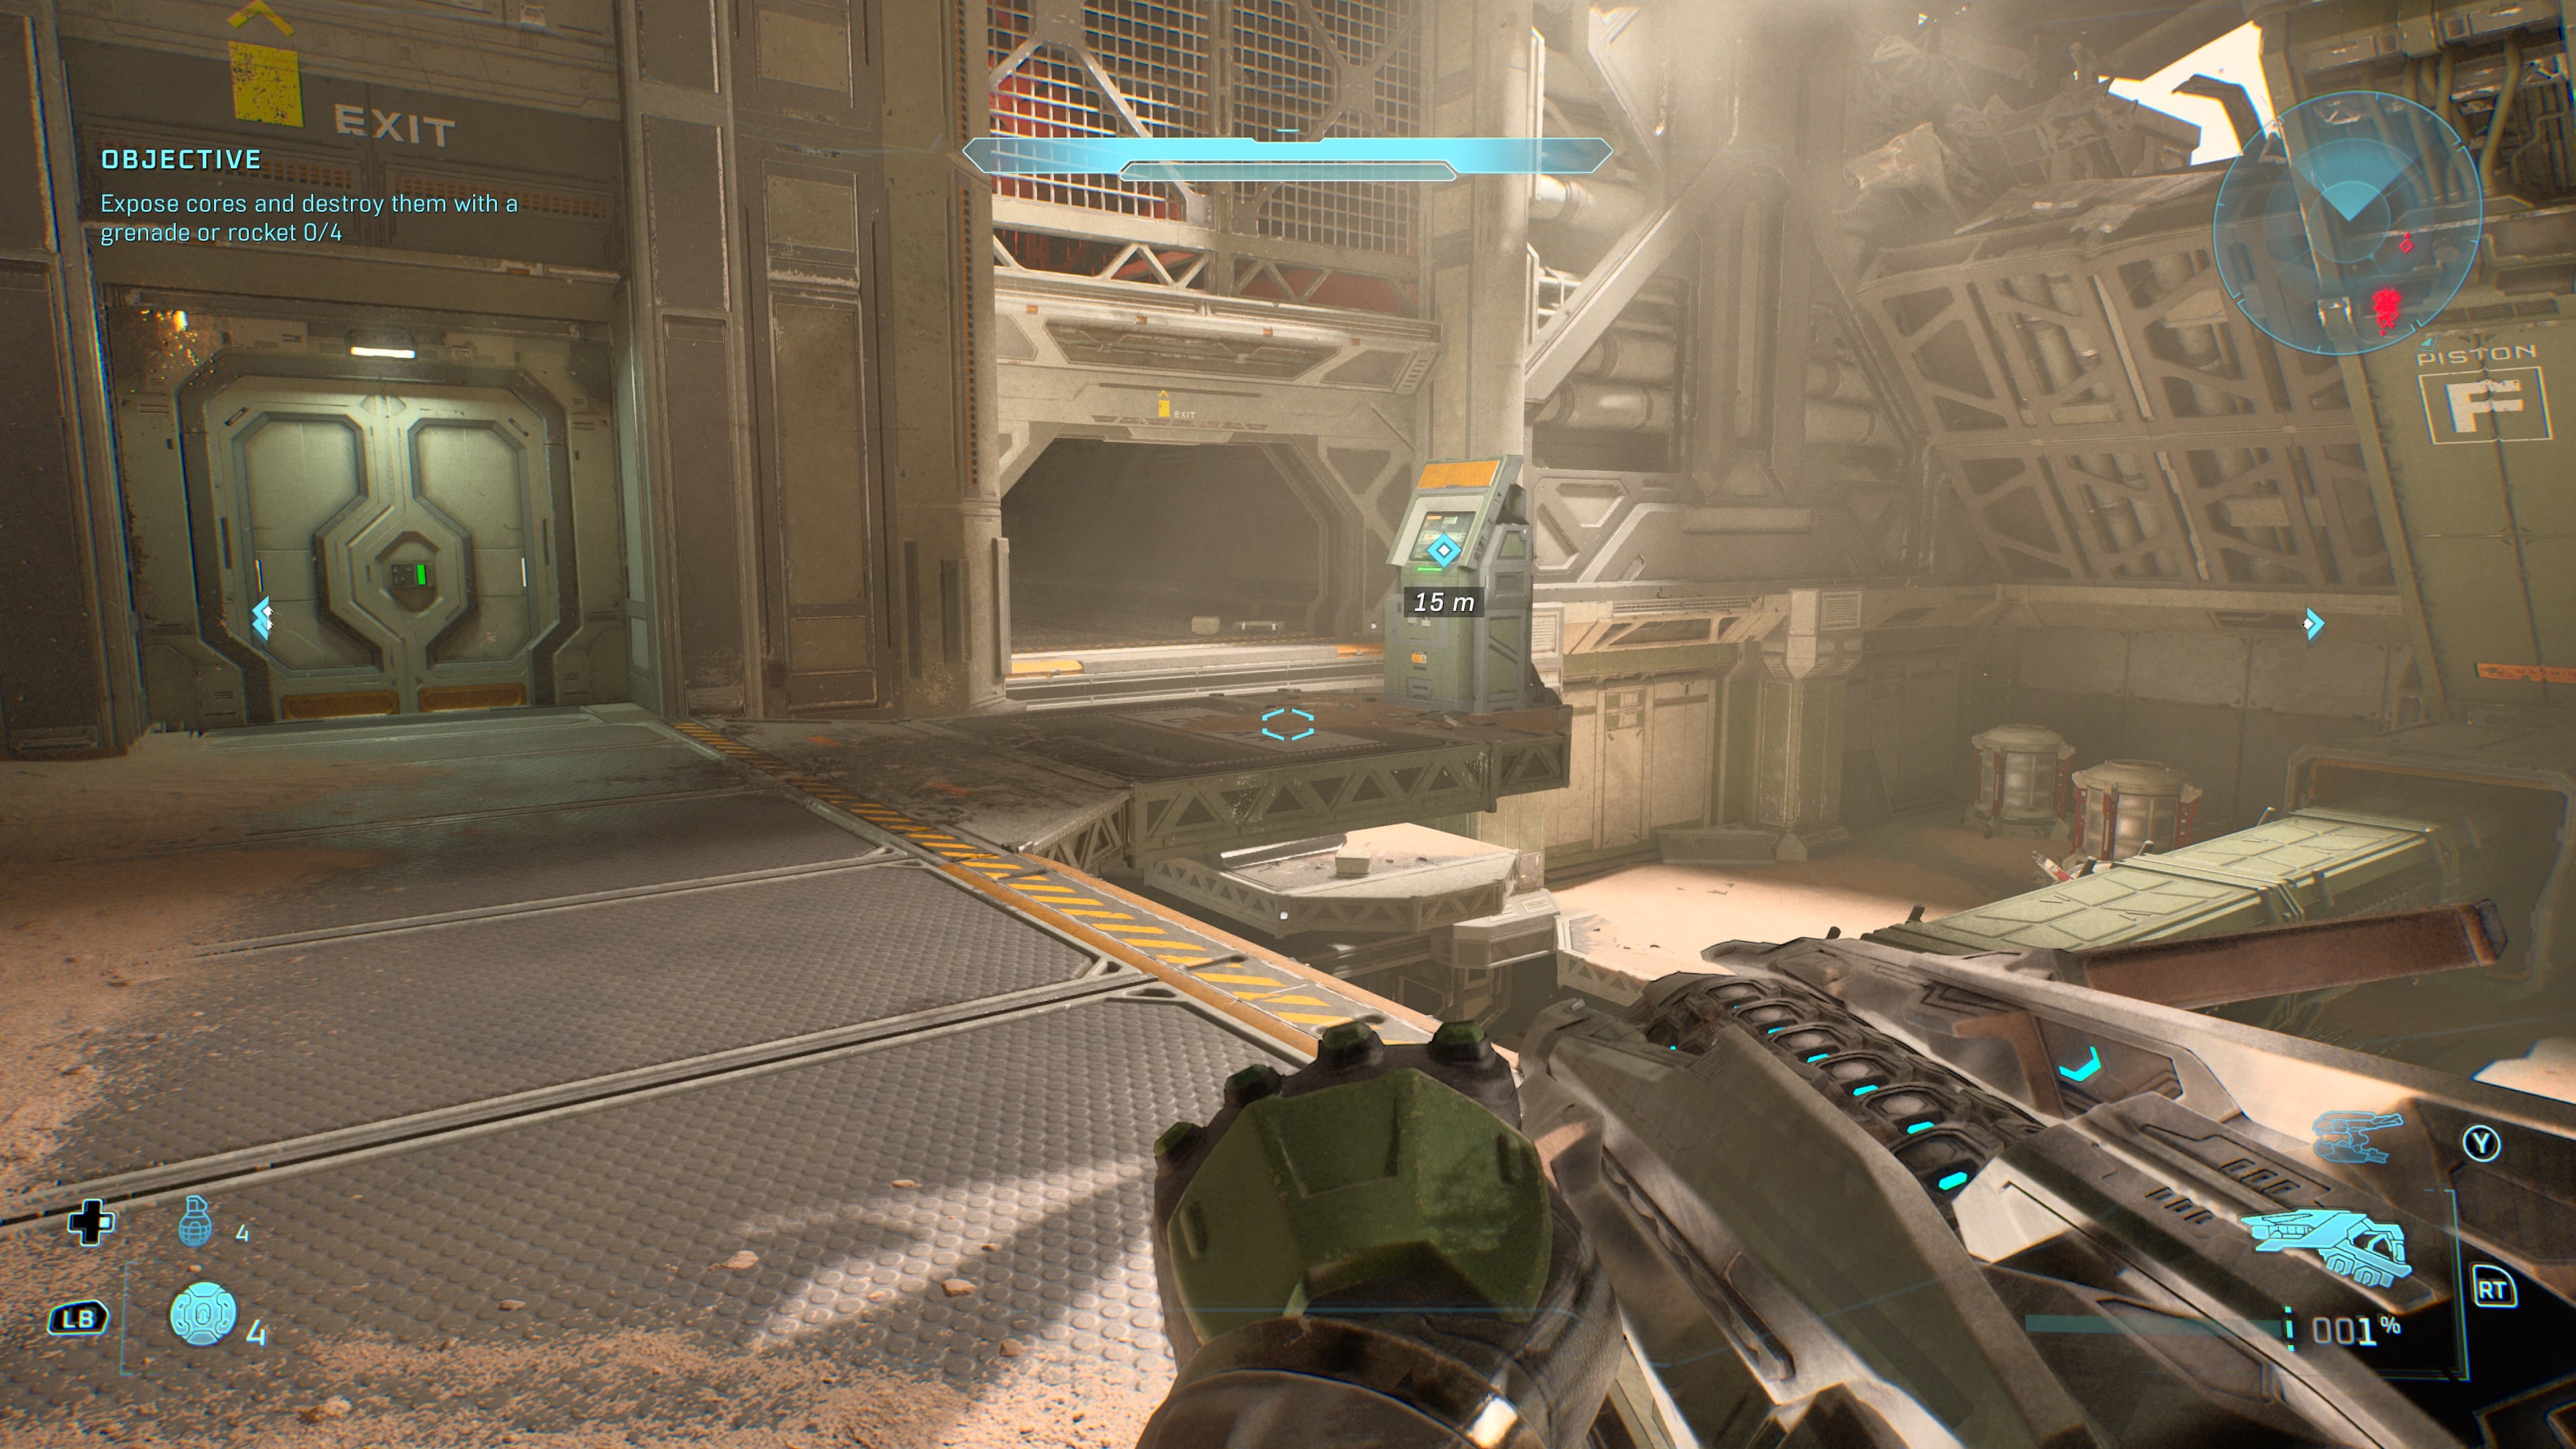
On the right side of the room, the rear terminal is close to a hatch where Sentinel drones will spawn during your battle.
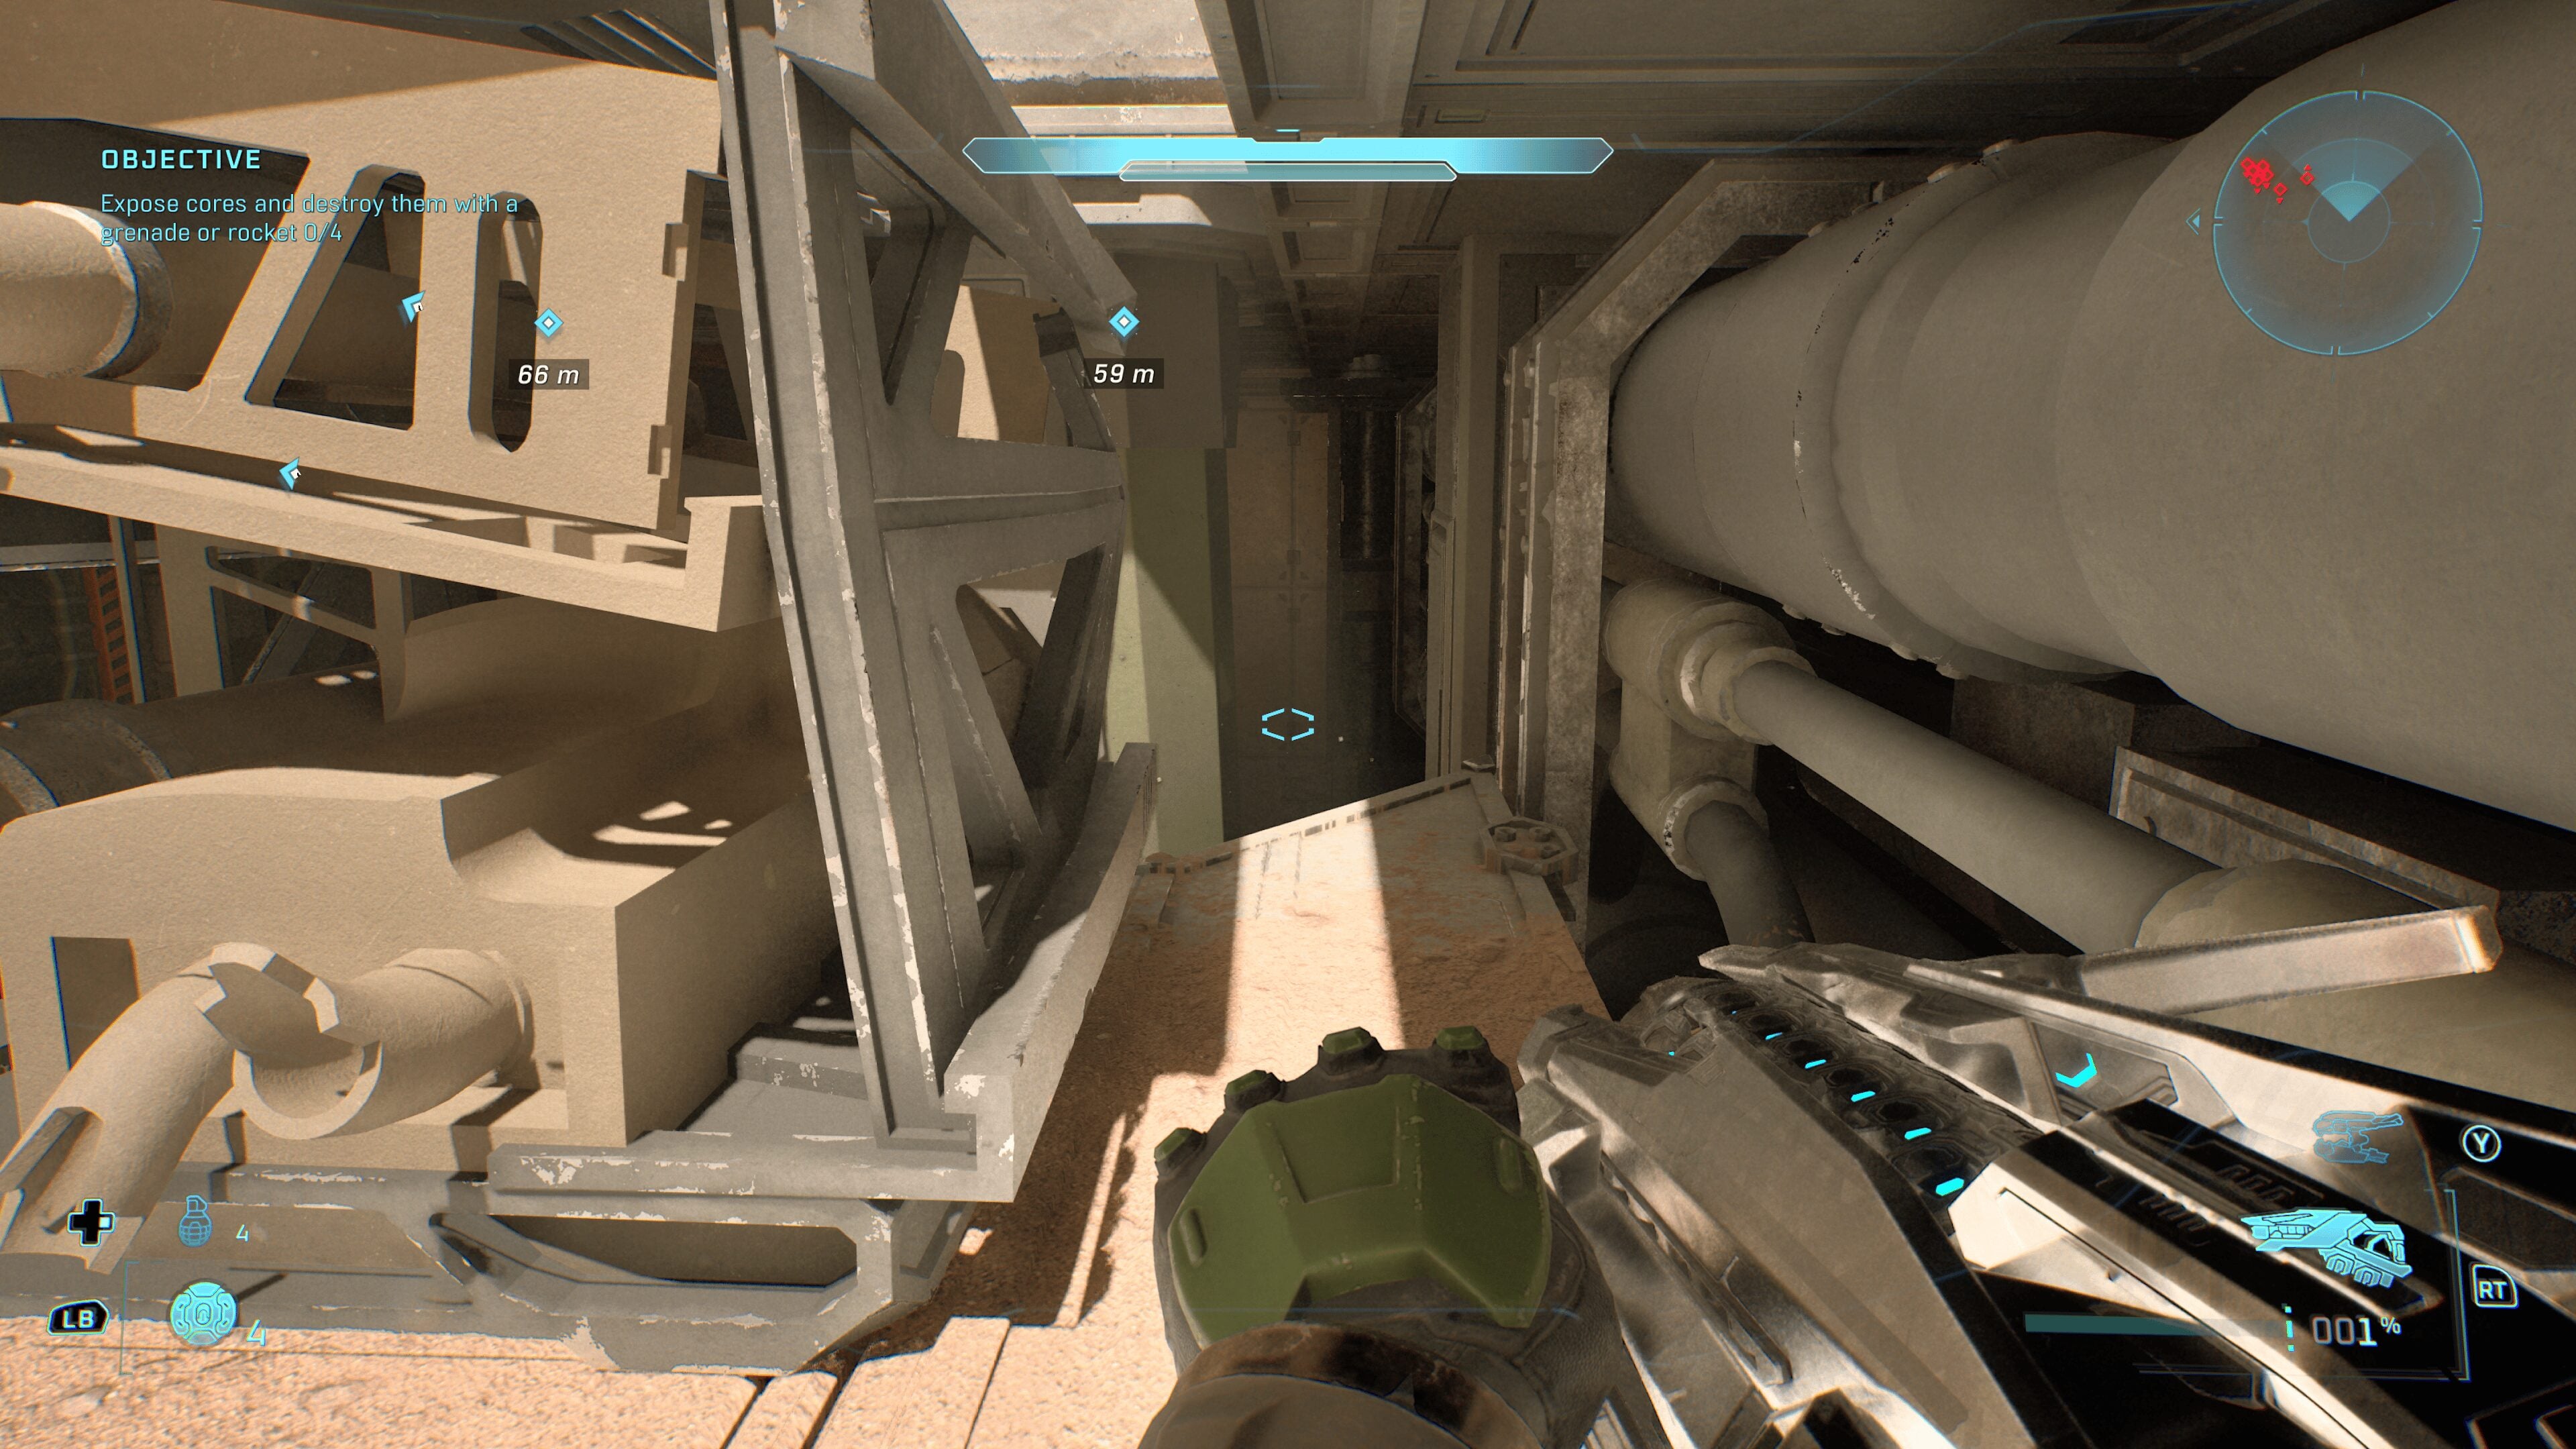
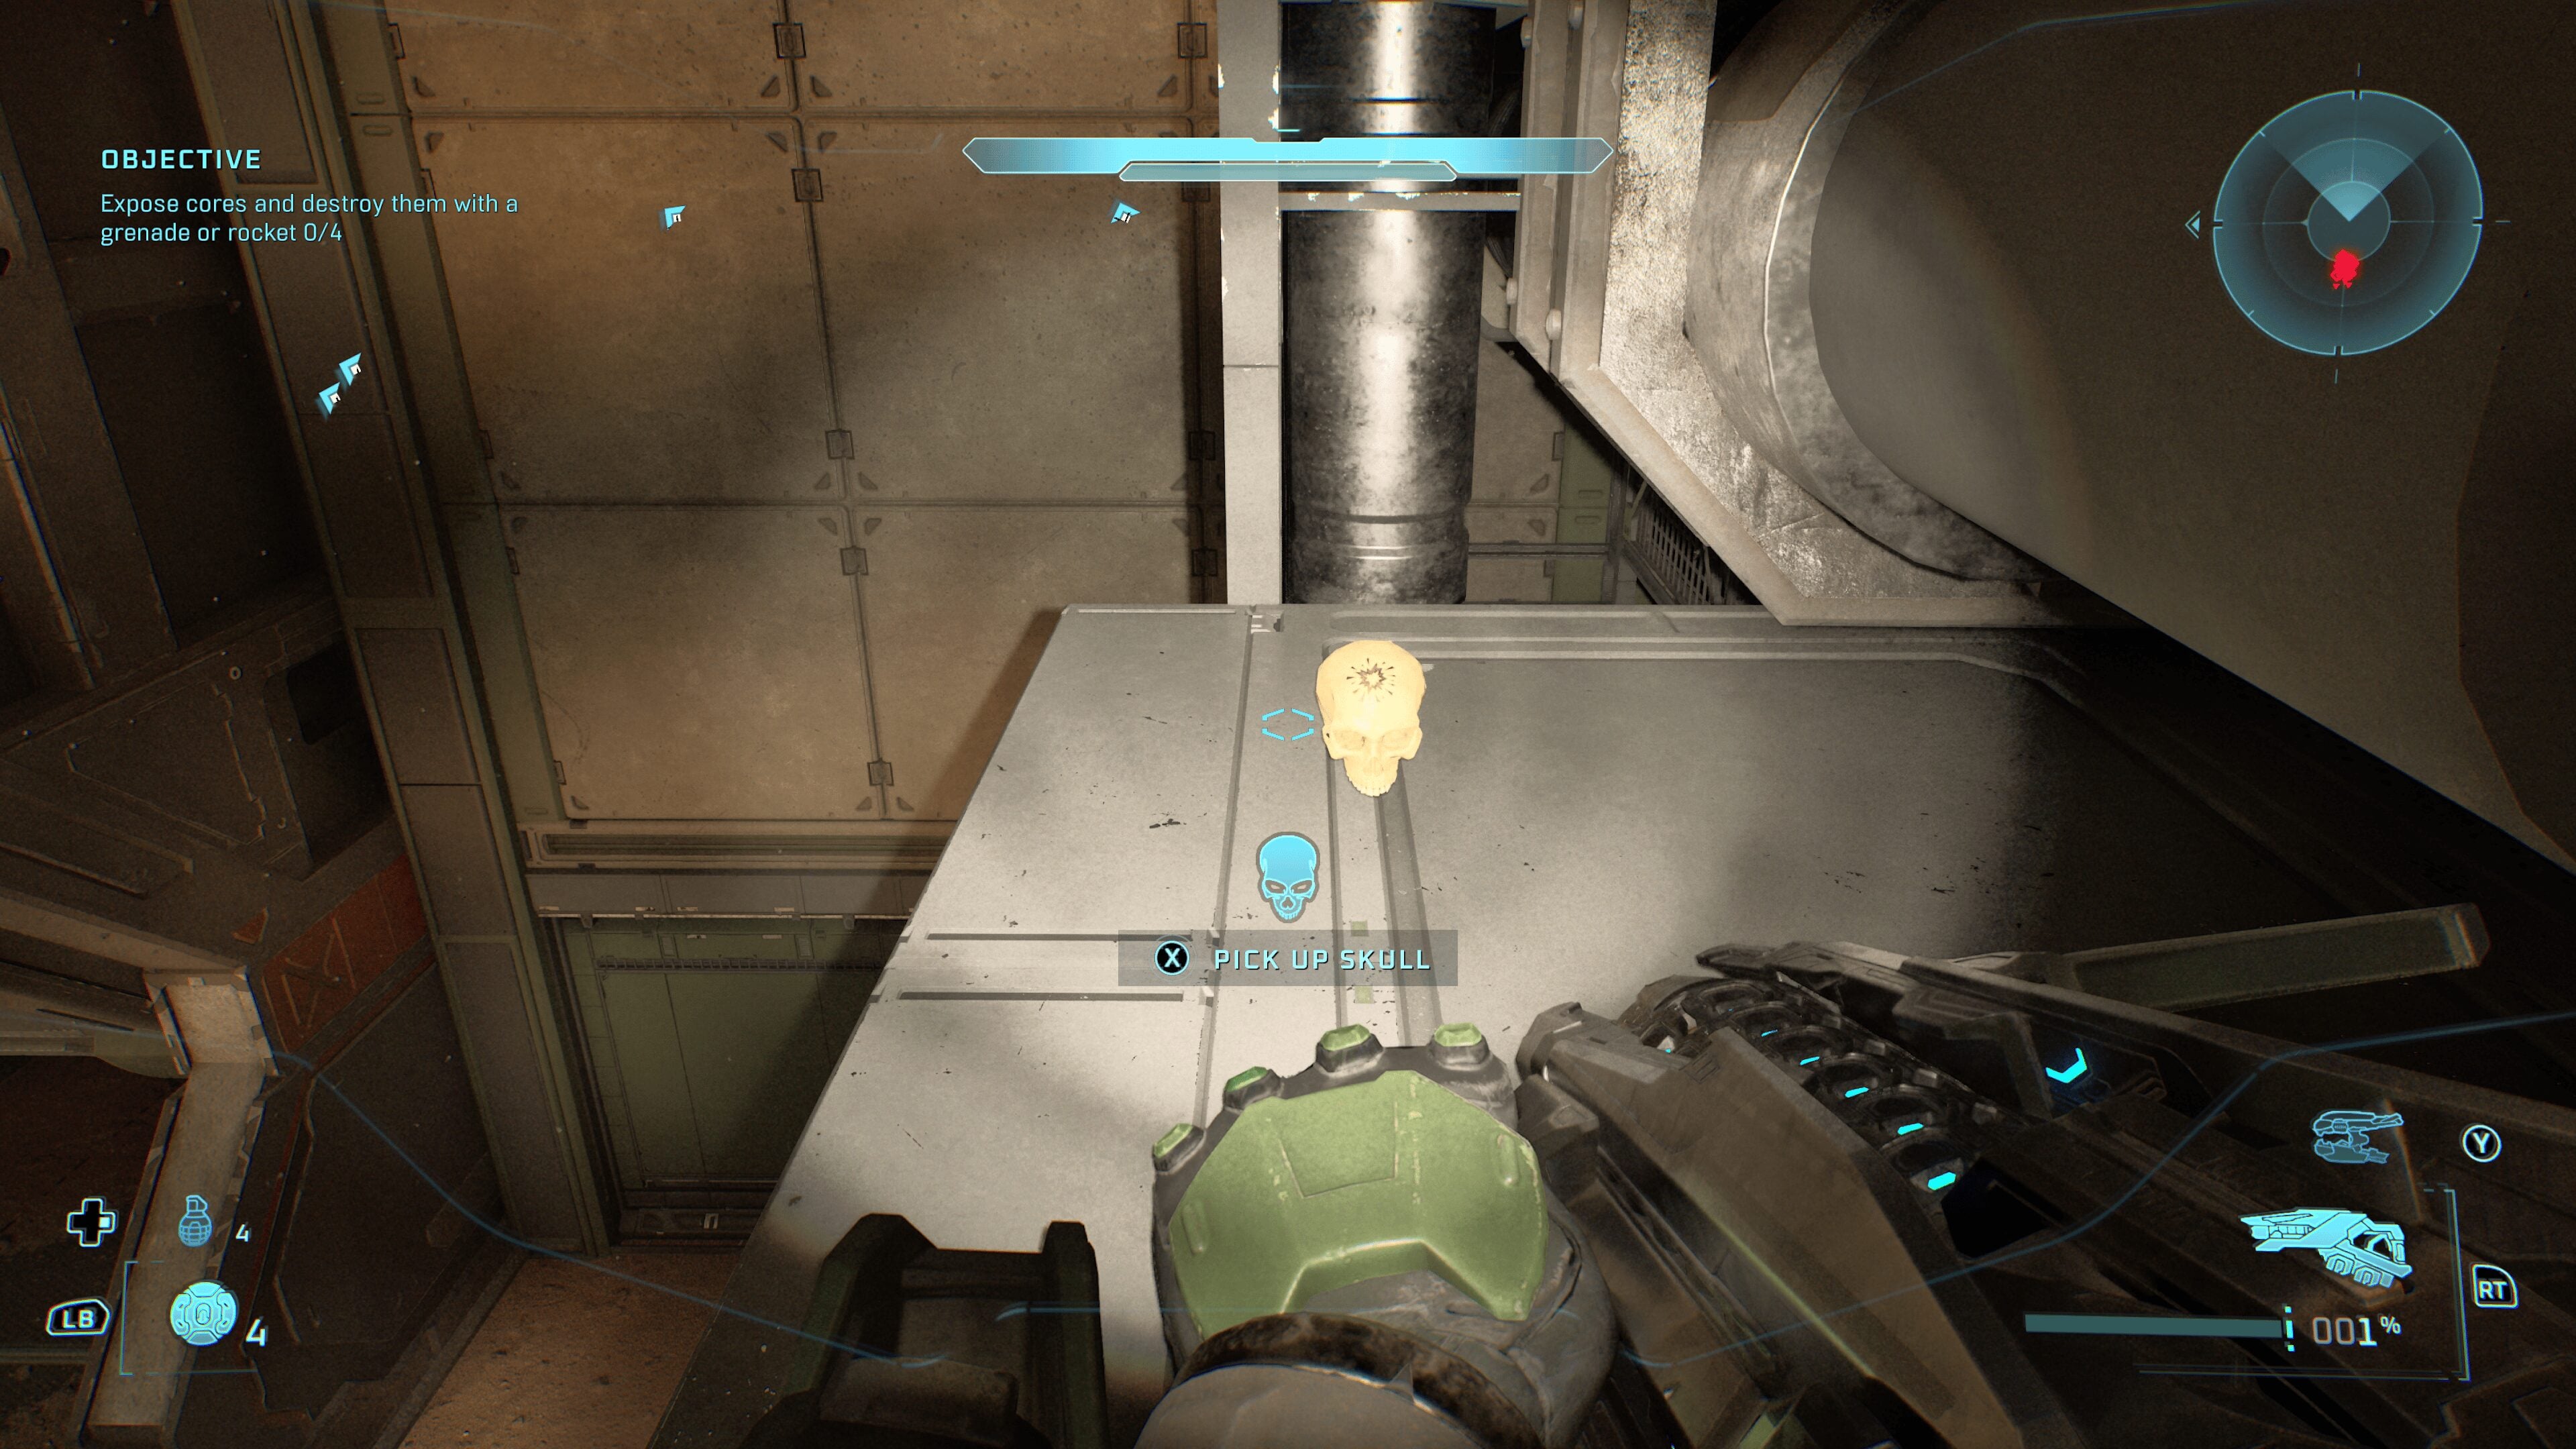
Drop down onto the ledge just below the hatch, move around the box to hug the wall, and you should be able to see the Boom Skull on a ledge. You’ll need to crouch as you approach it.
Rally Point Charlie
Skull 30 – Thunderstorm
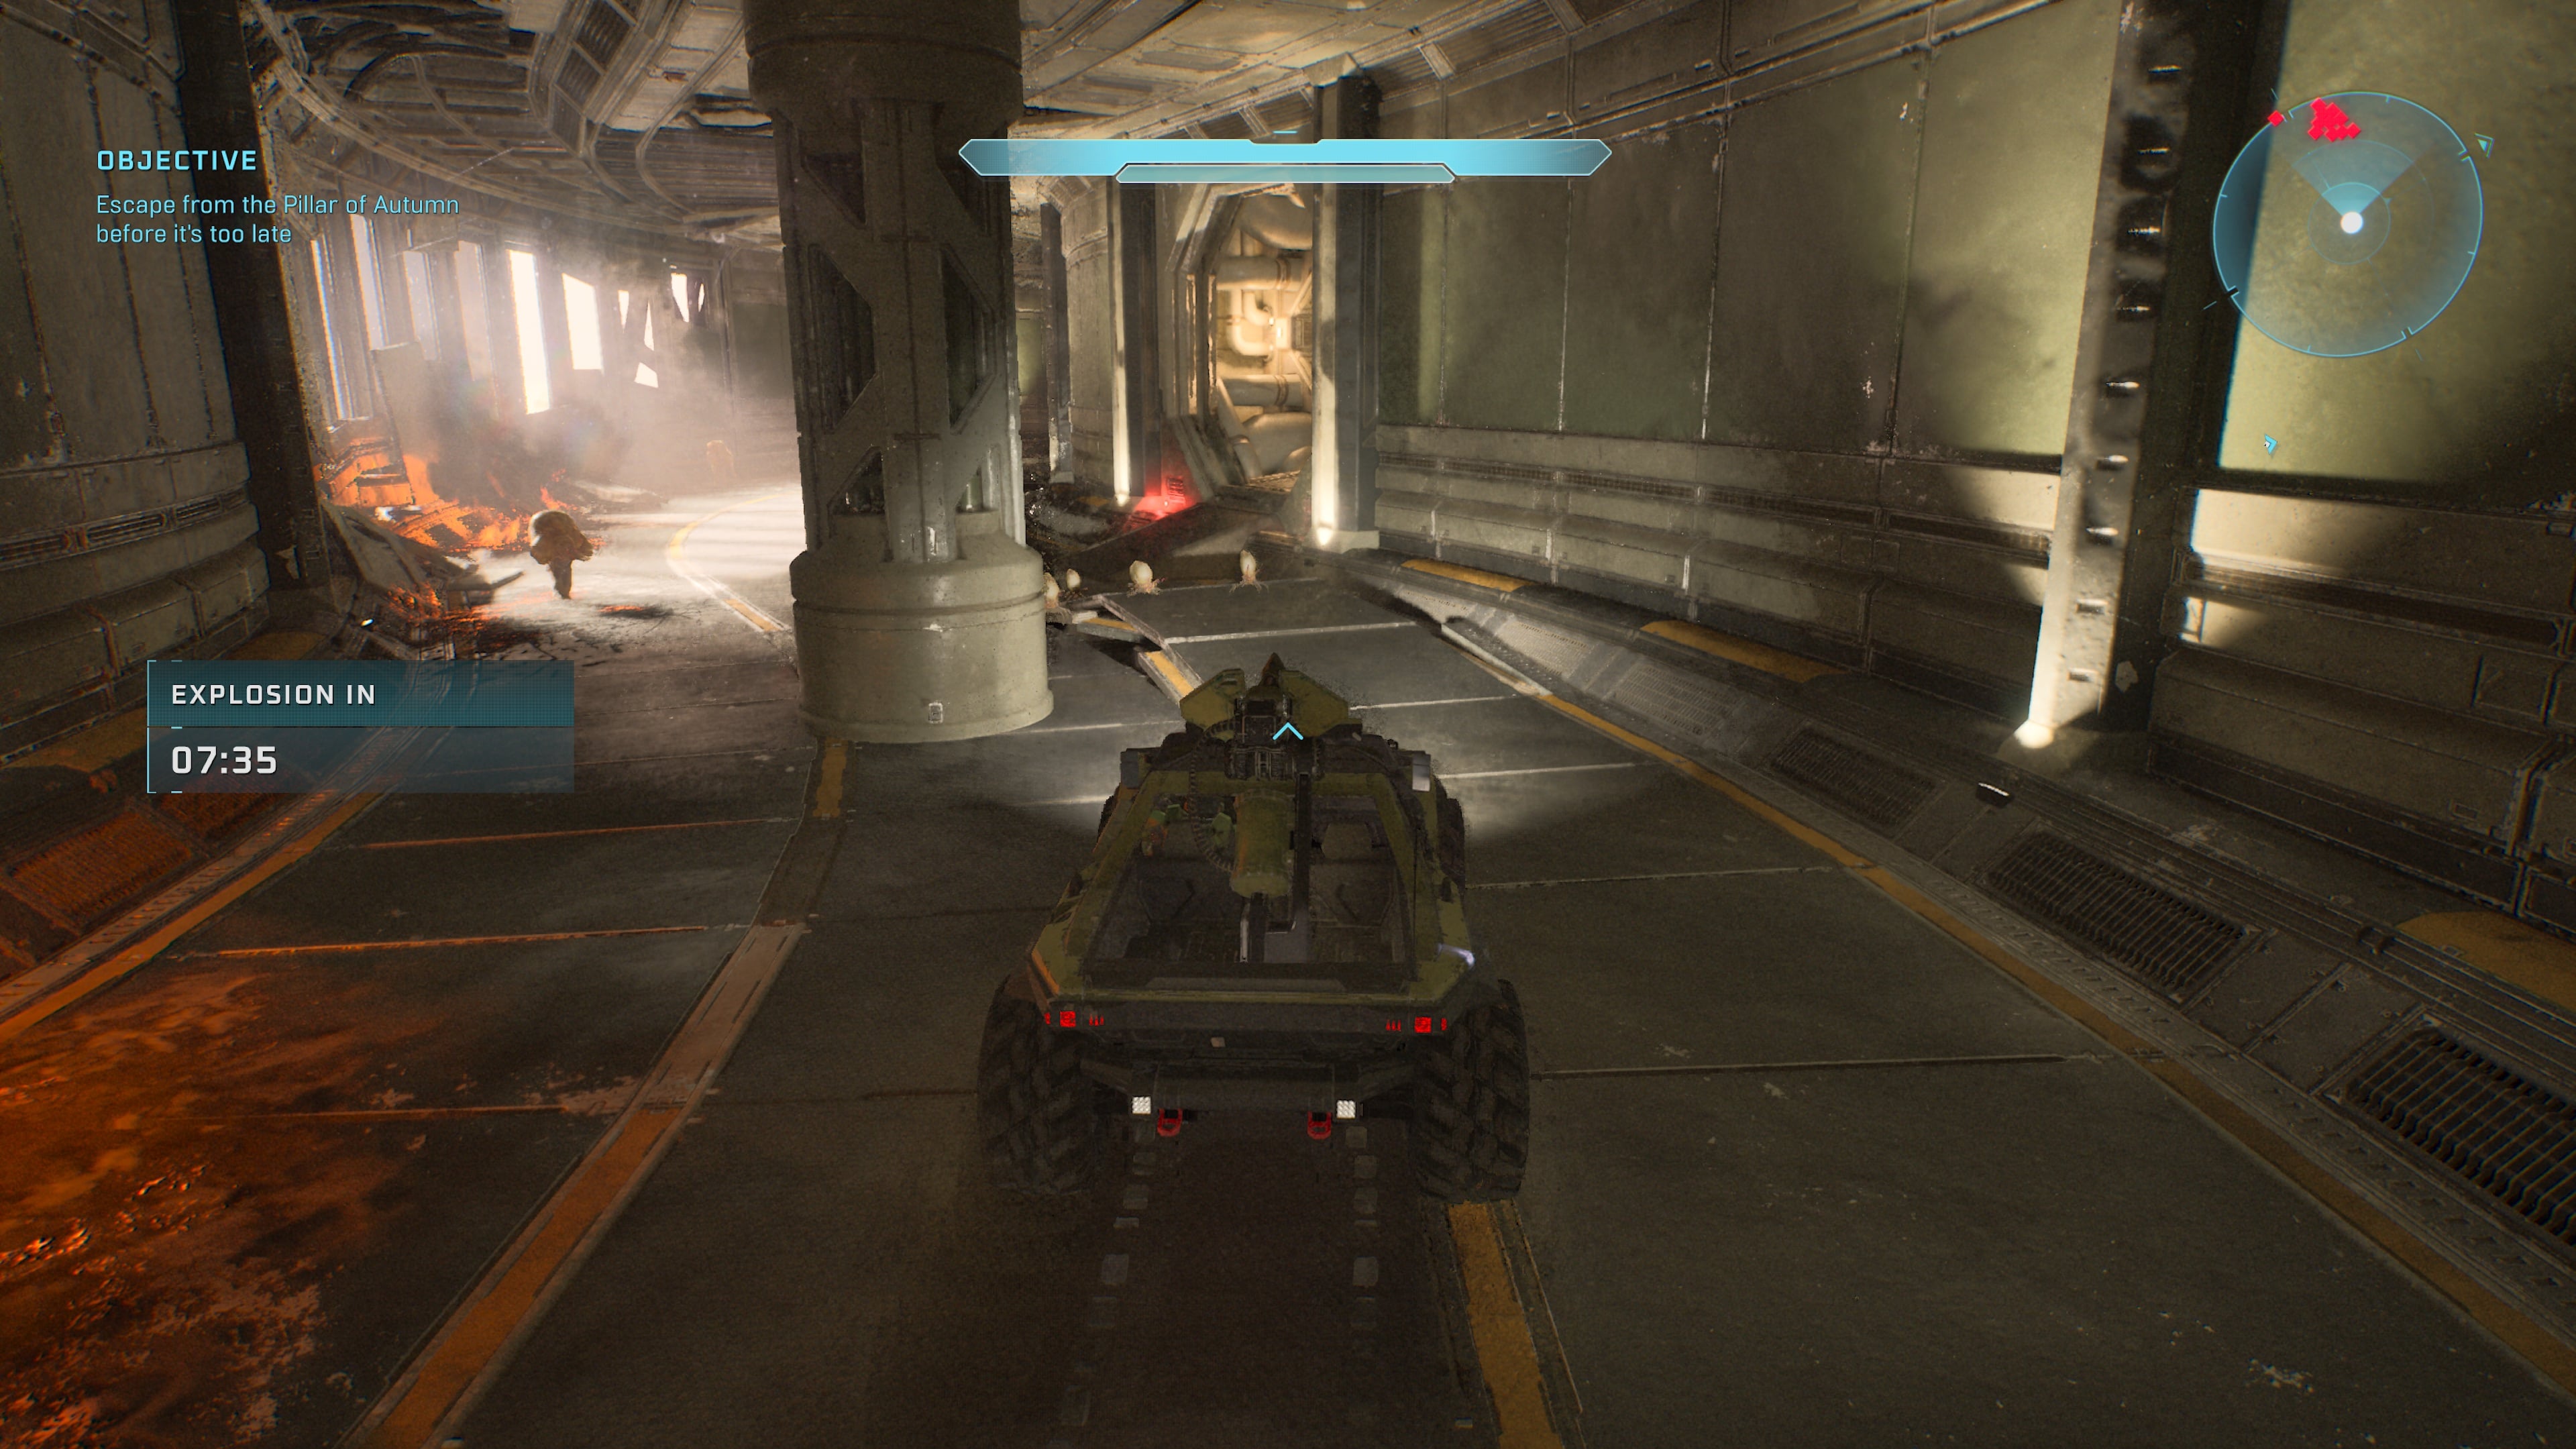
Rally Point Charlie begins at the famous Warthog escape sequence. Follow the waypoints until you have to take a hairpin turn followed by a trip through a tunnel with pillars and ramps. In the tunnel, you’ll see a couple of hatches on the right-side wall that you can drive through for a quick shortcut.
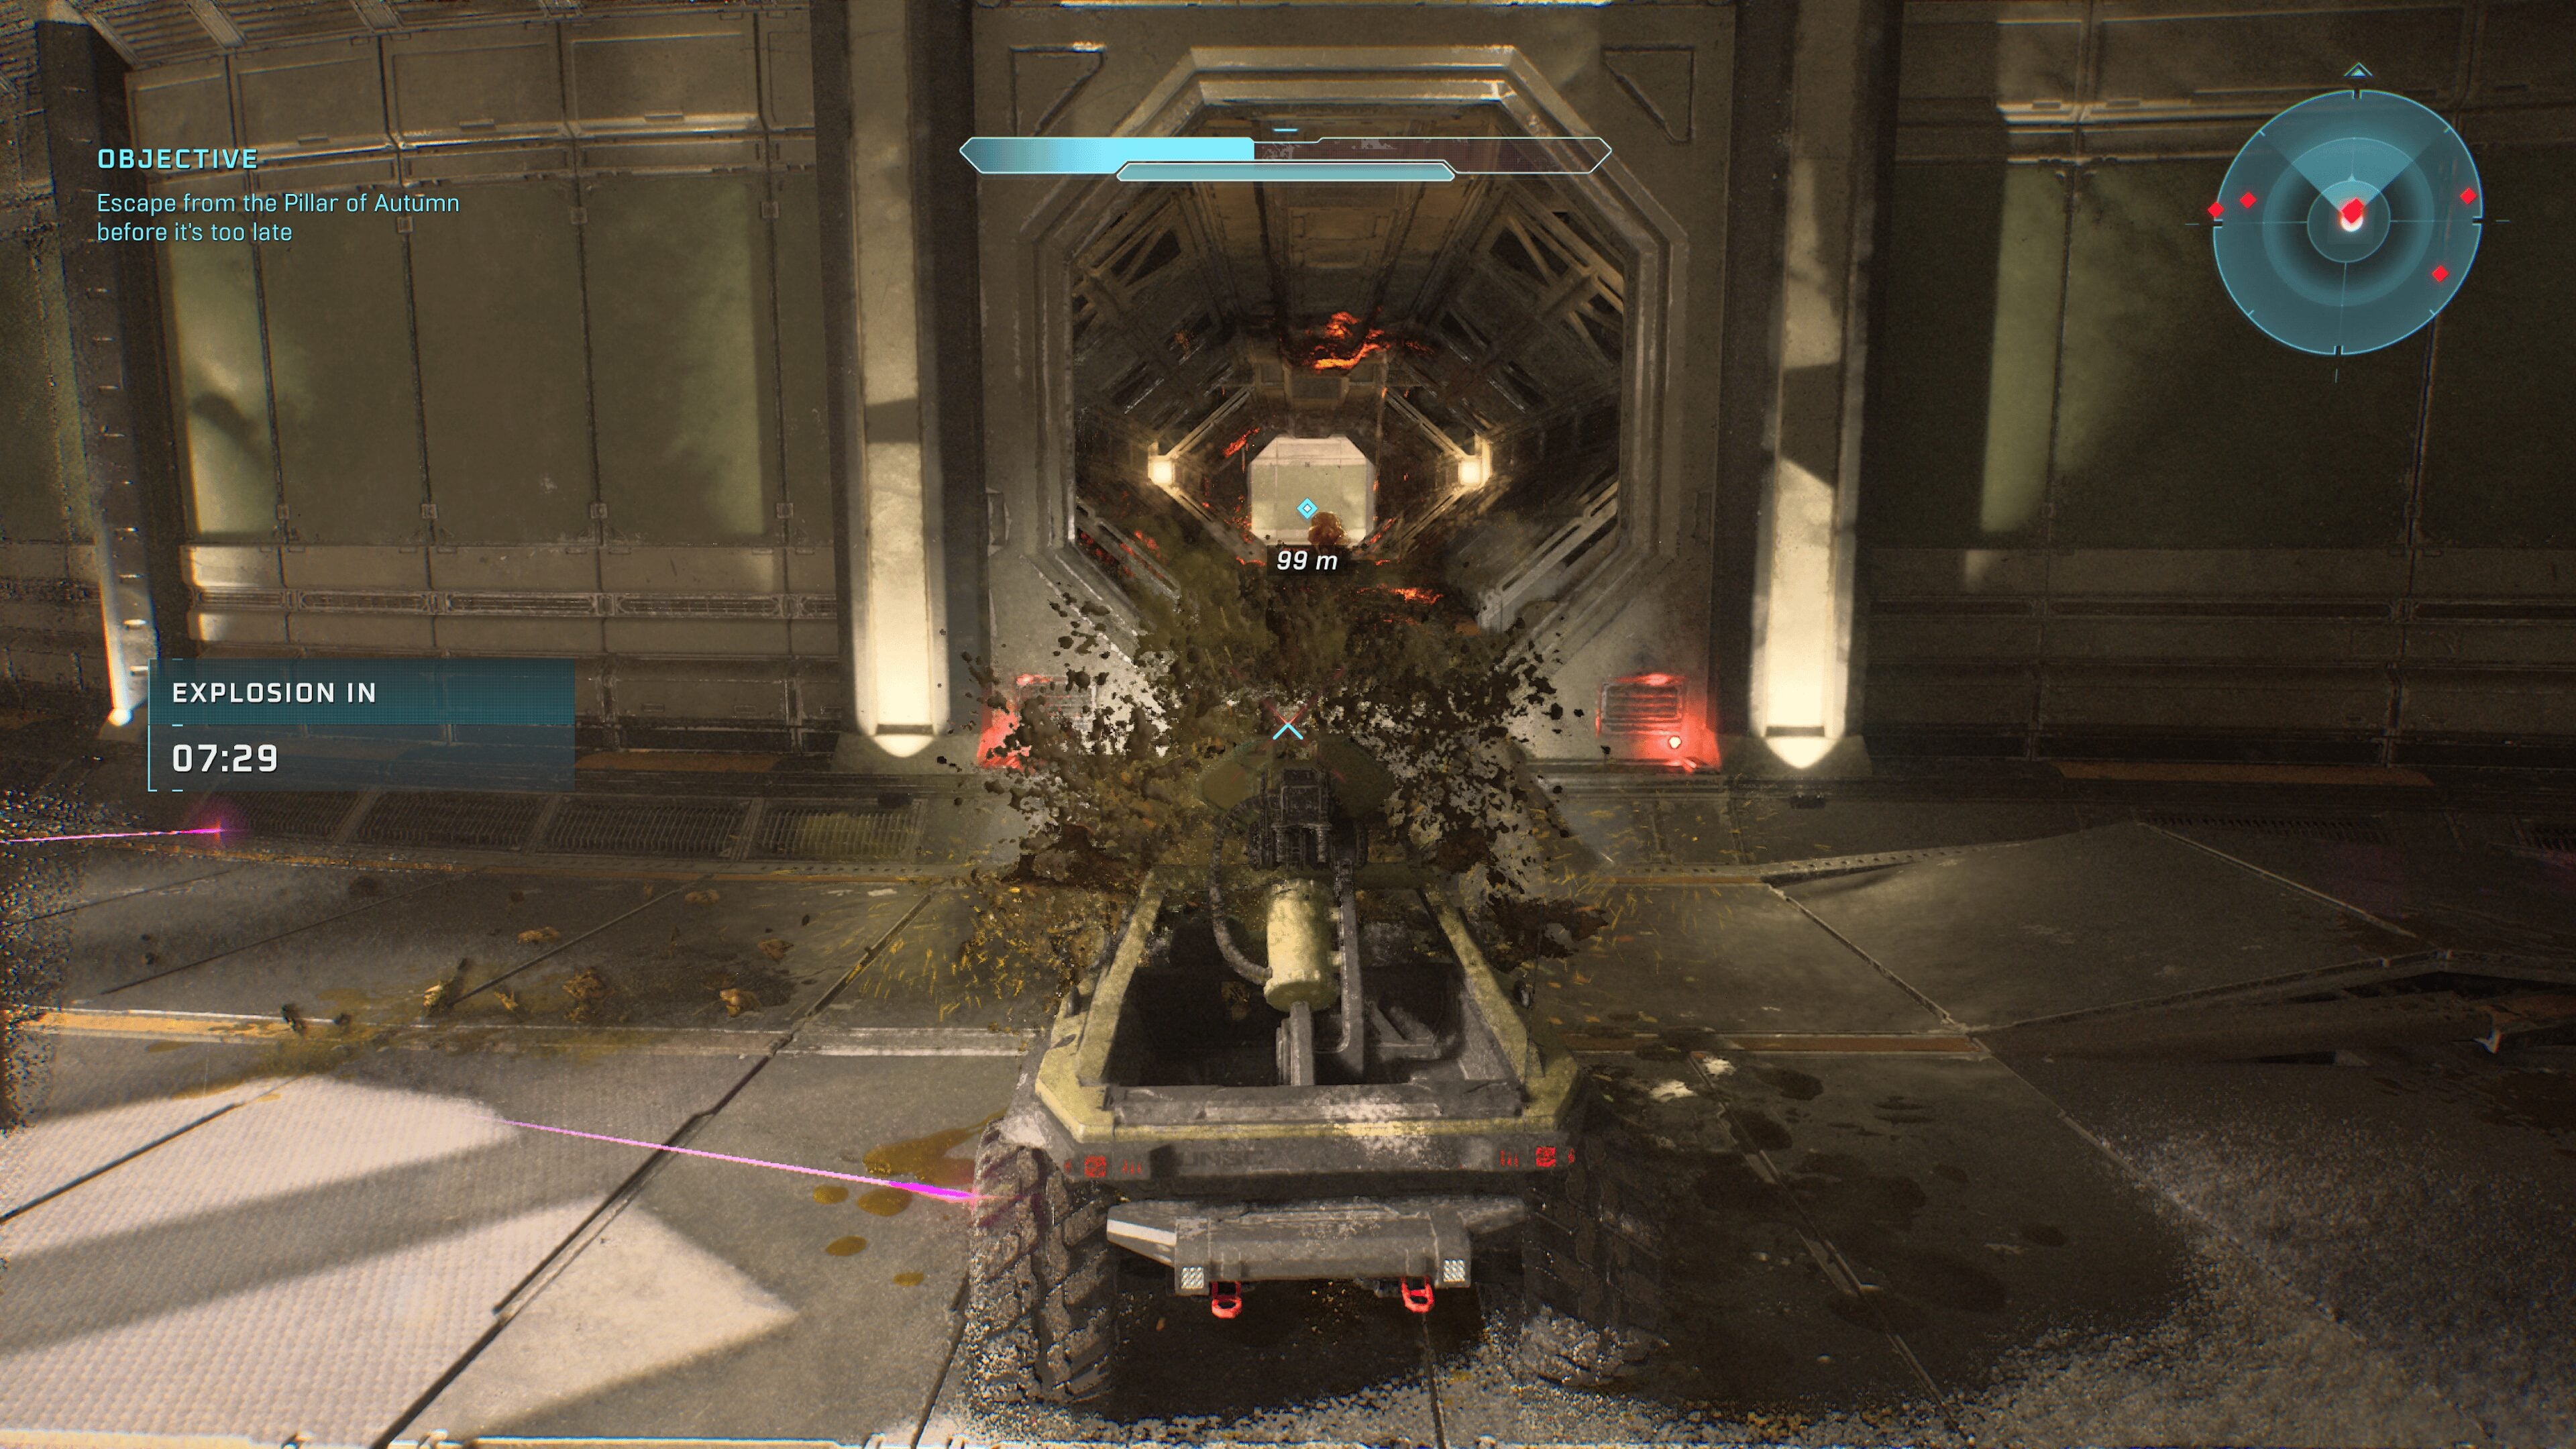
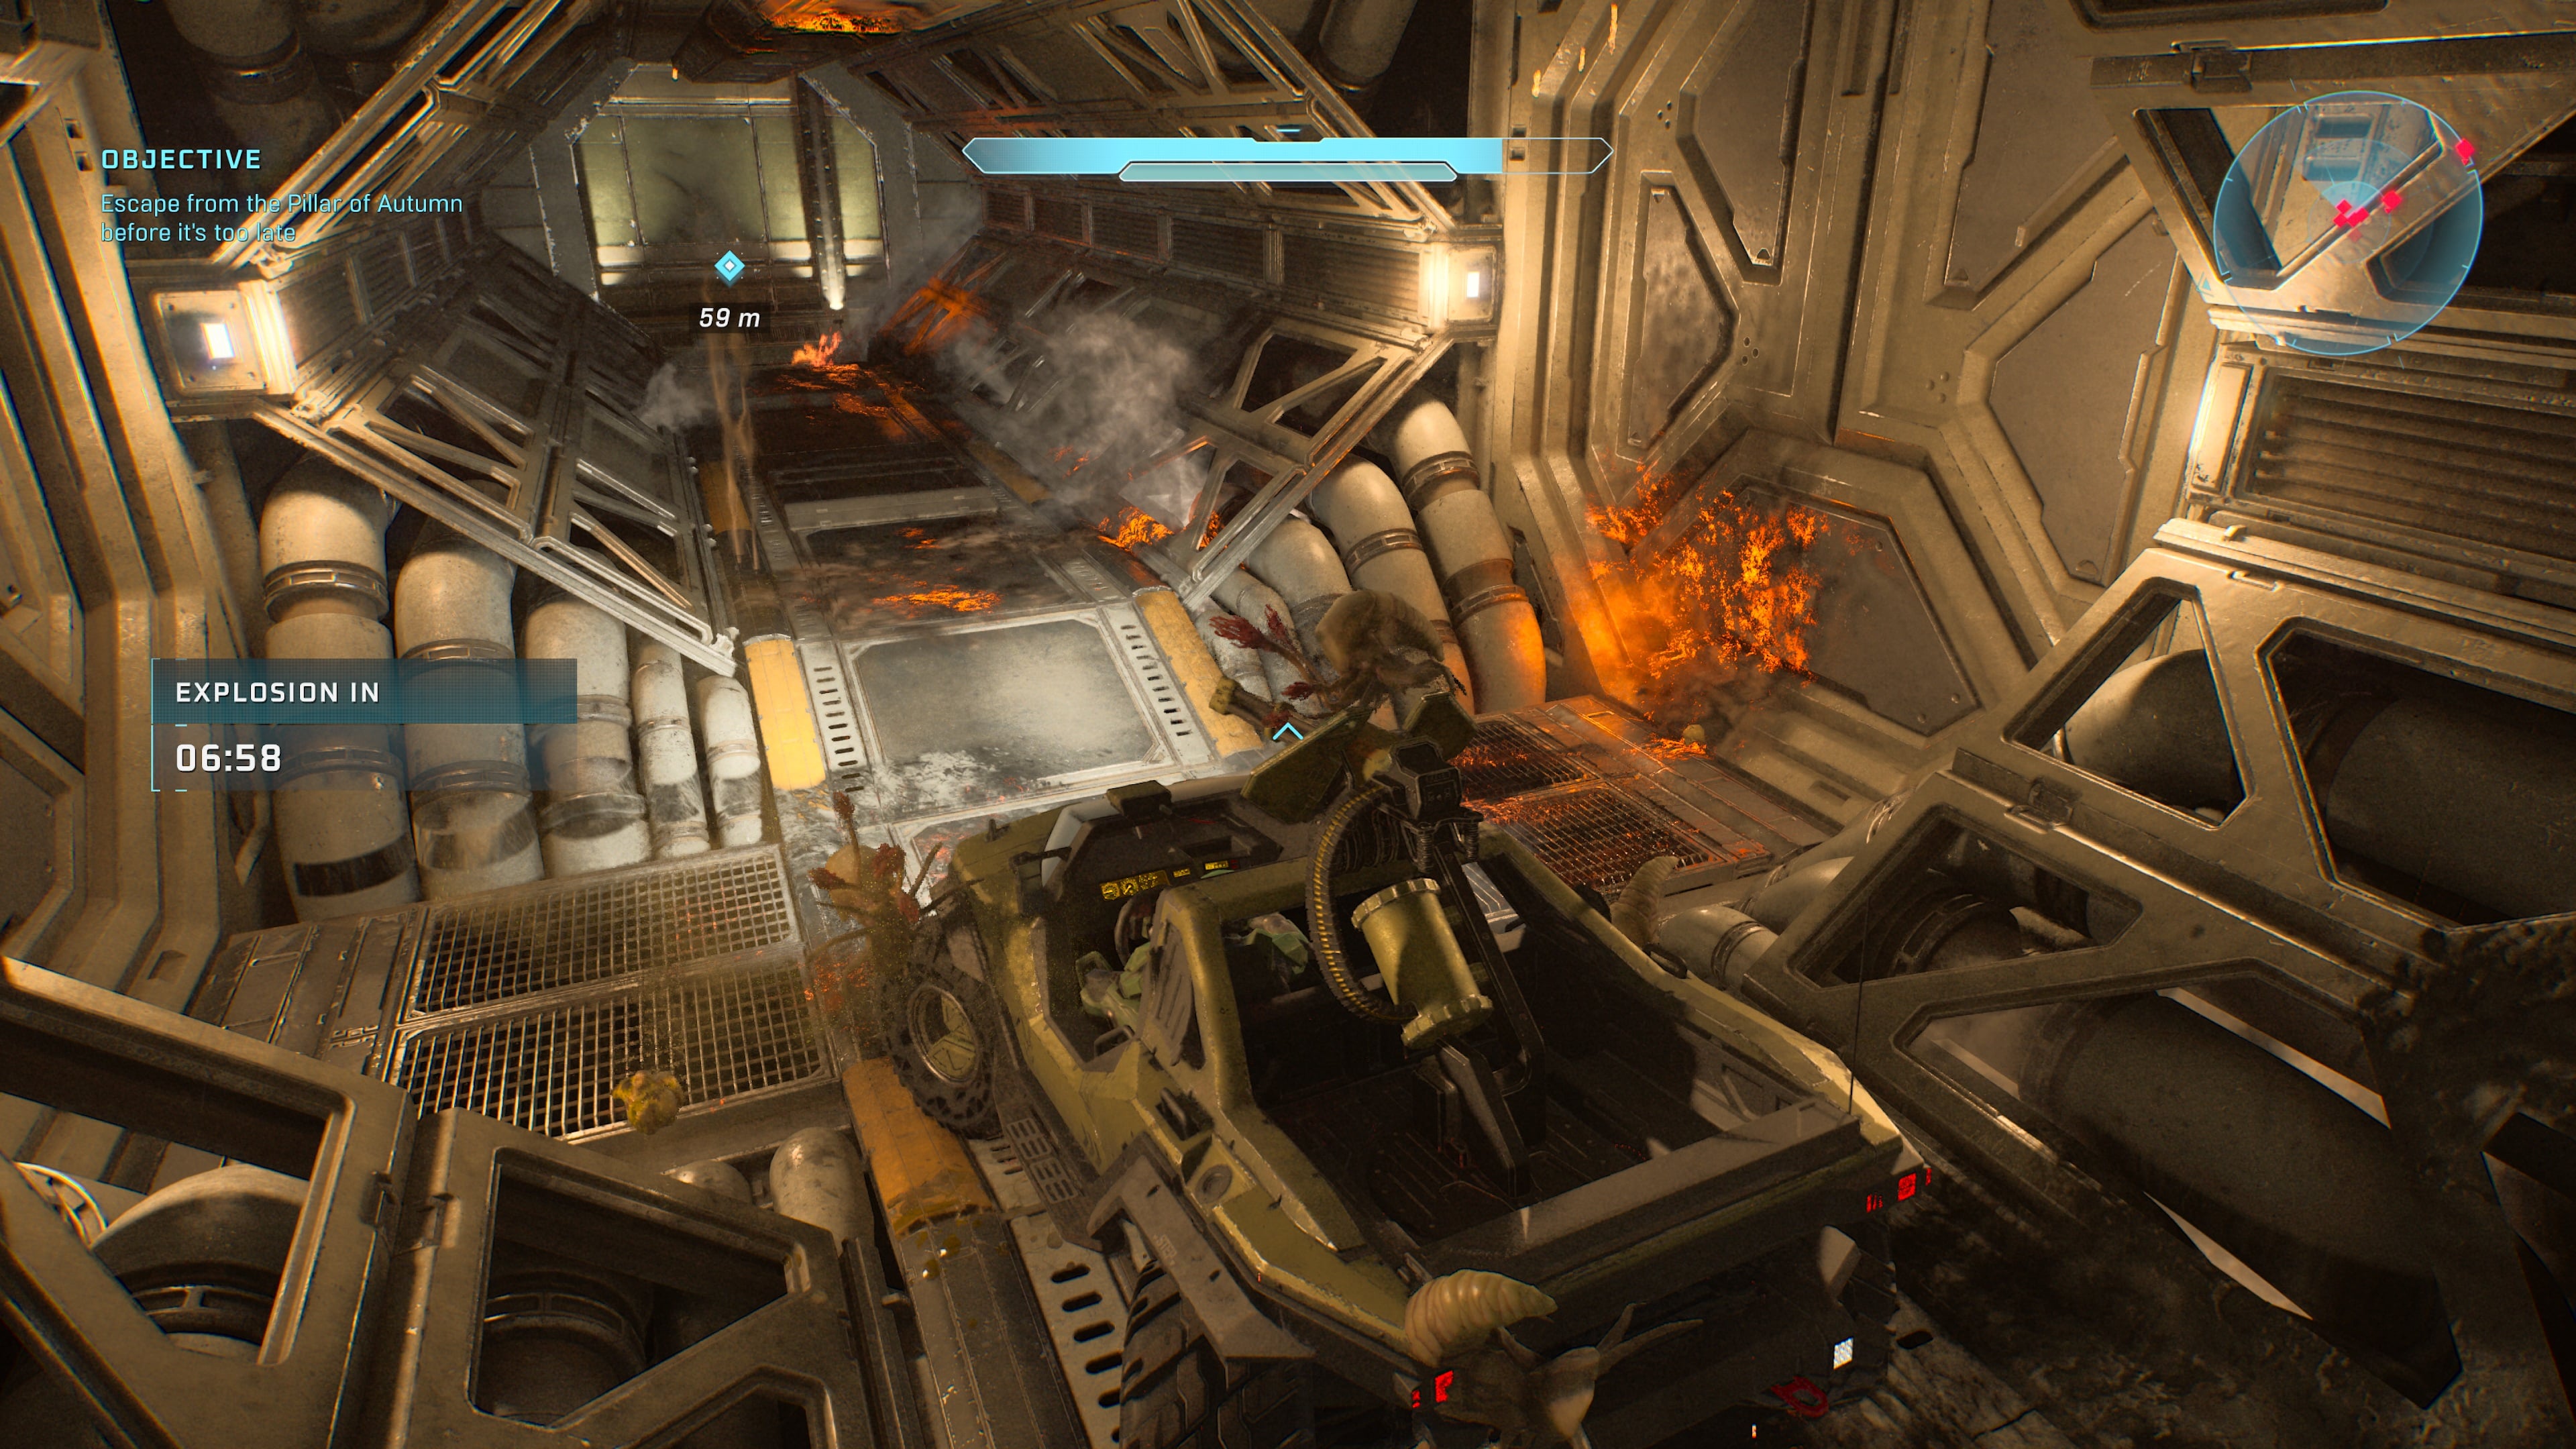
The first hatch shortcut is empty, but if you stop in the center of the second one and check the right side wall, you’ll find the Thunderstorm Skull.
Not particularly difficult to find, but you probably weren’t stopping to check for it on your first run through the game.
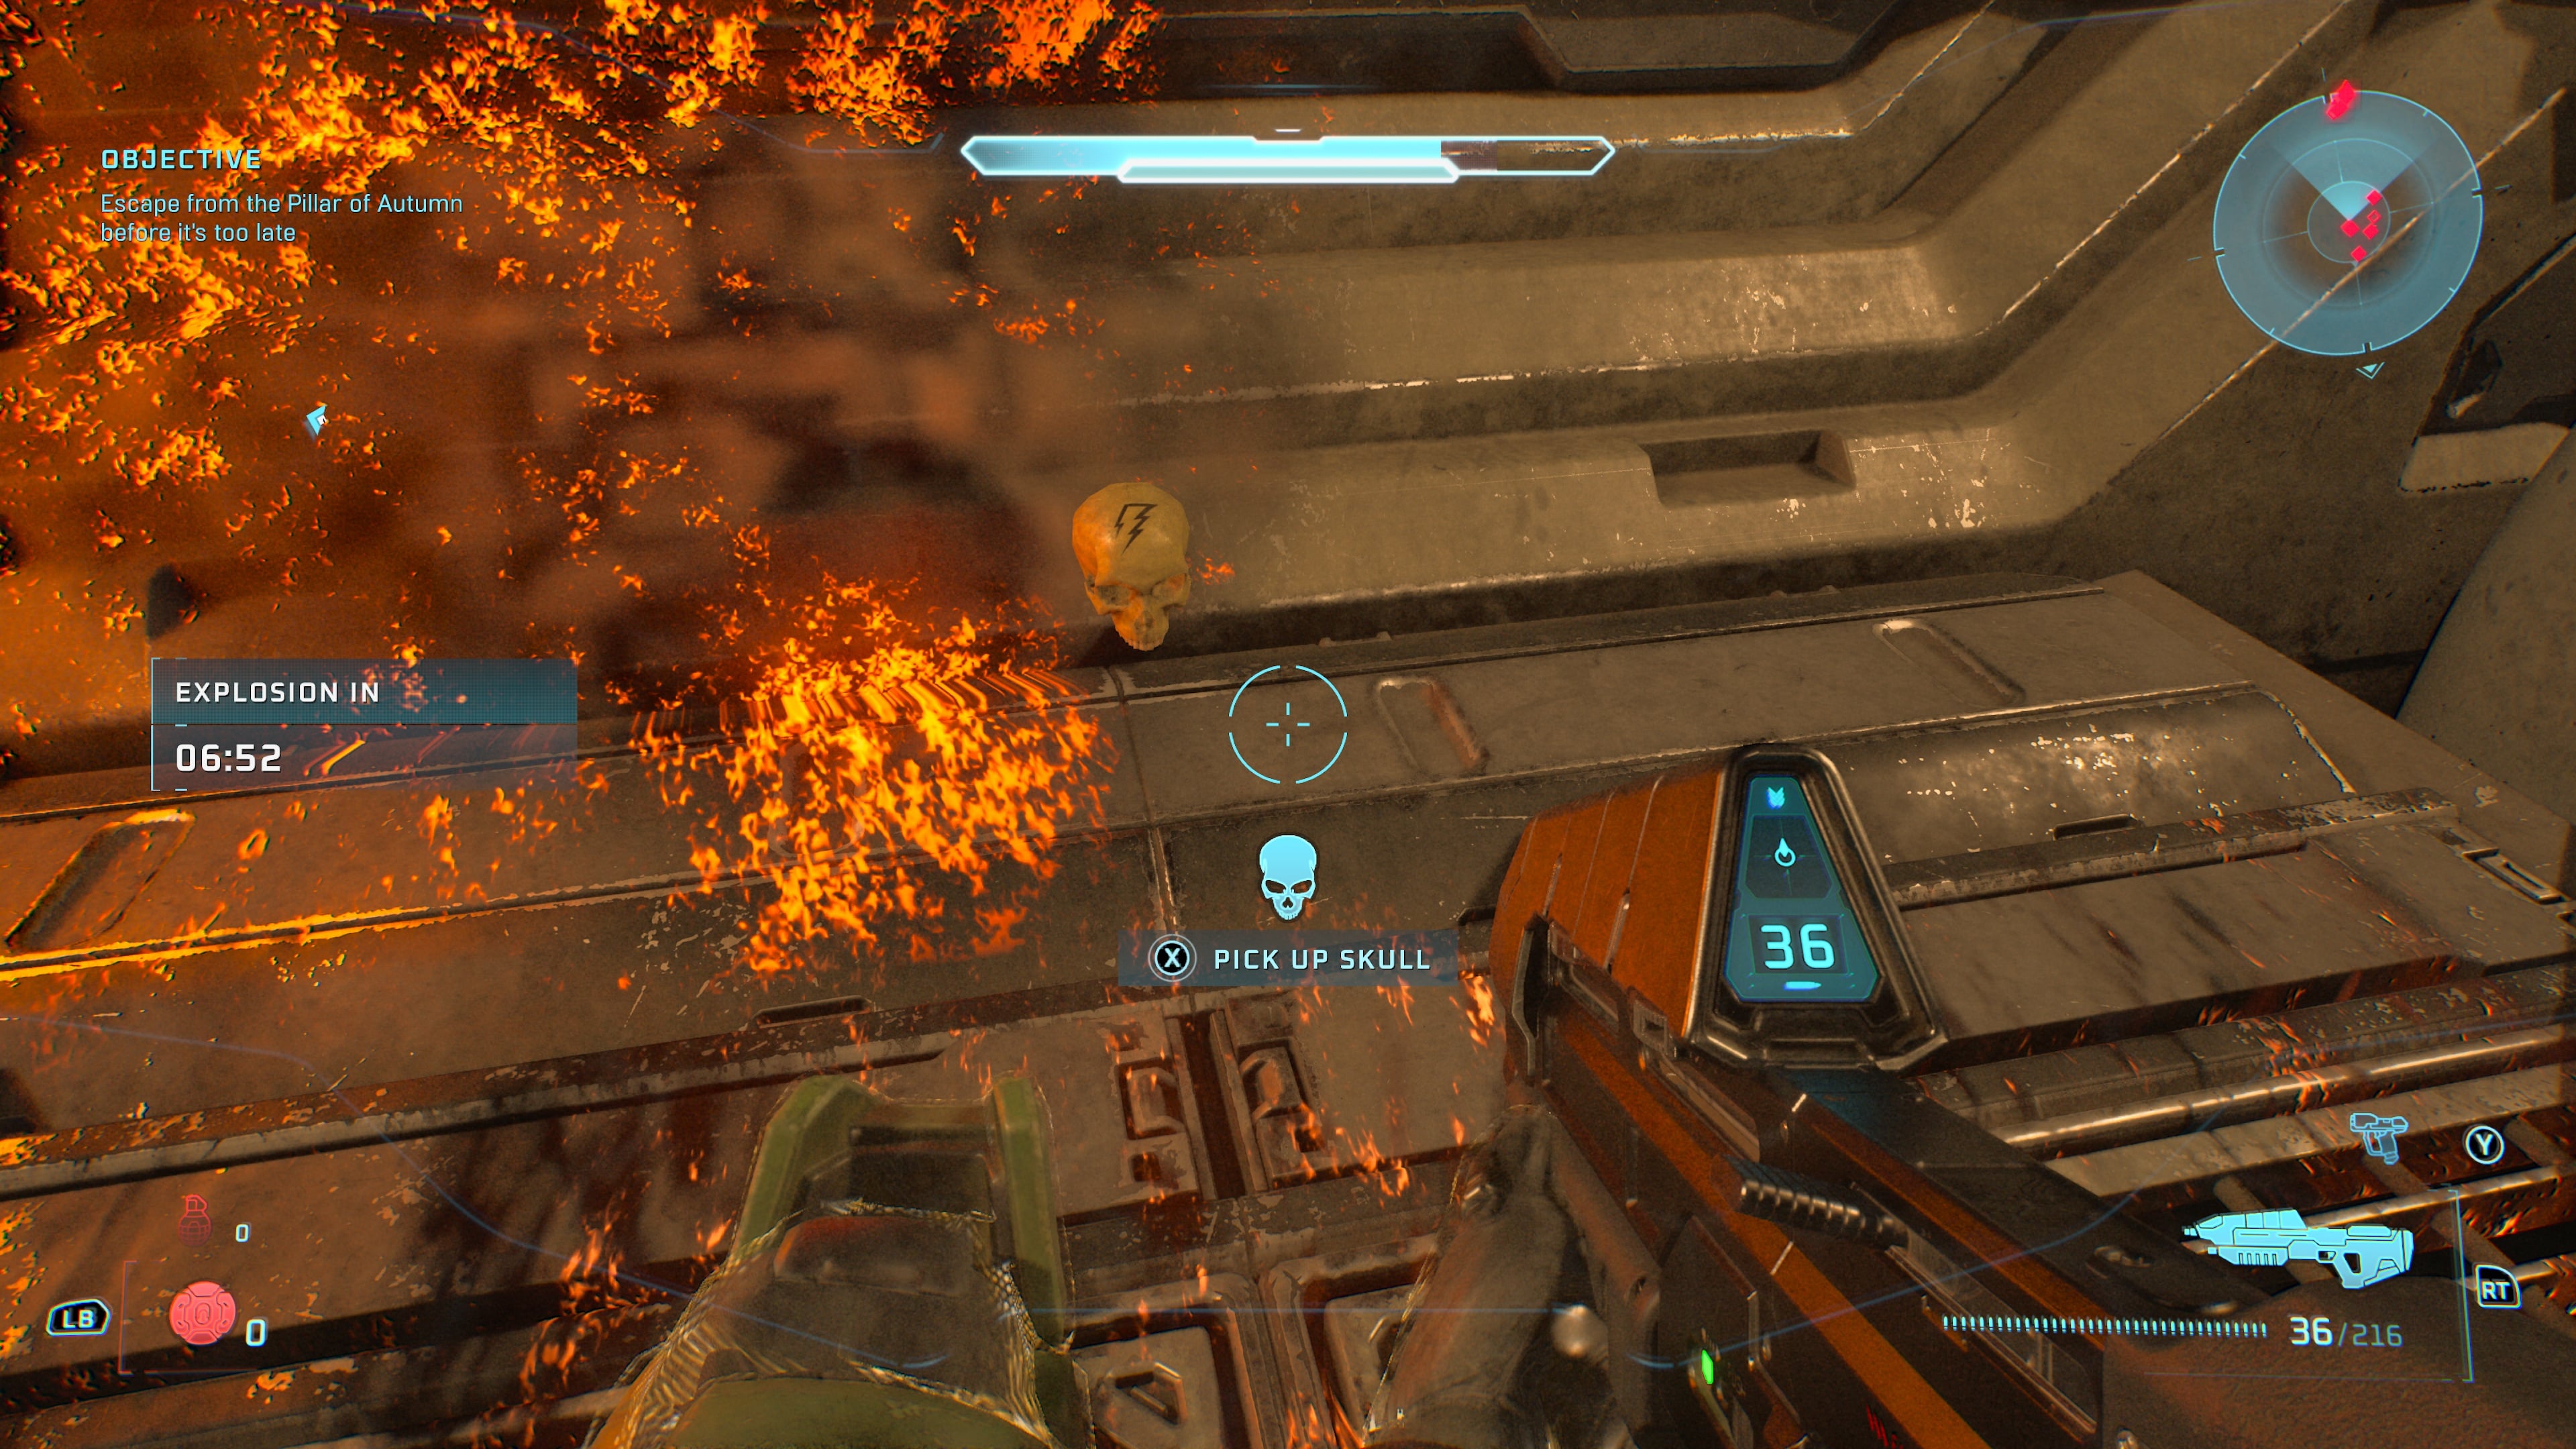
This is the final Skull to find in Halo: Campaign Evolved’s main campaign.