Halo Campaign Evolved: All The Library Skull and Terminal locations
Every Skull and Terminal to find in Halo Campaign Evolved’s The Library mission
If you’ve played through Halo’s The Library mission before, then you probably already know what’s coming next.
This mission has been heavily remixed and changed, though, making the original level design far less repetitive and confusing than it once was. And thank goodness for that.
In this guide, we’re breaking down the location of every Skull and Terminal in the newly remixed version of The Library in Halo: Campaign Evolved.
Make sure to redeem Halo Waypoint codes for exclusive unlockables in Campaign Evolved. We list every Skull and Terminal in the game in our Skulls and Terminals guide hub.
All Halo: Campaign Evolved Skull and Terminal locations, by mission
Main campaign missions:
- The Pillar of Autumn – Skull and Terminal locations
- Halo – Skull and Terminal locations
- The Truth and Reconciliation – Skull and Terminal locations
- The Silent Cartographer – Skull and Terminal locations
- Assault on the Control Room – Skull and Terminal locations
- 343 Guilty Spark – Skull and Terminal locations
- The Library – Skull and Terminal locations
- Two Betrayals – Skull and Terminal locations
- Keyes – Skull and Terminal locations
- The Maw – Skull and Terminal locations
Bonus Missions:
The Library Skull and Terminal locations – Halo CE
You’ll earn the Timeless Tomes trophy and achievement for finding these optional items in The Library mission.
Rally Point Alpha
Skull 19 – Tilt
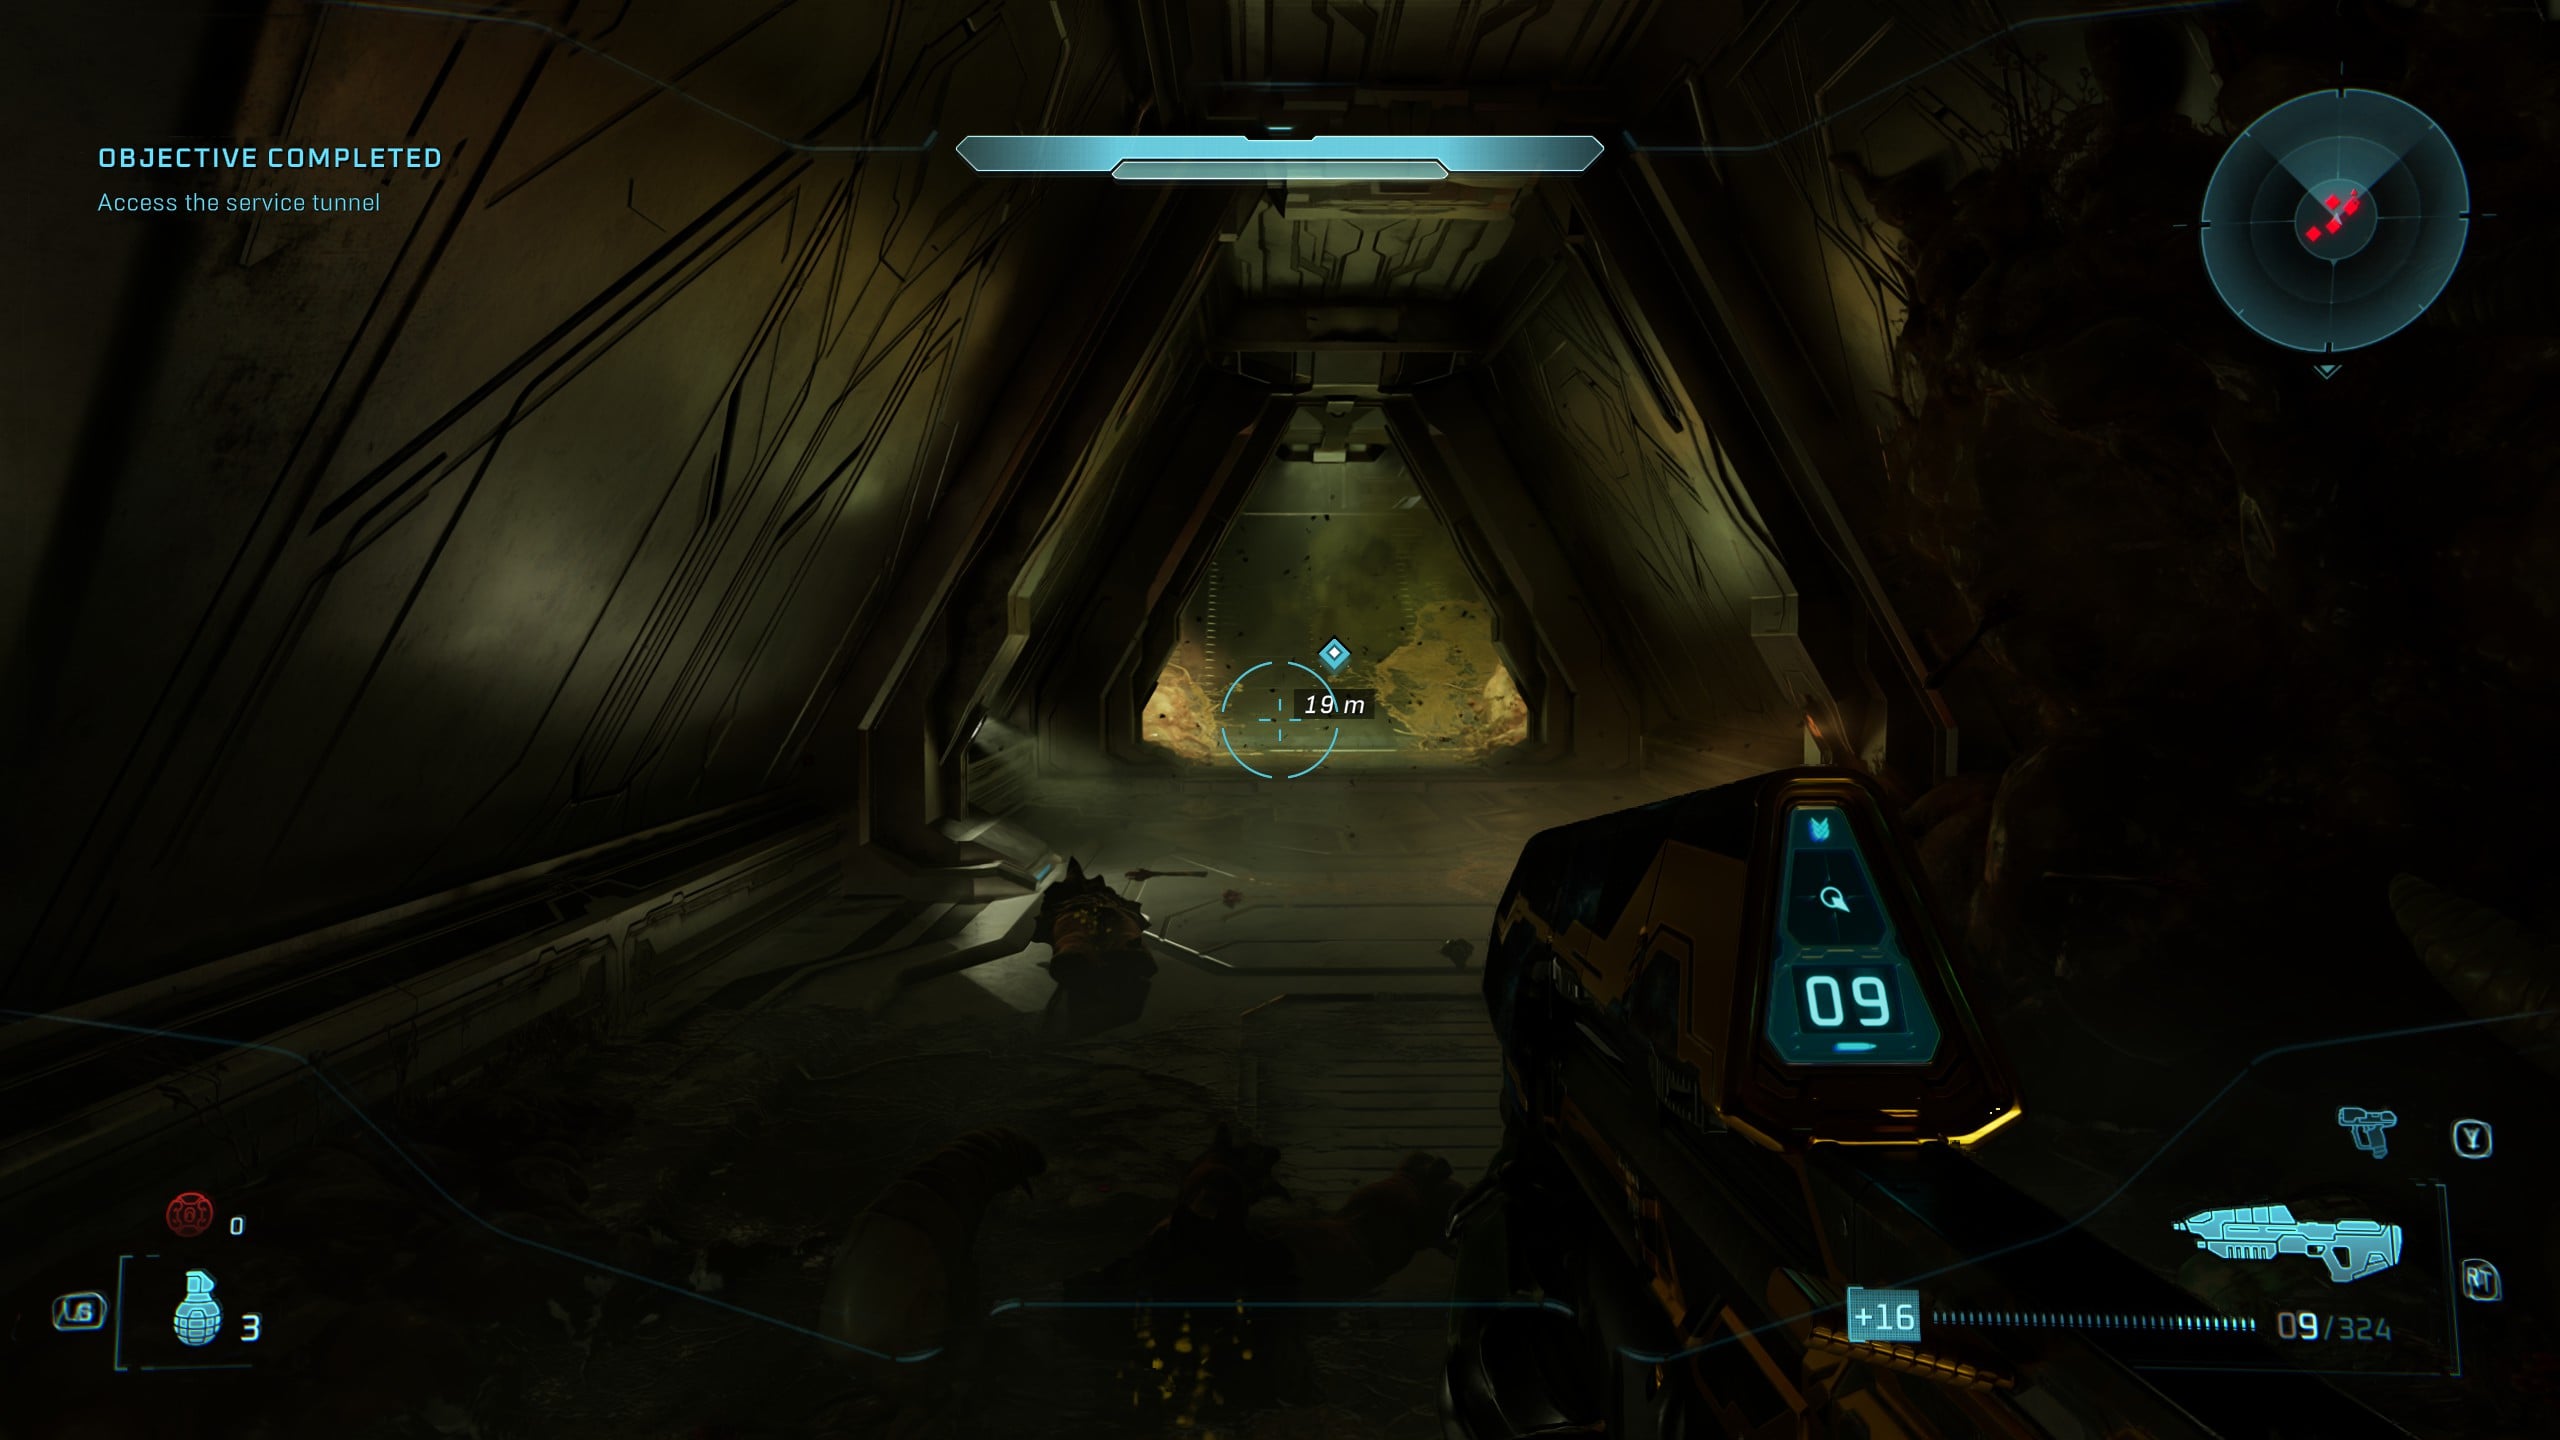
First, you must follow the Monitor (AKA 343 Guilty Spark) through The Library for several minutes from the start of the mission. After accessing and passing through the service tunnel, you’ll emerge from the tunnel and see 343 moving through with several automated Sentinel drones, clearing out the Flood.
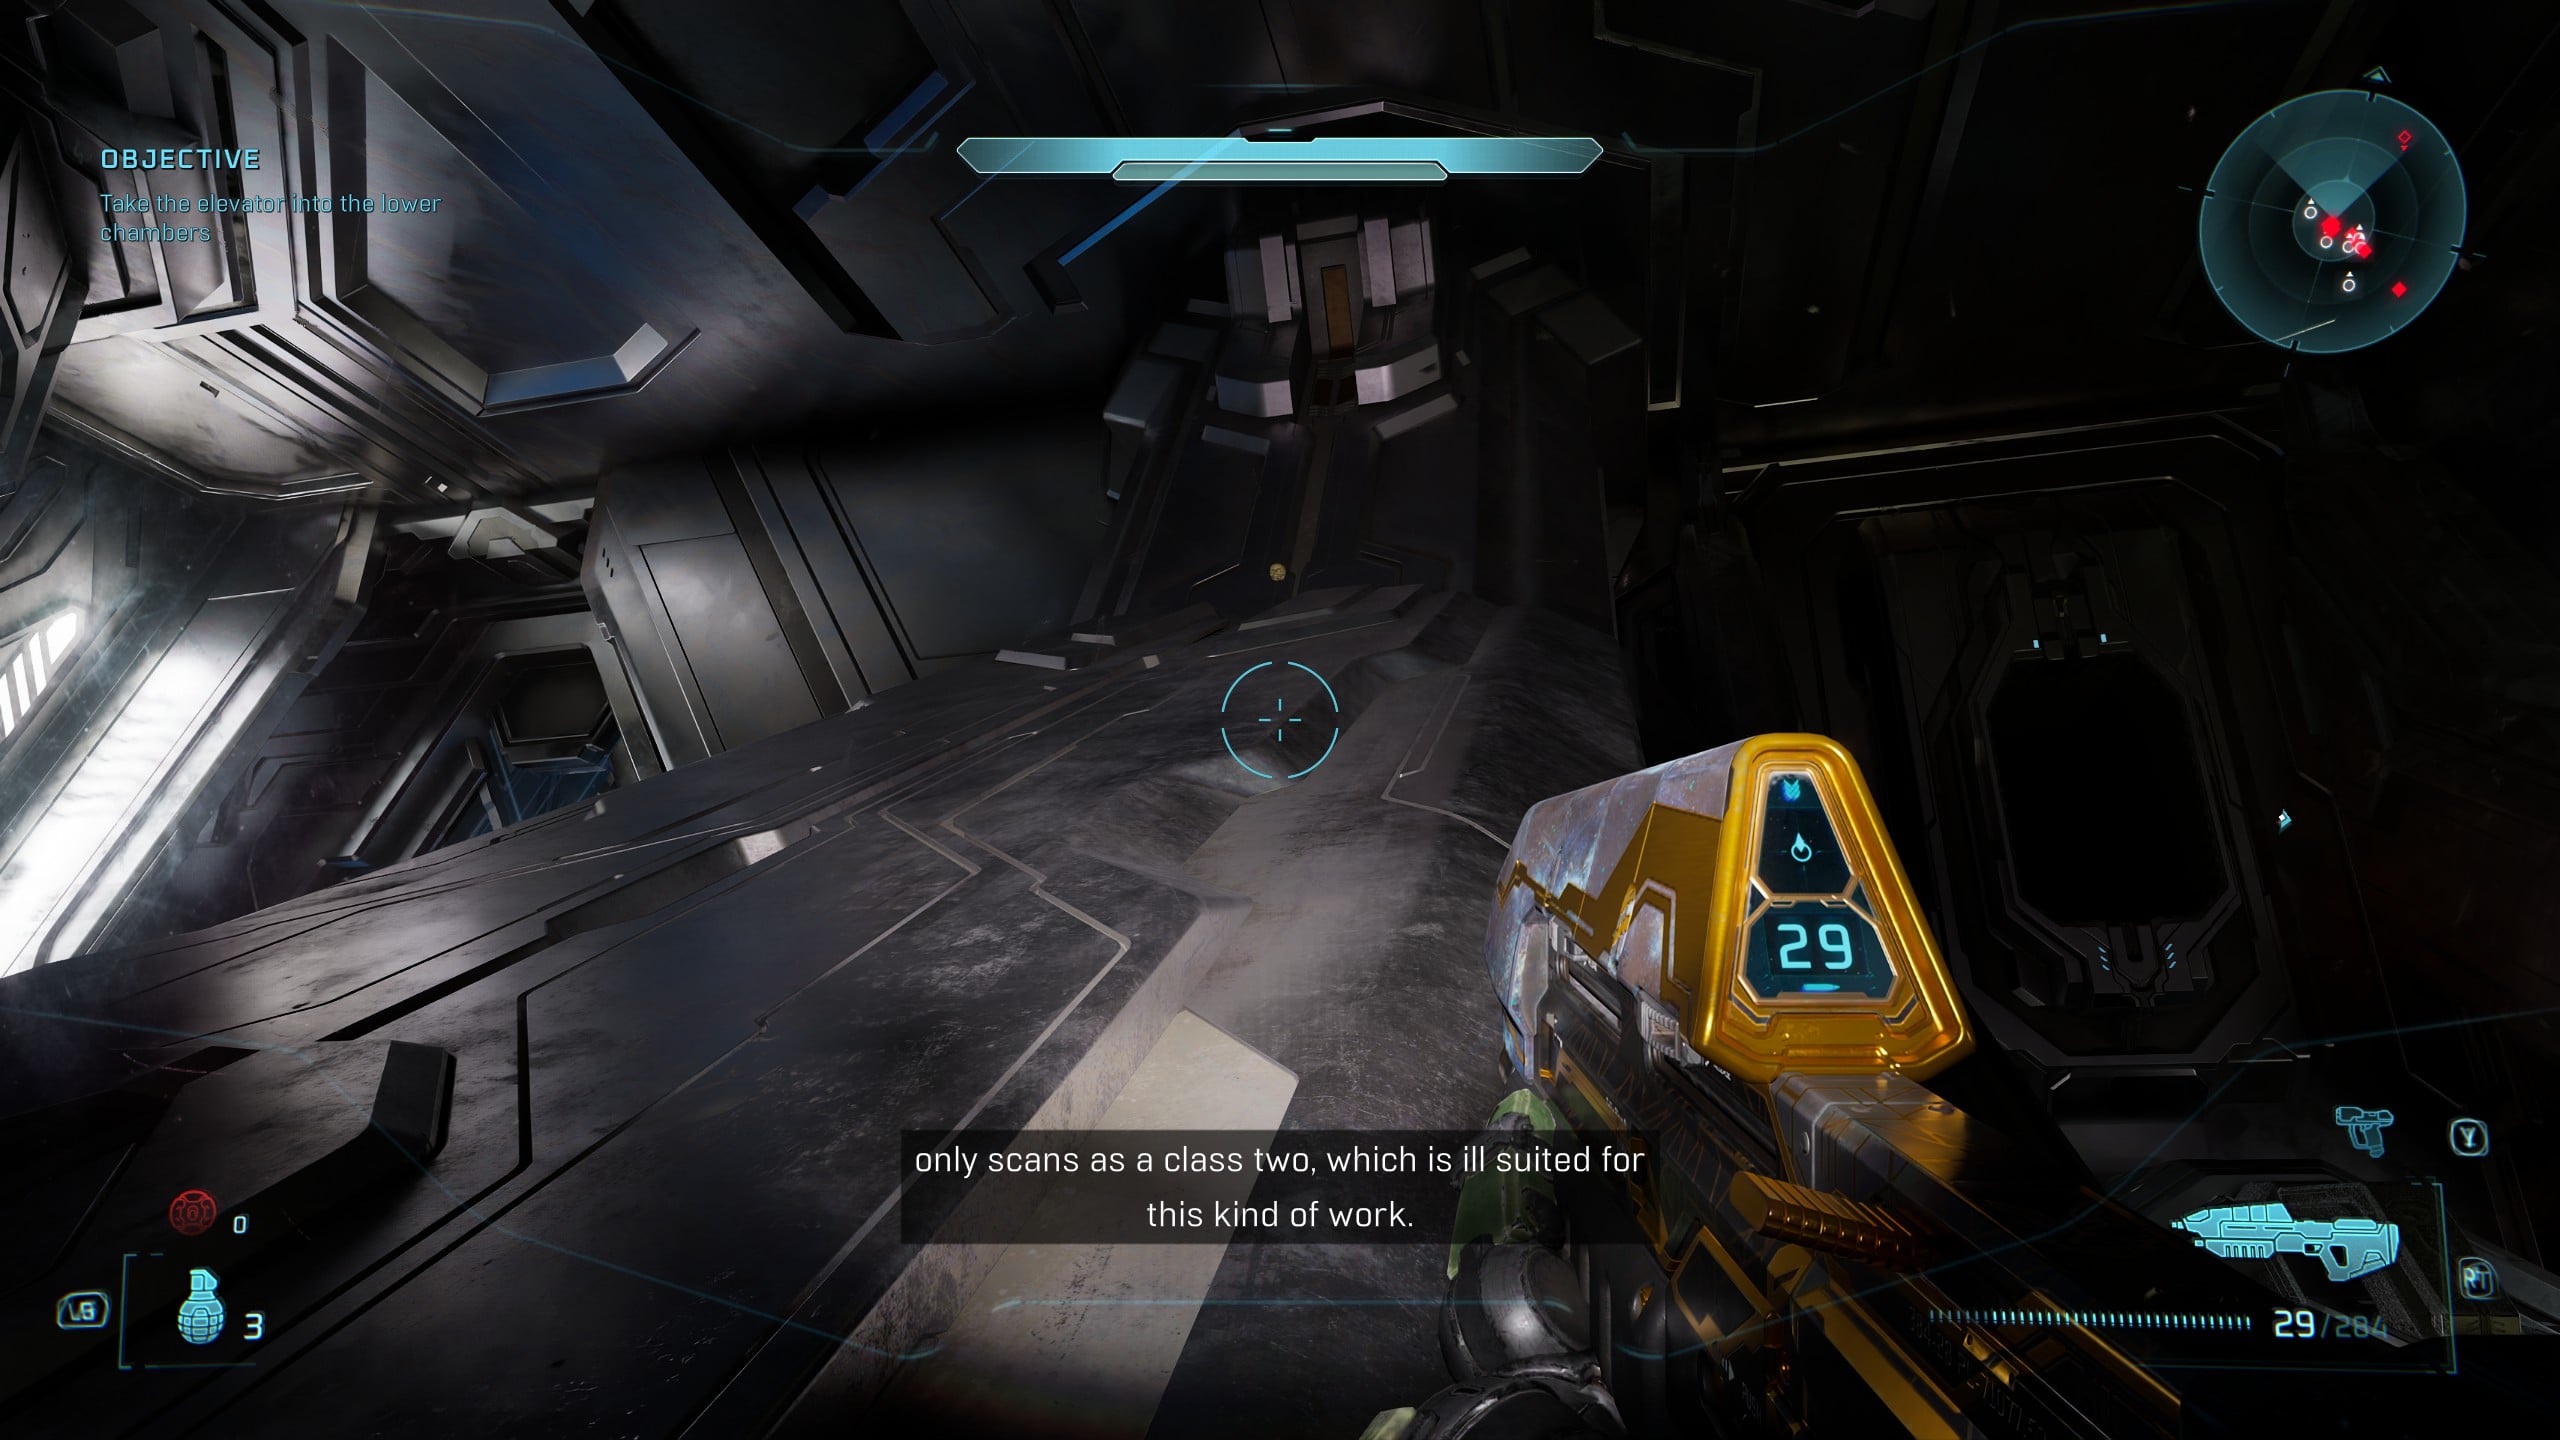
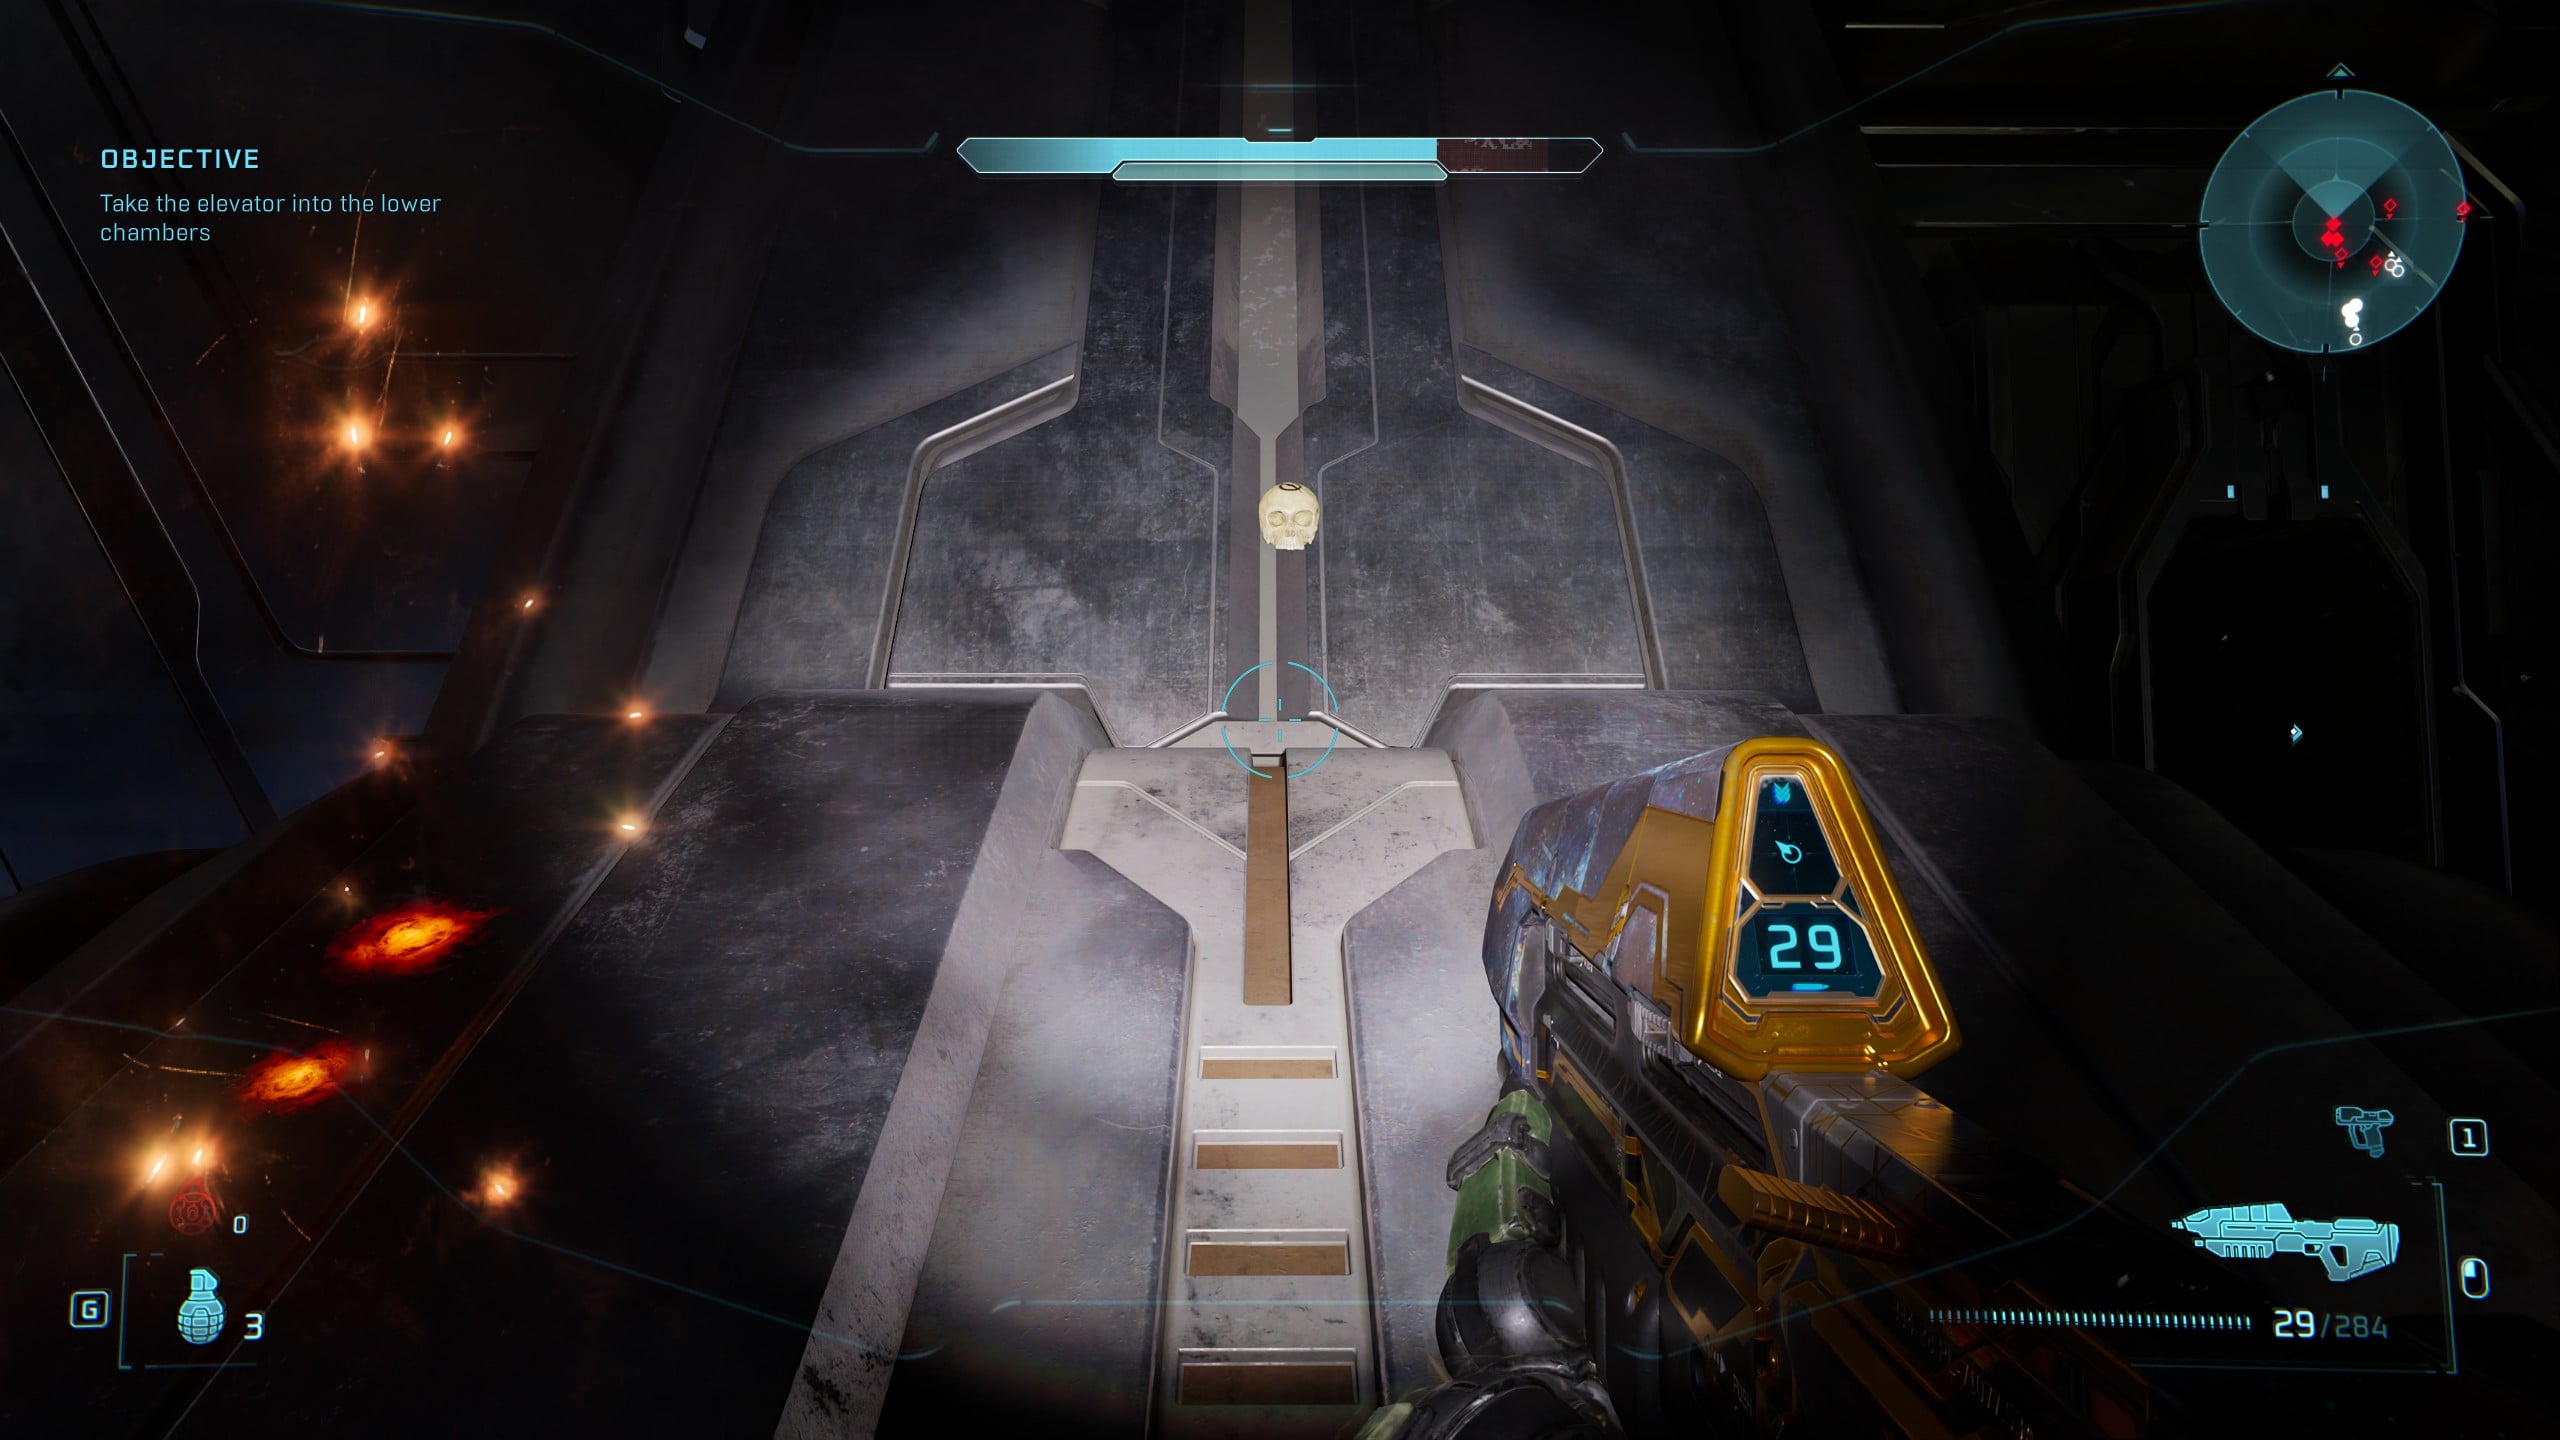
Immediately after exiting the service tunnel, turn right and climb up the inclined arch next to the service tunnel. The Tilt Skull is at the top.
Rally Point Bravo
Skull 20 – Pop

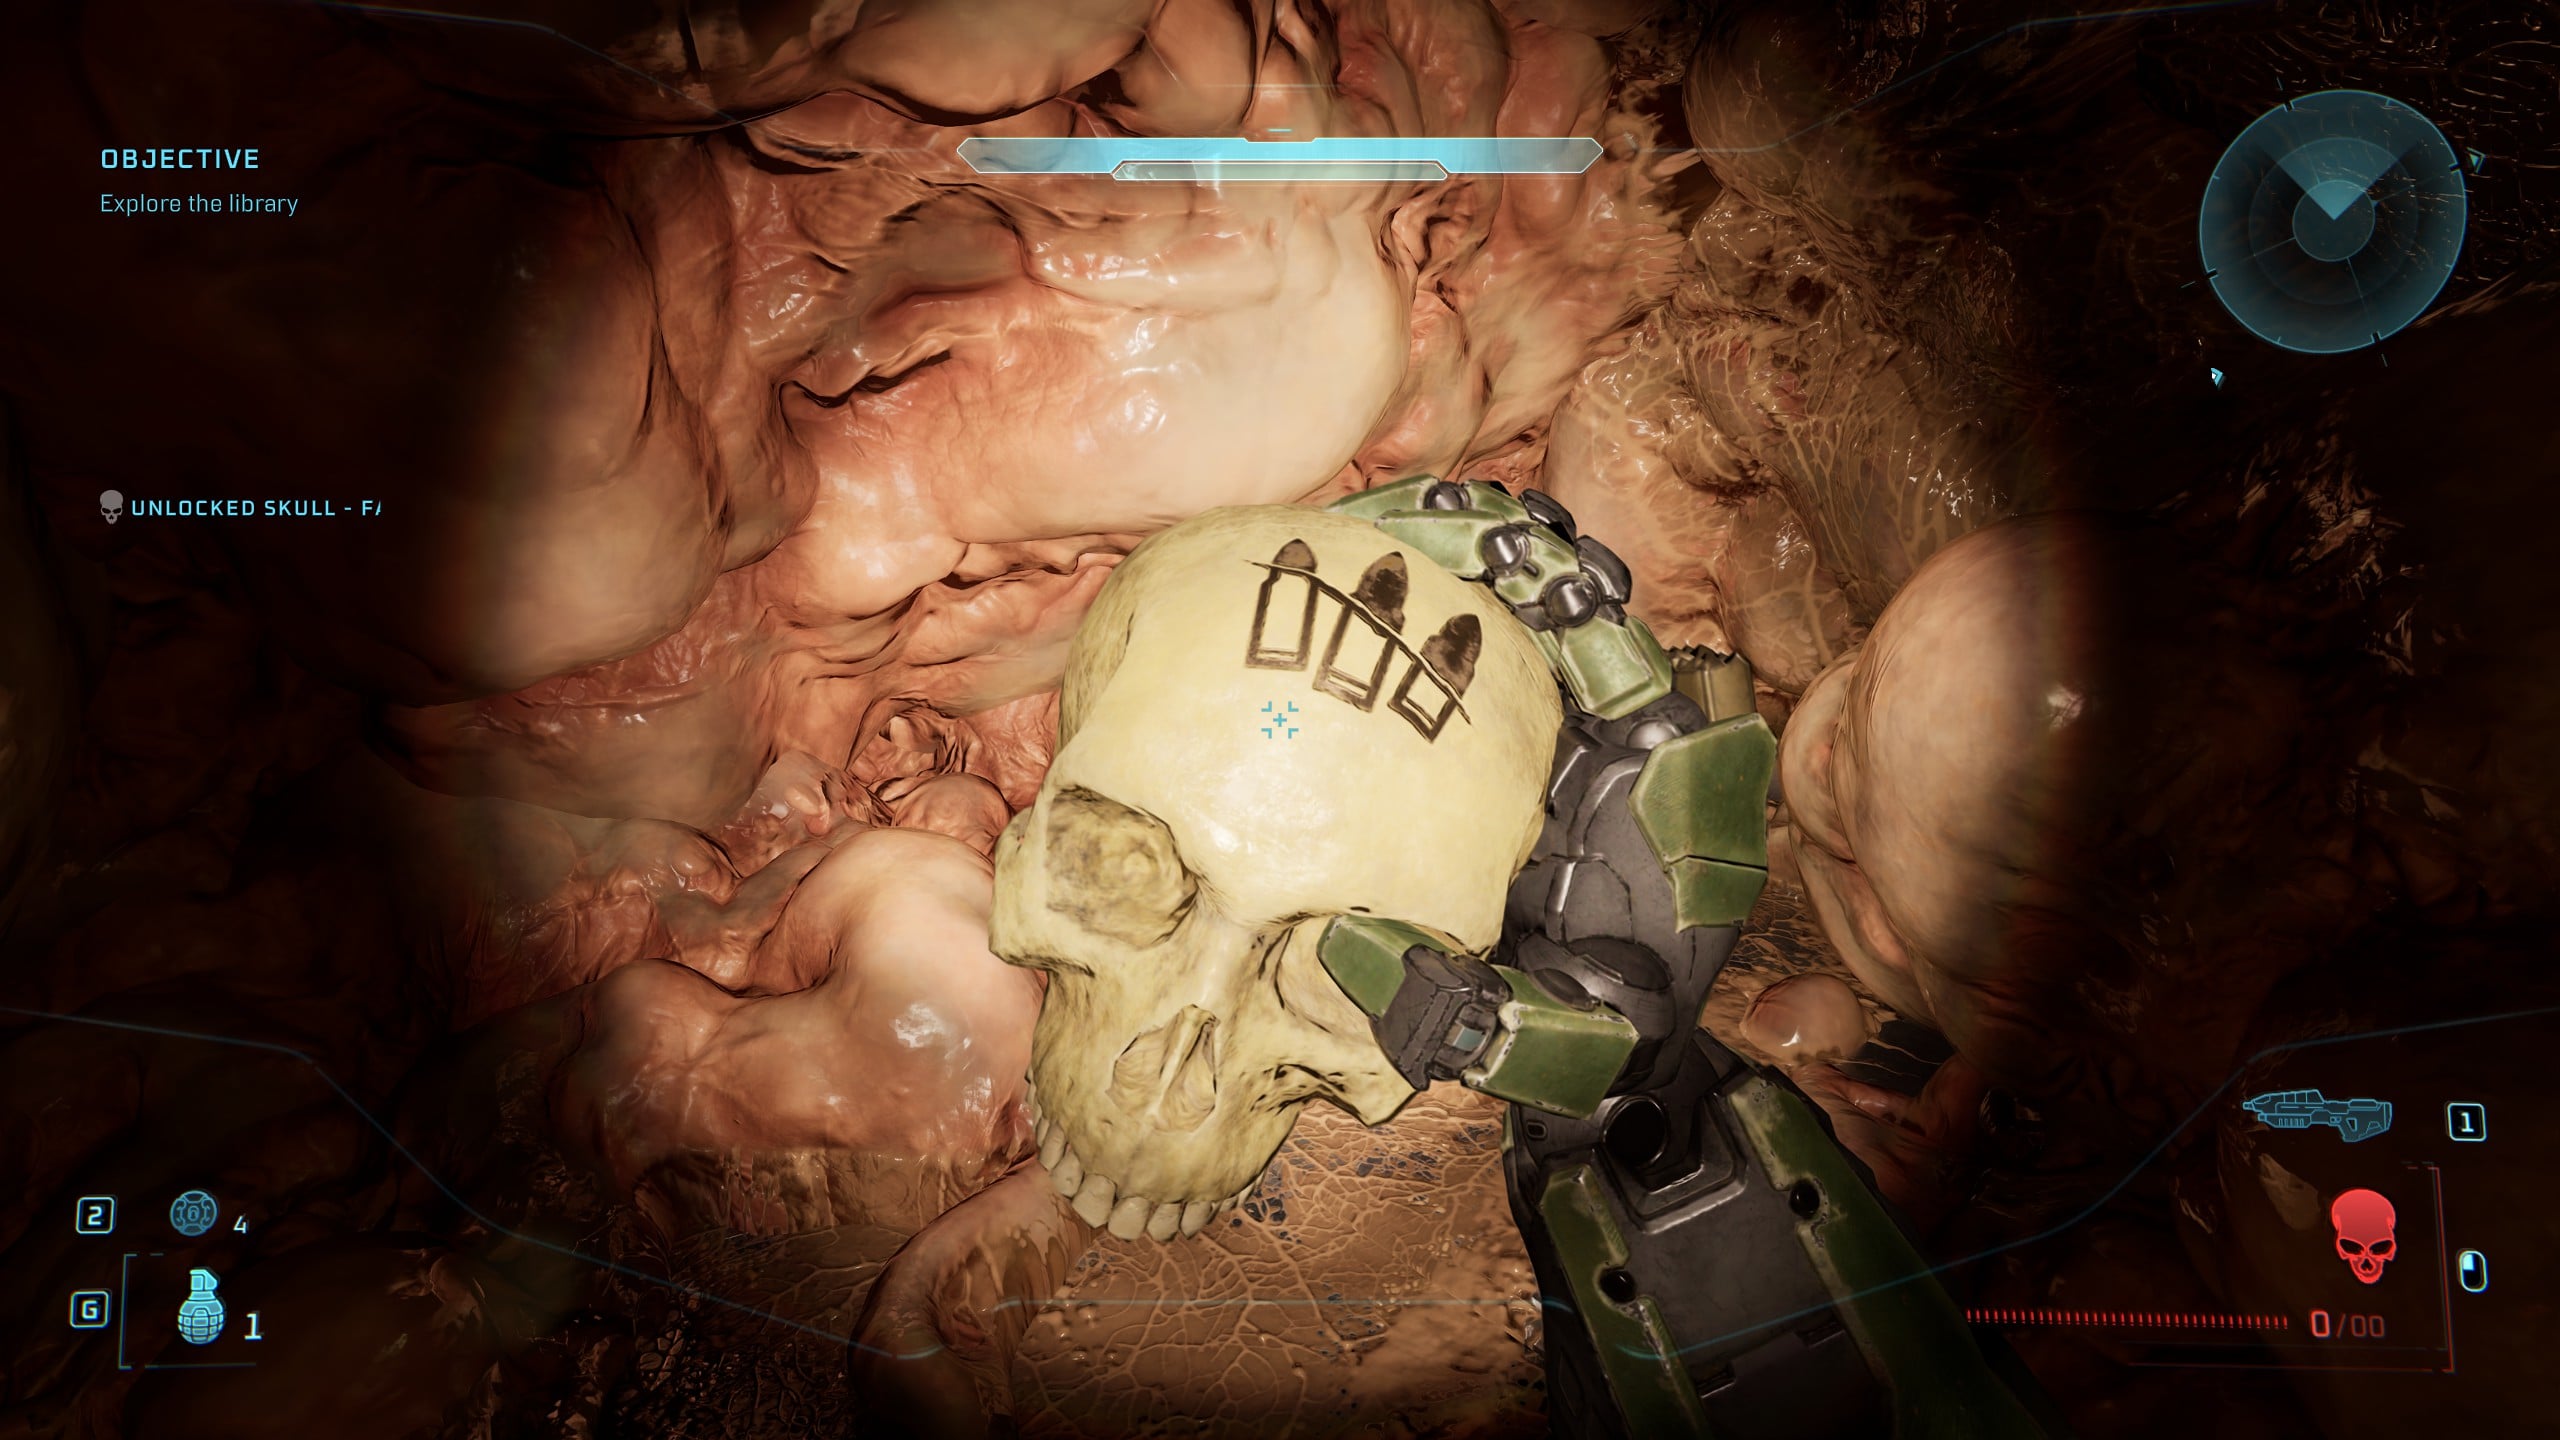
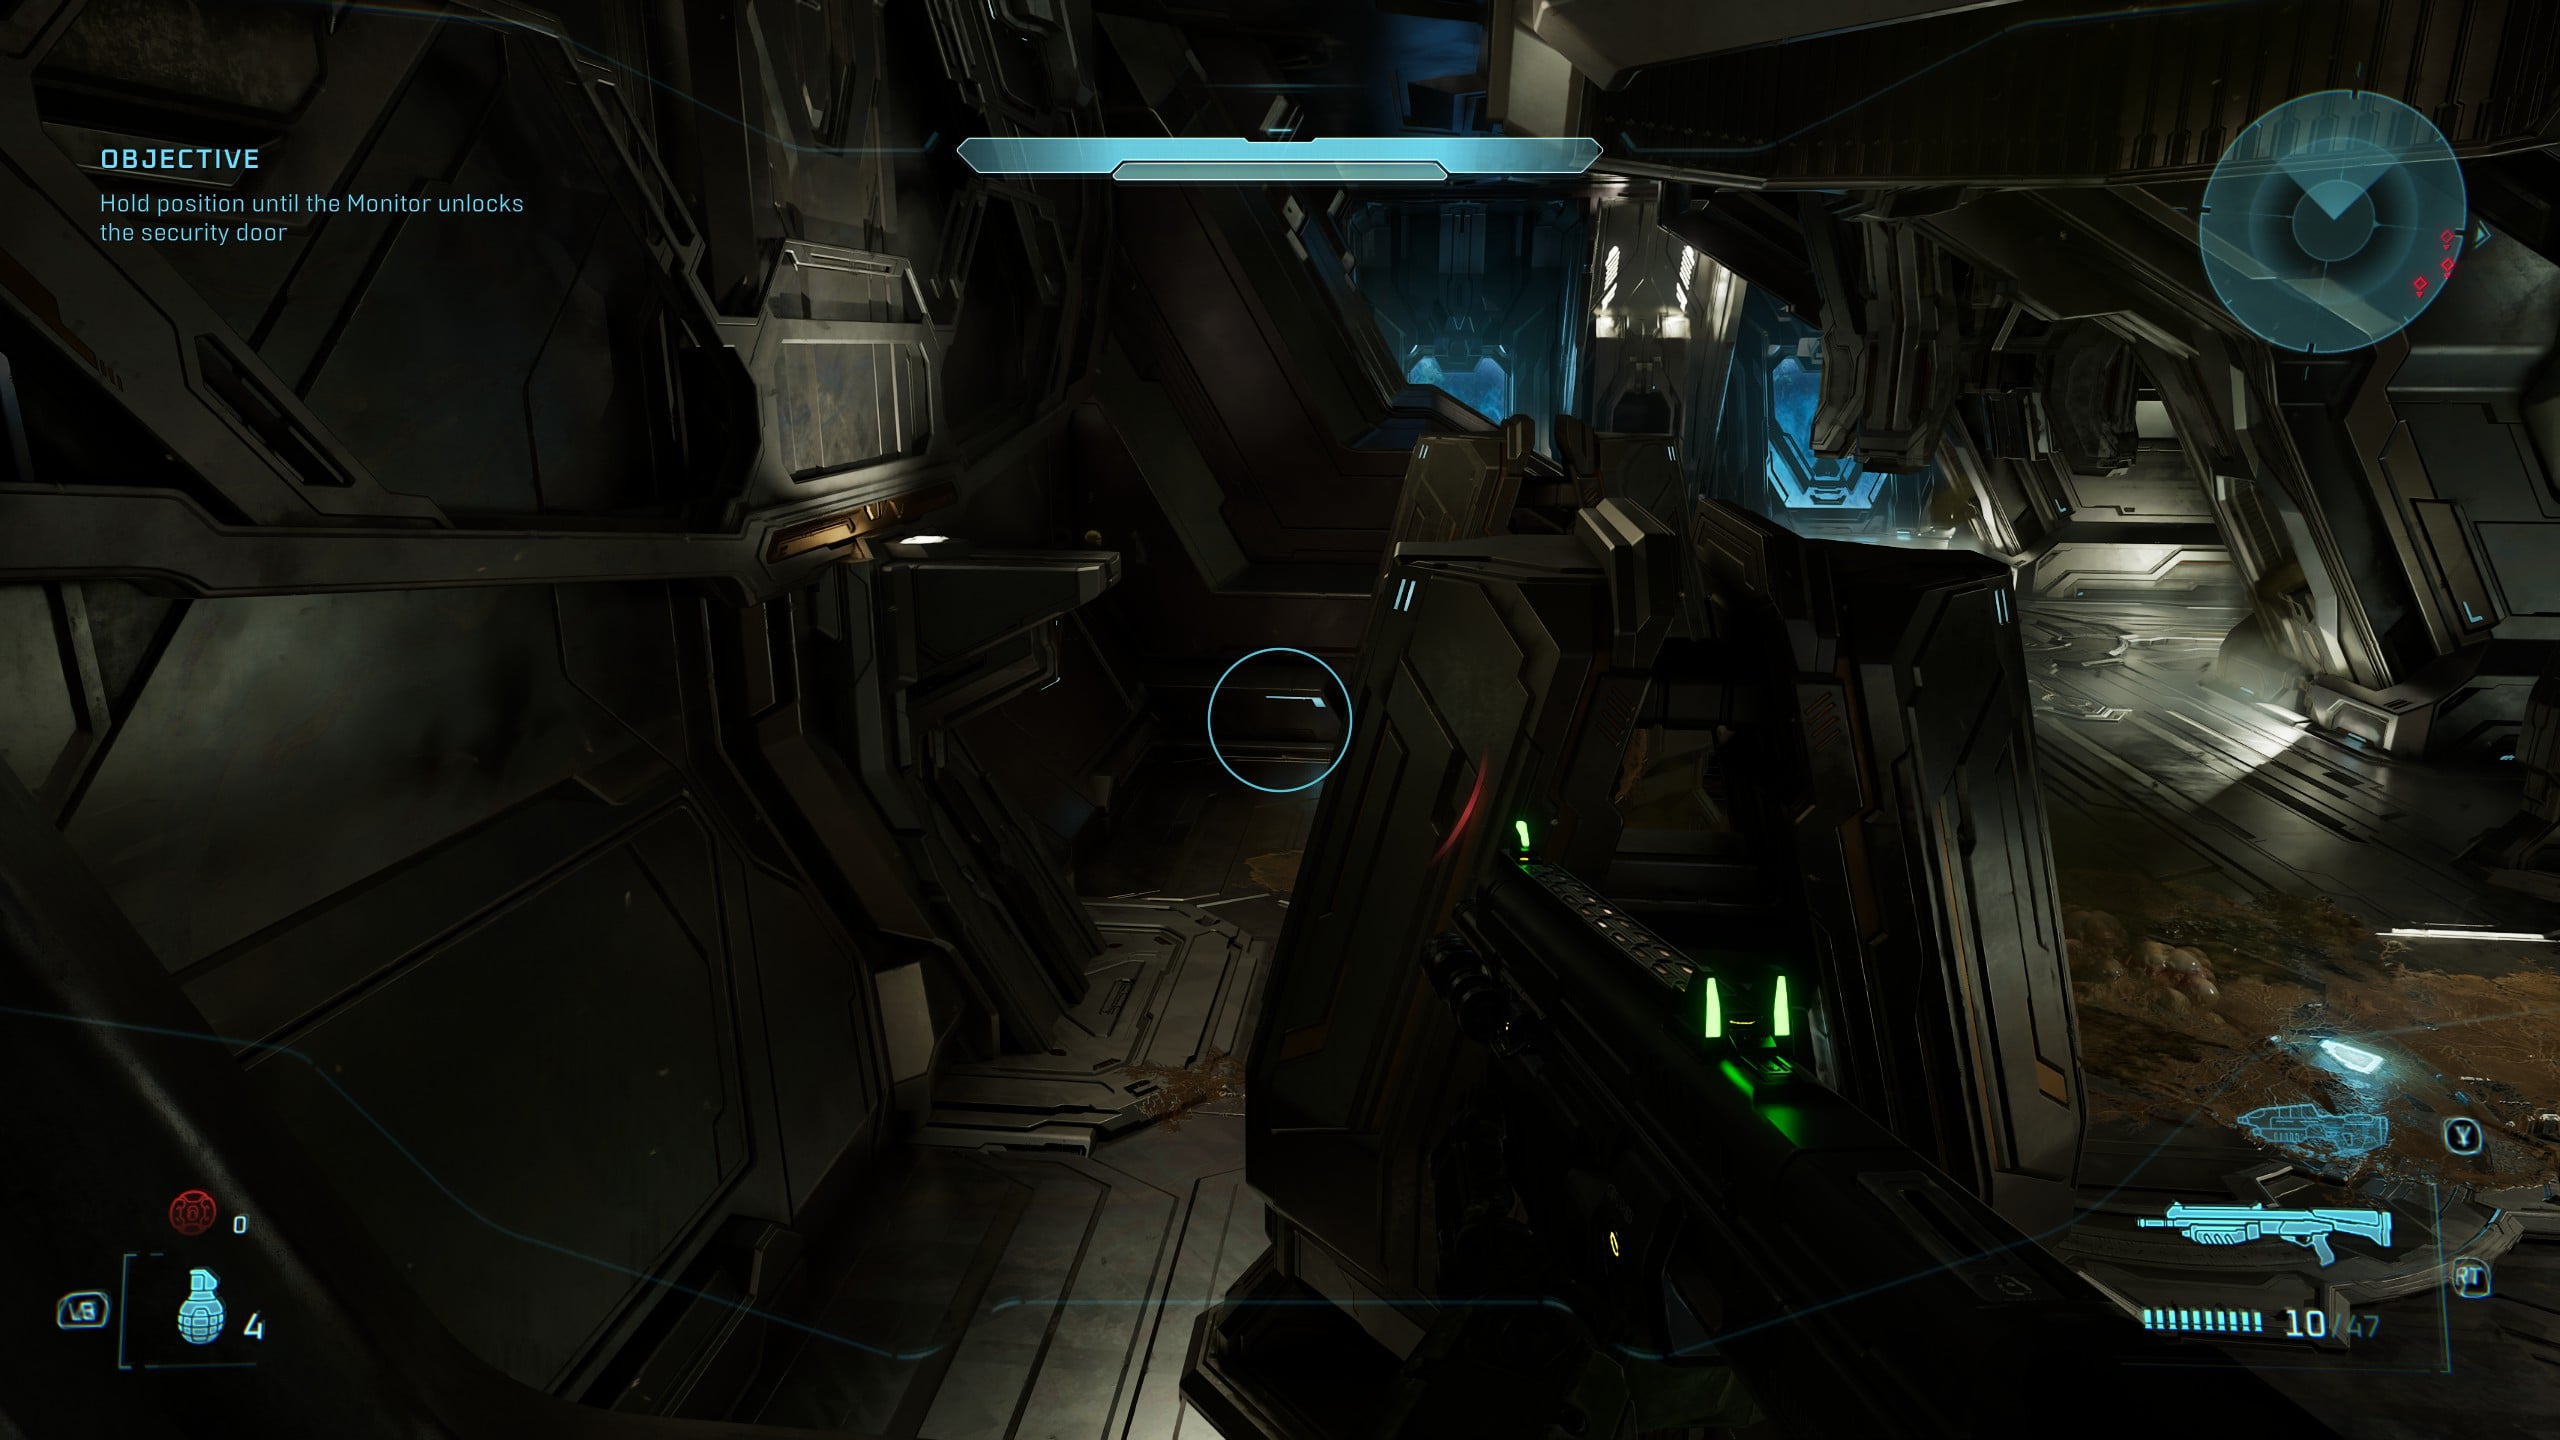
When the Objective changes from ‘Explore the library’ to ‘Hold position until the Monitor unlocks the security door,’ face the Monitor near the door, and then turn around 180 degrees, and you should be able to see the Skull lit up on a platform opposite the door.
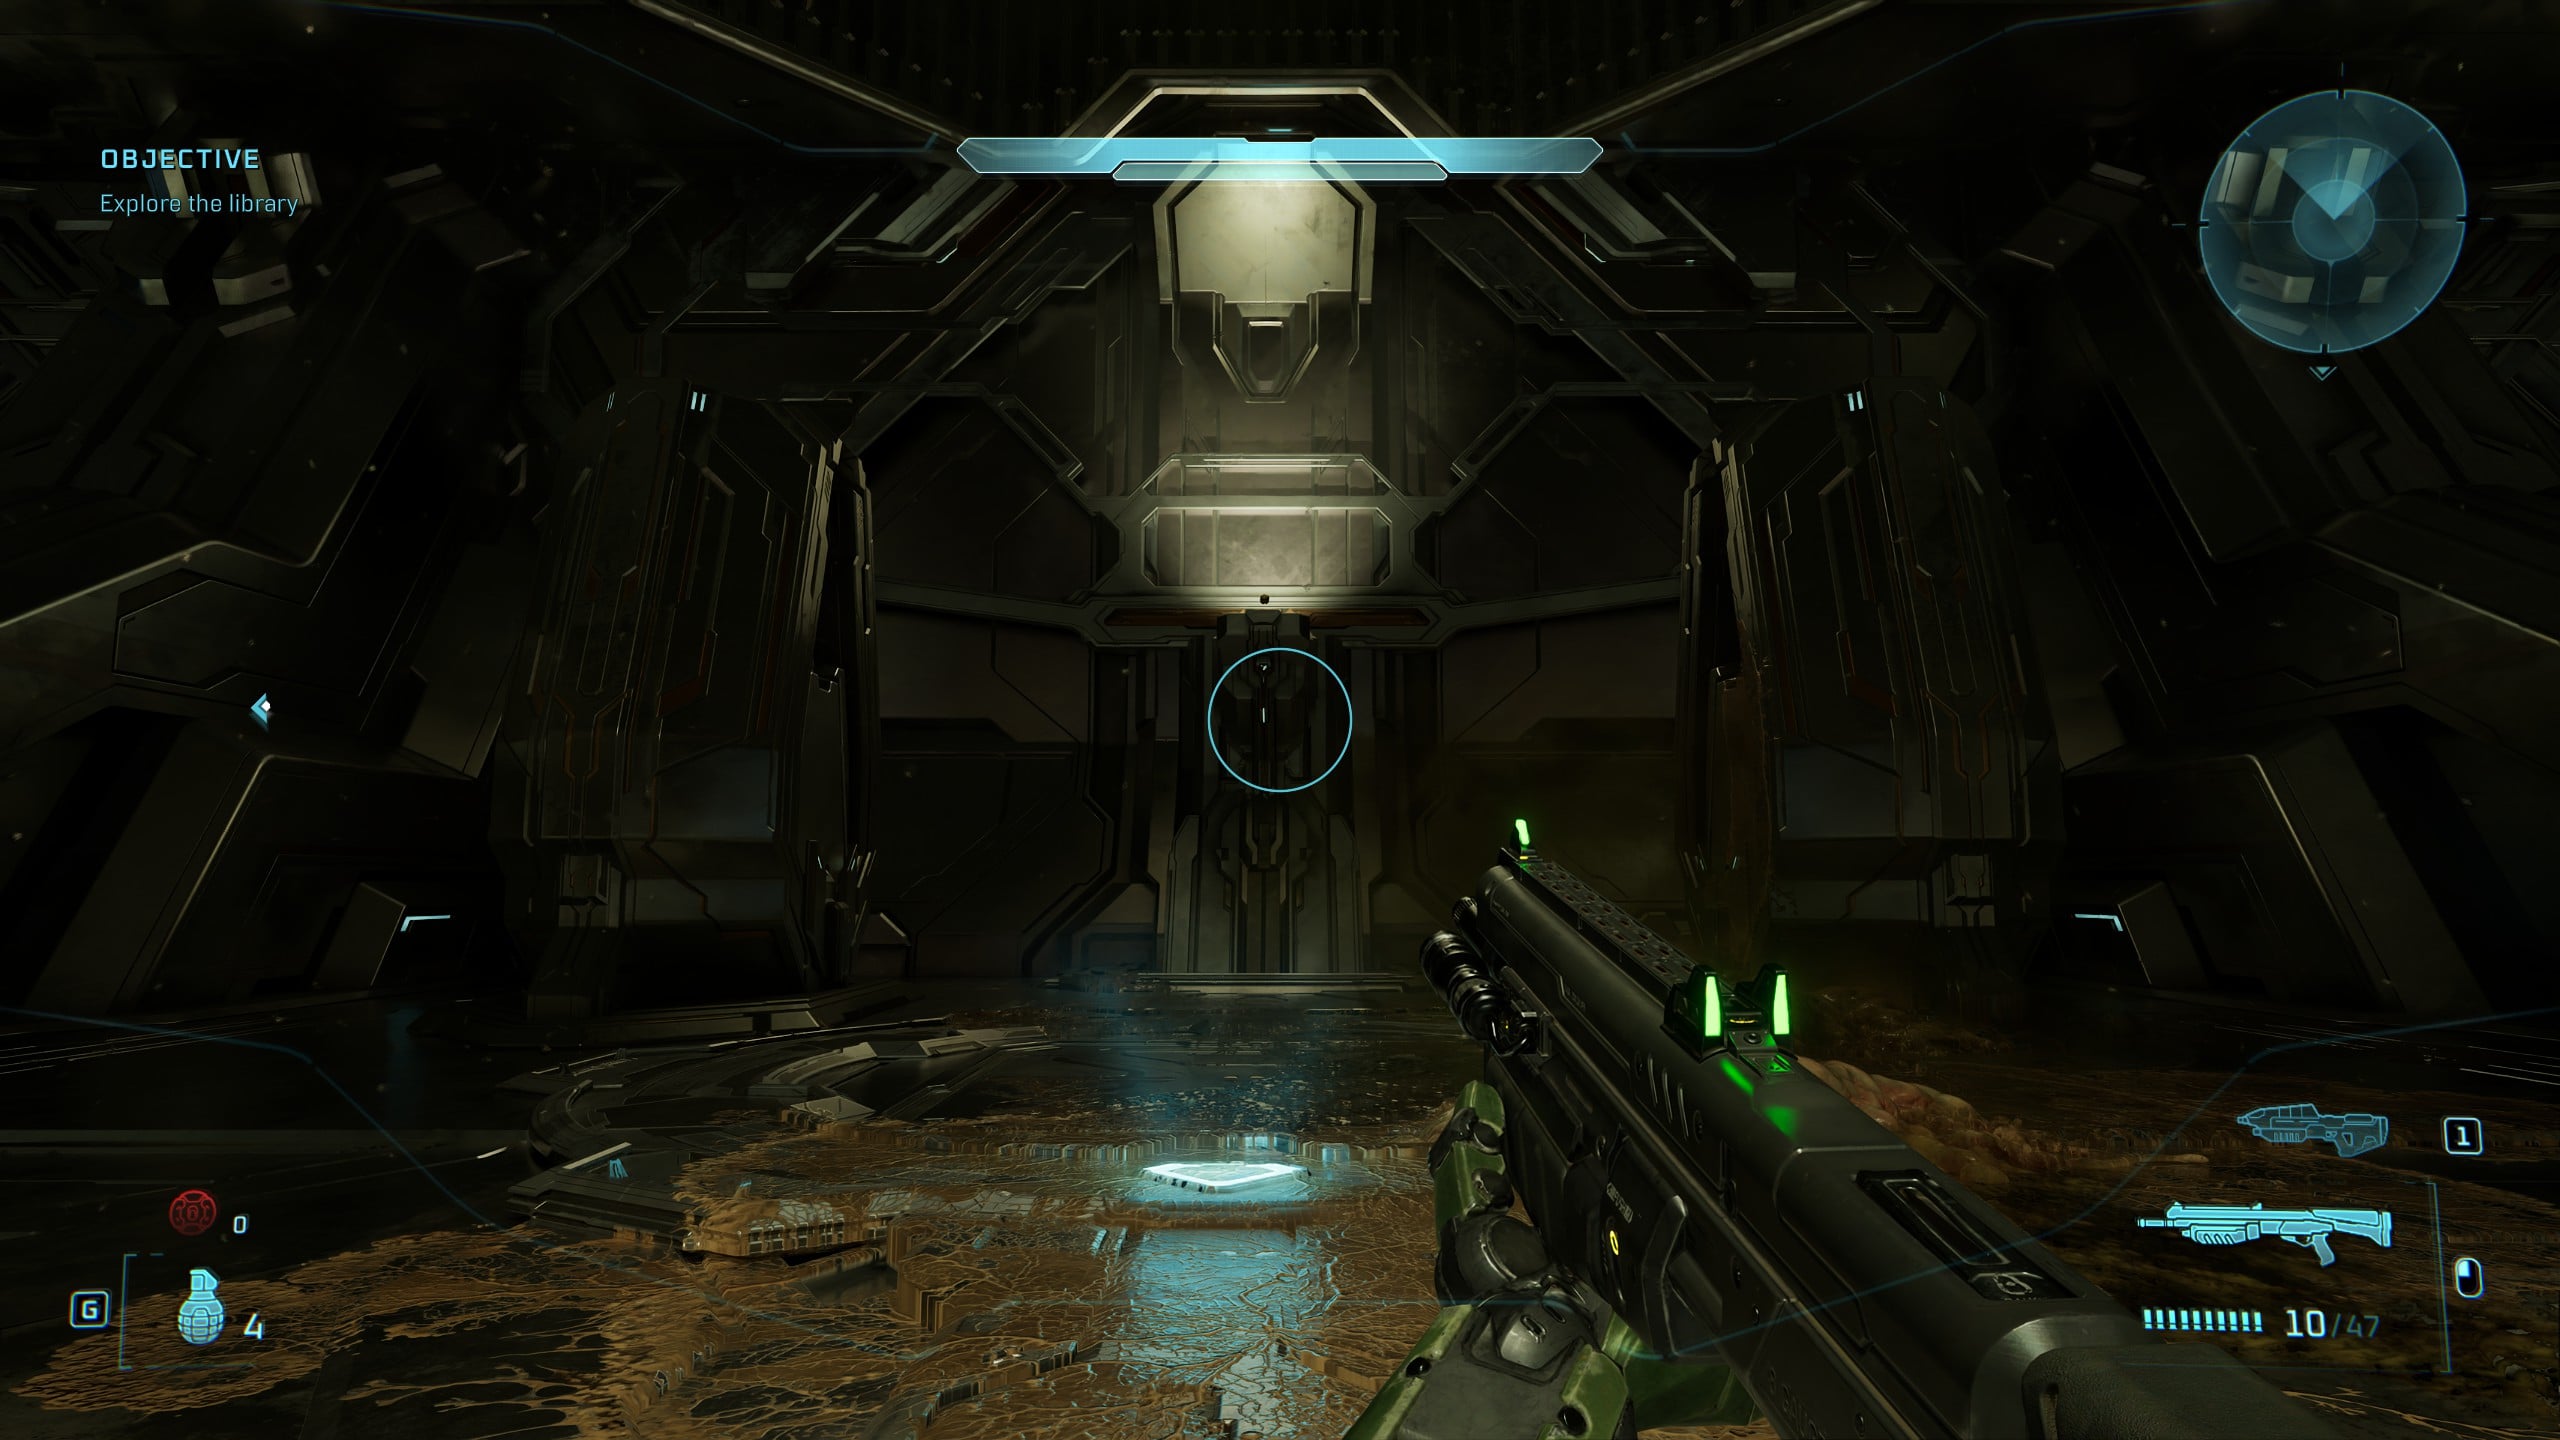
You’ll need to climb the incline on either side of it and crouch-jump between two platforms in order to reach the Pop Skull.
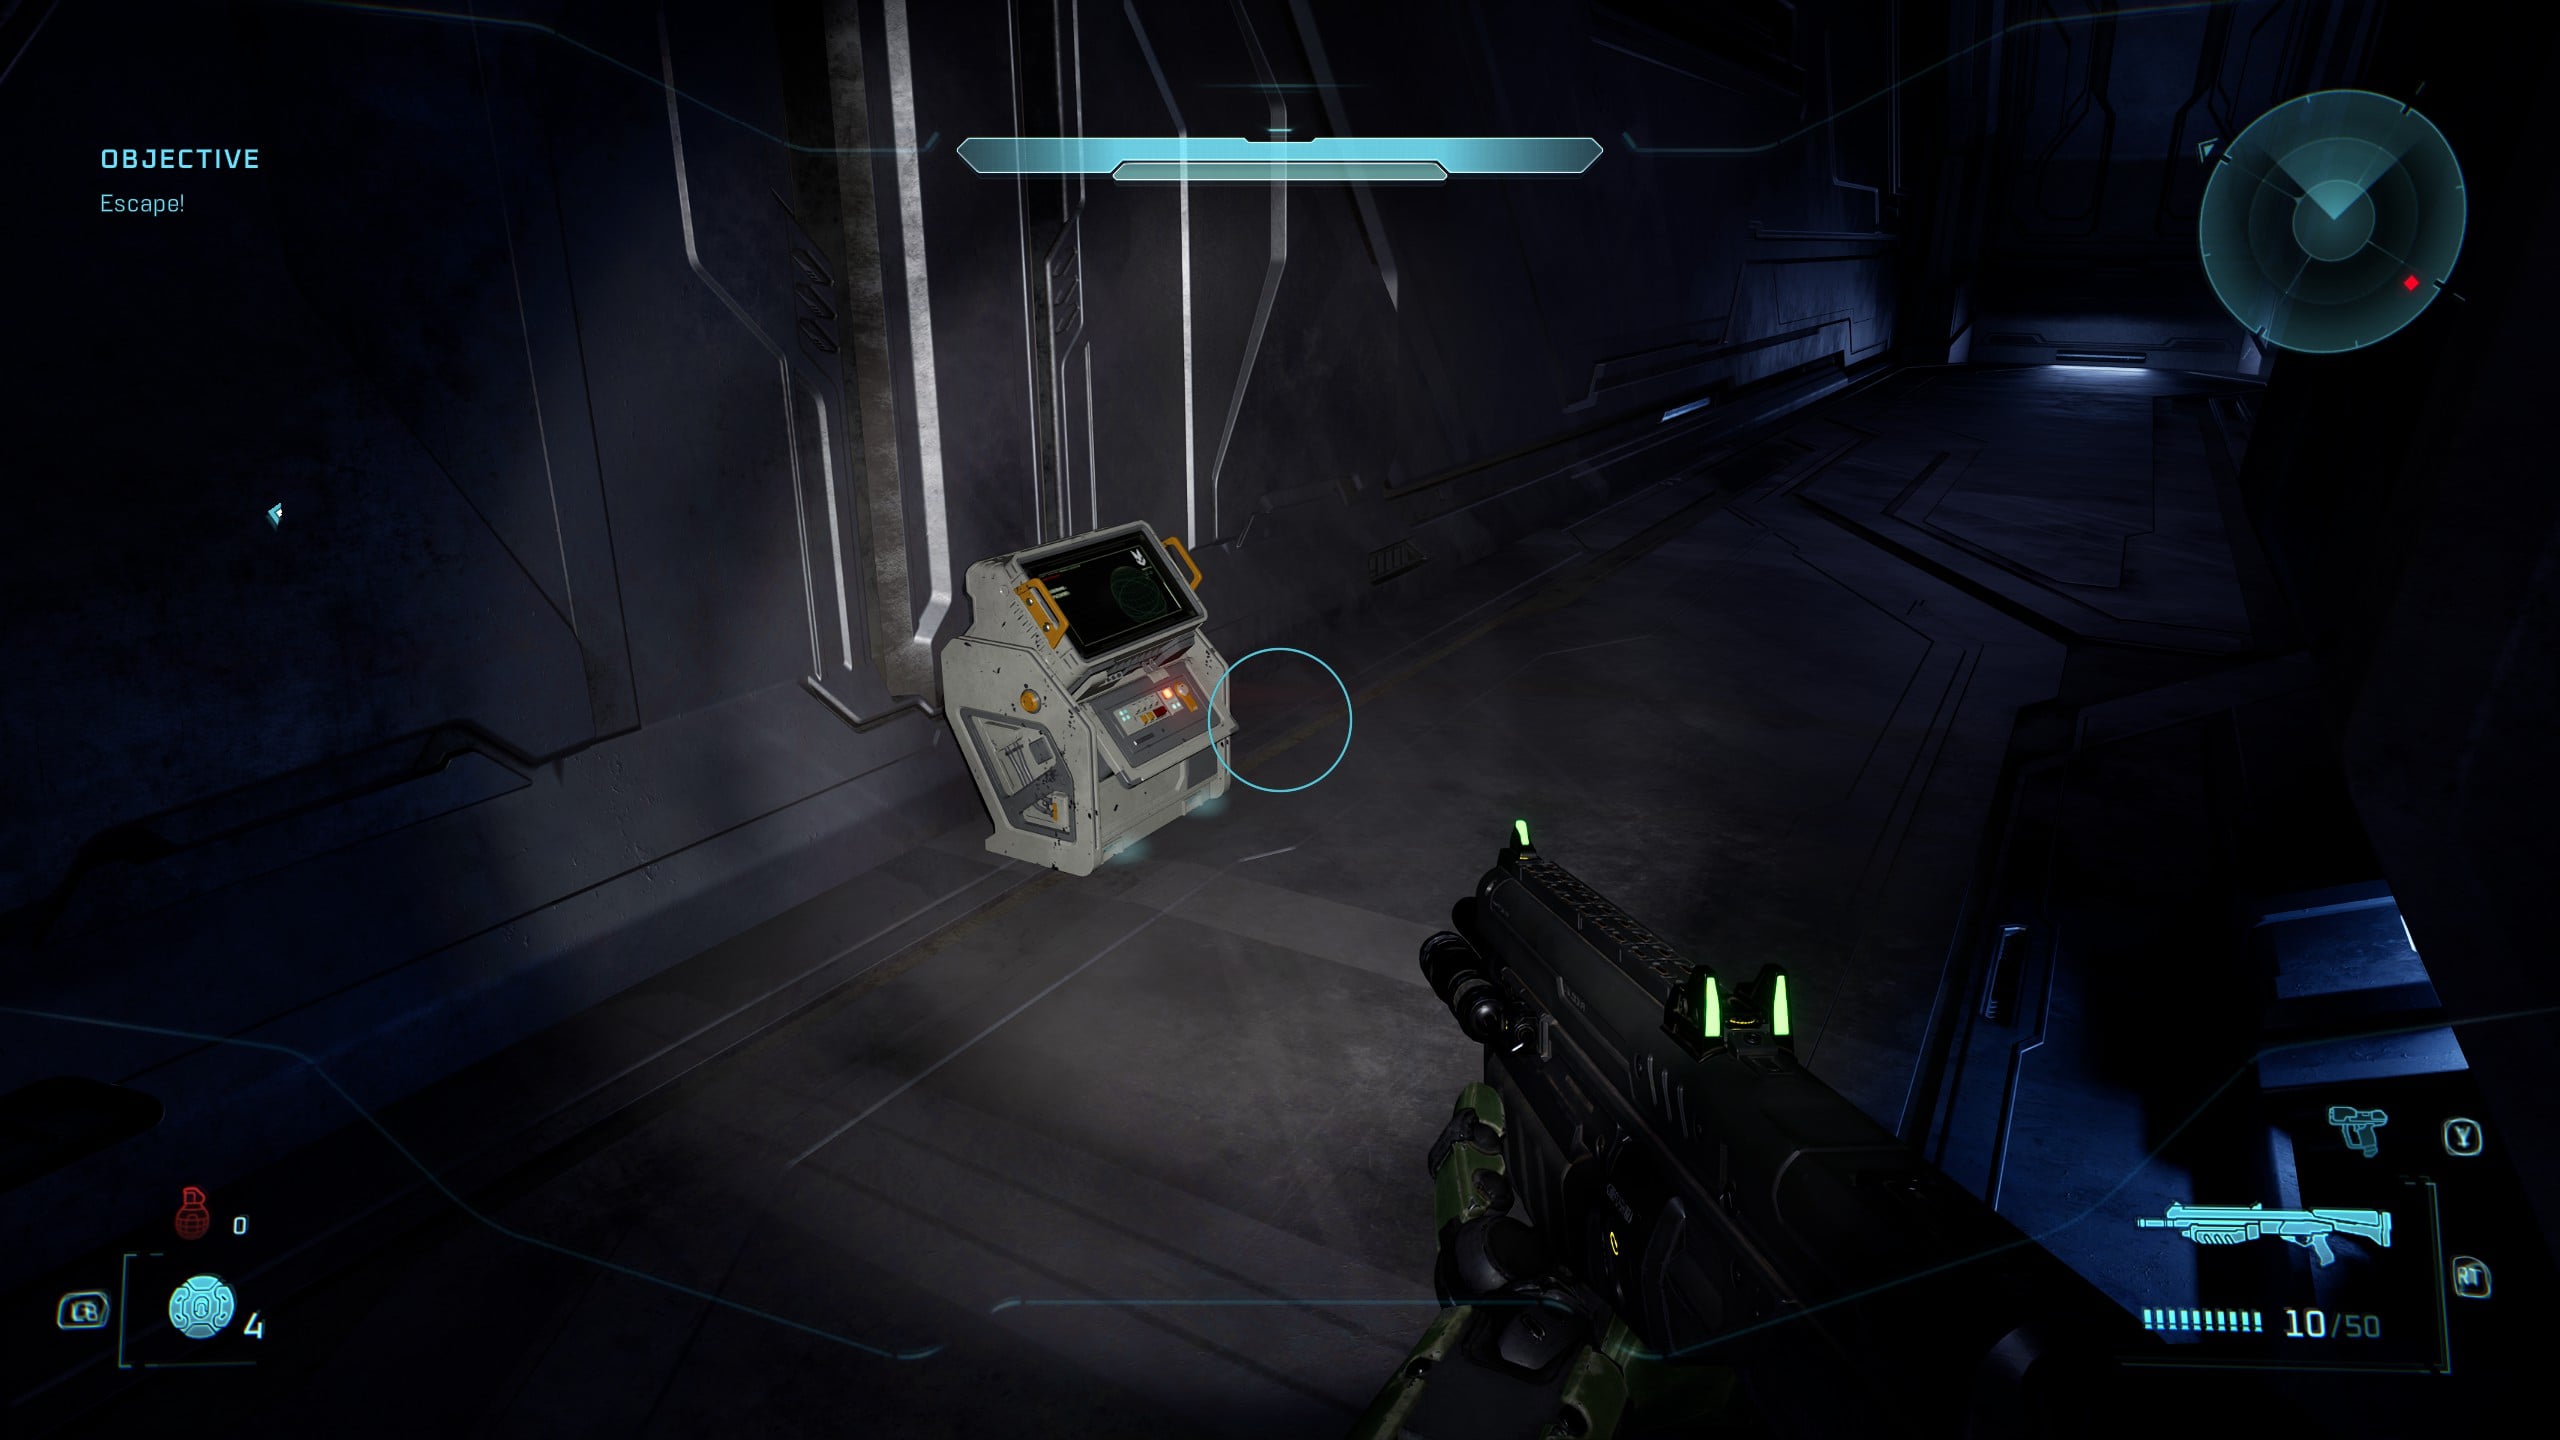
Terminal 7 – Tangent III
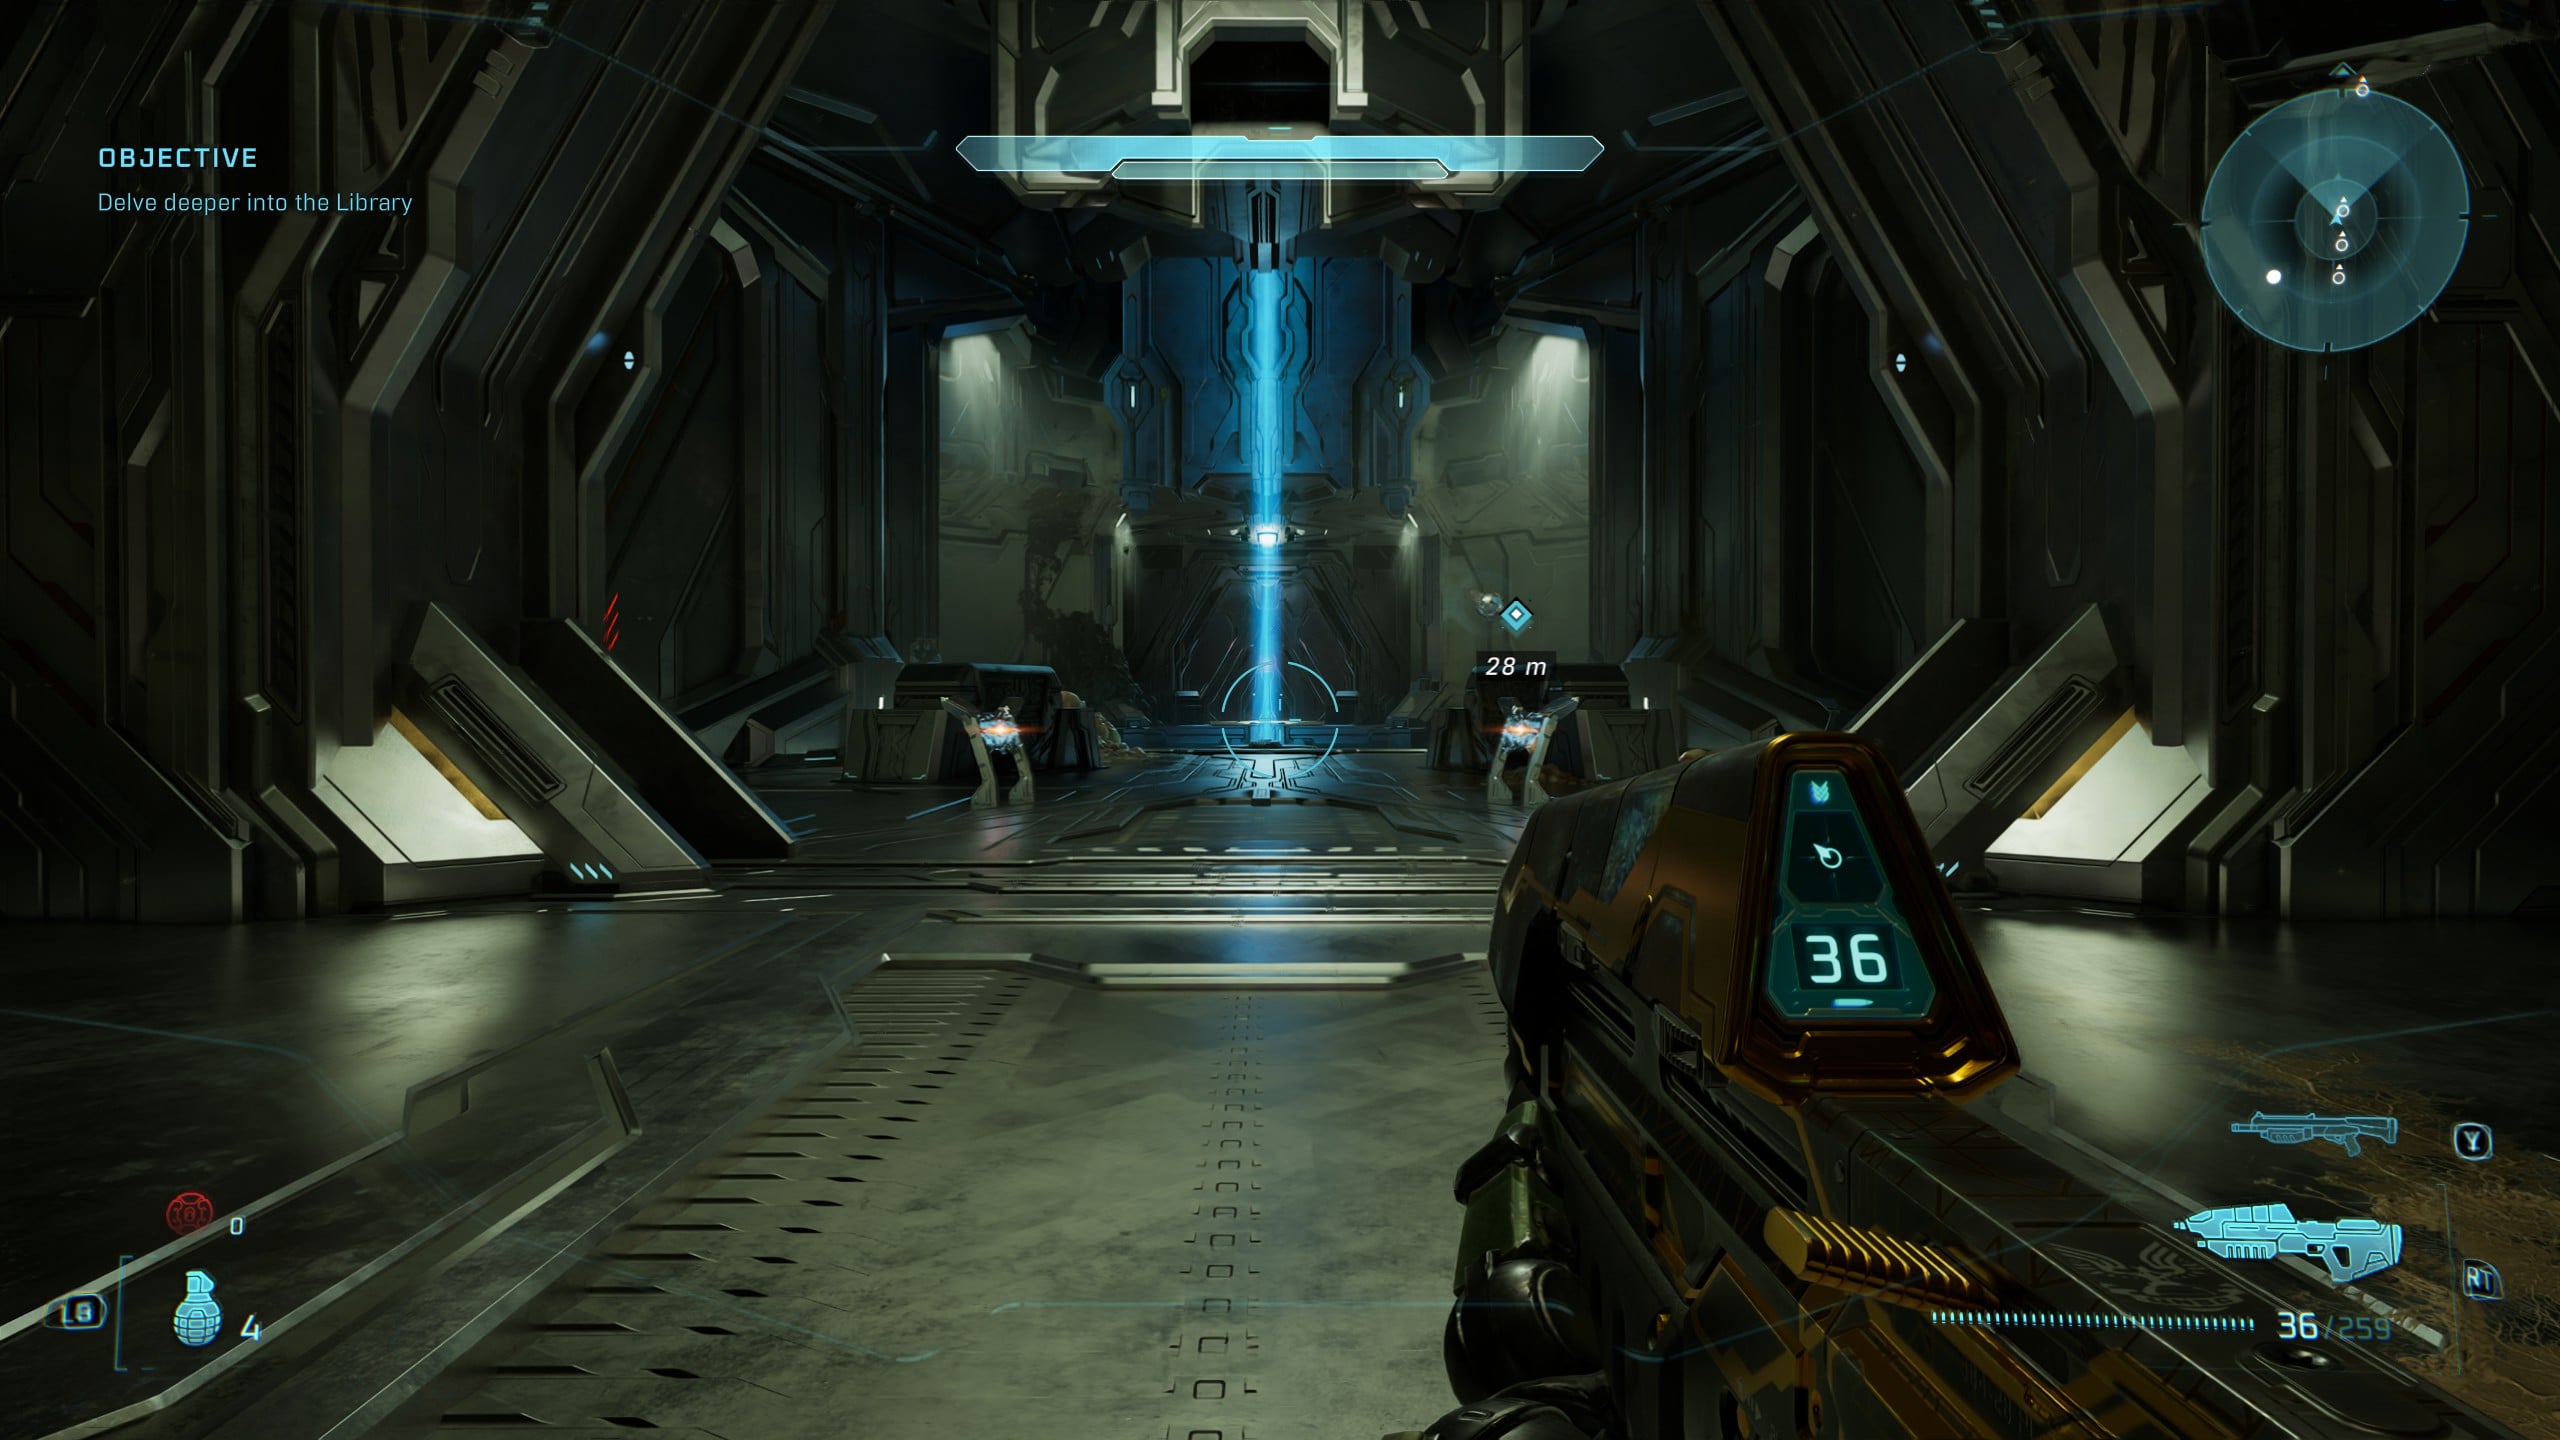
Immediately after opening the door from the Pop Skull, the objective marker will tell you to interact with the panel on the right. Use the one on the left instead, and move through to the next room.
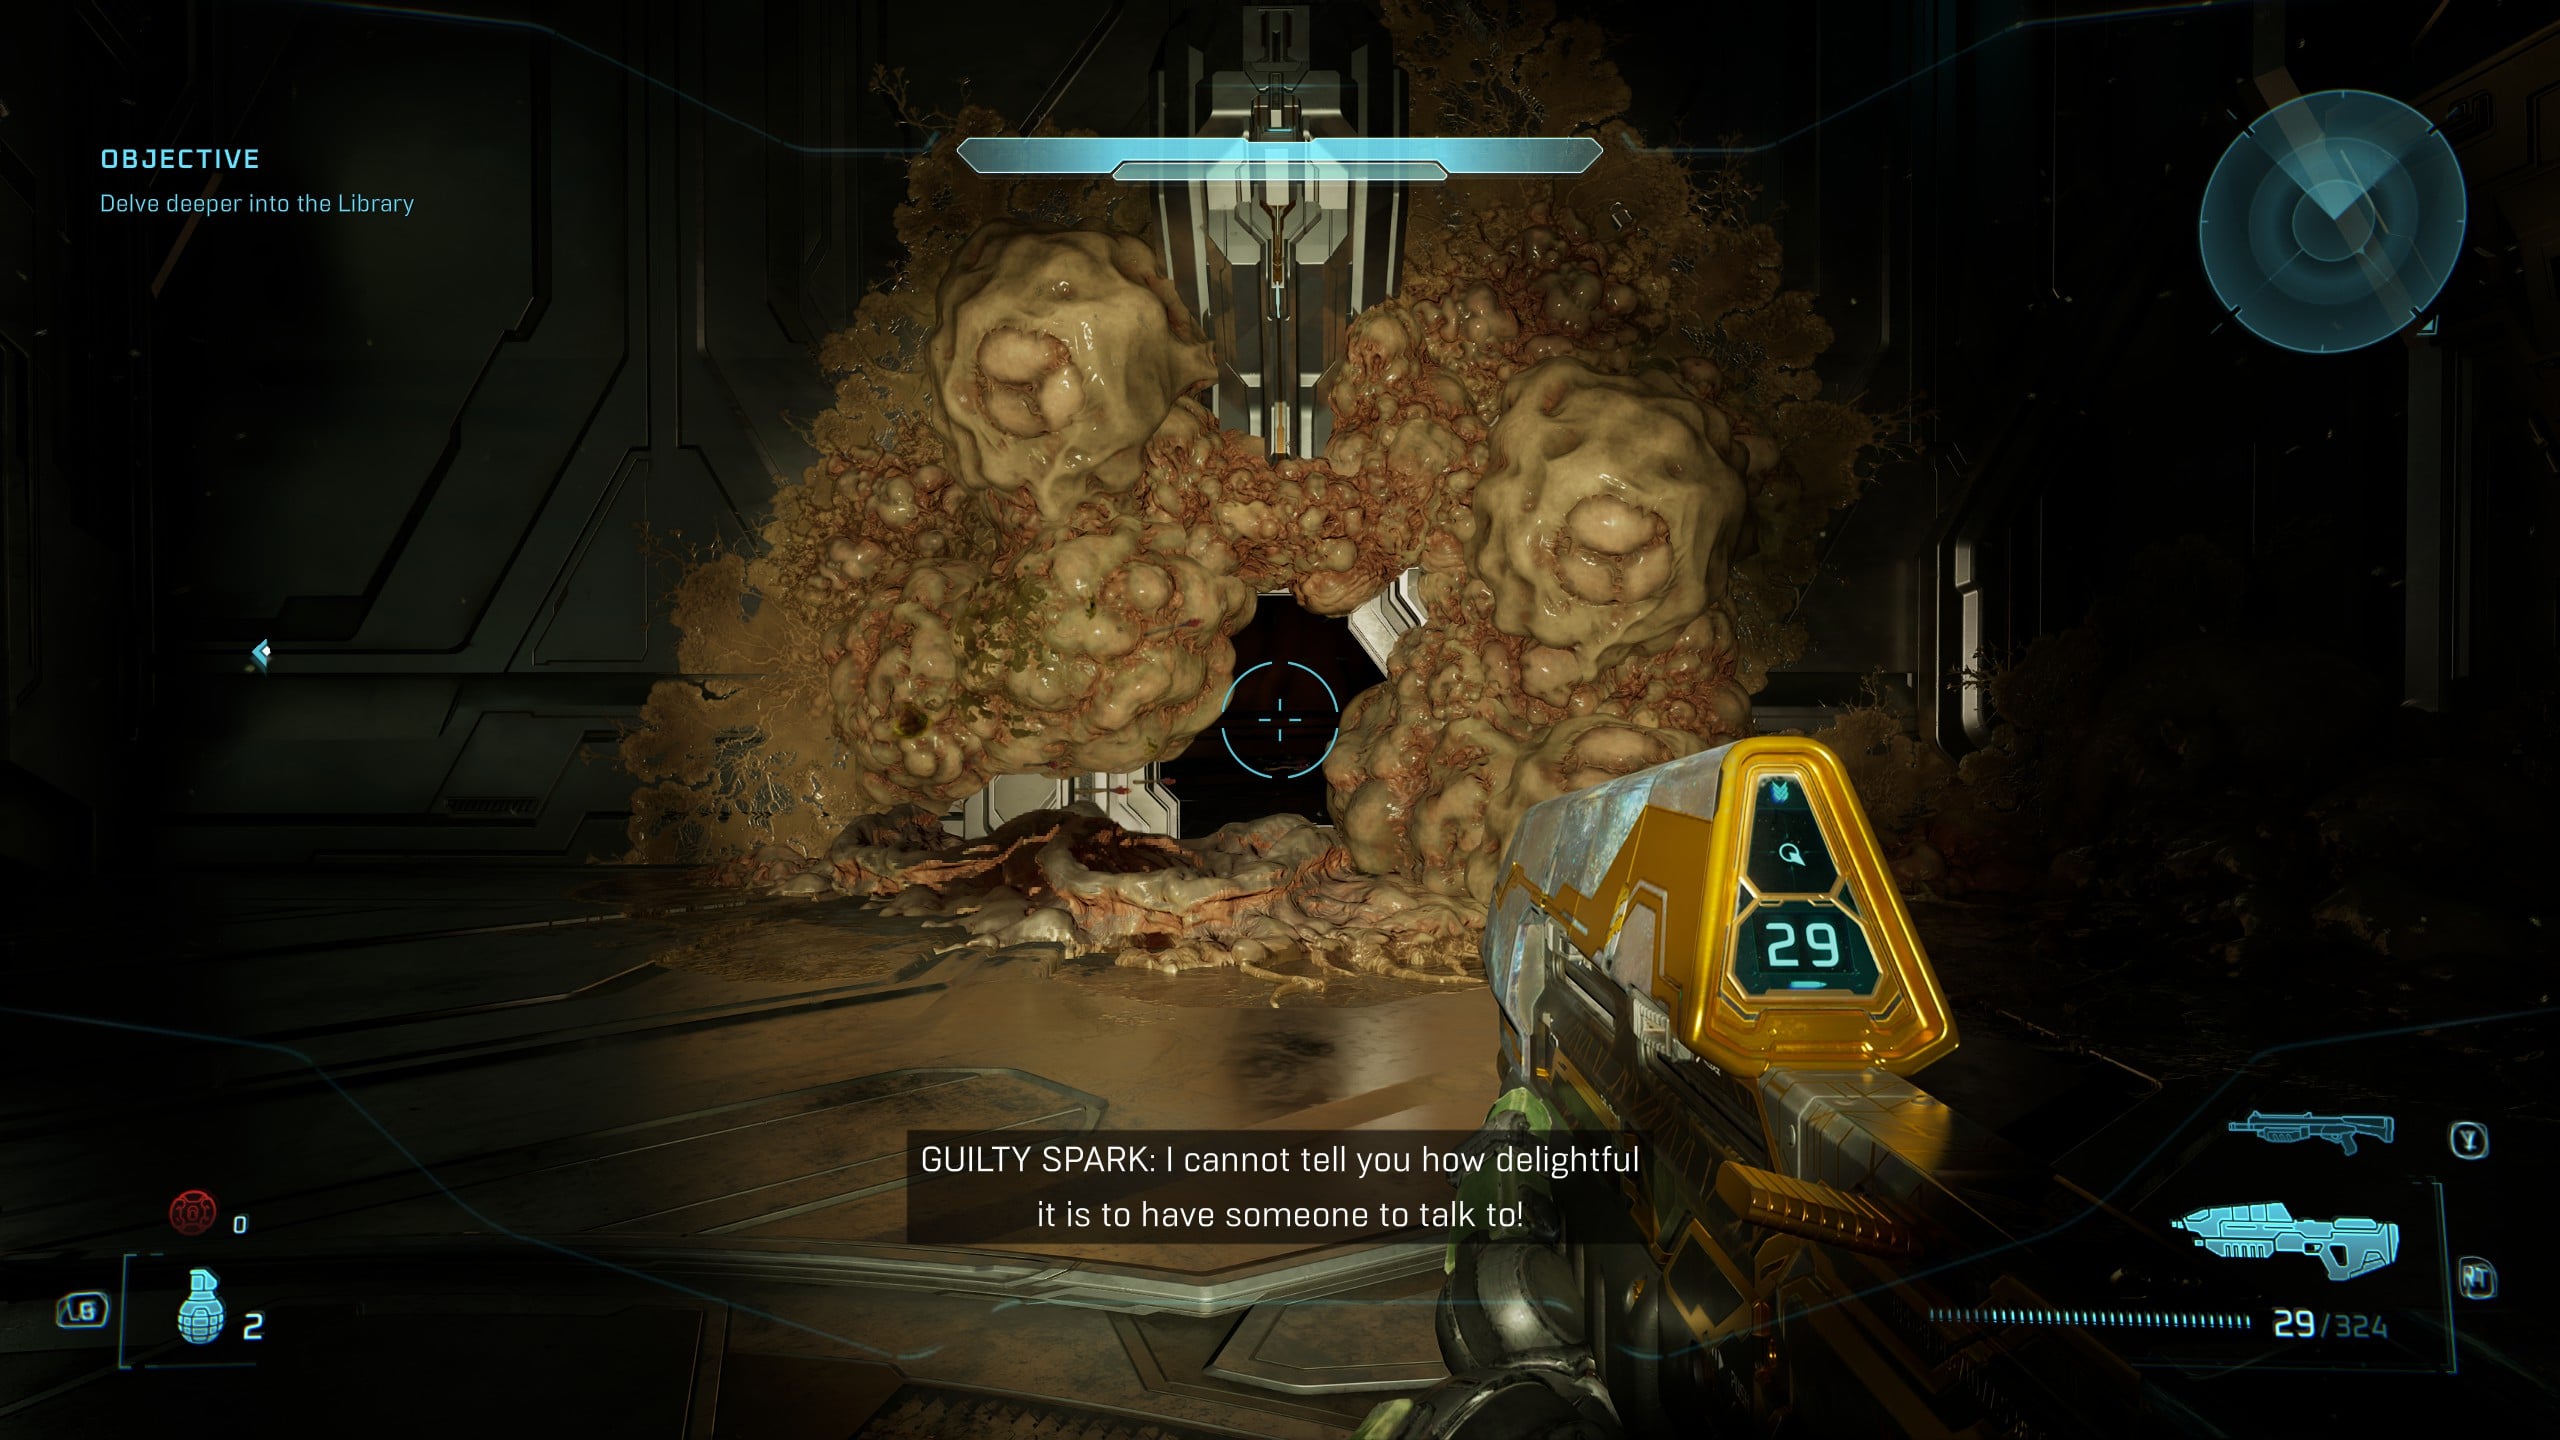
A door will be blocked by Flood sacks, which you remove with a grenade. In the next room, you’ll find the Tangent III Terminal, alongside some environmental storytelling. No prizes for guessing what happened here.
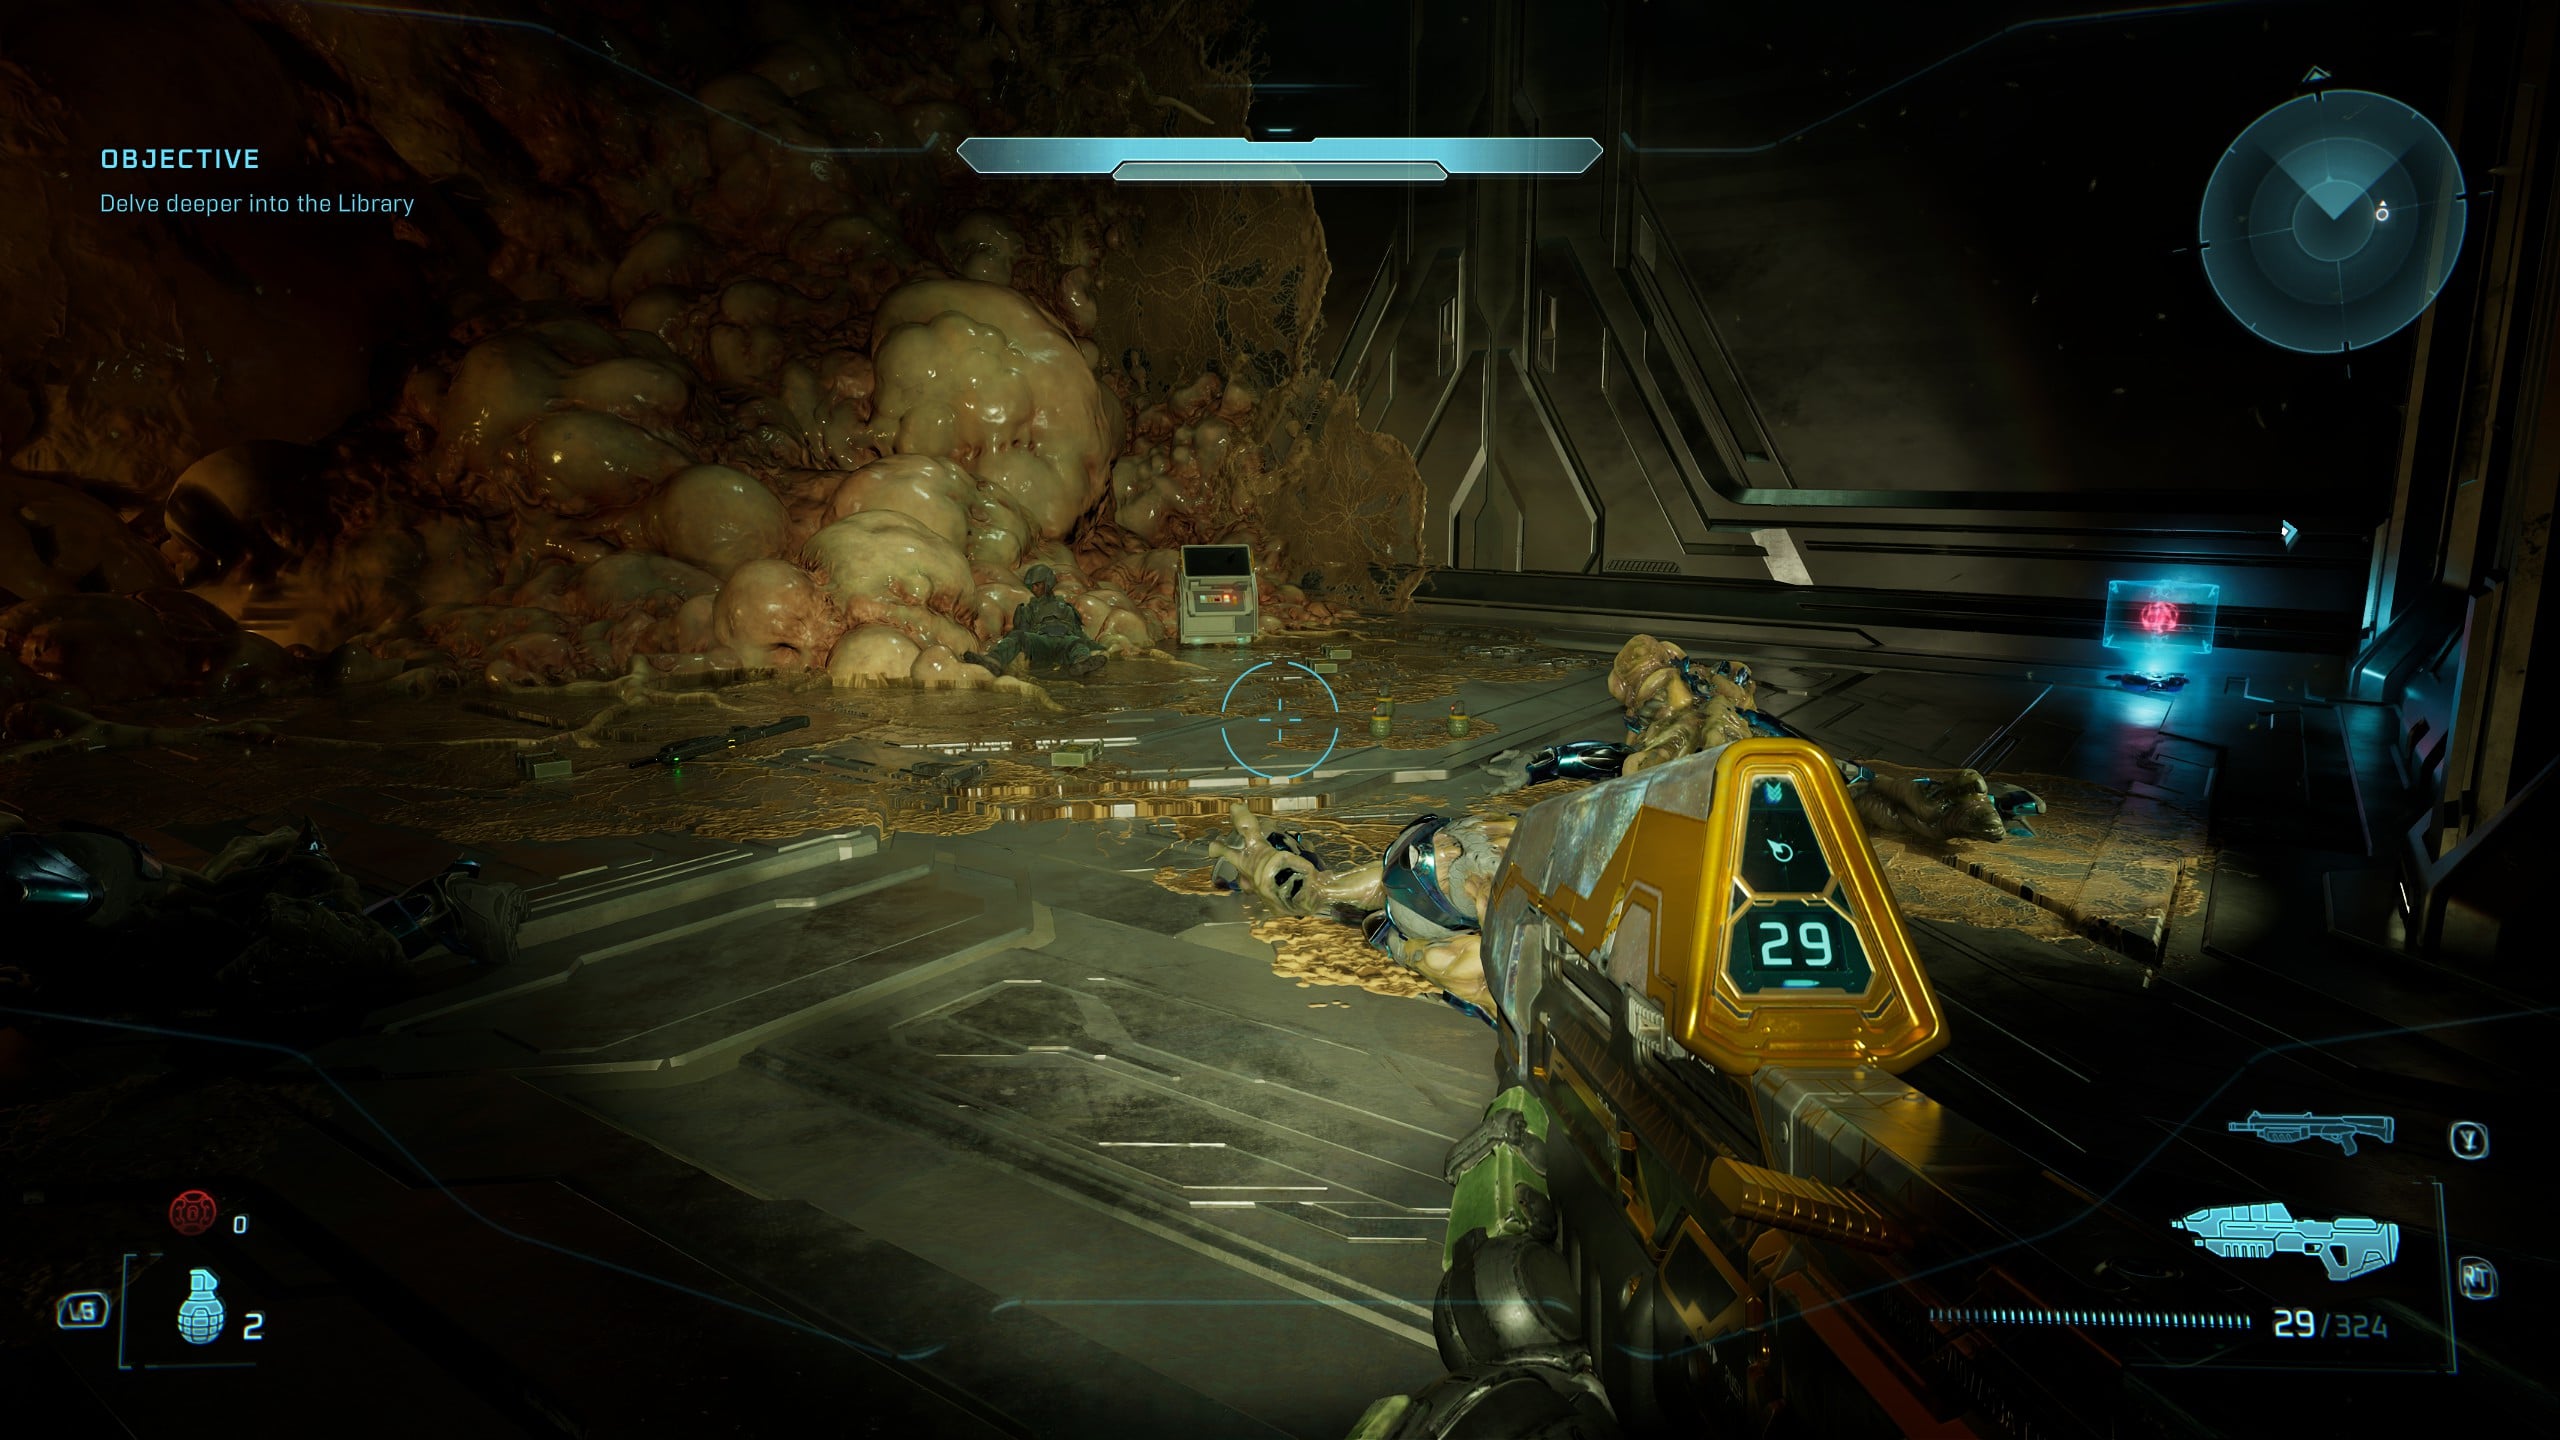
Rally Point Charlie
Skull 21 – Famine
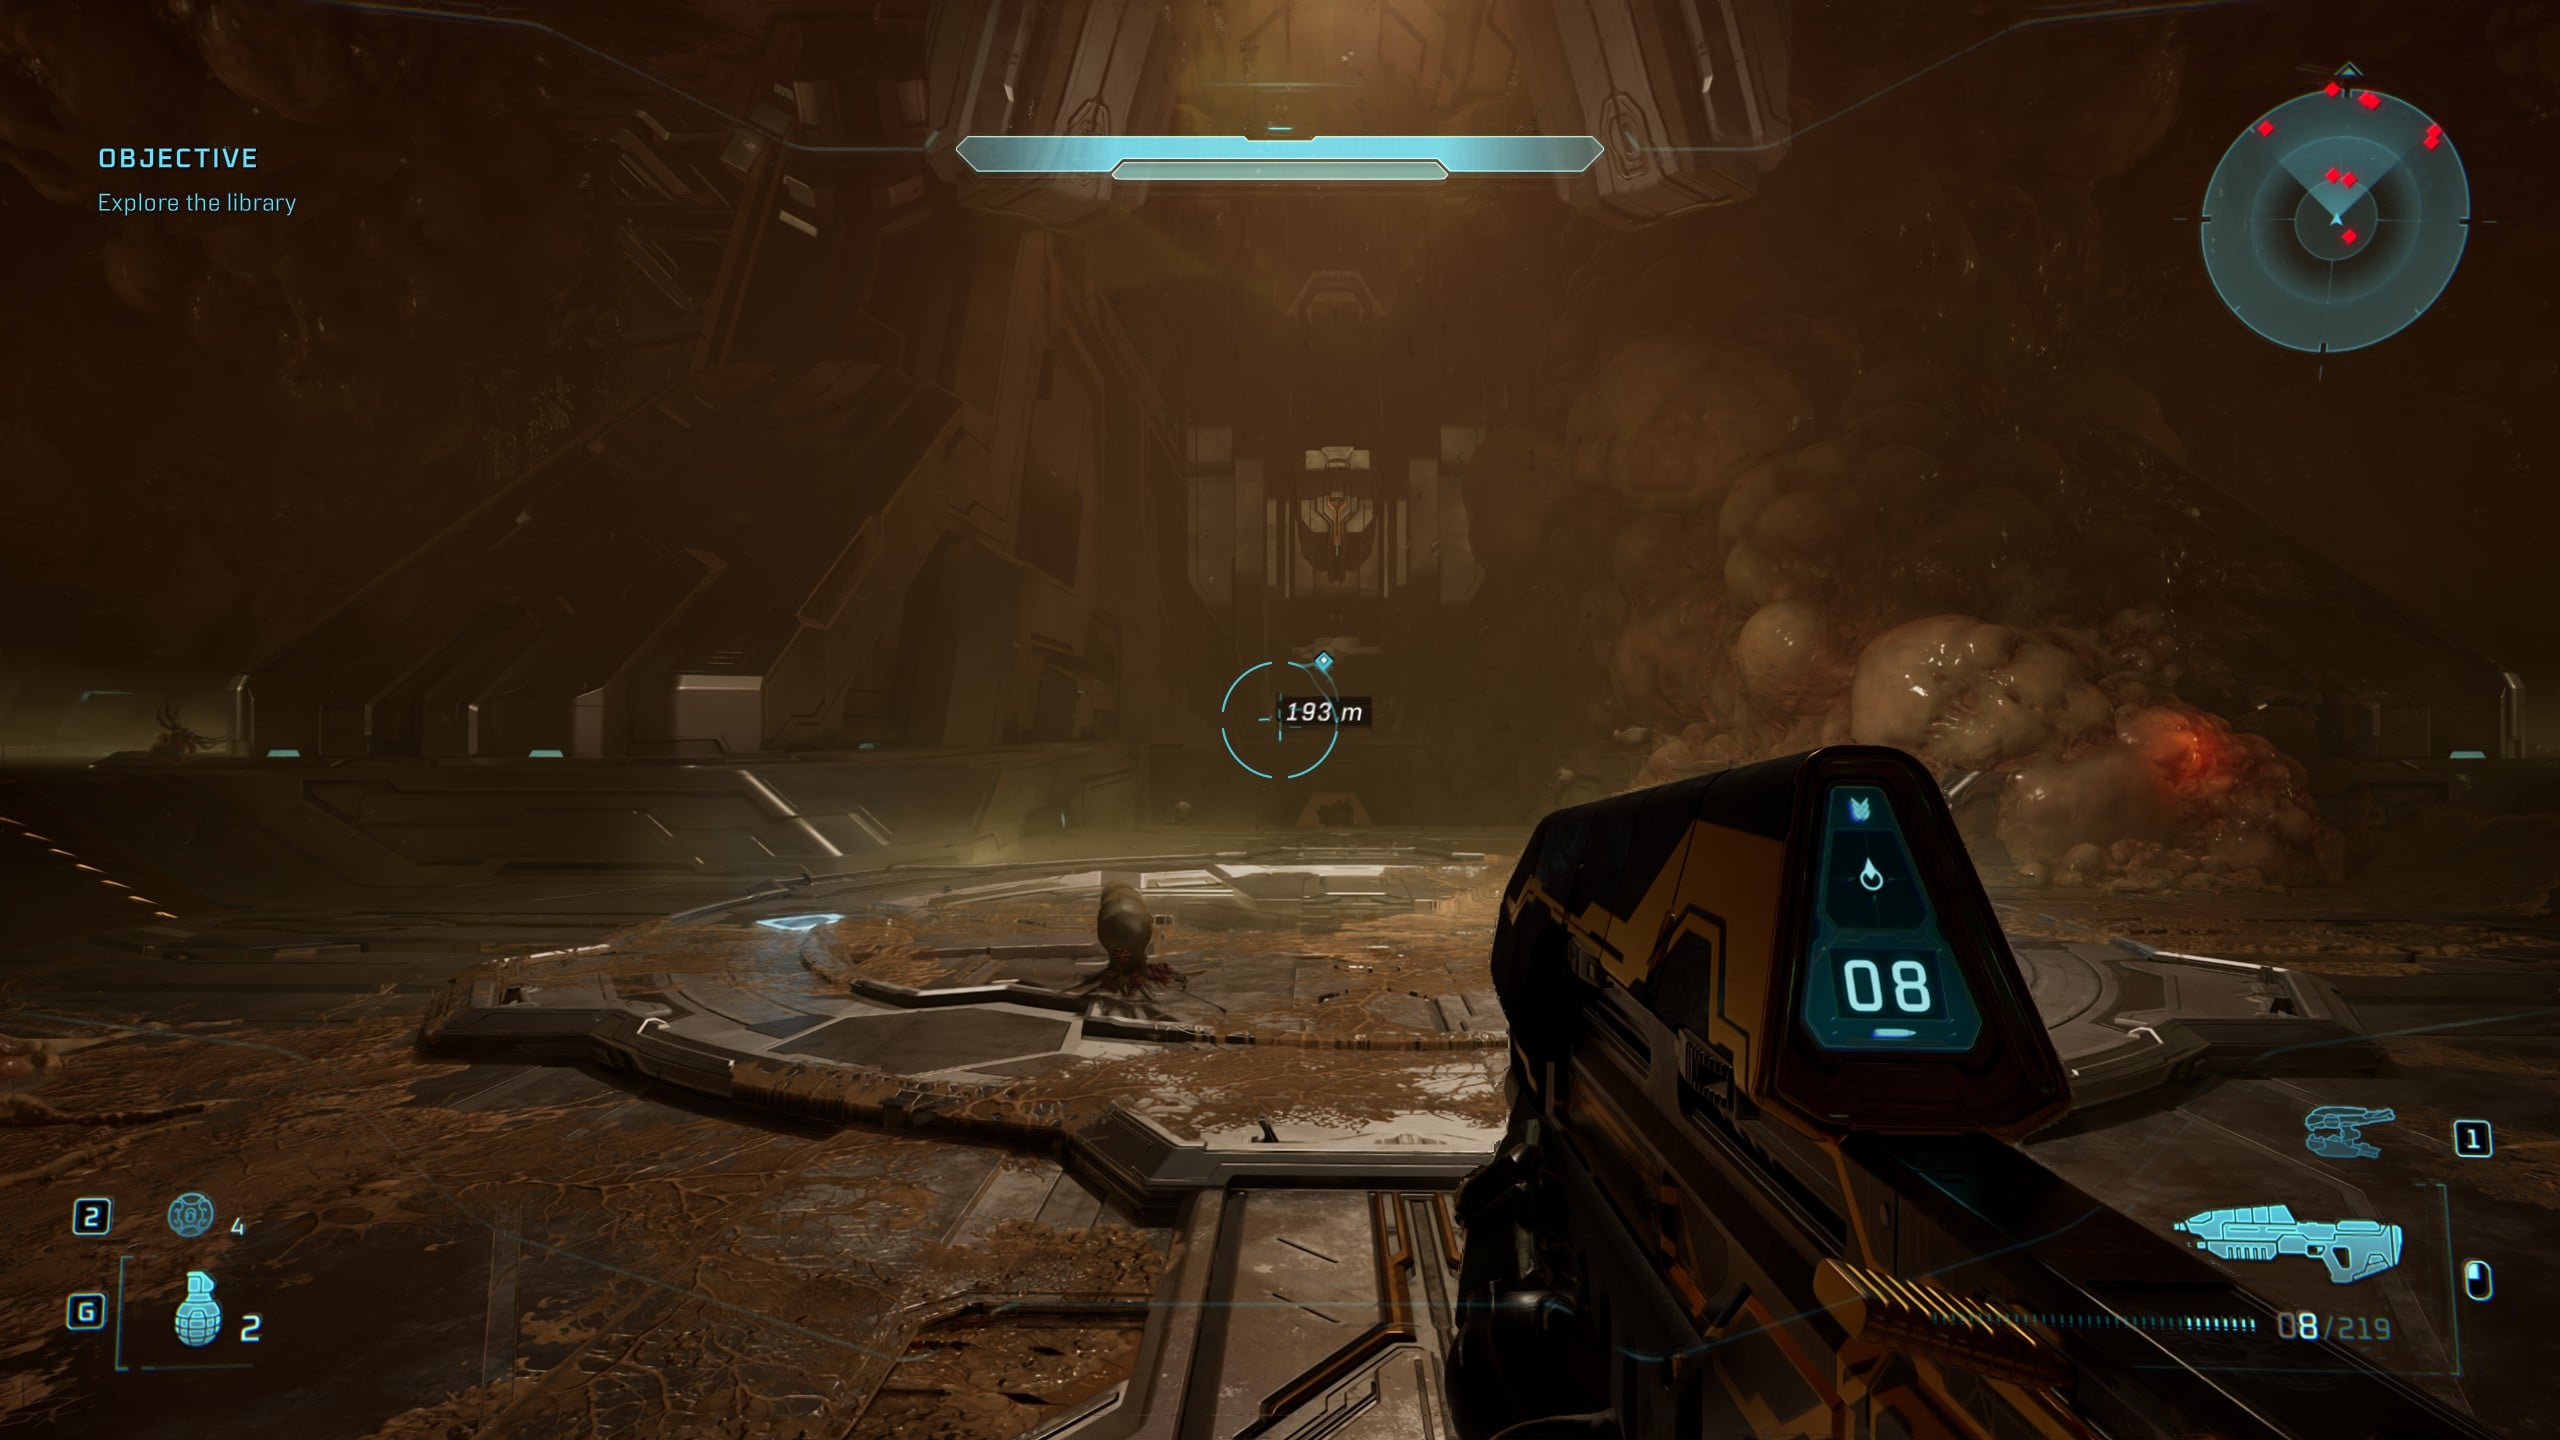
When you descend down the elevator with the Monitor, your screen will go widescreen for a moment and the title ‘Fourth Floor: Tools, Guns, Keys To Super Weapons’ will appear. The Objective marker will lead you straight forward through some Flood.
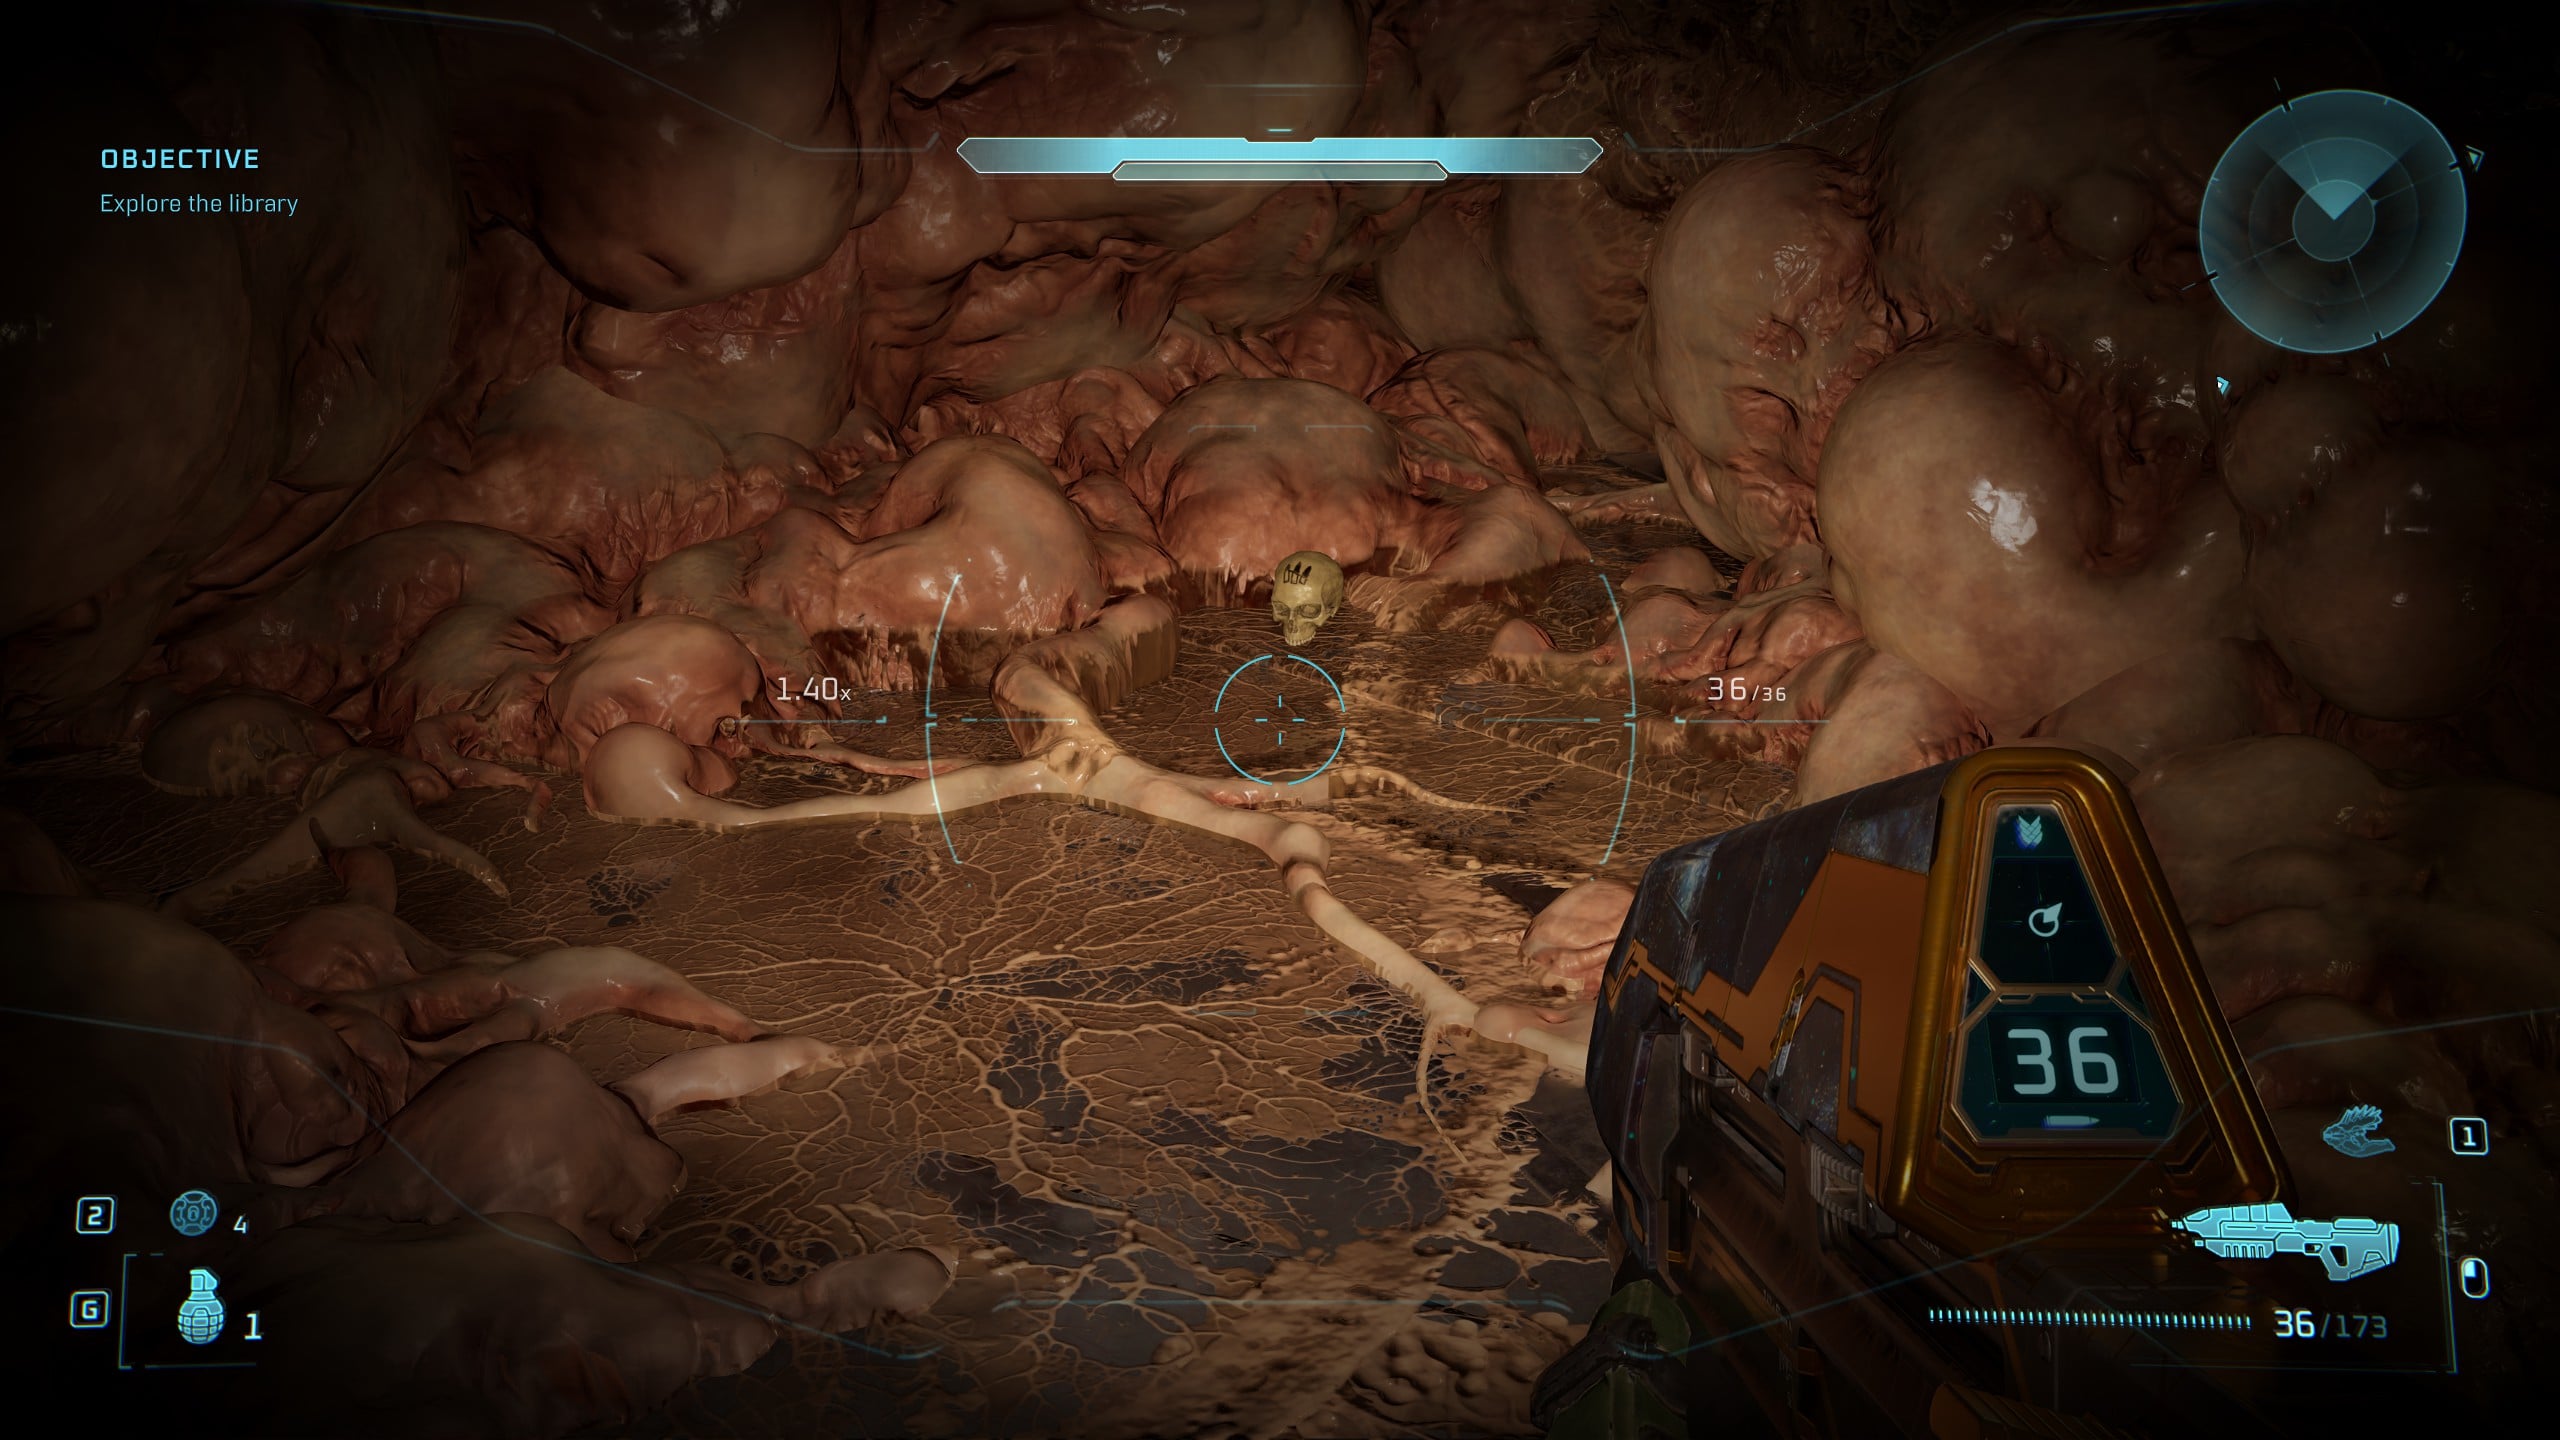
As soon as you descend down the ramp after exiting the elevator, search the floor in the corner on your left, and you’ll find the Famine Skull. Very easy to find, but very easy to miss.