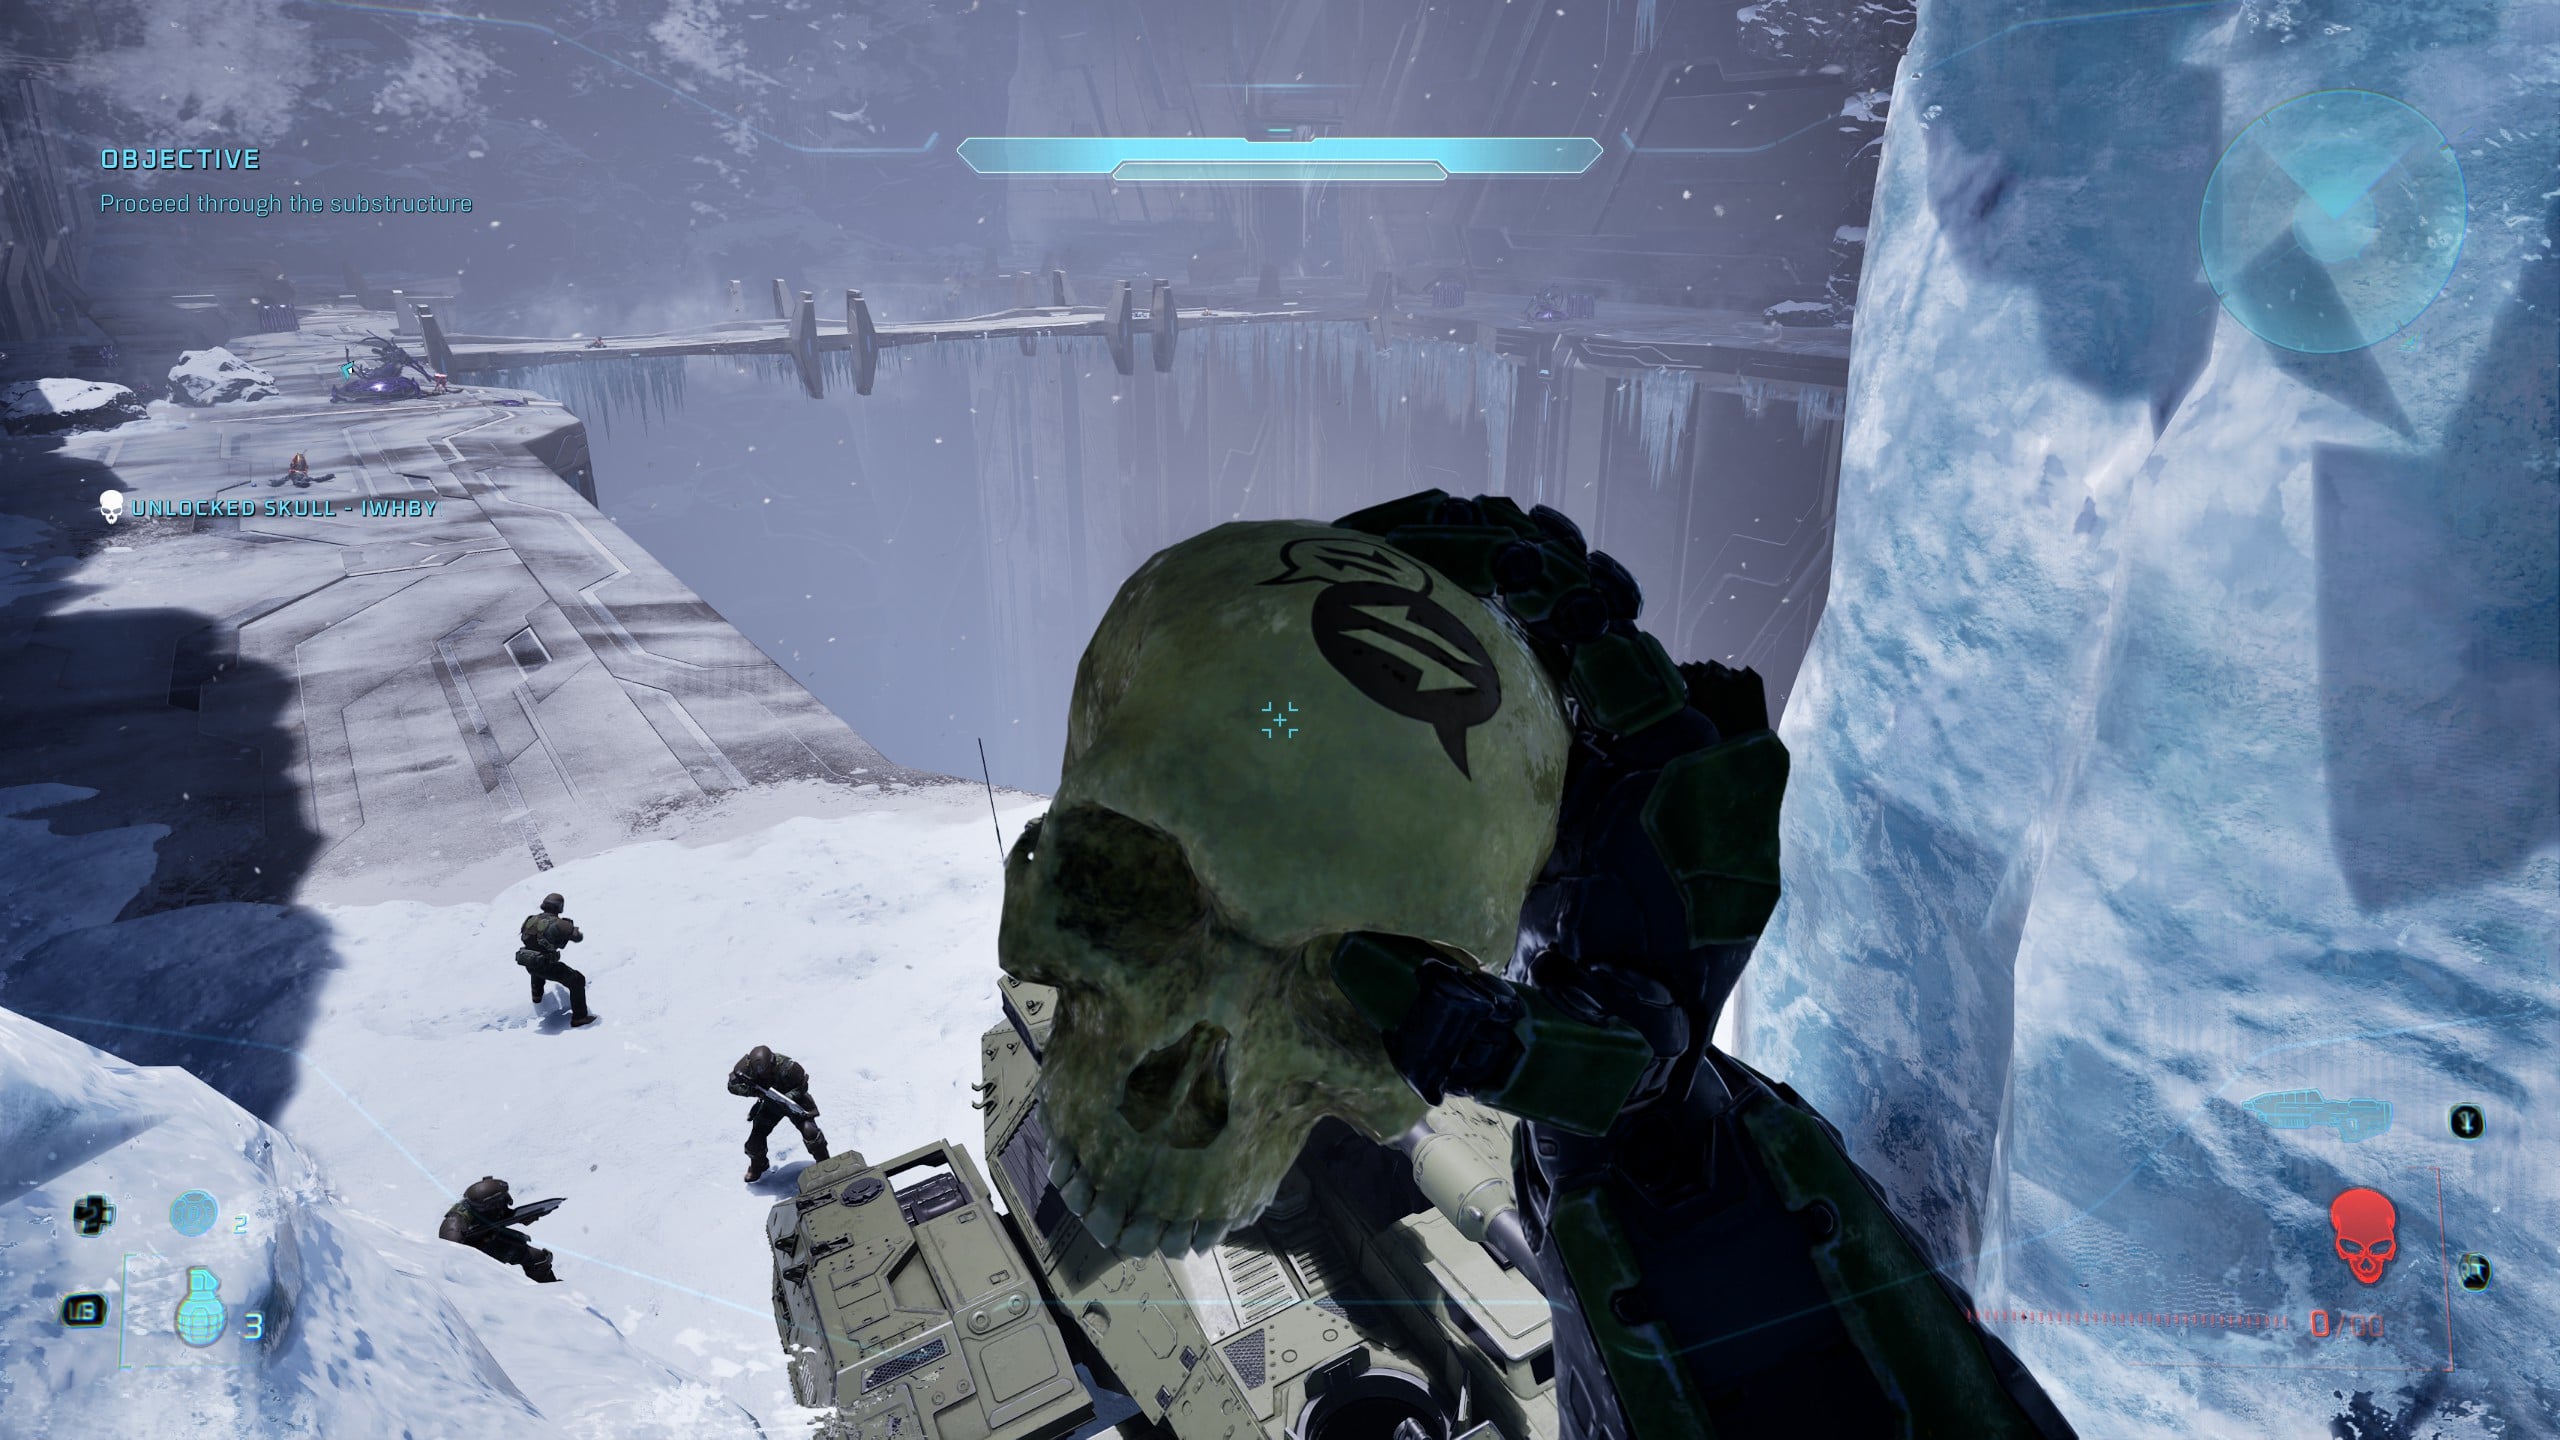
Halo Campaign Evolved: All 343 Guilty Spark Skull and Terminal locations
Every Skull and Terminal to be found in Halo Campaign Evolved’s 343 Guilty Spark mission
You’re more than halfway through the main campaign of Halo: Campaign Evolved now, and you should make sure not to miss a single Skull or Terminal.
Most of the Skulls in the game are actually pretty easy to grab; they just require some smart platforming and exploration to actually find.
In 343 Guilty Spark, you’ll find Skulls at the very beginning and very end of the mission, so read through our breakdown below to find every Skull and Terminal in the game.
Make sure to redeem Halo Waypoint codes for exclusive unlockables in Campaign Evolved. We list every Skull and Terminal in the game in our Skulls and Terminals guide hub.
All Halo: Campaign Evolved Skull and Terminal locations, by mission
Main campaign missions:
- The Pillar of Autumn – Skull and Terminal locations
- Halo – Skull and Terminal locations
- The Truth and Reconciliation – Skull and Terminal locations
- The Silent Cartographer – Skull and Terminal locations
- Assault on the Control Room – Skull and Terminal locations
- 343 Guilty Spark – Skull and Terminal locations
- The Library – Skull and Terminal locations
- Two Betrayals – Skull and Terminal locations
- Keyes – Skull and Terminal locations
- The Maw – Skull and Terminal locations
Bonus Missions:
343 Guilty Spark Skull and Terminal locations – Halo CE
You’ll earn the Proto Gravemind trophy and achievement for finding these optional items in the 343 Guilty Spark mission.
Rally Point Alpha
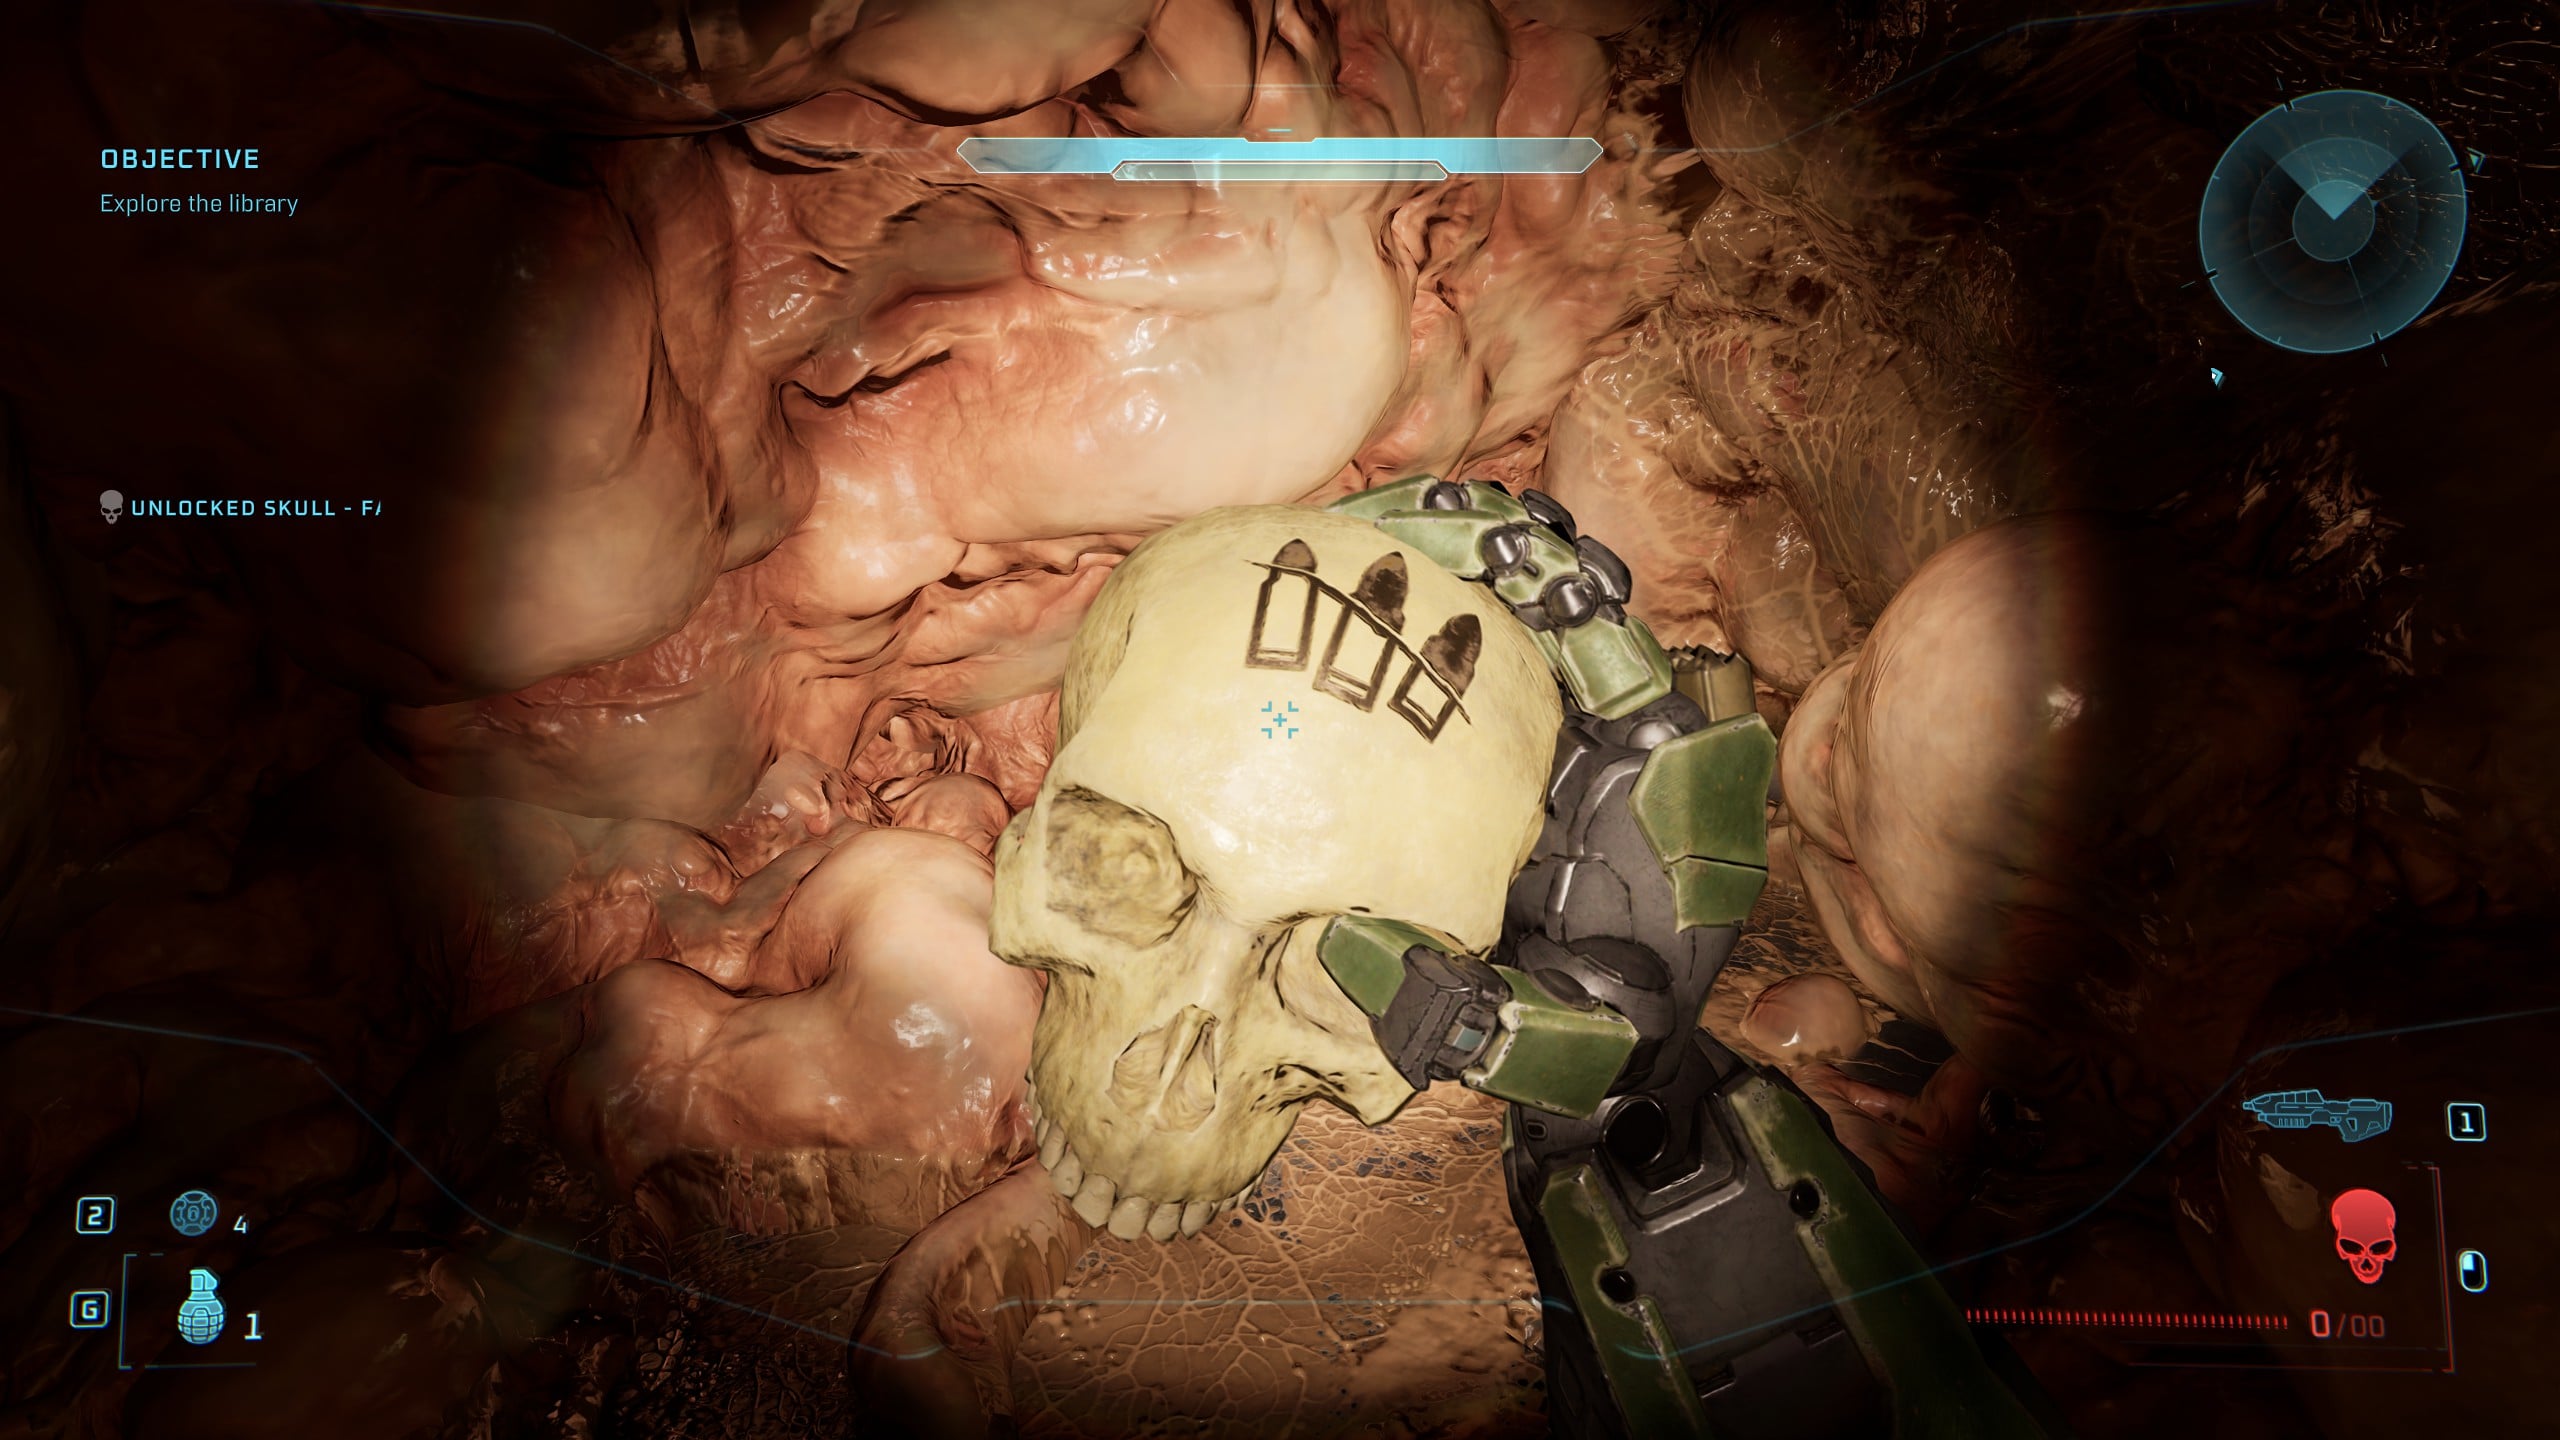
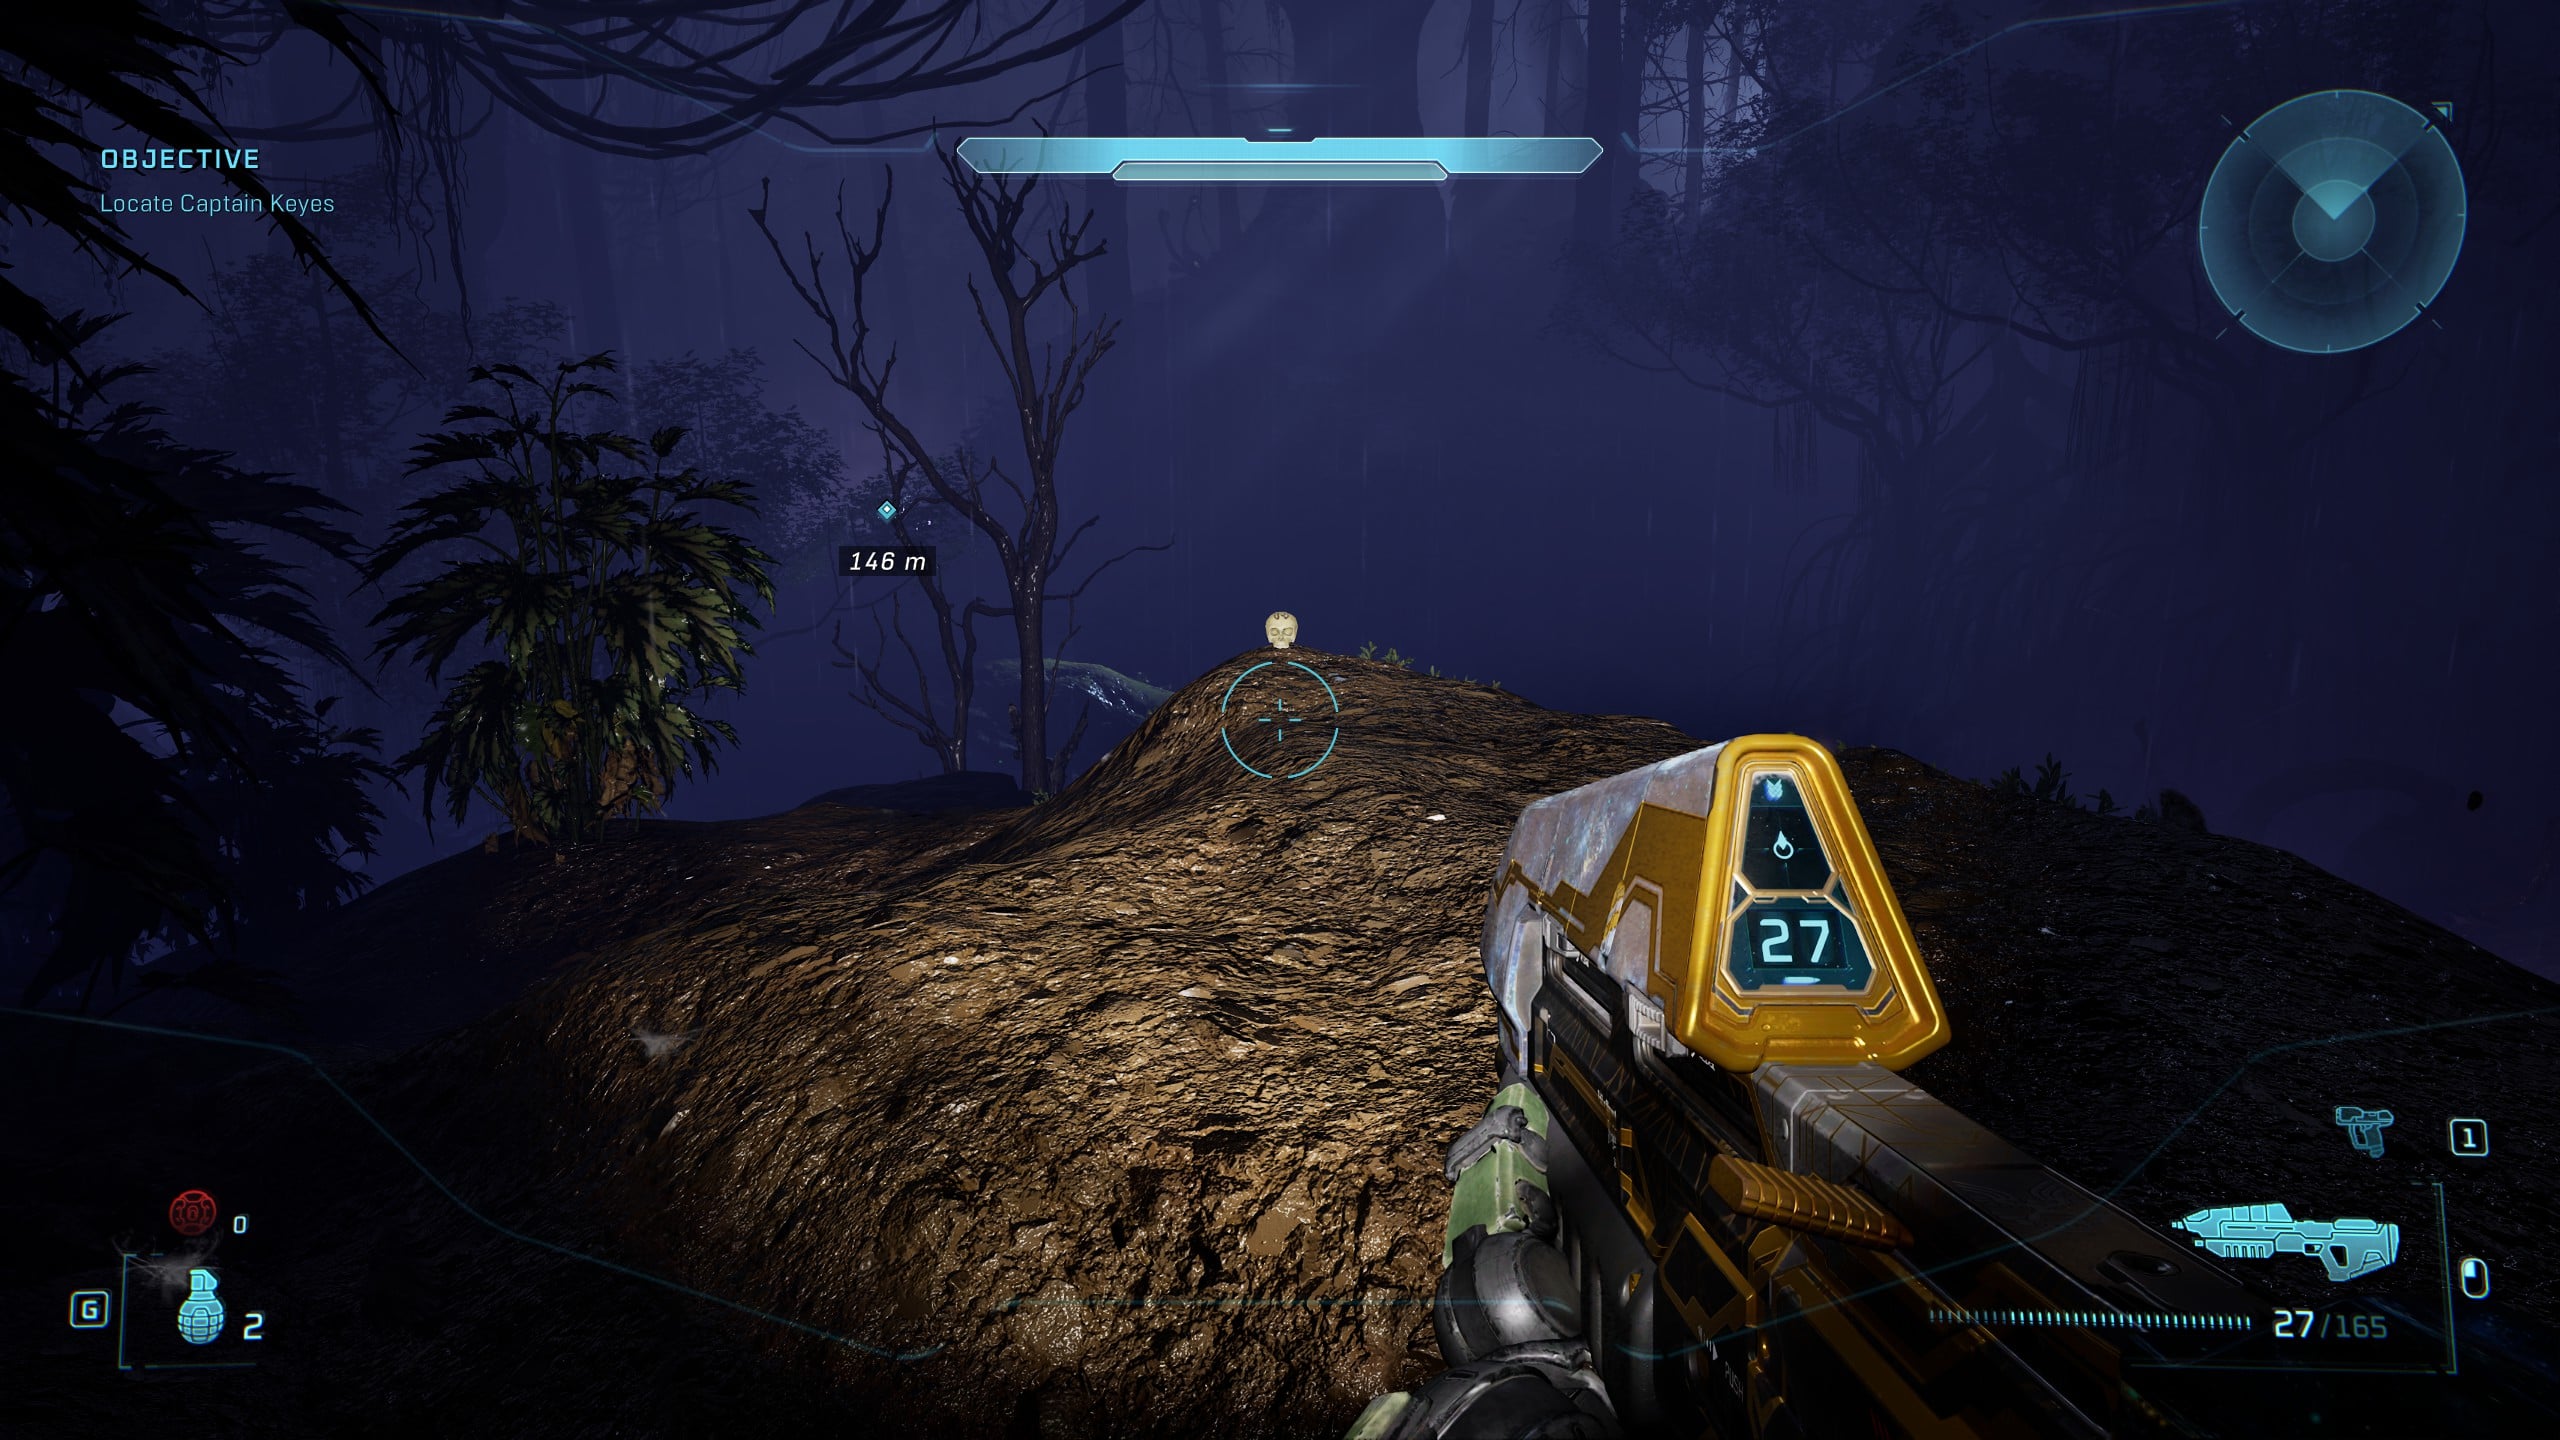
Skull 16 – Fog
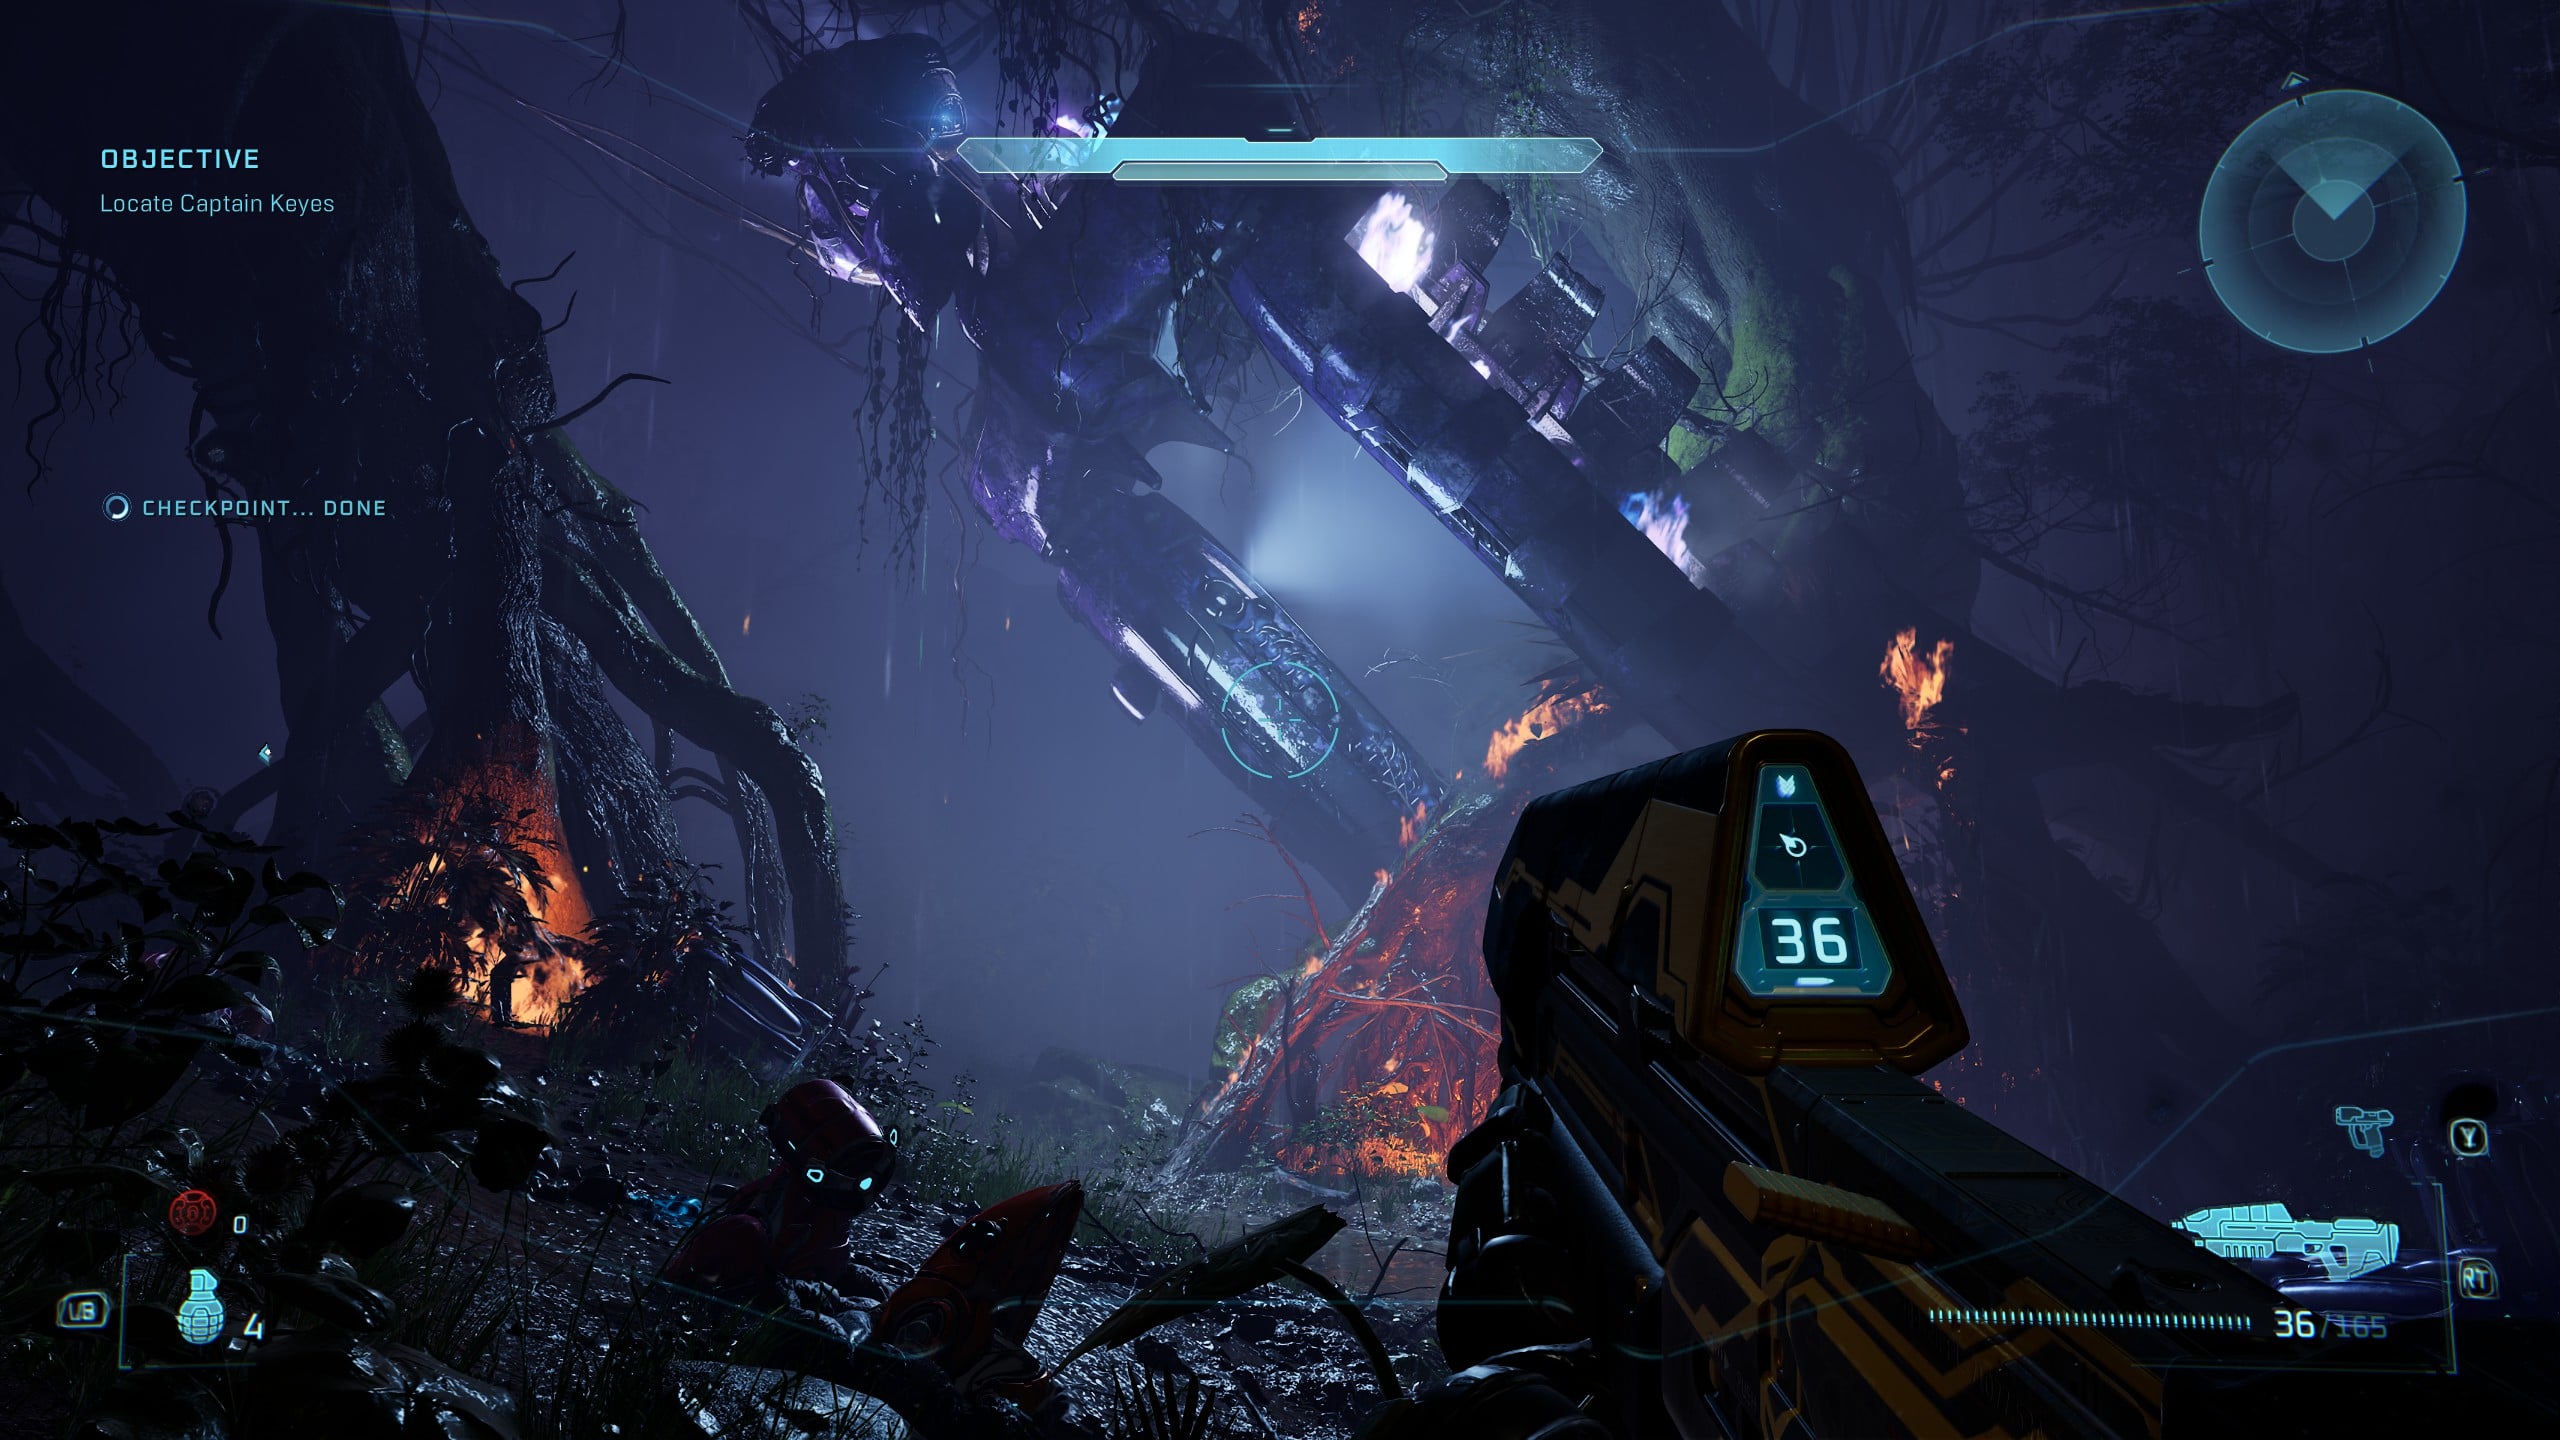
This Skull is very close to the start of the level, but weirdly hidden. As you turn the first corner, you’ll meet your first load of Grunts and see a crashed Covenant dropship in the tree.
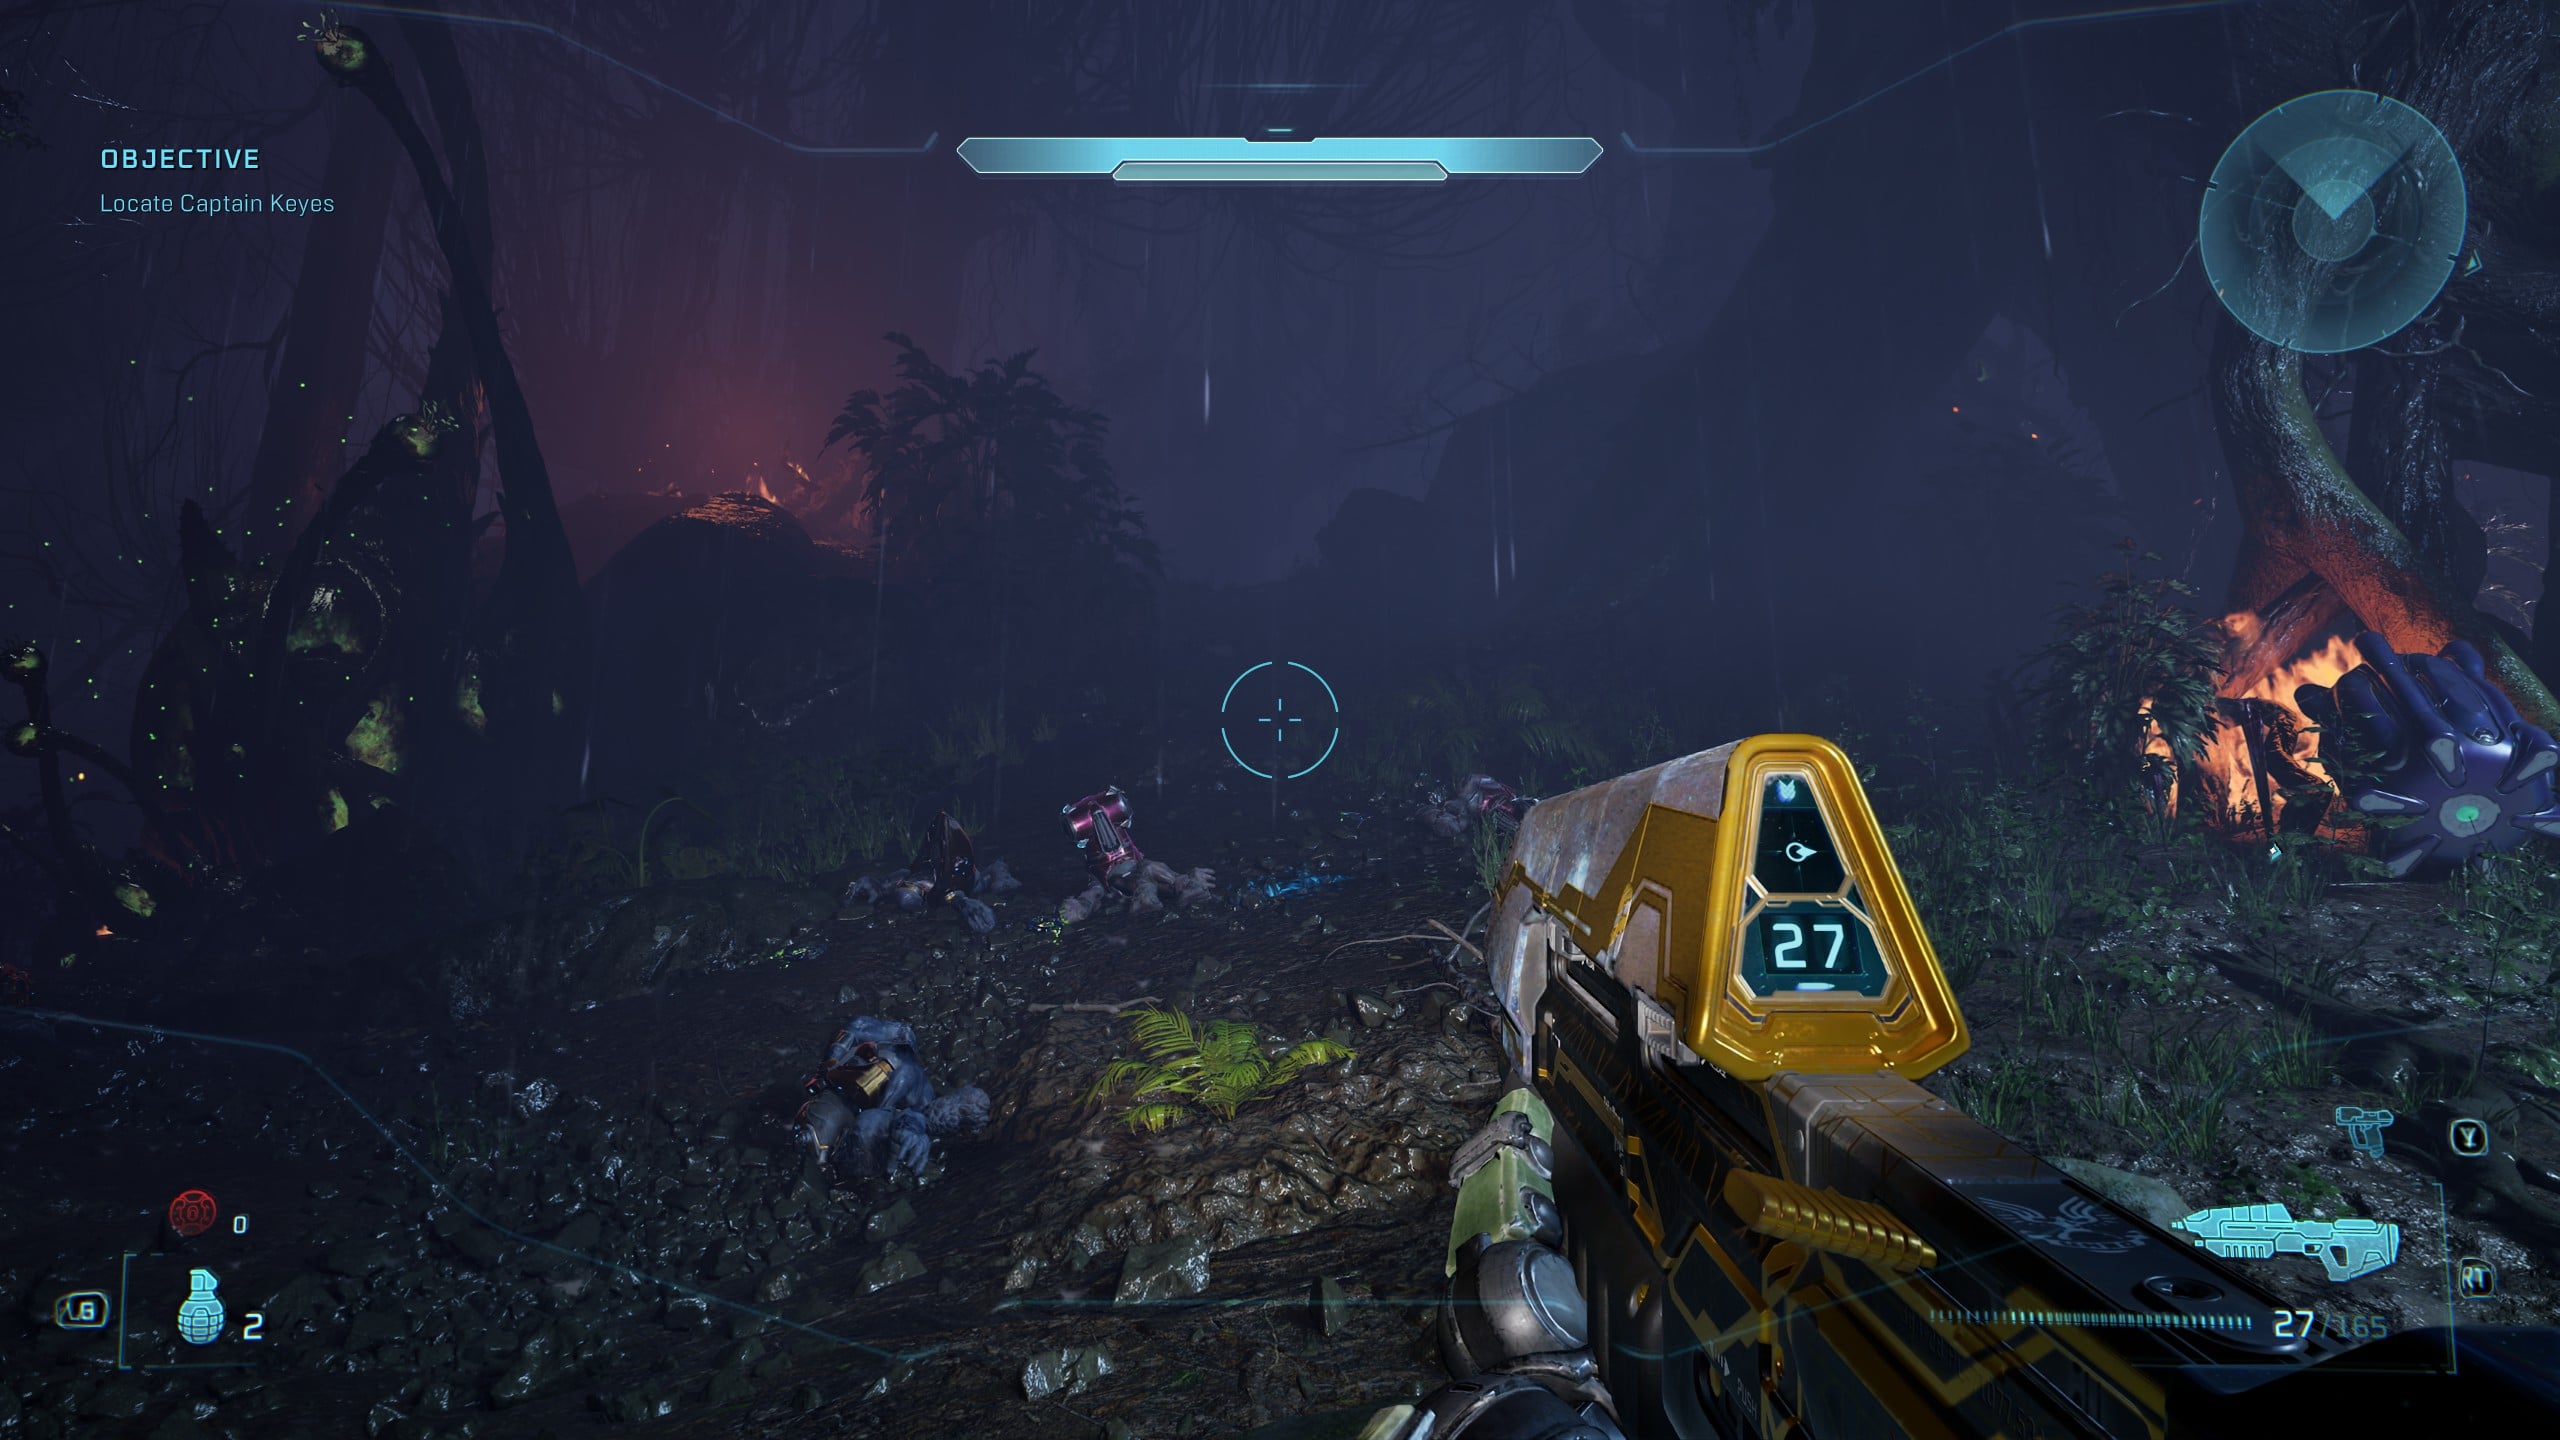
Wipe the foes out, turn back to where you came from while standing under the dropship, and you’ll see a path leading up a small hill.
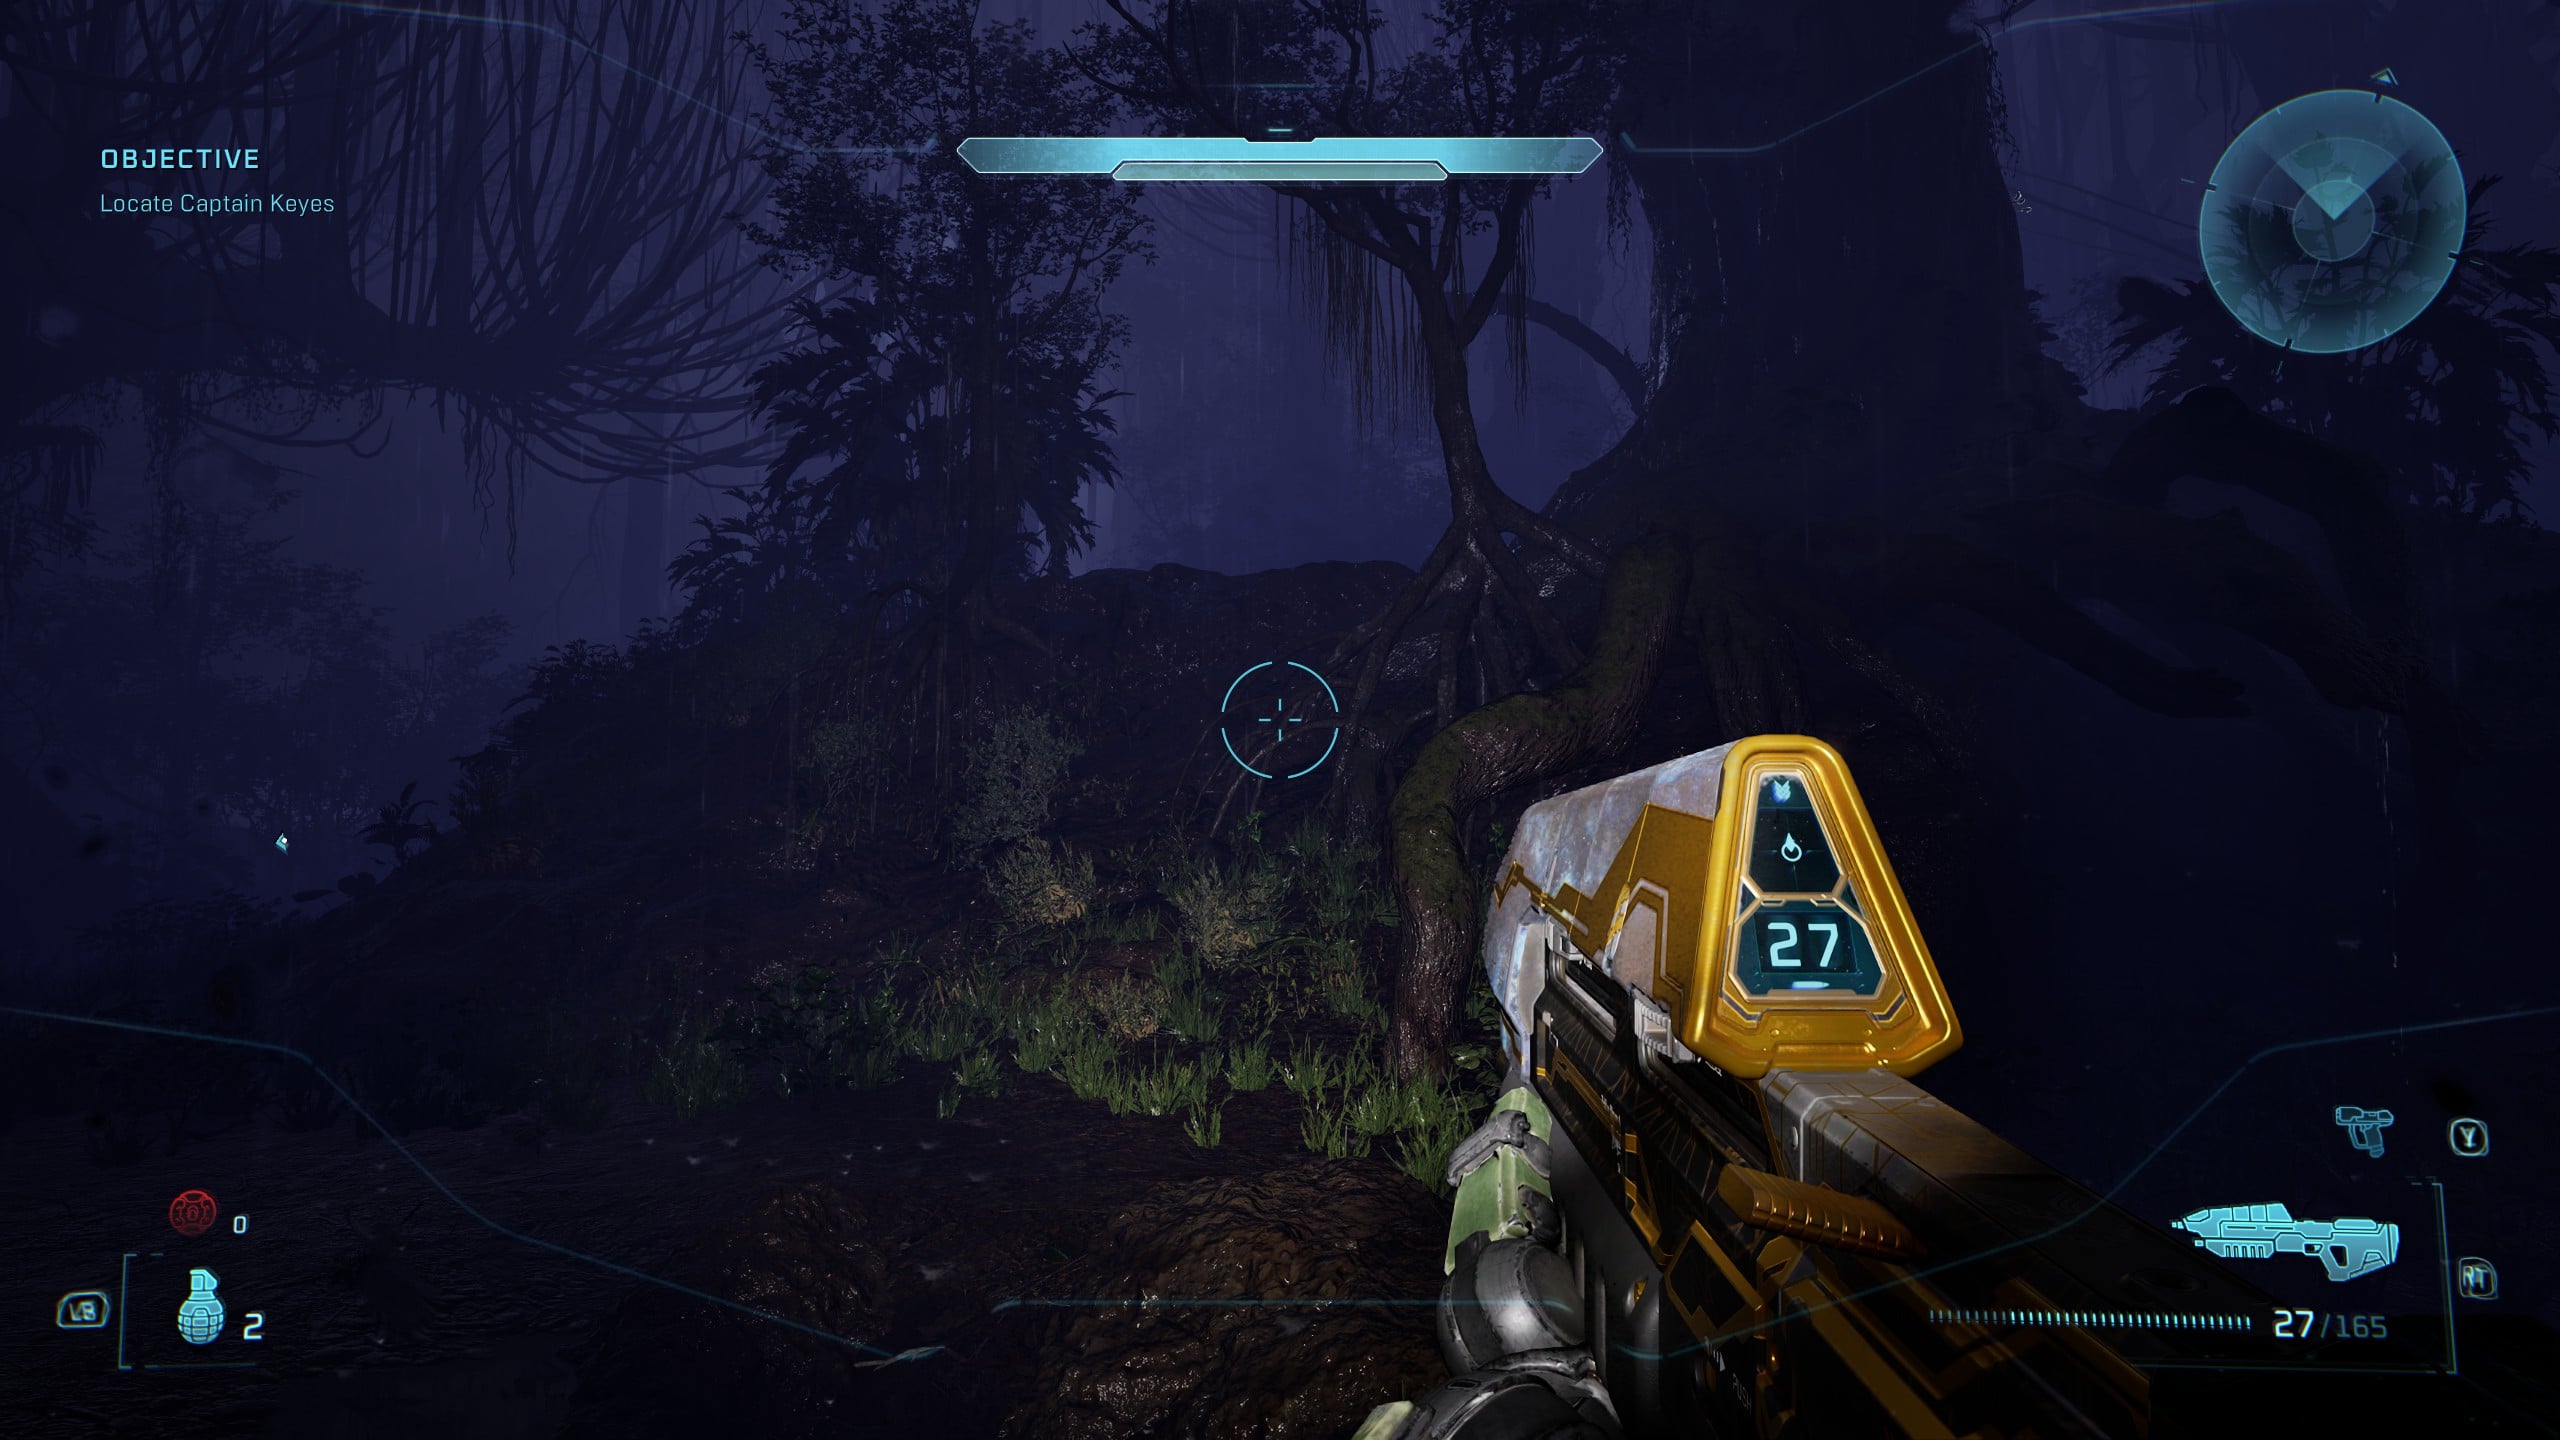
Climb the hill and at the top turn right and climb up the bank of mud and tree roots. Just at the top of the bank, you’ll see the Fog Skull.
Rally Point Bravo
Skull 17 – That’s Just… Wrong
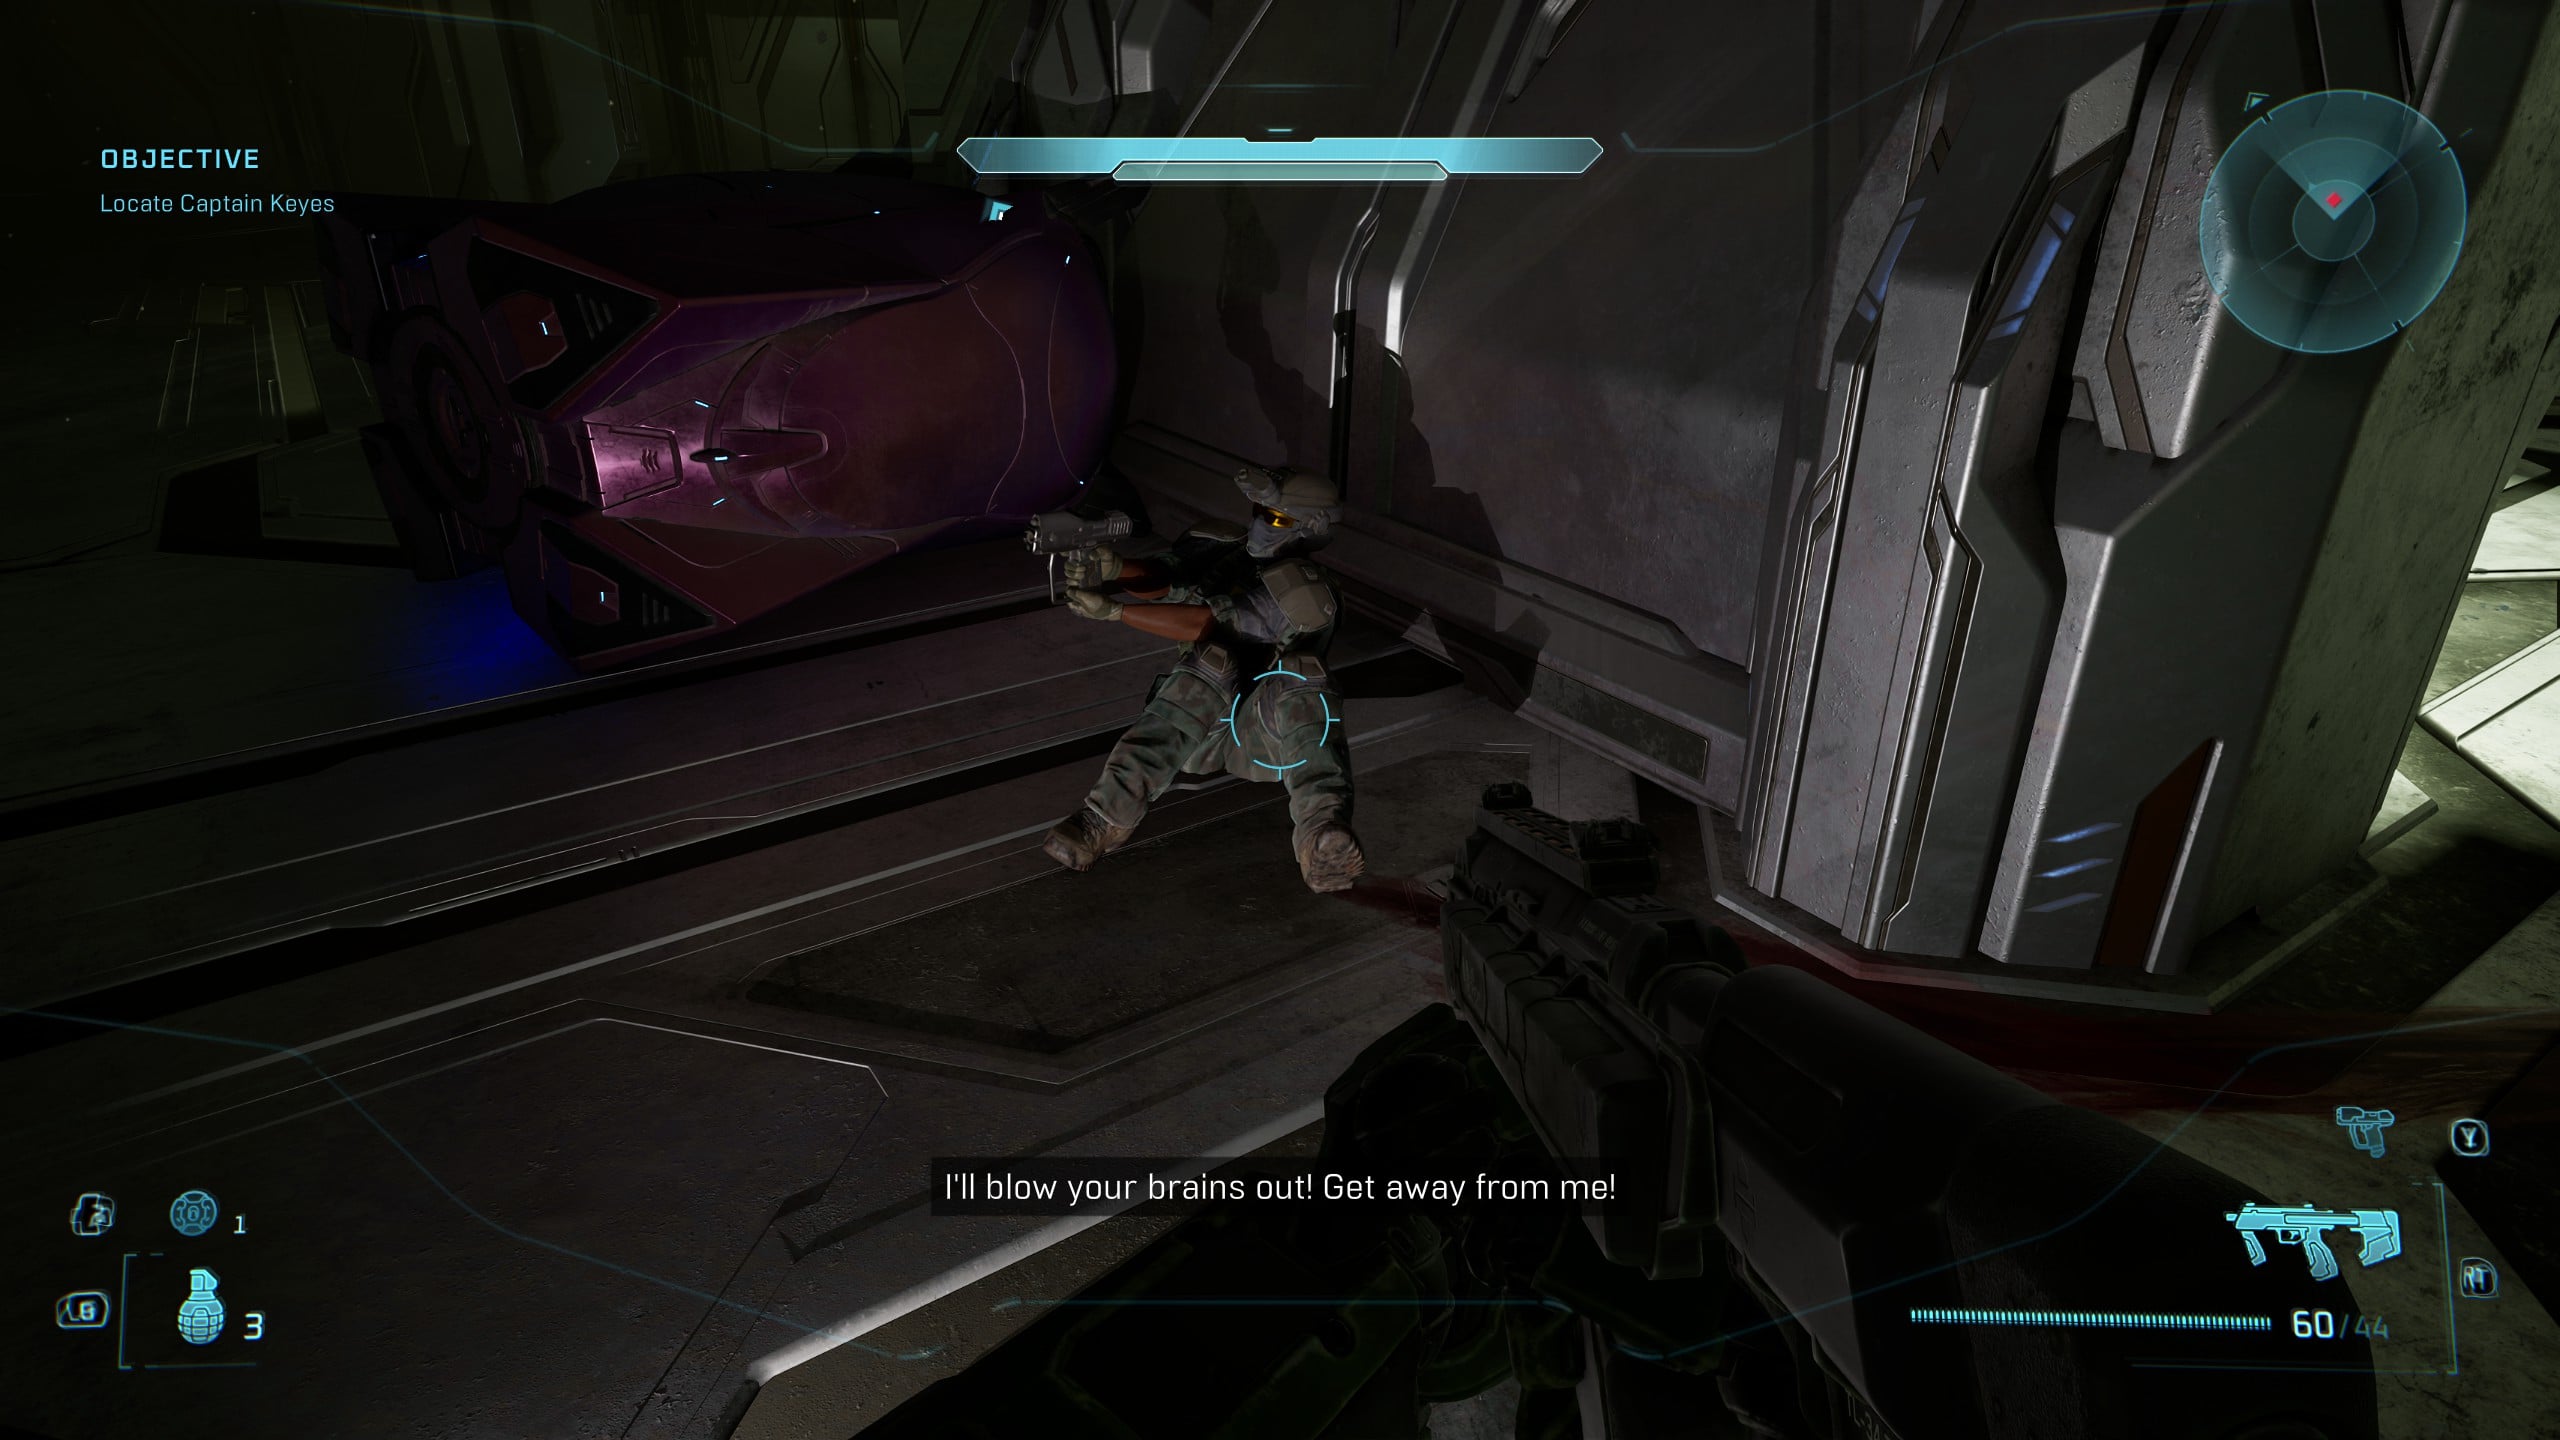
This is a very easy Skull to get, and if you missed it the first time around, that just means you’re incredibly thoughtful. Follow the objective markers until you find the confused Marine that begins to shoot at you regardless of what you do.
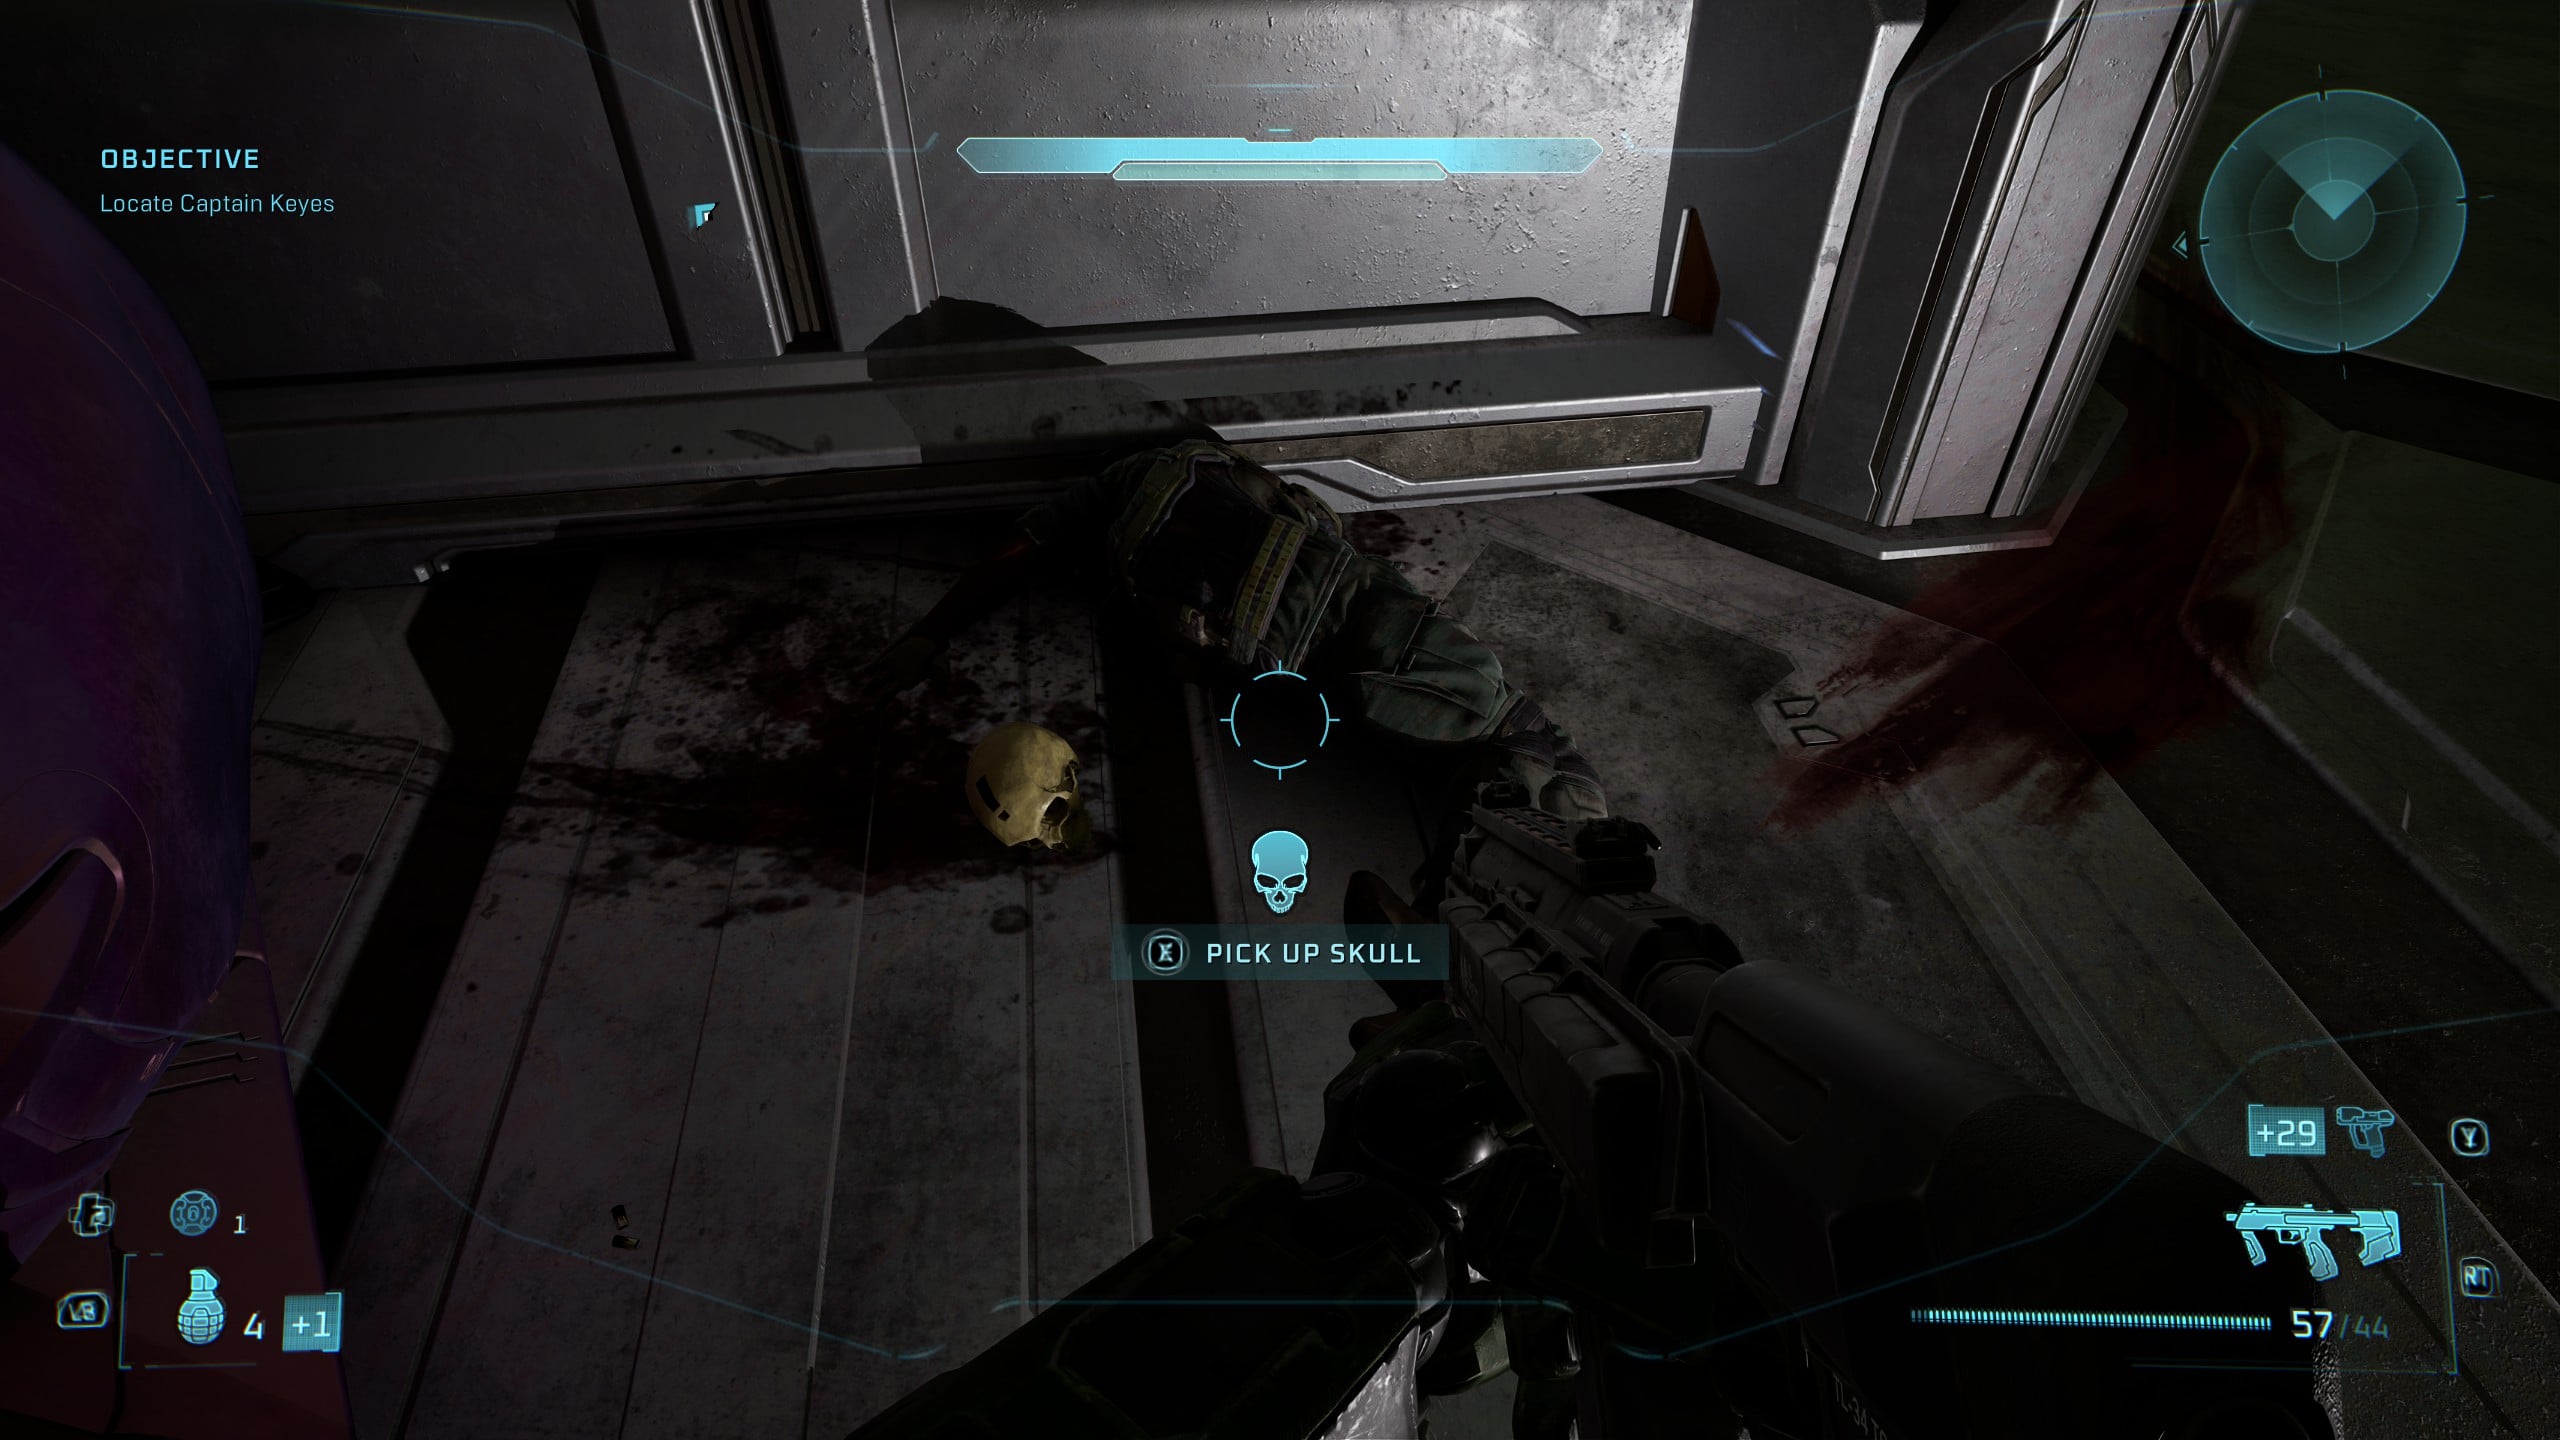
All you need to do is kill him, and he’ll drop the That’s Just… Wrong Skull. And, yeah, it is wrong to kill your fellow human Marines. Try not to do that in the future.
Terminal 6 – Tangent II
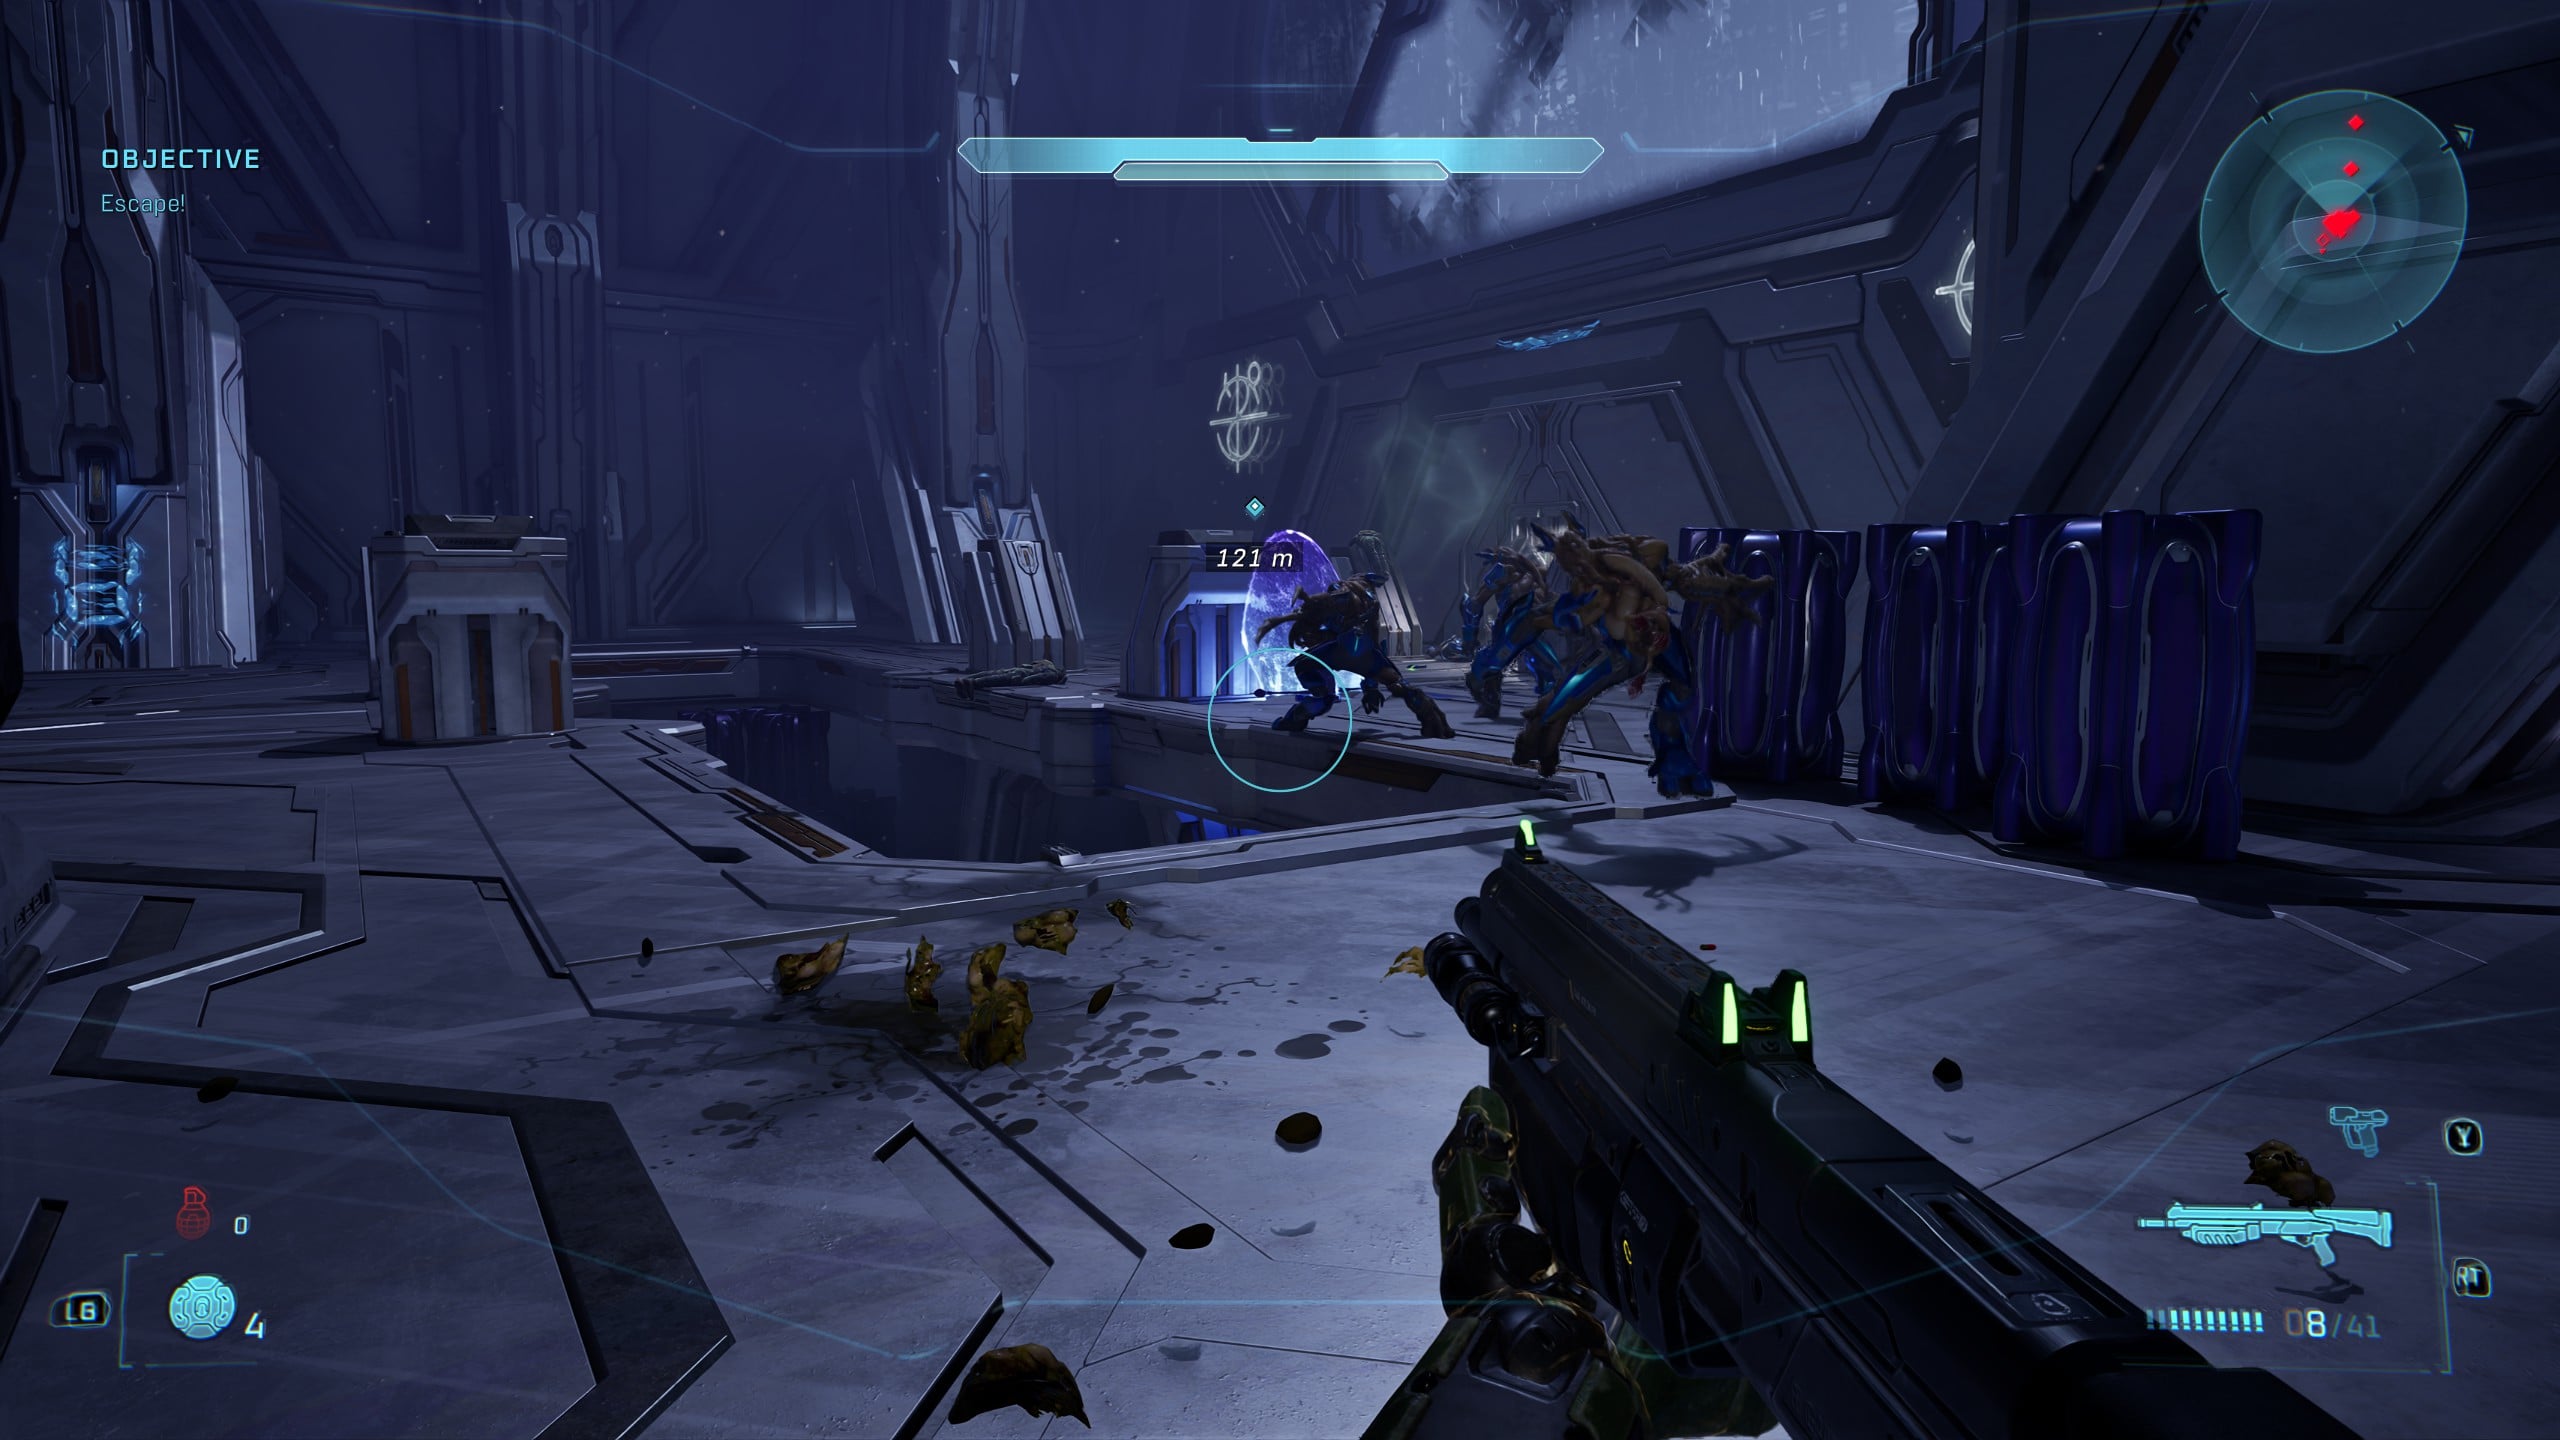
If you’ve played Halo before, you know what comes next. While searching for Captain Keyes, your objective will switch to ‘Escape!’ after a certain cutscene. You’ll now need to evacuate the area, moving back to where you began, Rally Point Bravo.
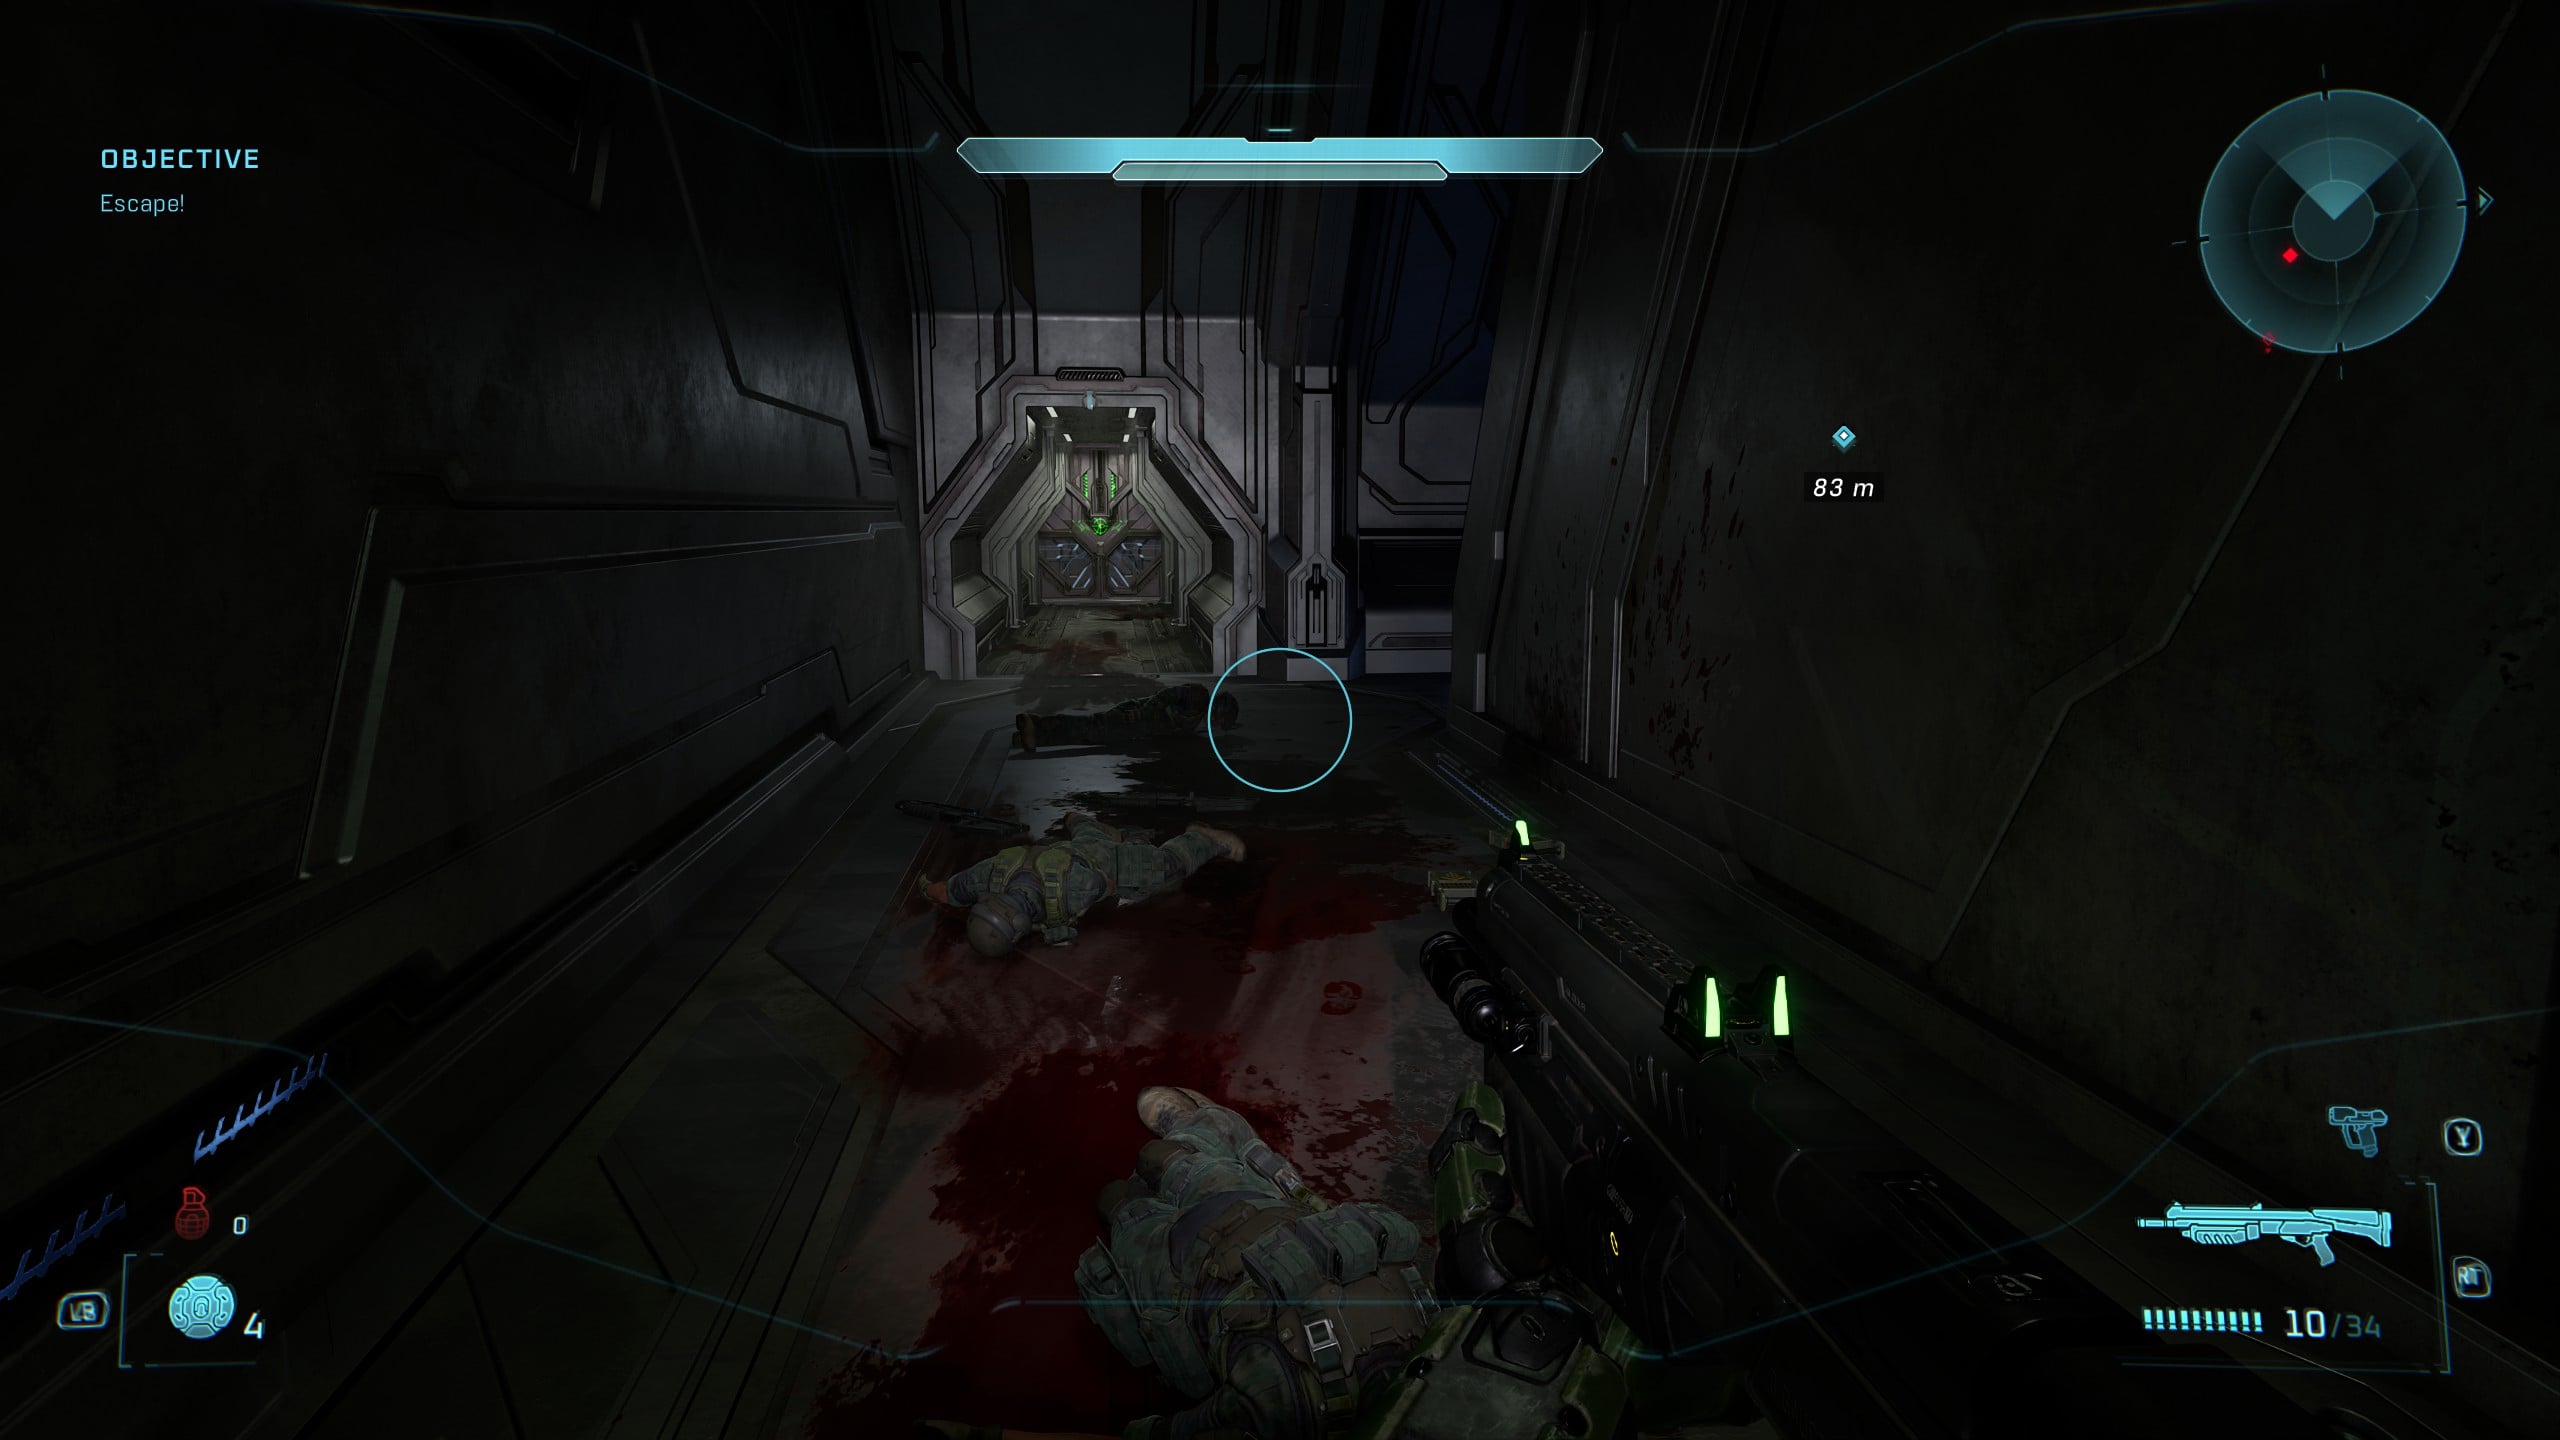
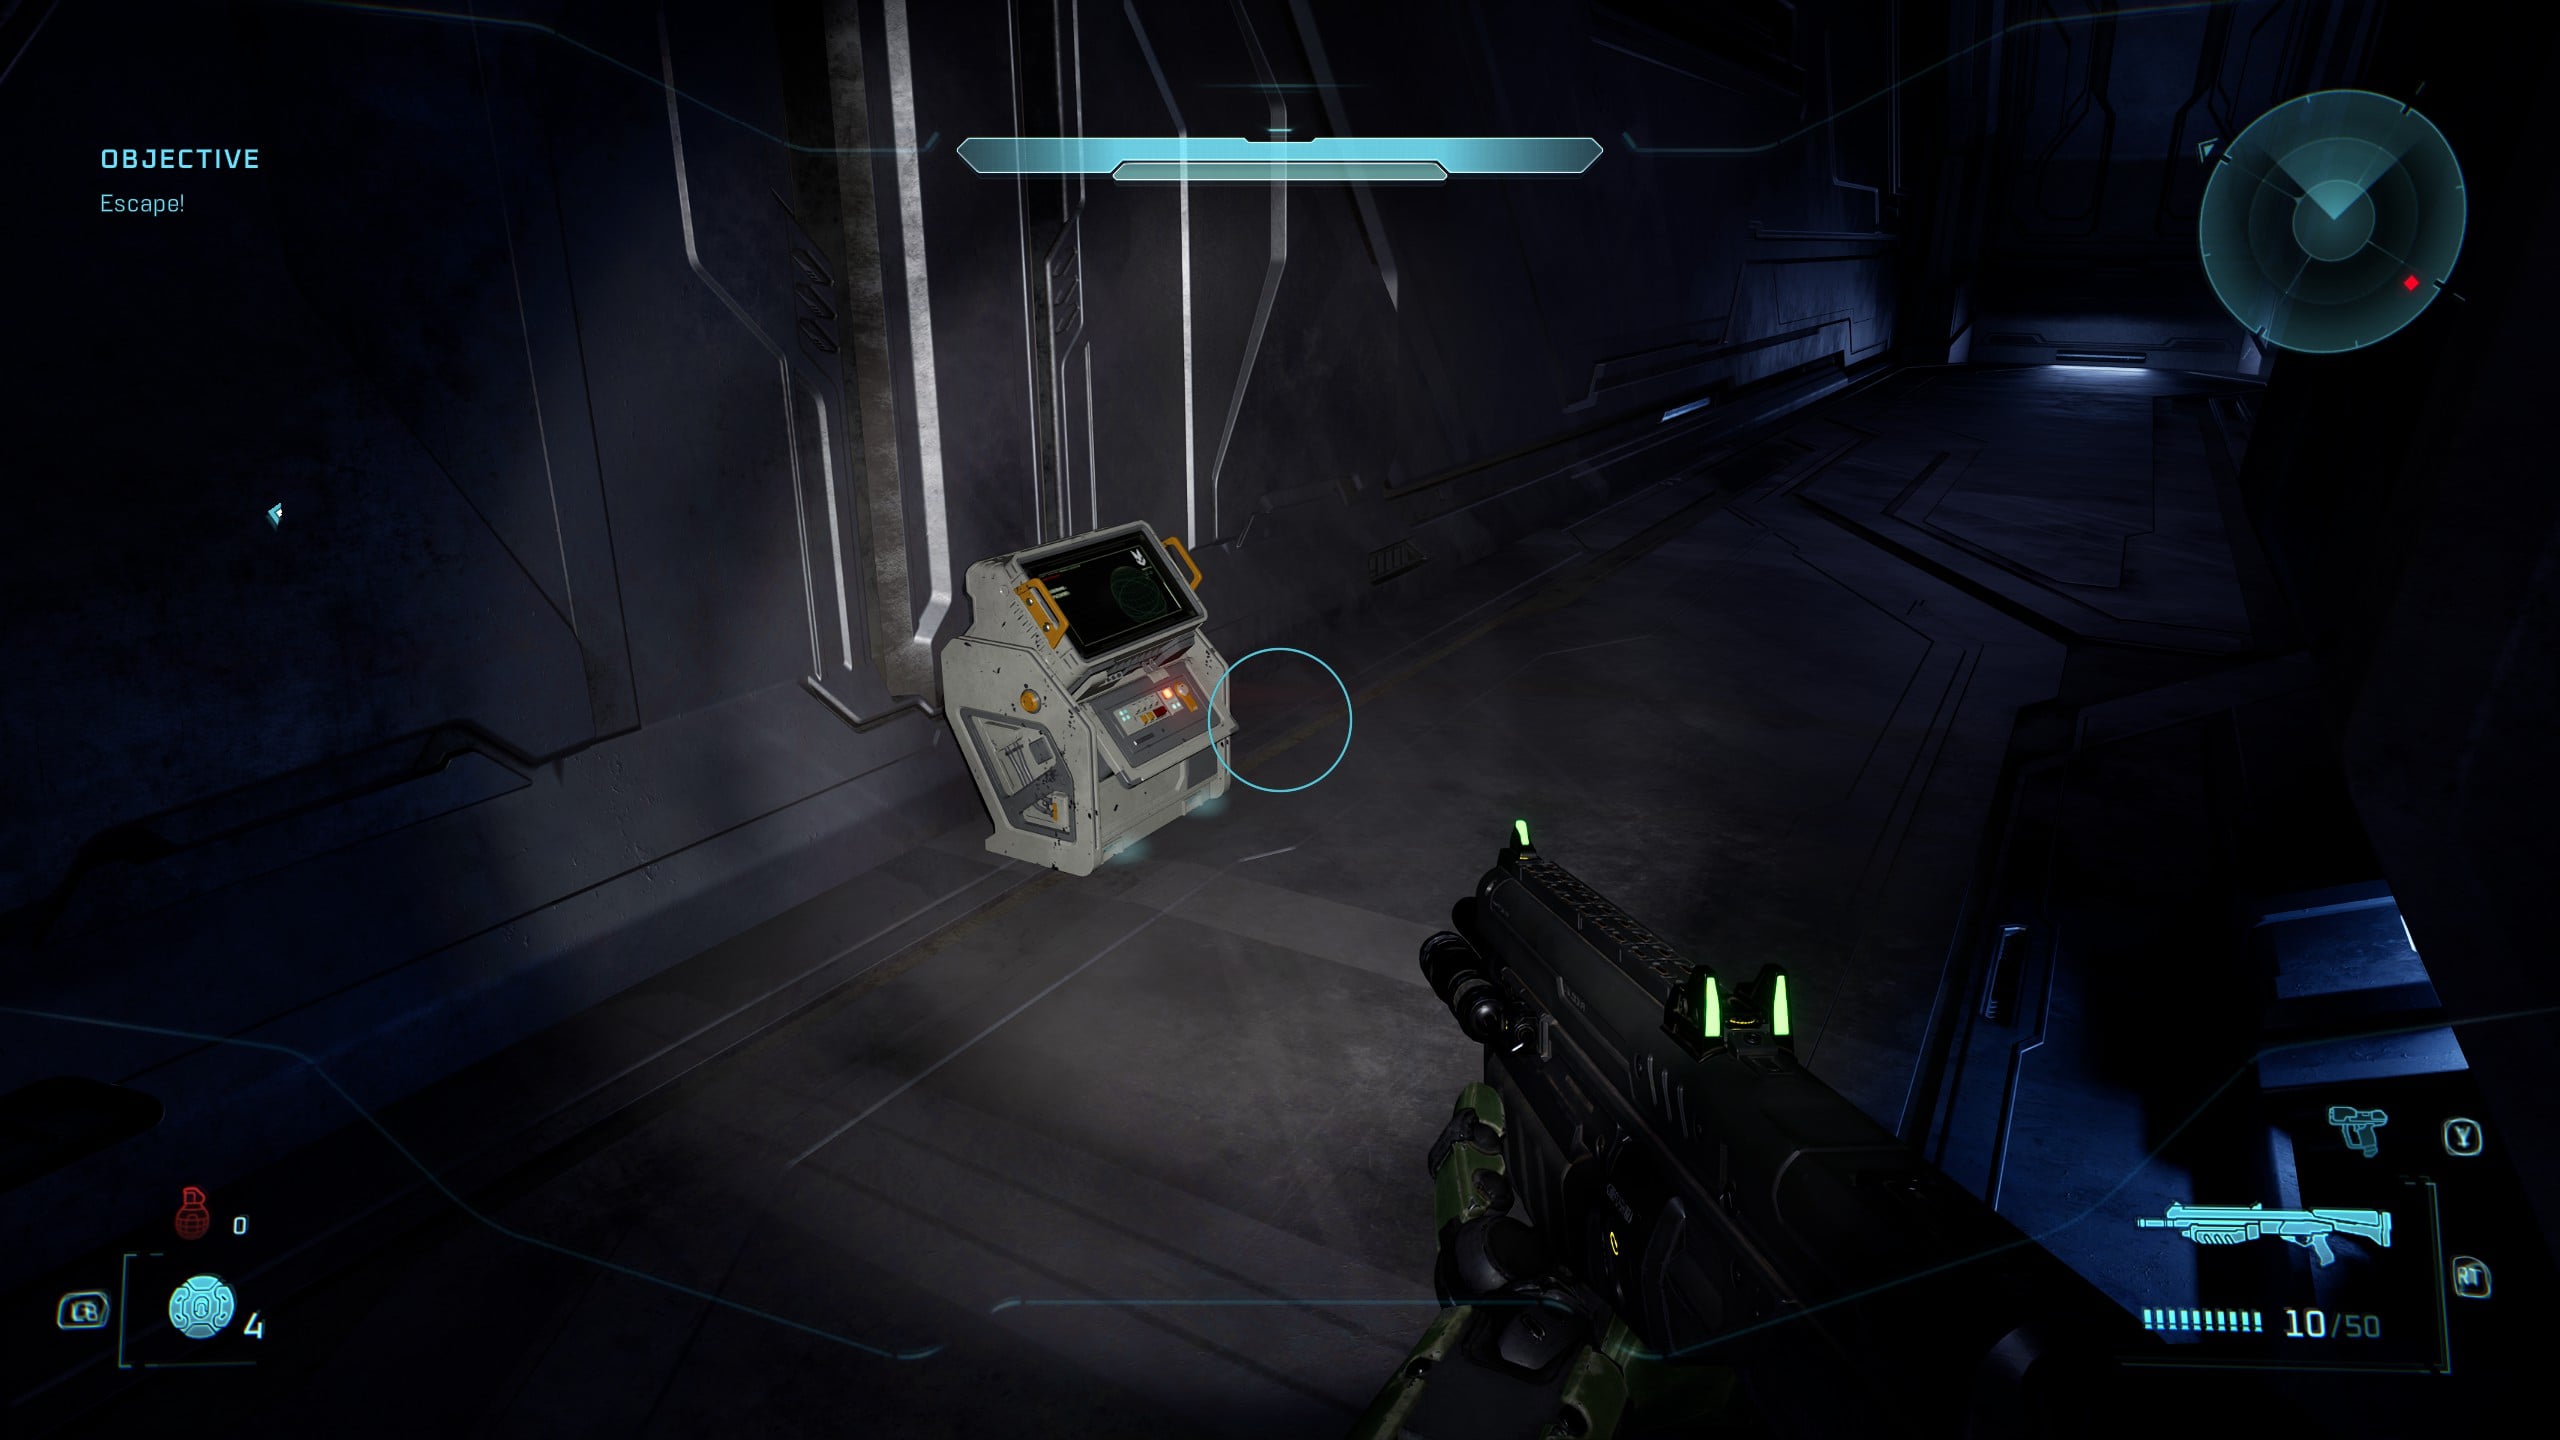
On the way back, you might notice that one of the rooms has a new light bridge in it that you can use to escape. Instead of crossing the light bridge, look to your right to see enemies spawn from a new room. Go inside the dark room, and if you circle around this room you’ll find the Tangent II Terminal.
Rally Point Charlie
Skull 18 – They Come Back
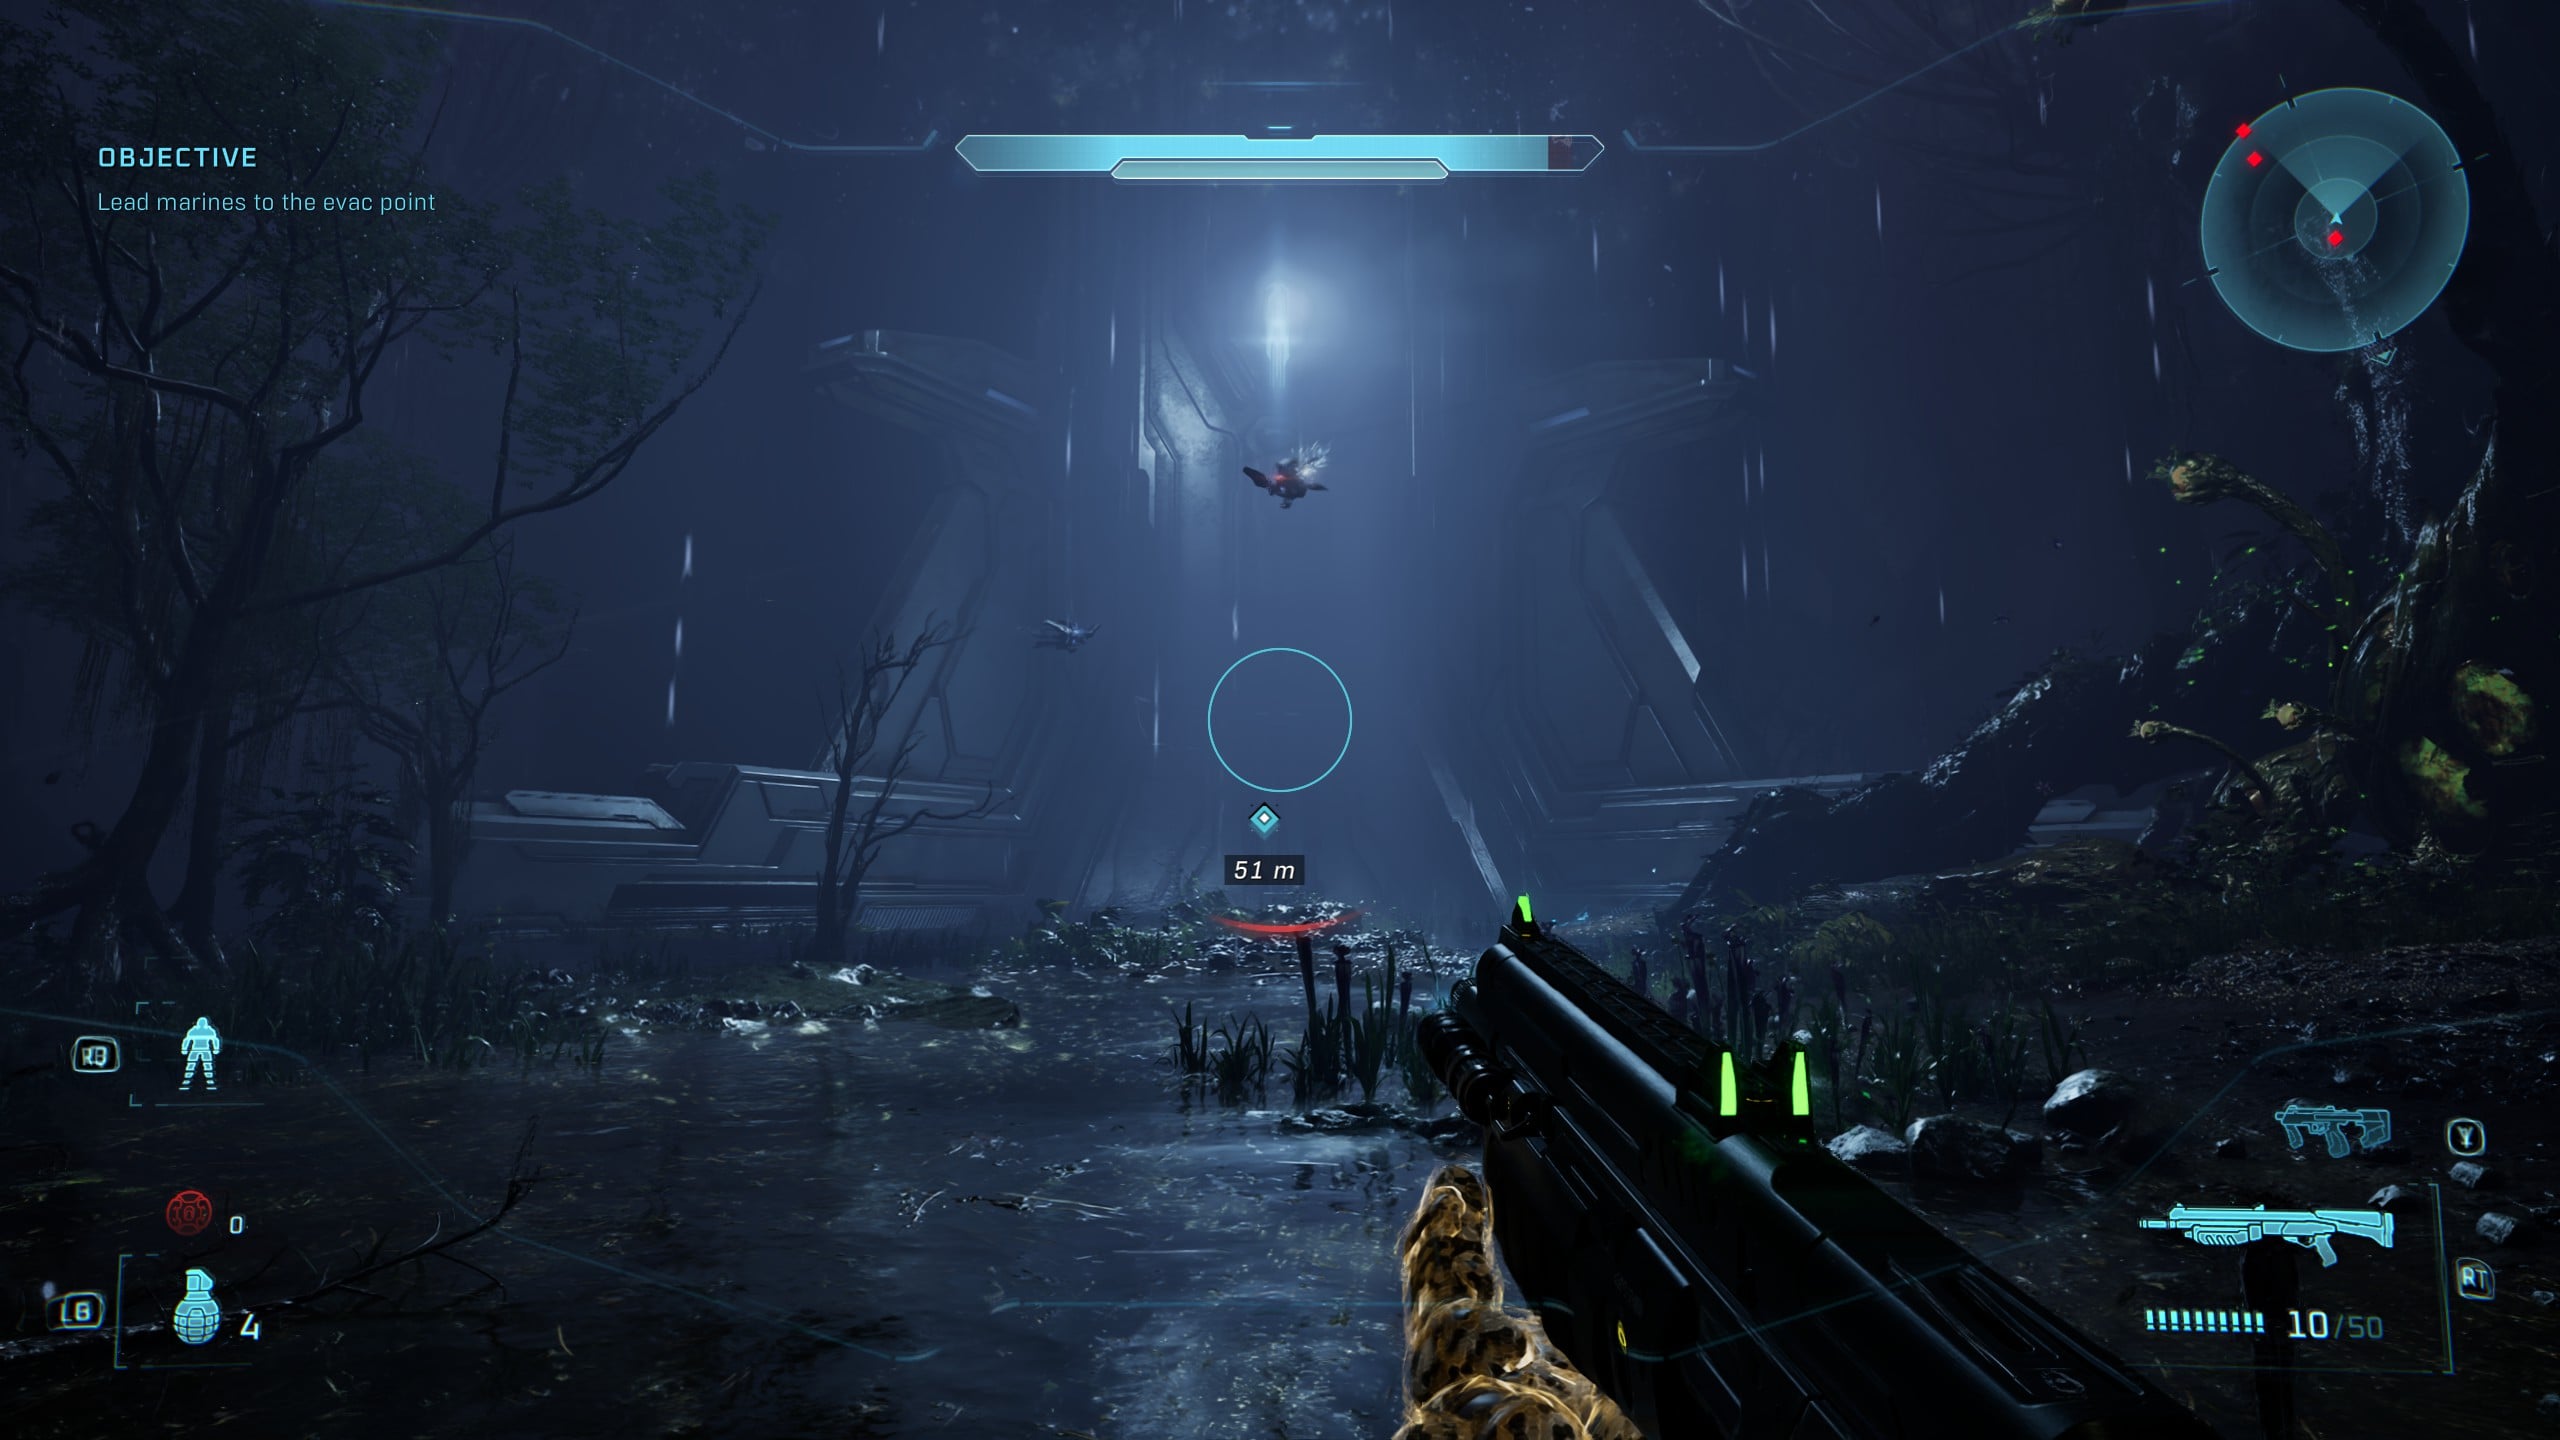
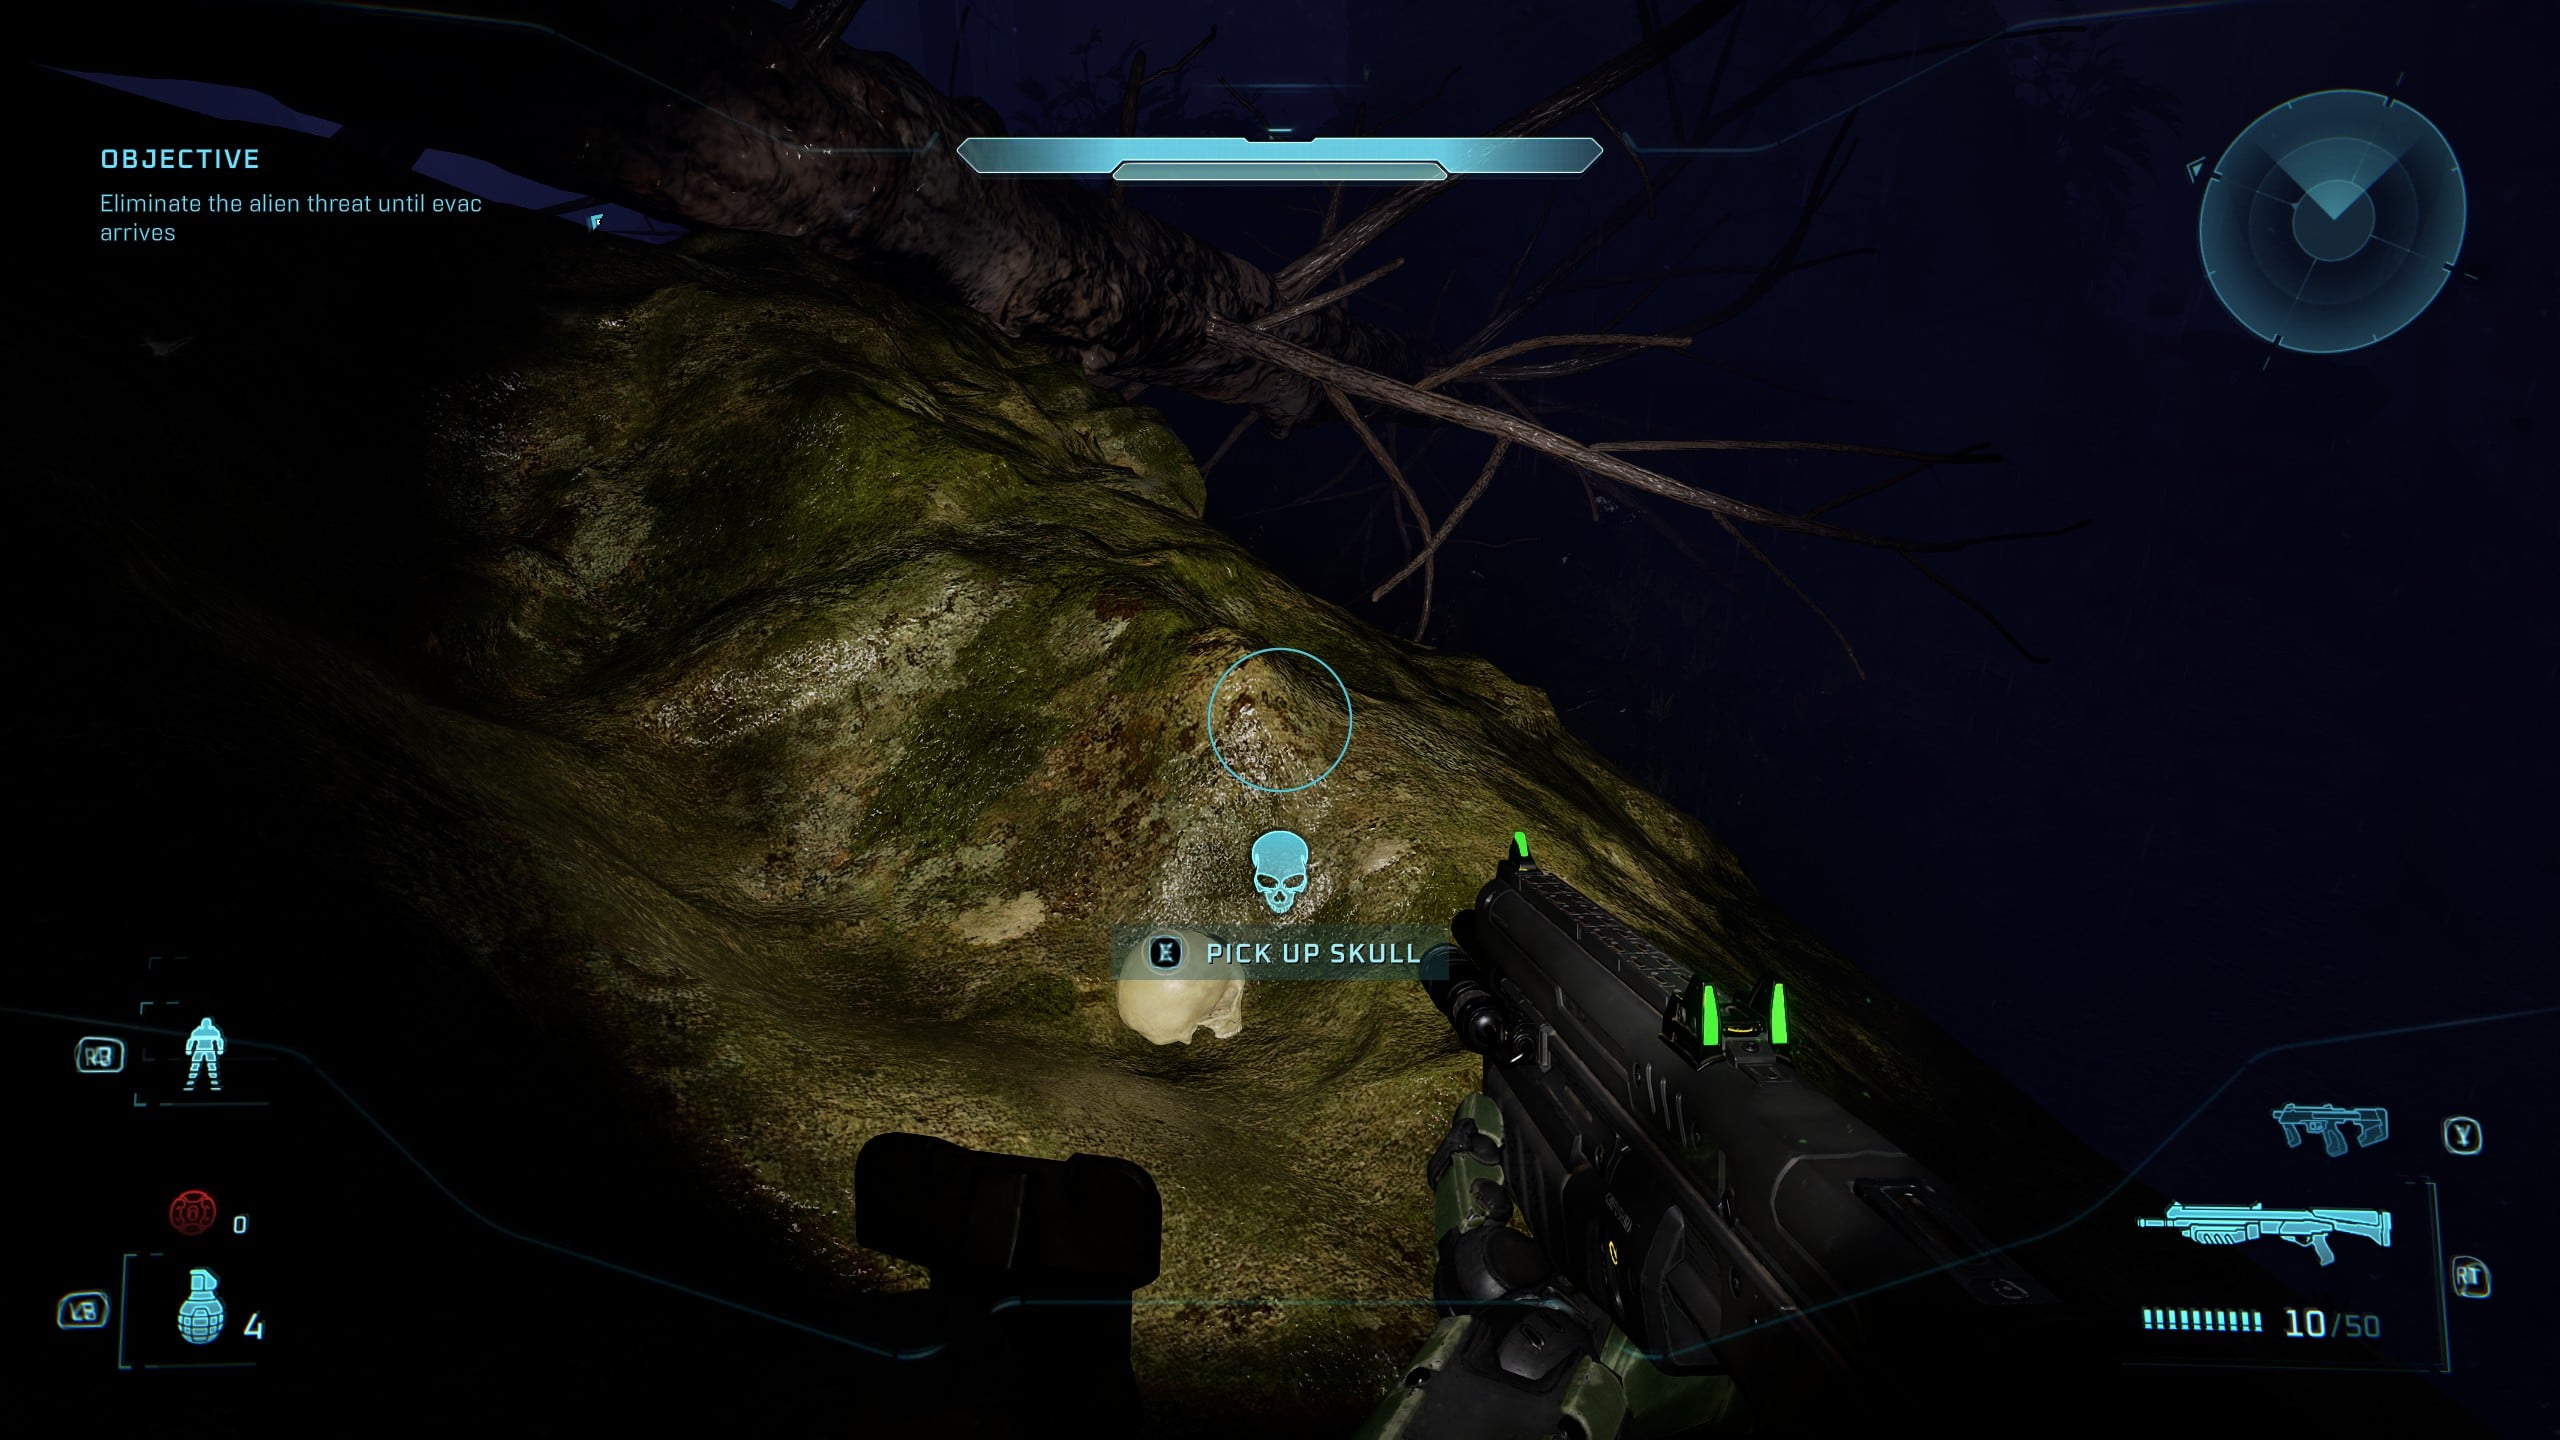
At the very end of the mission, the Objective will be ‘Eliminate the alien threat until evac arrives.’ Once you arrive at the large tower, you’ll be fending off alien attacks for several minutes, so instead of waiting, it’s best to move fast.
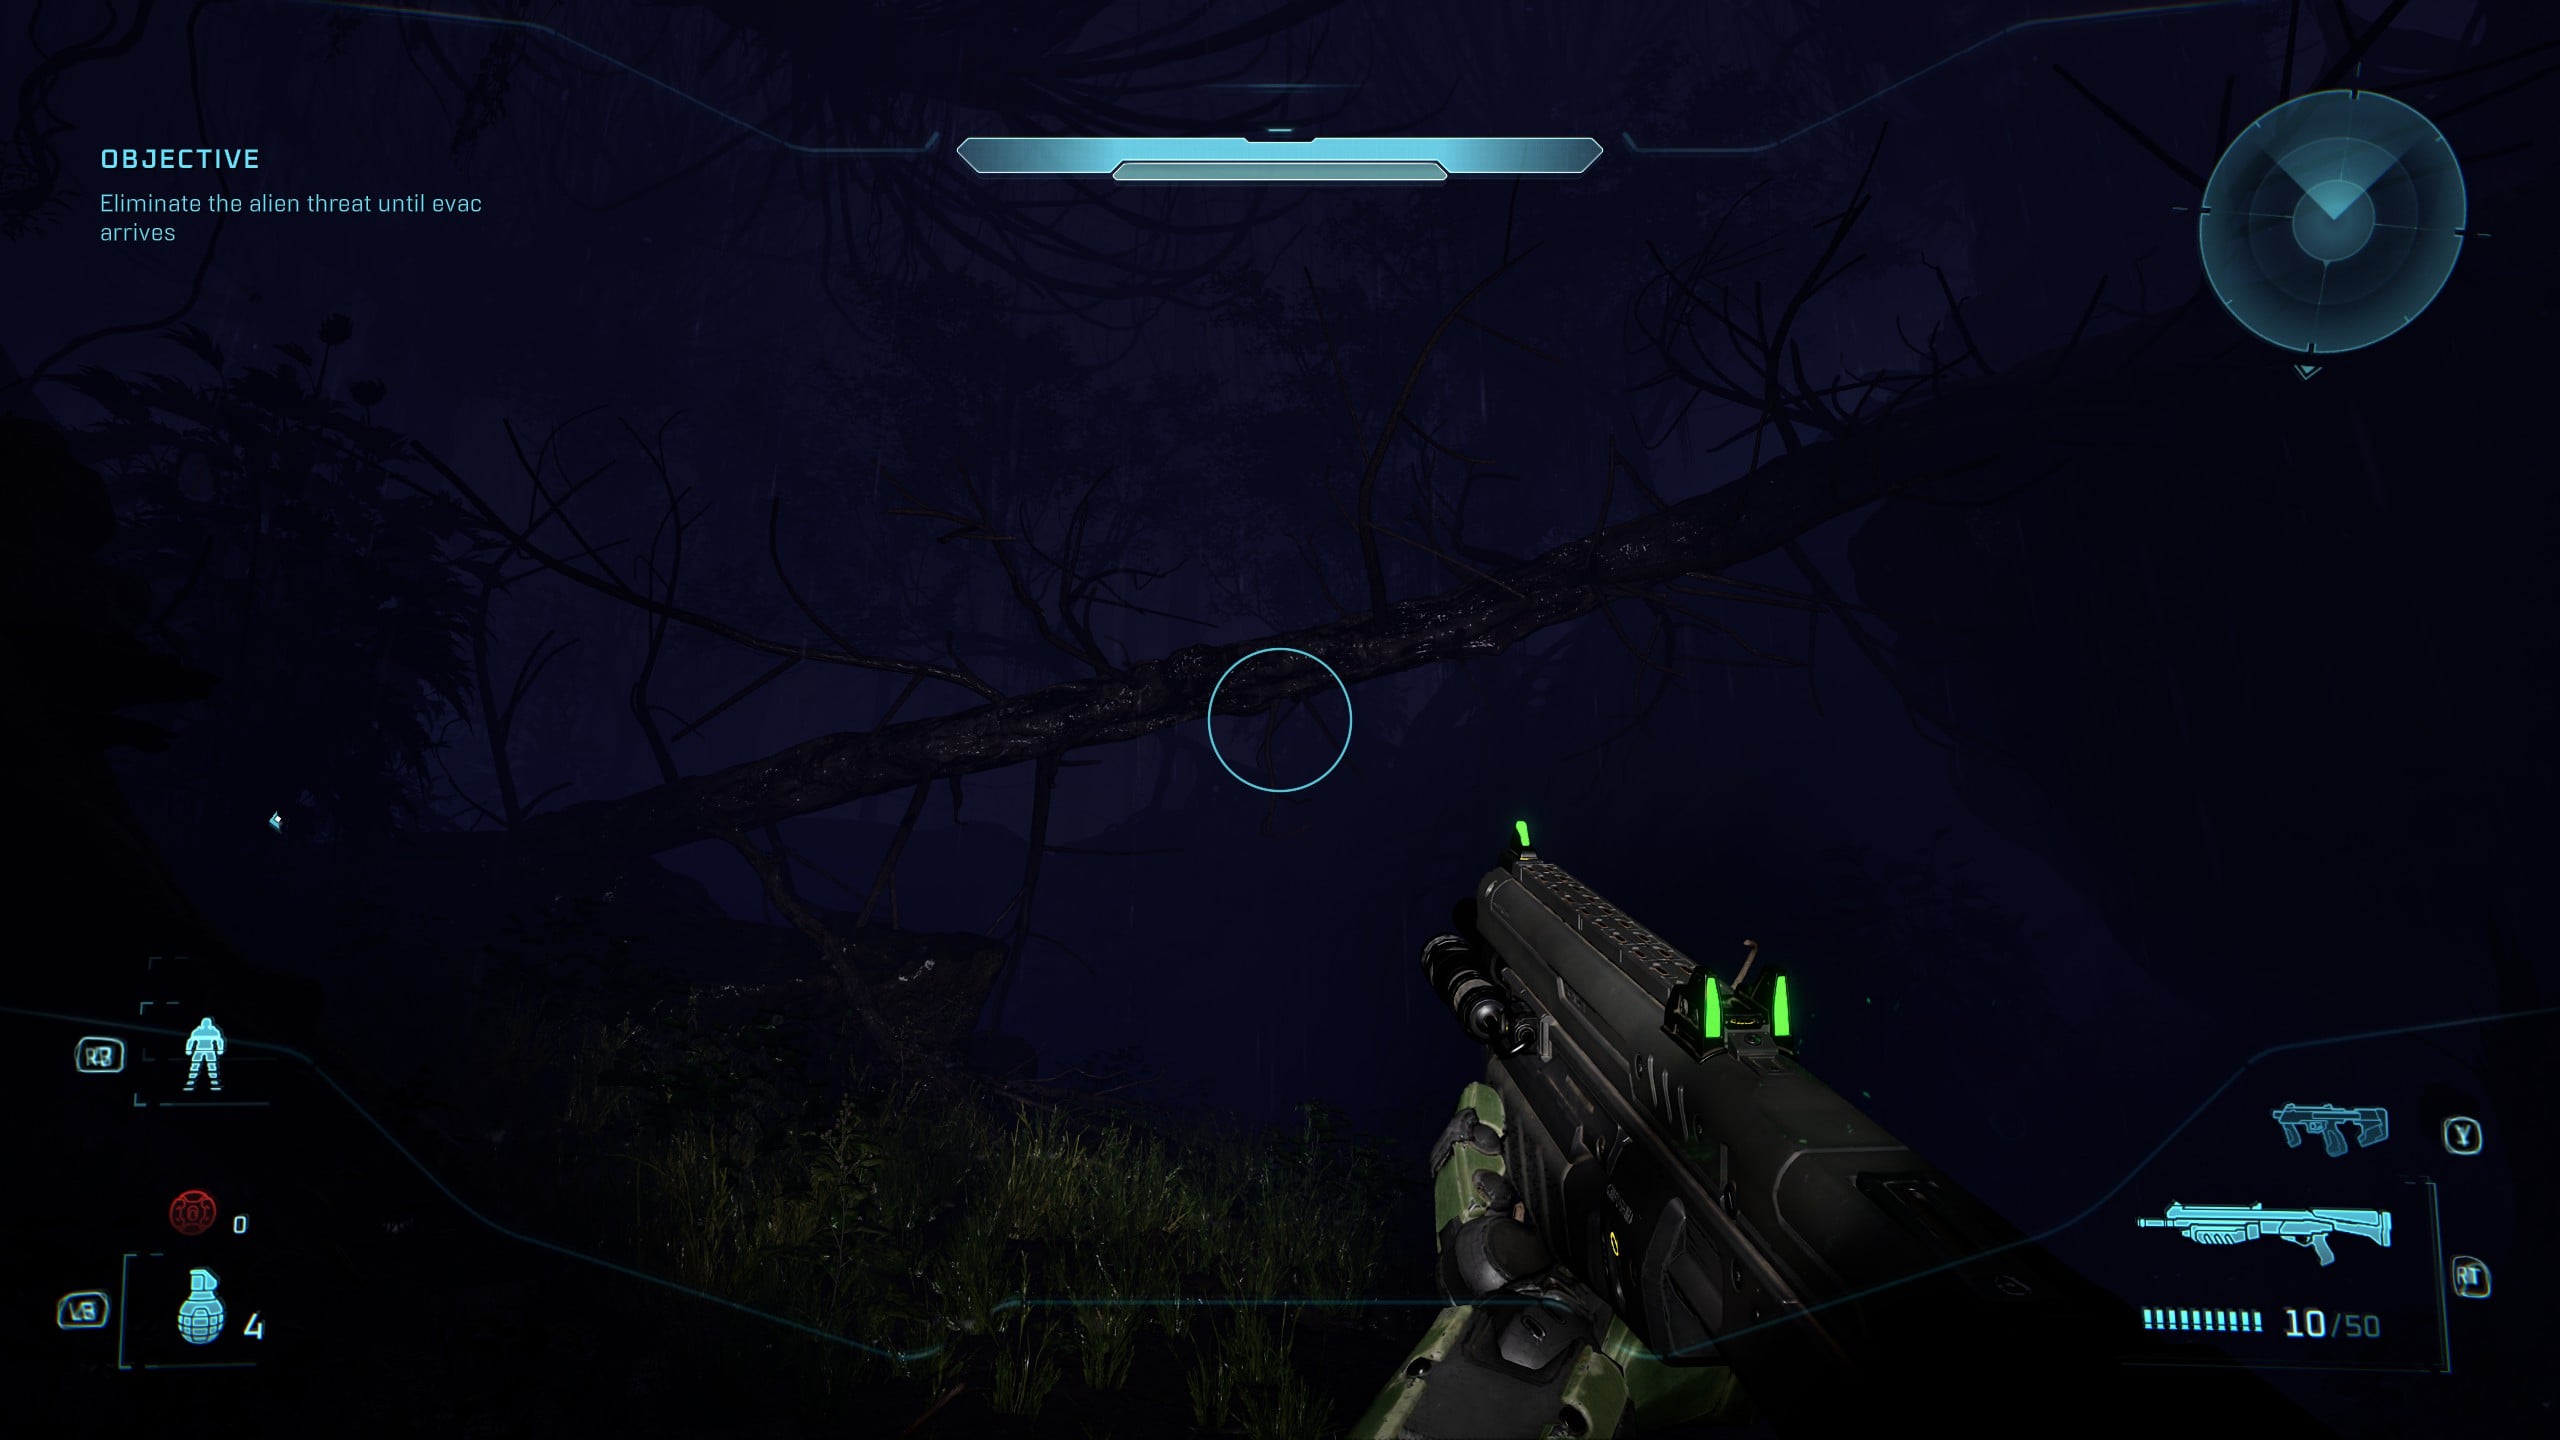
As soon as the tower is in sight, turn to the right of it and keep moving through the woods.
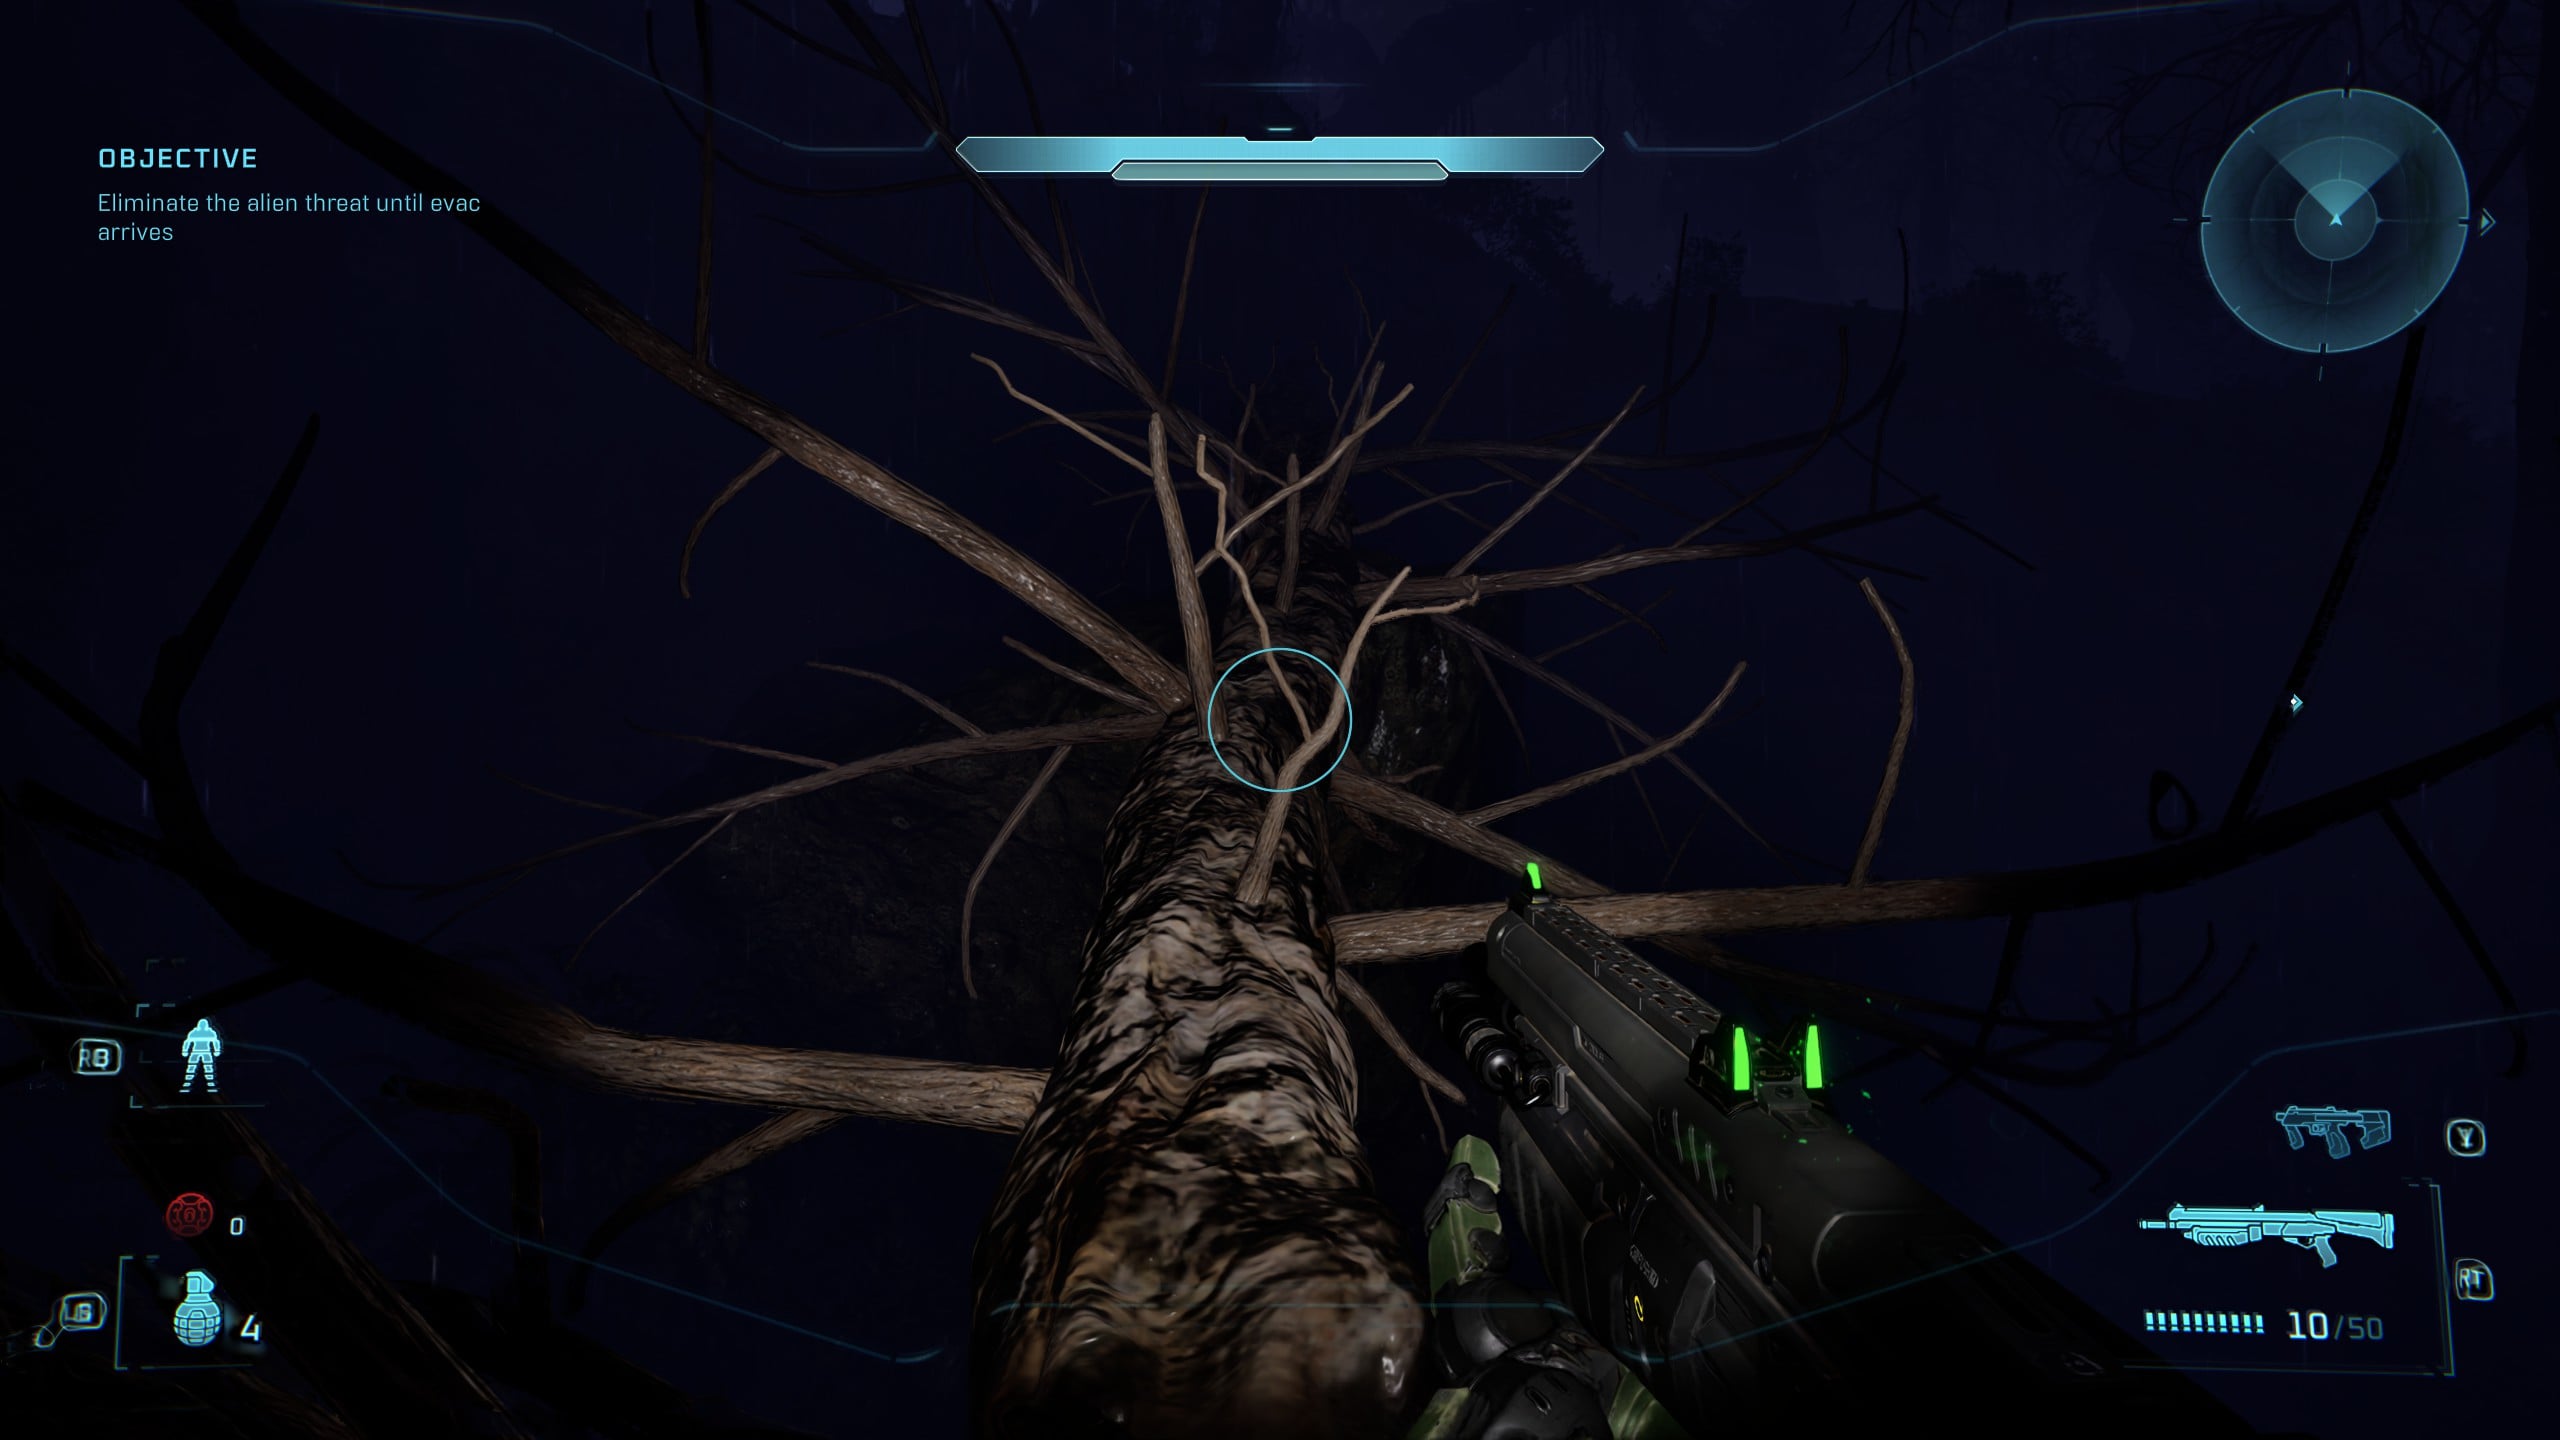
Eventually you’ll find a felled tree across the path. Use it as a bridge to cross from the left to the right, and you’ll find the They Come Back Skull on a rock on the other side of the tree.