Polar Opposites – Abyss Without Balance Crimson Desert guide
How to use your abilities to get the machinery working again

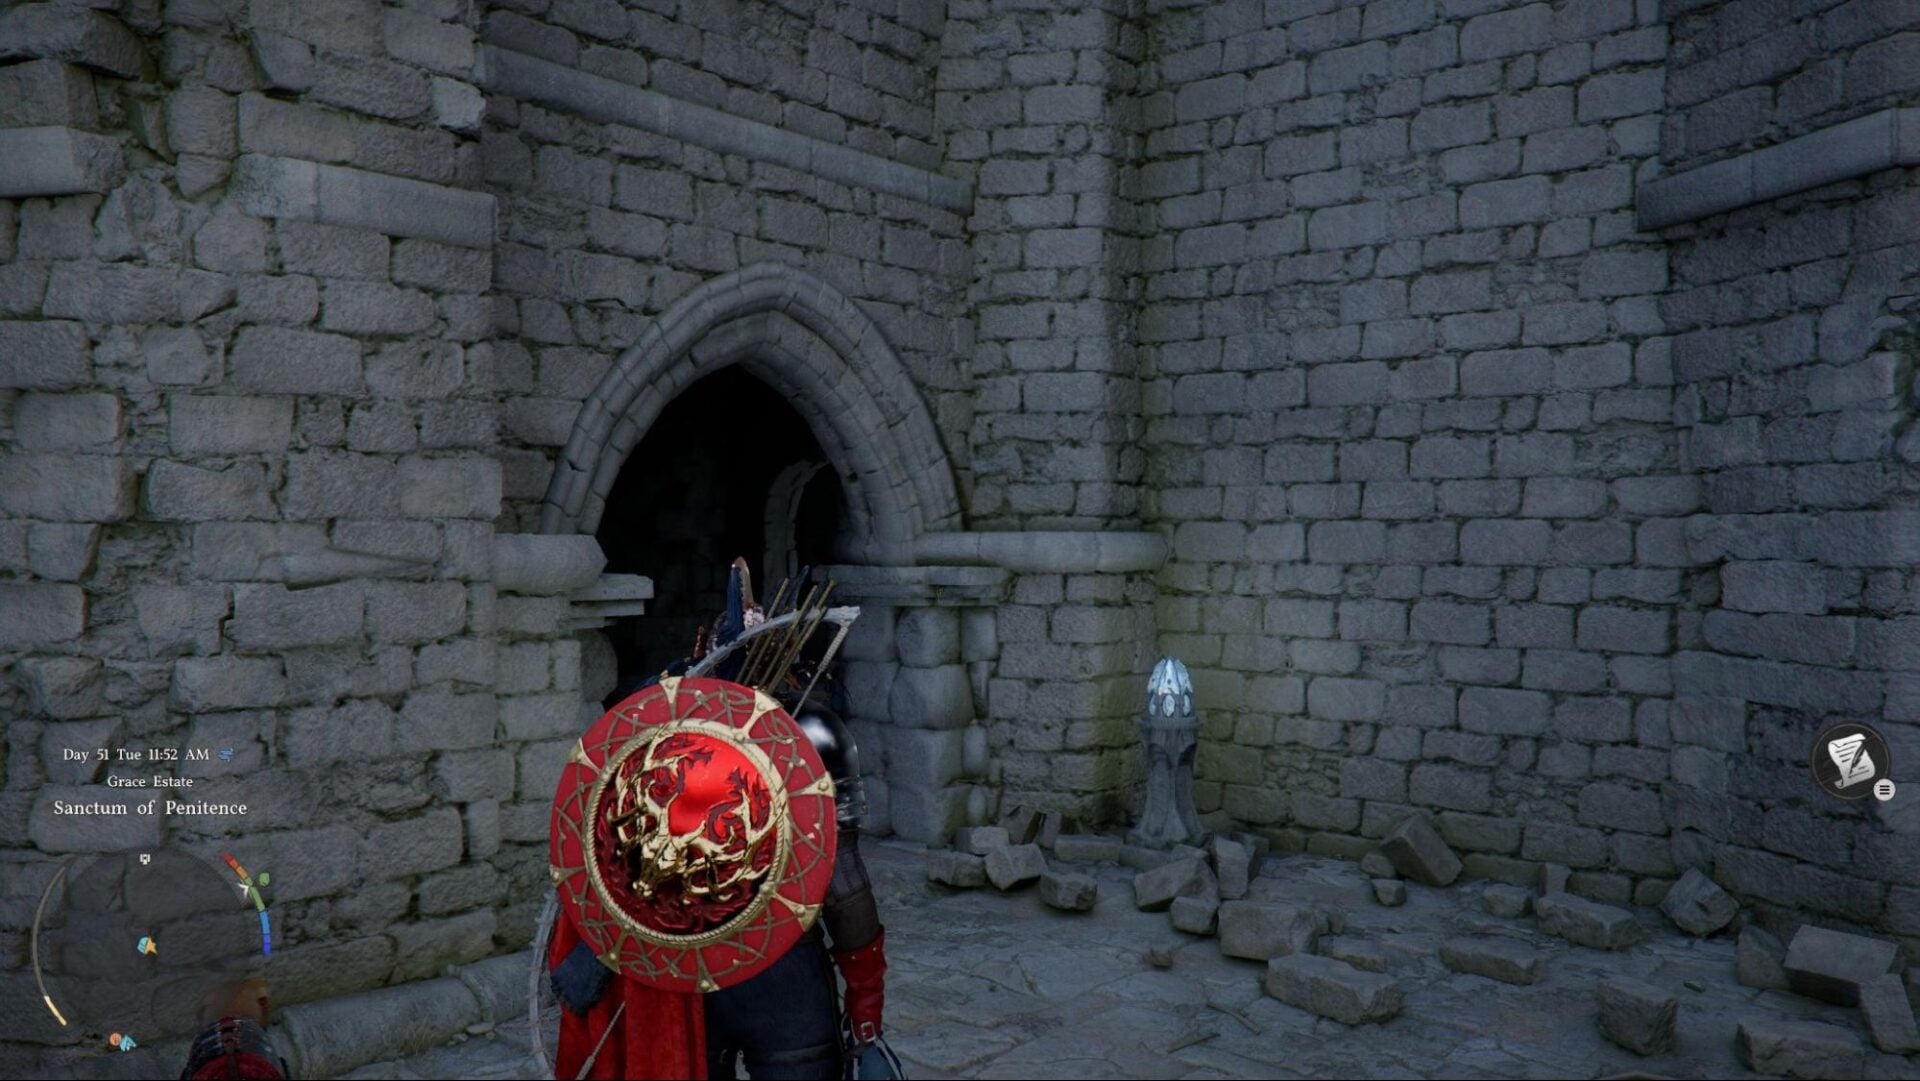
After you’ve entered Hernand Castle and tracked down the alchemist’s lab, you’ll be whisked away to the Abyss, a series of islands in the sky powered by ancient technology. Up here, you’ll have to use your abilities to get the machinery working again.
At the start, you’ll be told to go toward the building. When you get there, you’ll see two discs on the ground that can be rotated with your spectral arm, Axiom Force.
The goal here is to spin them until you’re carrying power from one end to the other. Imagine they’re a clock, and the disc on the right should be turned until the 12 and 9 hands are lit. Turn the one on the left after and make sure the 3 and 6 hands are lit, as in the screenshot below.

If you’re struggling to move them, it’s worth noting that they’re powered by physics. If you grab the center of the disc, you’ll struggle to move it. Make sure you grab an edge and tug.
Abyss Without Balance
Next, head through the skybridge gate to the heart of the Abyss. You’ll come to an alignment device, which you need to grab with your spectral hand and turn until you find the sweet spot. Axiom Force uses the d-pad for these kinds of switches, so just move left or right until you see some visual feedback and hear the audio shift (or notice the vibrations increase in intensity in your controller).
Once you do, a series of platforms will activate and you need to make your way toward the larger island by hopping across them. If you need to make a precise jump, hold LB, aim, and tap jump to land exactly where the cursor is placed.
If you come to a point where you seemingly can’t progress, there’s likely a moving platform you need to wait for — keep an eye out, be patient, and hop on. Hilariously, it can take up to a minute for the platform to arrive. Keep working your way along the platforms and eventually you’ll come to a transporter, followed by a checkpoint pressure switch.
Combine the Abyss Cell
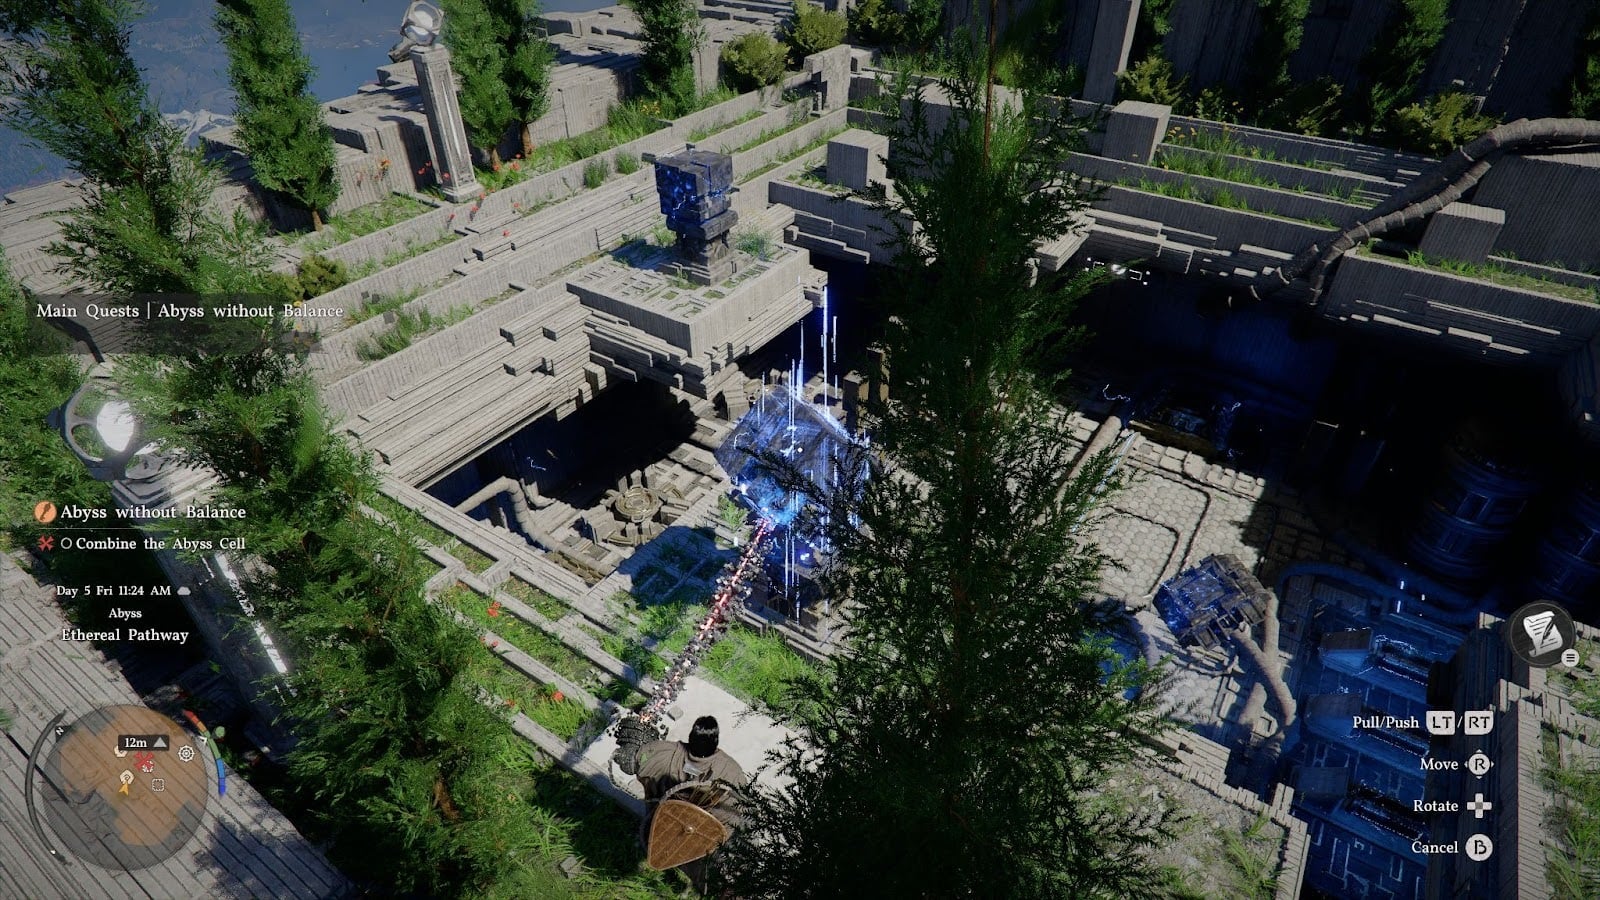
You’ll come to a recess in the ground filled with machine parts, some powered, some not. On the north side, you’ll notice a block that’s powered up, and there’s also an unpowered blue block and a floating cube nearby.
Drag the blue cube onto the unpowered block and it’ll spark with energy. This removes the force field, allowing you to jump down into the inner workings.
Inside you’ll find what looks like a large CPU. Grab it with your spectral hand and float it over to the wall on the south side, where there’s a space for it. Now rotate the CPU so its flat bottom is up against the wall — just like building a PC, ish — and leave it there.
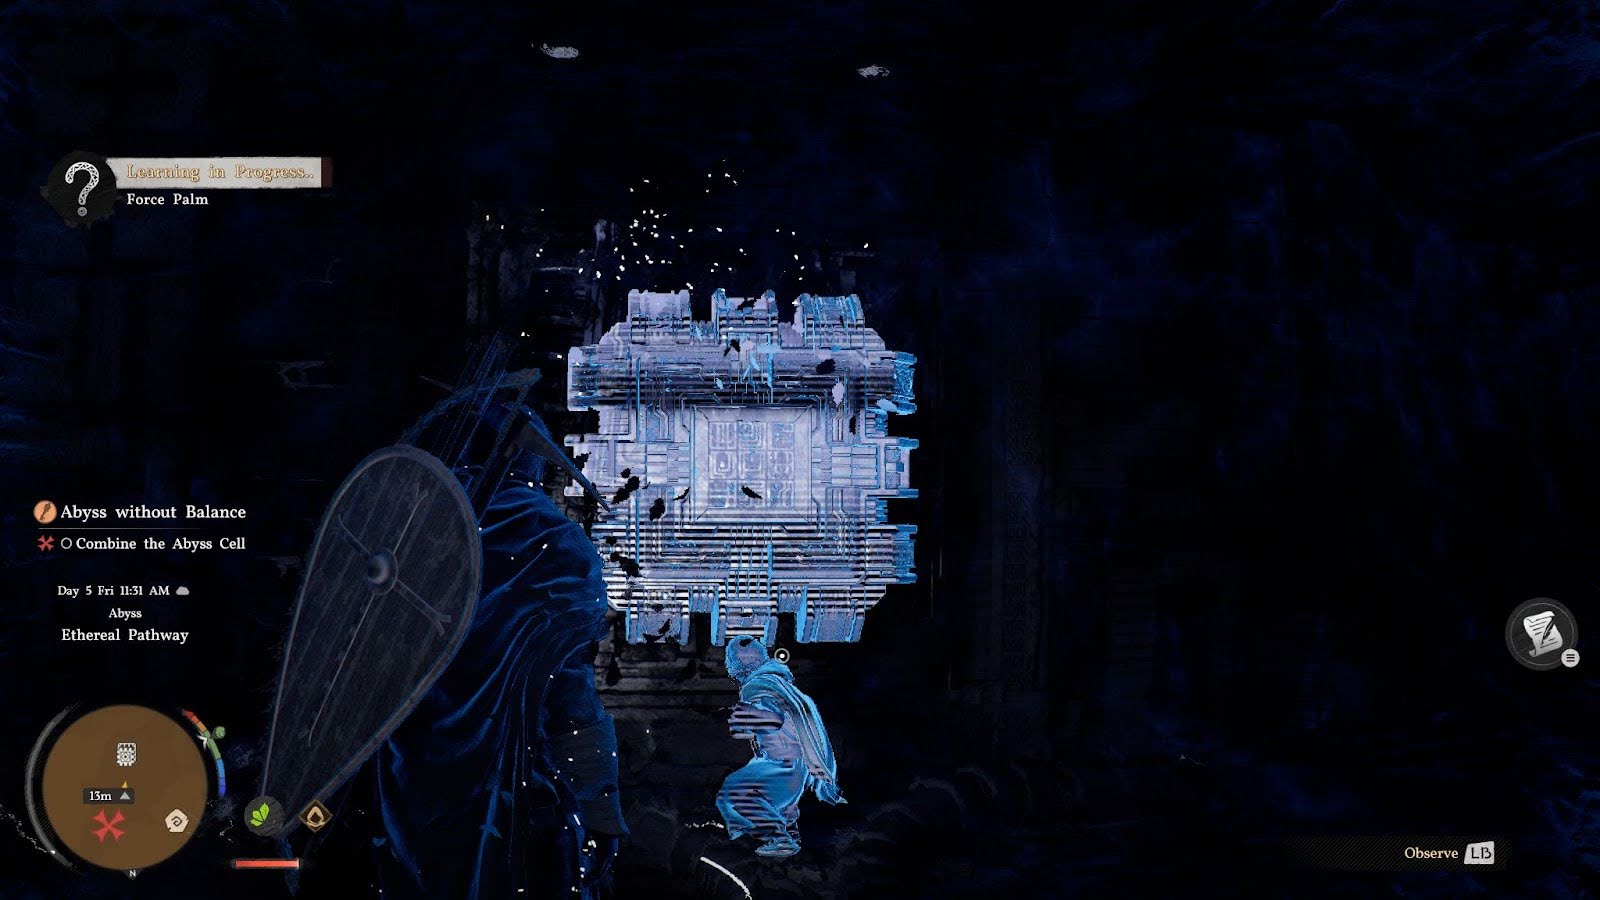
You’ll notice a ghostly figure repeating an animation over and over again. Hold LB and focus on the figure until the “learning in progress” bar fills up, unlocking a new skill: Force Palm.
Once it’s floating next to the slot, let go. Now stand next to the CPU and use Force Palm (R3) to slam it into place.
Activate the Abyss Power Supply
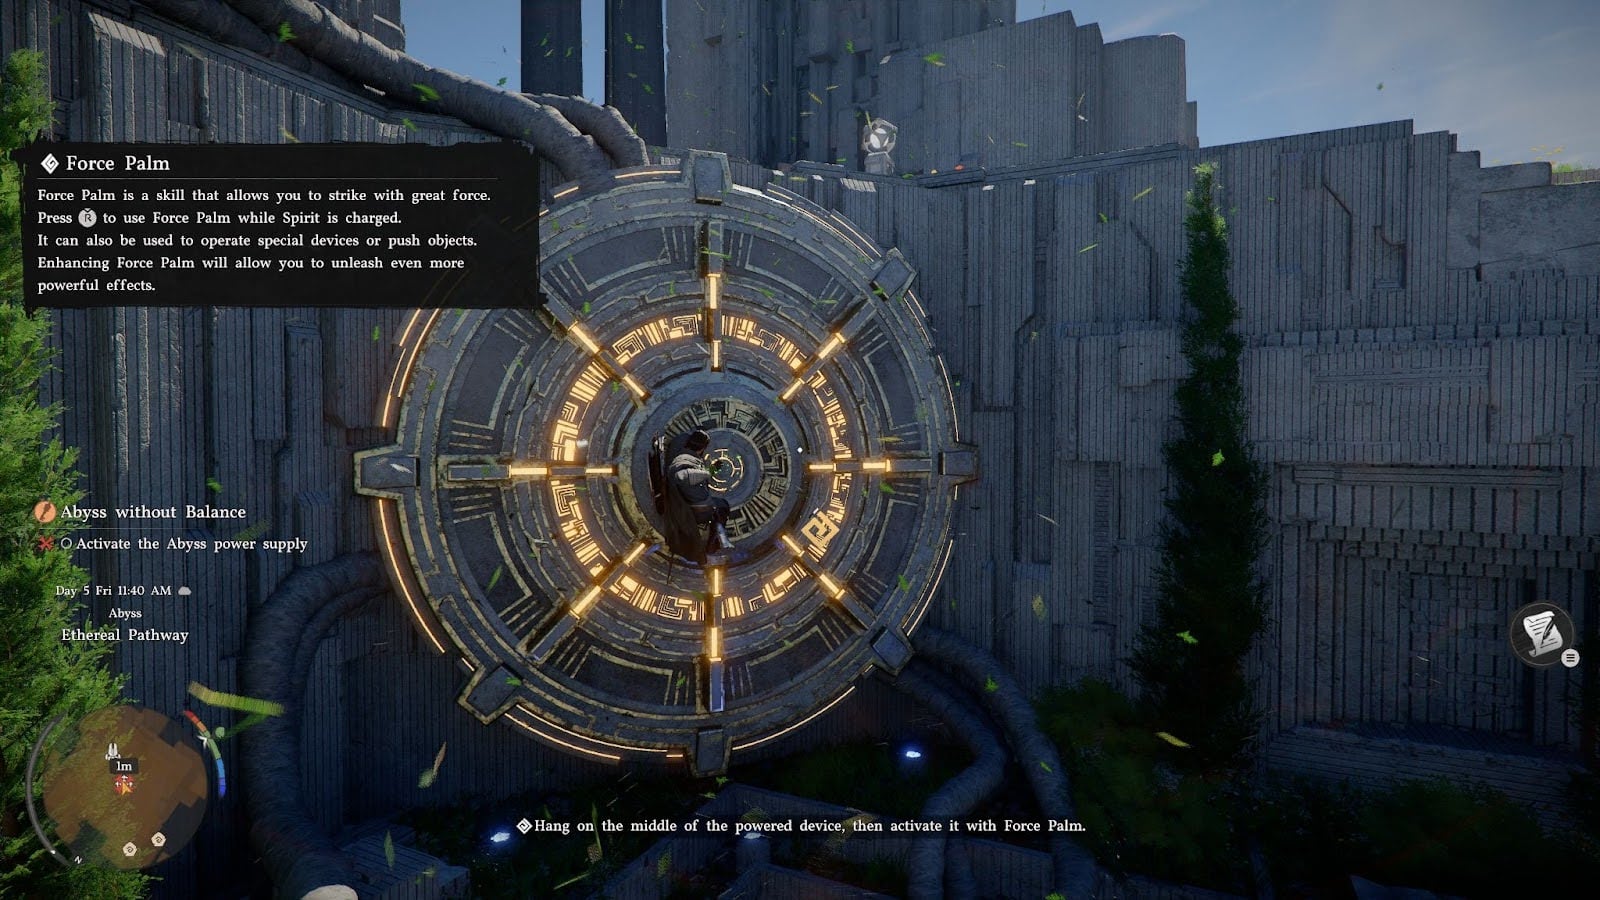
Now the big cog-like mechanism up top should show signs of life, moving and changing as power courses through it. To finish off the puzzle, you have to climb onto it and go to the circle at the center.
Once there, use Force Palm while still attached to the wall. This slams the center in and opens the way forward. No, the game does not tell you this. No, you can’t just stand on the ground and Force Palm it.
When you’ve done that, the way forward will unlock and you’ll get another key skill — flight.